That sticky, sweet-tart scent of black raspberries cooking down — the kind that clings to your fingertips before you even realize you’ve been stirring — still pulls me back to my grandmother’s tiny kitchen on a humid summer afternoon. The wooden spoon scraping gently against the pot, the soft bubbling sound mixing with the distant hum of cicadas outside the window. It wasn’t just jam; it was a ritual, a slow unfolding of flavor and memory that felt like a quiet celebration of the season. I remember the way the deep purple hue transformed from shiny whole berries to a rich, glossy jam that smelled like sunshine and wild meadows.
Years later, I found myself craving that same simple joy but without the fuss of large batches or the intimidating pectin jars. So, I started experimenting until I landed on this easy small batch black raspberry jam no-pectin recipe. It’s the kind of recipe that feels like a secret whispered in the kitchen — quick enough for a spontaneous berry haul but still packed with that full, authentic flavor you remember from childhood. Honestly, it’s the jam I turn to when I want that homemade touch without spending hours, and it’s stuck with me because it’s just so satisfying to scoop on a warm biscuit or swirl into morning yogurt.
There’s a subtle magic in making jam this way — no additives, just the natural pectin in the berries and a little patience. It teaches you to pay attention to the texture, the smell, the way the bubbles change as the jam thickens. And in that, it becomes more than a recipe; it’s a small moment of calm and sweetness you can bottle up. This recipe isn’t about fancy techniques or complicated ingredients — it’s about bringing a little bit of that nostalgic kitchen calm back to your own home, one small jar at a time.
Why You’ll Love This Recipe
After testing dozens of jam recipes, this easy small batch black raspberry jam no-pectin recipe stands out for a few solid reasons I trust from experience:
- Quick & Easy: Ready in under an hour, perfect for those spur-of-the-moment berry finds or weekend projects that don’t take over your day.
- Simple Ingredients: You only need fresh black raspberries, sugar, and lemon juice — no special pectin packets or additives required. I usually grab organic berries from the local market or pick them myself when possible.
- Small Batch Friendly: Makes about 2 cups (475 ml), so it fits perfectly in a small jar — ideal if you don’t want to commit to a giant batch that might go unused.
- Perfect for Beginners: The recipe walks you through every step with clear cues on consistency and timing, making it approachable even if you’ve never made jam before.
- Unbelievably Delicious: The natural pectin in black raspberries thickens the jam just right, with a bright, fresh flavor that’s both sweet and a little tart — not overly sugary.
What sets this jam apart is the no-pectin approach paired with a careful simmer that lets the berries shine without the jam getting gummy or too stiff. Plus, you get to skip that extra shopping step for pectin, which honestly, not everyone keeps on hand. And since it’s a small batch, it’s perfect to pair with your breakfast favorites or even spoon over a dessert like this blueberry lemon poke cake when you want a fresh fruity touch.
What Ingredients You Will Need
This recipe uses simple, wholesome ingredients to deliver bold flavor and satisfying texture without the fuss. Most of these are pantry staples or fresh from the market, making it easy to gather everything without a special trip.
- Black Raspberries – 3 cups (about 450 grams), fresh or frozen (if frozen, thaw completely; fresh is best for optimal texture and flavor)
- Granulated Sugar – 1 to 1¼ cups (200-250 grams), depending on your sweetness preference (I usually start with 1 cup and adjust after tasting)
- Lemon Juice – 2 tablespoons fresh-squeezed (about half a lemon) to add brightness and natural pectin activation
- Water – 2 tablespoons, to help the cooking process start gently and avoid scorching
Ingredient Tips:
- Look for firm black raspberries that are deep purple-black to avoid overly mushy jam.
- I prefer using organic sugar when possible, but regular granulated sugar works just fine.
- Fresh lemon juice is key — bottled lemon juice doesn’t have quite the same punch or natural pectin content.
- If you want to experiment, you can swap half the sugar for honey or maple syrup, but this might affect the final set.
Equipment Needed
You don’t need fancy gadgets for this recipe — just the basics you probably already have in your kitchen.
- Medium saucepan (2-quart or 2-liter size) – heavy-bottomed is ideal to prevent the jam from burning or sticking
- Wooden spoon or heatproof silicone spatula – for stirring the jam gently without scratching your pan
- Measuring cups and spoons – for precise sugar and lemon juice amounts
- Fine mesh strainer or sieve (optional) – if you want a smoother jam without seeds, though I usually leave them in for texture
- Clean glass jars – small 8-ounce (240 ml) jars are perfect for this batch size, sterilized by boiling or dishwasher
If you don’t have a heavy-bottomed pan, just keep stirring more frequently and cook on medium-low heat to avoid scorching. For beginners, I recommend a wooden spoon because it feels sturdy and gives you better control over stirring.
Preparation Method
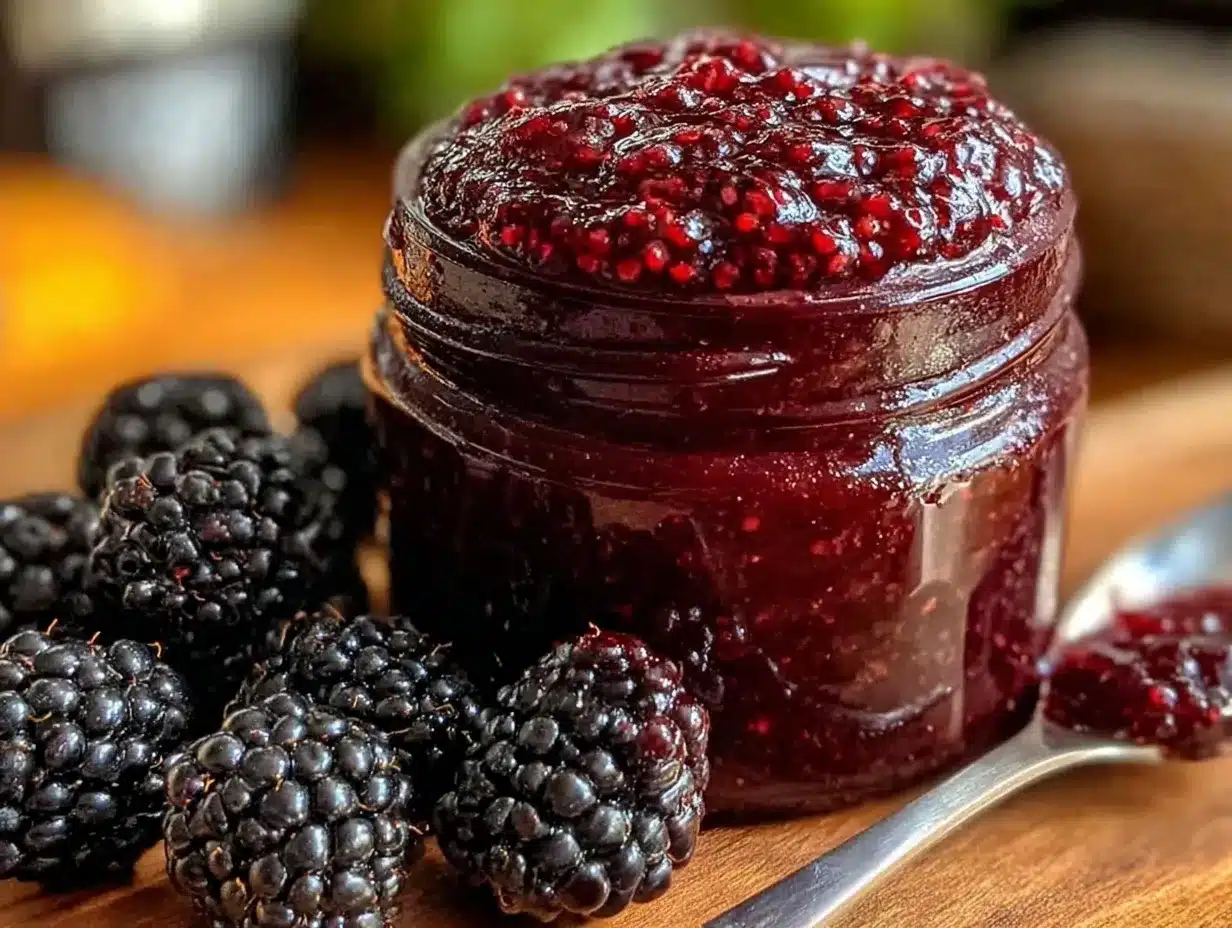
- Prepare the berries: Rinse 3 cups (450 grams) of black raspberries gently under cold water and drain well. Remove any stems or leaves. If using frozen, thaw fully and drain excess liquid. This should take about 5 minutes.
- Combine ingredients: In your medium saucepan, add the black raspberries, 1 cup (200 grams) granulated sugar, 2 tablespoons of fresh lemon juice, and 2 tablespoons of water. Stir gently to combine. The water and lemon juice help start the cooking process smoothly. Allow this mixture to sit for 10-15 minutes — this maceration softens the berries and helps dissolve the sugar.
- Cook the jam: Place the saucepan over medium heat and bring the mixture to a gentle boil, stirring often to prevent sticking. Once boiling, reduce heat to maintain a steady simmer. Keep stirring every few minutes as the jam thickens. This simmer should last about 20-25 minutes. You’ll notice the mixture thicken and the bubbles become larger and slower.
- Test for set: To see if your jam is ready, place a small spoonful on a chilled plate and let it cool for a minute. Run your finger through it — if it wrinkles and doesn’t run back together, your jam is set. If it’s still too runny, continue simmering for another 5 minutes and test again.
- Optional smoothing: If you prefer a seedless jam, press the cooked mixture through a fine mesh strainer with the back of a spoon, then return the strained jam to the pan and warm briefly before jarring.
- Jar and cool: Carefully spoon the hot jam into your sterilized jars, leaving about ¼ inch of headspace. Wipe the rims clean and seal tightly. Let cool completely at room temperature before refrigerating. This batch makes about 2 cups (475 ml) and should keep refrigerated for up to 2 weeks.
Pro tip: Stir gently, but don’t be afraid to give the jam good attention — the thickening stage is where it can easily scorch if left unstirred. Also, don’t rush the simmer; patience here means better texture and flavor.
Cooking Tips & Techniques
Jam making without pectin can feel a bit like a dance — you watch, listen, and learn the rhythm. Here are some tips I picked up the hard way:
- Don’t skip the lemon juice. It’s crucial because it activates the natural pectin in the berries and balances the sweetness.
- Keep your heat moderate. Too high and the jam can burn or become overly thick; too low and it won’t set properly.
- Use a heavy-bottomed pan. This helps distribute heat evenly, reducing the risk of scorching. If you only have a thin pan, stirring often is your best friend.
- Test the set frequently. Jam can go from runny to perfect in minutes, and the cold plate test is a simple, reliable way to check.
- Don’t overcook. Overcooking can make the jam stiff and less fresh-tasting. Aim for that shine and softness you remember from fresh preserves.
- Be patient. I’ve burned batches by rushing the process, but slow and steady wins the jam.
- Consider your sugar. Different sugars can affect texture and taste. White granulated sugar is standard, but organic cane sugar or even coconut sugar can add interesting notes.
Variations & Adaptations
This easy small batch black raspberry jam recipe is a solid base to play with depending on your taste or dietary needs:
- Natural sweeteners: Swap granulated sugar for honey or maple syrup for a different depth of flavor, though the set might be slightly looser.
- Seedless jam: Pass the cooked jam through a fine mesh sieve to remove seeds for a smooth spread, perfect for kids or elegant presentations.
- Mixed berry jam: Add equal parts blueberries or raspberries for a colorful twist, similar to the flavors found in the red, white, and blue berry trifle.
- Spiced version: A pinch of cinnamon or a splash of vanilla extract stirred in at the end can add warmth and complexity.
- Low sugar: Reduce sugar to ¾ cup (150 grams) and increase lemon juice slightly, but keep in mind it will be less sweet and have a softer set.
One variation I tried was adding a tablespoon of finely grated fresh ginger during simmering — it gave the jam a subtle zing that paired beautifully with toast and cream cheese.
Serving & Storage Suggestions
This black raspberry jam is delicious served warm or chilled, making it versatile for many uses. Spread it generously on warm buttered toast, swirl it into morning oatmeal or yogurt, or dollop it over pancakes or scones for a fresh fruity burst. I often pair it with a soft cheese or even spoon it onto a simple whipped feta dip with honey and pistachios for a sweet-savory snack.
Store your jam in the refrigerator for up to two weeks. For longer storage, freeze in airtight containers or freezer-safe jars — it keeps well for up to 3 months. When reheating, warm gently on the stove or in the microwave, stirring occasionally to restore that glossy texture. Over time, the flavors meld and deepen, so a few days in the fridge can make it taste even better.
Nutritional Information & Benefits
Here’s a rough estimate per 2-tablespoon (30 ml) serving:
- Calories: 60
- Carbohydrates: 15g
- Sugar: 14g
- Fiber: 1g
- Vitamin C: 6% of daily value
Black raspberries are packed with antioxidants and vitamins, especially vitamin C and dietary fiber, which support immune health and digestion. Using fresh fruit and minimal sugar means this jam is a cleaner, more natural option compared to many store-bought varieties loaded with preservatives. Plus, it’s gluten-free and can be made vegan easily by choosing non-animal sweeteners.
Personally, I love that this jam feels like a treat I can enjoy without the guilt of overprocessed ingredients — it’s honest, pure, and a small but meaningful boost to any meal.
Conclusion
This easy small batch black raspberry jam no-pectin recipe is a little spoonful of summertime memories, made simple enough to fit into your busy day. You don’t need a big stockpile of equipment or fancy ingredients — just a handful of fresh berries, a bit of sugar, and a little patience. I love how it brings a genuine homemade touch to breakfast, snacks, and even desserts, with a taste that’s bright, fresh, and authentically berry.
Feel free to customize the sweetness or add your own twist with spices or mixed berries. This jam has become a favorite in my kitchen, especially when paired with soft cheeses or a warm biscuit. If you try it, I’d be thrilled to hear how you make it your own — leave a comment or share your version!
Whether it’s your first time making jam or you’re building on years of experience, this recipe offers a straightforward, rewarding way to put fresh black raspberries into a jar and onto your table.
FAQs about Easy Small Batch Black Raspberry Jam No-Pectin Recipe
Can I use frozen black raspberries for this jam?
Yes! Just make sure to thaw them completely and drain any excess liquid before cooking to avoid a watery jam.
Why doesn’t this recipe use pectin?
Black raspberries naturally contain enough pectin to thicken the jam when combined with lemon juice and proper cooking, so extra pectin isn’t needed for this small batch.
How do I know when the jam is ready?
Use the cold plate test: put a spoonful of hot jam on a chilled plate, let it cool for a minute, then run your finger through it. If it wrinkles and holds shape, it’s set.
Can I make this jam less sweet?
Absolutely! You can reduce the sugar to ¾ cup (150 grams), but the jam will be softer and less sweet. Adjust lemon juice slightly to help with setting.
How long does homemade jam last in the fridge?
Stored in a sealed jar, this jam will keep for about 2 weeks refrigerated. For longer storage, freeze it in airtight containers.
Pin This Recipe!
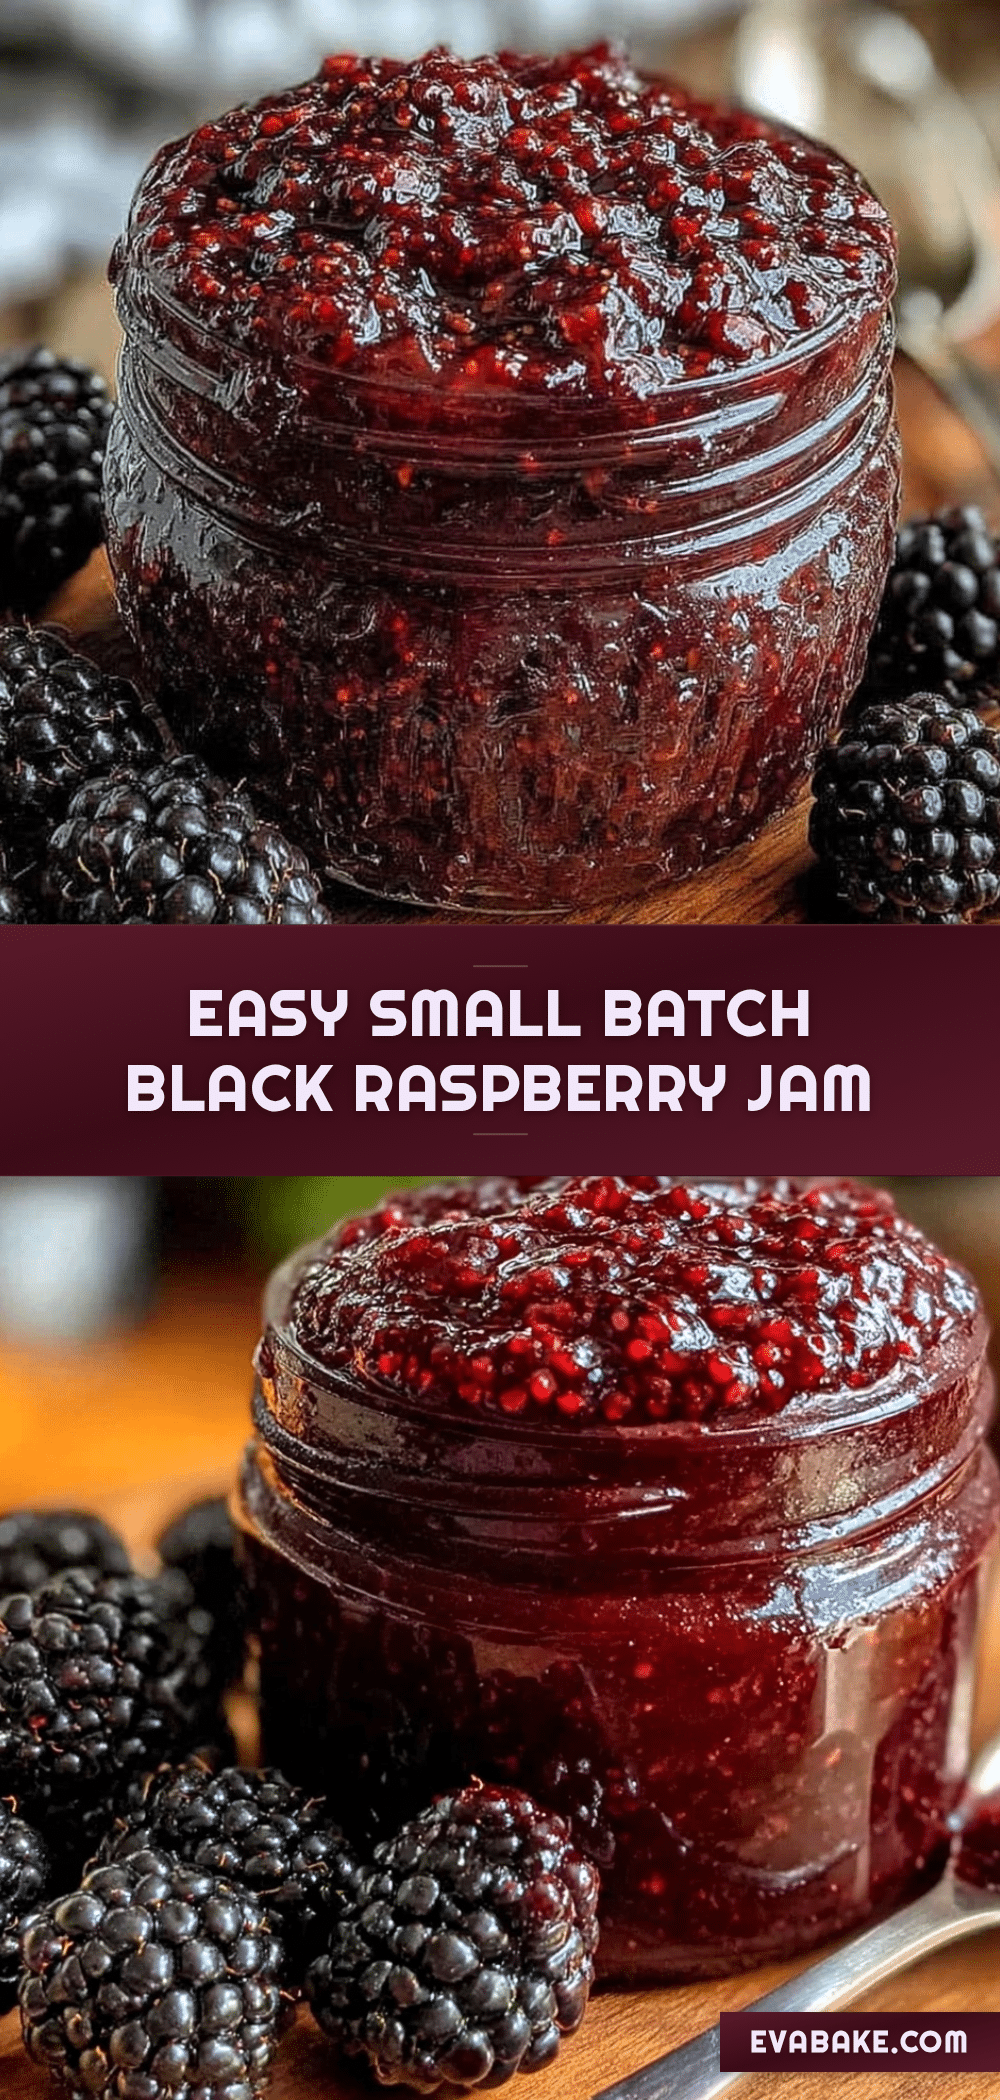
Easy Small Batch Black Raspberry Jam Recipe Perfect for Beginners
A quick and easy no-pectin black raspberry jam recipe that yields about 2 cups, perfect for beginners and small batches. Made with simple ingredients and natural pectin from the berries, it delivers a fresh, sweet-tart flavor.
- Prep Time: 20 minutes
- Cook Time: 25 minutes
- Total Time: 45 minutes
- Yield: About 2 cups (16 ounces) 1x
- Category: Preserves
- Cuisine: American
Ingredients
- 3 cups (about 450 grams) black raspberries, fresh or frozen (thawed if frozen)
- 1 to 1¼ cups (200–250 grams) granulated sugar, adjust to taste
- 2 tablespoons fresh-squeezed lemon juice (about half a lemon)
- 2 tablespoons water
Instructions
- Rinse 3 cups (450 grams) of black raspberries gently under cold water and drain well. Remove any stems or leaves. If using frozen, thaw fully and drain excess liquid. This should take about 5 minutes.
- In a medium saucepan, add the black raspberries, 1 cup (200 grams) granulated sugar, 2 tablespoons fresh lemon juice, and 2 tablespoons water. Stir gently to combine. Allow this mixture to sit for 10-15 minutes to macerate.
- Place the saucepan over medium heat and bring the mixture to a gentle boil, stirring often to prevent sticking. Reduce heat to maintain a steady simmer and stir every few minutes as the jam thickens. Simmer for about 20-25 minutes until thickened and bubbles become larger and slower.
- Test for set by placing a small spoonful on a chilled plate and letting it cool for a minute. Run your finger through it; if it wrinkles and doesn’t run back together, the jam is set. If still runny, continue simmering for another 5 minutes and test again.
- Optional: For seedless jam, press the cooked mixture through a fine mesh strainer with the back of a spoon, then return the strained jam to the pan and warm briefly before jarring.
- Carefully spoon the hot jam into sterilized small glass jars, leaving about ¼ inch headspace. Wipe rims clean and seal tightly. Let cool completely at room temperature before refrigerating.
Notes
Stir gently but frequently during simmering to prevent scorching. Use fresh lemon juice to activate natural pectin. Test jam set with the cold plate test. Jam keeps refrigerated for up to 2 weeks or frozen for up to 3 months. Adjust sugar to taste; reducing sugar will result in a softer set.
Nutrition
- Serving Size: 2 tablespoons (30 ml
- Calories: 60
- Sugar: 14
- Carbohydrates: 15
- Fiber: 1
Keywords: black raspberry jam, no pectin jam, small batch jam, easy jam recipe, homemade jam, beginner jam recipe, fresh berry jam