My husband took one bite of these crispy baked parmesan crusted chicken thighs and just stopped chewing. He sat there, fork suspended mid-air, and looked at me like I’d accidentally solved some kind of culinary equation. “This is the best chicken I’ve had in years,” he said, and honestly, I believed him, because I was having the exact same thought. It wasn’t a recipe I’d slaved over for hours, either. It was one of those desperate weeknight experiments where you open the fridge, stare at a pack of chicken thighs, and pray for something that isn’t boring.
I’d been chasing that perfect crunchy coating for months—trying this breadcrumb, that technique—and everything either turned out soggy or just fell off. But this time, I threw together a mix of panko, Parmesan, and a few pantry spices, baked them on a wire rack, and waited. The smell that filled the kitchen was ridiculous. Garlic, butter, that nutty Parmesan smell. By the time they came out of the oven, golden and craggy, I knew we were onto something special.
The skin was shatteringly crisp, the meat underneath was somehow still juicy, and that cheesy crust had baked into a savory shell that didn’t budge when you bit into it. I’ve made them four times since then. Each time, they disappear faster than I can get them to the table. That’s the kind of recipe you keep close. These crispy baked parmesan crusted chicken thighs are exactly that—a keeper you’ll want to make on repeat, no questions asked.
Why You’ll Love This Recipe
I’ve tested this recipe more times than I’d like to admit. The first batch? Edible but sad. The coating slid right off. The second was better, but the chicken dried out. By the third attempt, I cracked the code, and let me tell you, it was worth every dry piece of chicken I choked down in the name of research. Here’s why this version works:
- Quick & Easy : These come together in about 35 minutes, start to finish. No marinating, no flipping halfway through. Just mix, coat, and bake.
- Simple Ingredients : You probably have most of this in your kitchen right now. Panko, Parmesan, garlic powder, paprika, salt, pepper, eggs, and chicken thighs. That’s it.
- Perfect for Busy Weeknights : This is the meal you make when you’re tired, hungry, and need something that feels like a treat without the fuss.
- Crowd-Pleaser : I’ve served these to picky kids, in-laws, and friends who claim they don’t like baked chicken. All of them asked for seconds.
- Unbelievably Delicious : The texture is the star here. That crust stays crunchy even after it sits, and the Parmesan adds this salty, savory depth that you just don’t get from regular breaded chicken.
What makes this different from every other baked chicken recipe out there? Two things. First, I use a wire rack set inside the baking sheet, so air circulates underneath and keeps the bottom from getting soggy. Second, I mix a little butter into the coating—trust me on this one. It helps the crust brown evenly and adds richness you can taste in every bite. This isn’t just another version of baked chicken. It’s the version I make when I want to impress myself.
What Ingredients You Will Need
This recipe uses simple, everyday ingredients to build something that tastes far more complex than it has any right to. The magic is in the combination, not the complexity.
- Chicken Thighs : You’ll want boneless, skinless thighs for this recipe. They stay juicier than breasts and the fat content helps the crust stick better. If you can only find bone-in, just adjust the cooking time by about 10 minutes.
- Panko Breadcrumbs : These are non-negotiable for that ultra-crisp texture. Regular breadcrumbs will work in a pinch, but they won’t give you the same shatter. I use Ian’s brand when I can find it, but any store brand works fine.
- Parmesan Cheese : Buy the block and grate it yourself. The pre-shredded stuff has anti-caking agents that prevent it from melting and browning properly. A good Parmesan adds a nutty, salty flavor that’s irreplaceable.
- Garlic Powder : Not garlic salt. Garlic powder adds flavor without extra moisture. I’ve tried fresh garlic in this recipe and it burns in the oven. Stick with powder.
- Smoked Paprika : This gives the crust a subtle smoky warmth and a beautiful golden color. Regular paprika works too, but smoked adds a deeper flavor profile.
- Salt and Black Pepper : Simple seasonings that make everything pop. I use kosher salt because it’s easier to control, but table salt is fine—just use a little less.
- Large Eggs : These act as the glue that holds the coating to the chicken. Make sure they’re at room temperature so they spread evenly.
- Unsalted Butter : Melted and mixed into the panko mixture. This is my secret ingredient. It helps the crust brown evenly and adds richness. If you use salted butter, reduce the added salt slightly.
- Olive Oil Spray : A light spritz over the top before baking helps the crust crisp up even more. You can use regular cooking spray, but olive oil gives better flavor.
Equipment Needed
You don’t need a fancy kitchen to pull this off. Here’s what I use every time:
- Baking Sheet : A standard half-sheet pan works perfectly. Make sure it’s rimmed so any drips don’t end up on your oven floor.
- Wire Rack : This is crucial. Place it inside the baking sheet so the chicken sits above the pan. Air circulates underneath and the bottom stays crispy. I bought a cheap set from Amazon and they’ve lasted years.
- Mixing Bowls : Two shallow bowls—one for the egg wash, one for the panko mixture. I use wide pasta bowls so I have room to work.
- Tongs : For transferring the chicken from bowl to bowl without making a mess. Silicone-tipped ones are nice because they don’t scratch your bowls.
- Pastry Brush : Optional, but helpful for brushing the melted butter into the panko mixture evenly.
If you don’t have a wire rack, you can bake these directly on a parchment-lined sheet, but the bottoms won’t be as crispy. I’ve done it in a pinch and they were still delicious, just not perfect.
Preparation Method
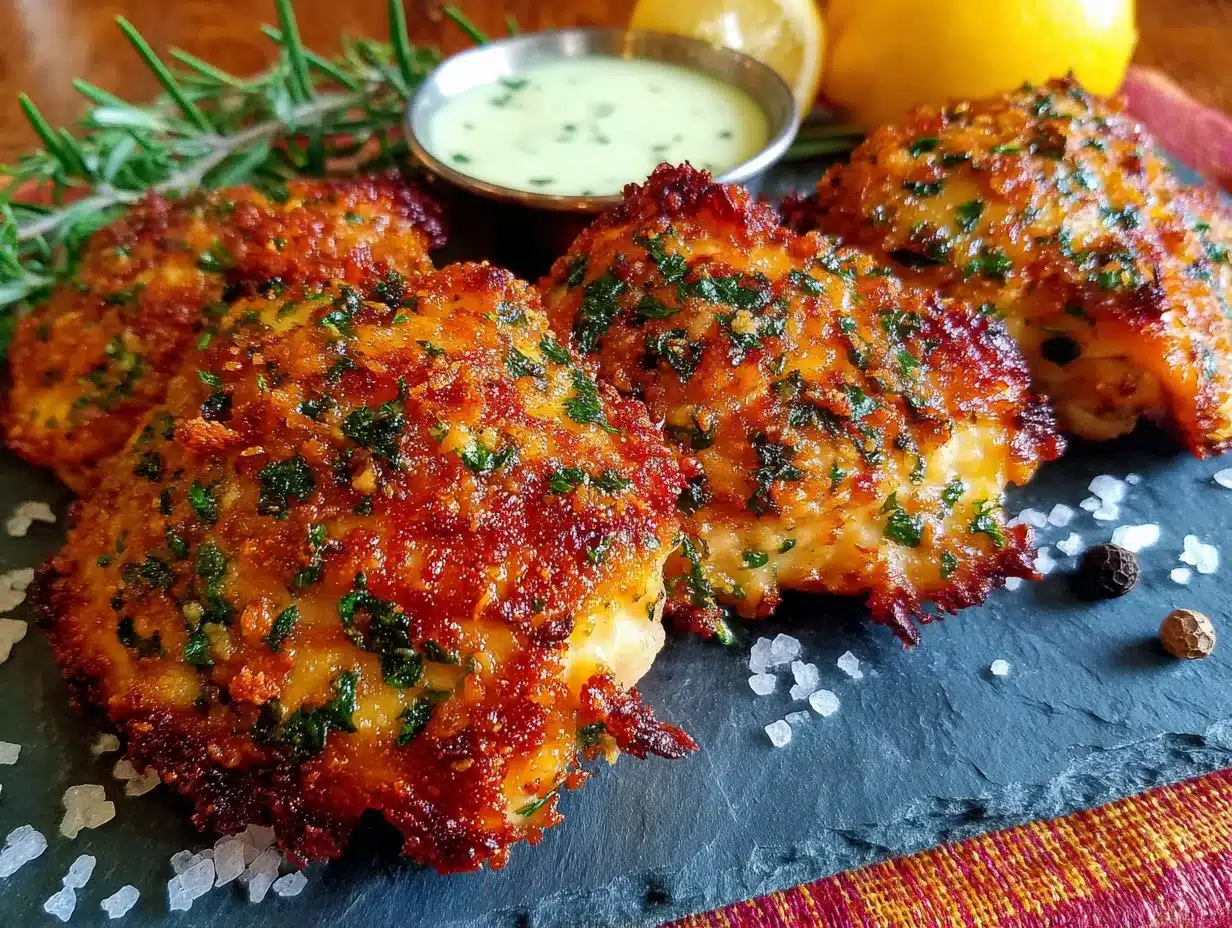
Let’s get cooking. This part is straightforward, but I’ll walk you through every step so you get the same results I do.
-
Preheat your oven to 400°F (200°C). Place a wire rack inside a rimmed baking sheet and set it aside. Getting the oven hot before you start is key—the heat hits the chicken immediately and starts crisping that crust right away.
-
Prepare your coating station. In one shallow bowl, whisk 2 large eggs with a tablespoon of water until smooth. In a second shallow bowl, combine 1 cup panko breadcrumbs, ½ cup finely grated Parmesan cheese, 1 teaspoon garlic powder, 1 teaspoon smoked paprika, ½ teaspoon salt, and ¼ teaspoon black pepper. Drizzle 2 tablespoons of melted unsalted butter over the panko mixture and stir with a fork until everything looks like damp sand.
-
Pat the chicken dry. Take 1½ pounds of boneless, skinless chicken thighs (about 4-6 pieces) and pat them thoroughly dry with paper towels. This step is non-negotiable—moisture is the enemy of crispiness. If the chicken is wet, the coating won’t stick and you’ll end up with soggy spots.
-
Coat the chicken. Working one piece at a time, dip a chicken thigh into the egg wash, letting any excess drip off. Then press it firmly into the panko mixture, coating both sides evenly. Don’t be shy—really press that crust into the meat. Place the coated thigh onto the wire rack. Repeat with all the chicken pieces.
-
Spray with oil. Lightly spray the tops of the coated chicken thighs with olive oil spray. This helps the crust brown and crisp in the oven. You can skip this step, but the crust won’t be as golden or crunchy.
-
Bake for 25-30 minutes. Place the baking sheet in the preheated oven and bake until the chicken is golden brown and crispy, and the internal temperature reaches 165°F (74°C) on an instant-read thermometer. I usually check mine at 25 minutes and add a few more if needed. The crust should feel firm and sound crunchy when you tap it.
-
Rest before serving. Let the chicken rest on the wire rack for 5 minutes after baking. This allows the juices to redistribute and the crust to set. If you cut into them immediately, you’ll lose all that moisture. Trust me—I’ve made that mistake.
Sensory cues to watch for: When you pull the chicken out, the crust should be a deep golden brown with darker spots where the Parmesan caramelized. You should hear a slight crackle when you press on it. The smell will be toasty, buttery, and savory. If the crust looks pale or soft, give it another 3-5 minutes.
Cooking Tips & Techniques
I’ve learned a few things the hard way so you don’t have to. Here are my best tips for perfect crispy baked parmesan crusted chicken thighs every time:
Don’t skip the wire rack. The first time I made these, I baked them directly on a parchment-lined sheet. The bottoms turned into a soggy mess. The wire rack lets hot air circulate underneath, keeping the entire crust crunchy. It’s a small step that makes a huge difference.
Use room temperature eggs. Cold eggs don’t spread as evenly on the chicken, which means some spots get a thick crust and others get bare patches. Let your eggs sit on the counter for 15 minutes before you start, or place them in a bowl of warm water for 5 minutes.
Press the coating firmly. I used to lightly dredge the chicken and hope for the best. Now I press the panko mixture into the meat with my fingers, making sure every inch is covered. The crust stays attached during baking and doesn’t flake off when you bite into it.
Watch your oven temperature. Ovens run differently. I’ve burned a batch at 425°F because my oven runs hot. If your oven tends to be aggressive, check the chicken at 20 minutes and adjust from there. An instant-read thermometer is your best friend here.
Double-coat for extra crunch. If you’re feeling extra, you can dip the chicken in the egg wash and panko mixture twice. This creates a thicker, crunchier crust that’s almost like a chicken parmesan cutlet. Just be aware it adds about 5 minutes to the baking time.
I once forgot to spray the oil on top and ended up with pale, sad-looking chicken. It still tasted good, but it didn’t have that beautiful golden crust that makes these so visually appealing. Don’t skip the spray.
Variations & Adaptations
This recipe is flexible, and I’ve tried a few different versions over the months. Here are some of my favorites:
Spicy Parmesan Chicken : Add ½ teaspoon of cayenne pepper and 1 teaspoon of red pepper flakes to the panko mixture. The heat cuts through the richness of the Parmesan beautifully. My husband loves this version with a side of ranch dressing.
Gluten-Free Option : Swap the panko for gluten-free panko or crushed pork rinds. I’ve used both, and the pork rinds give an extra-crispy texture that’s almost like fried chicken. Just reduce the salt slightly because pork rinds are already salty.
Herb-Infused Crust : Mix 1 tablespoon of dried Italian seasoning or fresh chopped parsley into the panko mixture. The herbs add a fresh, aromatic note that pairs perfectly with the Parmesan. I made this version for a dinner party and everyone asked for the recipe.
Air Fryer Adaptation : Cook the coated chicken thighs in an air fryer at 375°F for 12-15 minutes, flipping halfway through. The air fryer gives an even crispier crust with less oil. Just make sure not to overcrowd the basket—work in batches if needed.
Dairy-Free Version : Use nutritional yeast instead of Parmesan and a dairy-free butter substitute. The flavor won’t be exactly the same, but it’s still delicious and satisfying. I’ve made this for a friend with lactose intolerance and she loved it.
Serving & Storage Suggestions
These chicken thighs are best served hot, straight from the oven, while the crust is still shatteringly crisp. I like to serve them with a simple side salad dressed with lemon vinaigrette—the acidity cuts through the richness of the chicken. Roasted vegetables like asparagus or broccoli also work beautifully, and they can cook in the same oven while the chicken rests.
For a heartier meal, pair these with mashed potatoes, rice pilaf, or crusty bread to soak up any juices. I’ve also sliced them up and served them over a bed of mixed greens for a warm chicken salad that’s surprisingly filling. If you’re feeling fancy, a squeeze of fresh lemon juice over the top right before serving brightens everything up.
Storage: Leftover chicken keeps in an airtight container in the refrigerator for up to 4 days. The crust will soften slightly, but they’re still delicious cold or reheated. I’ve chopped them up and added them to salads for lunch the next day, and they’re fantastic.
Reheating: To restore some of the crunch, reheat the chicken in a 350°F oven for 5-7 minutes, or in an air fryer at 375°F for 3-4 minutes. Avoid the microwave—it turns the crust into a sad, rubbery mess. I’ve learned this the hard way more times than I’d like to admit.
Freezing: You can freeze the baked chicken thighs for up to 3 months. Let them cool completely, then wrap individually in plastic wrap and place in a freezer bag. To reheat, bake from frozen at 375°F for 15-20 minutes, or until heated through. The crust won’t be quite as crispy, but it’s still a great option for busy nights.
The flavors actually deepen after a day in the fridge. I’ve found that leftover chicken tastes even more savory and Parmesan-forward, which makes it perfect for meal prep.
Nutritional Information & Benefits
Here’s an approximate breakdown per serving (based on 4 servings, using boneless skinless chicken thighs):
- Calories: 380
- Protein: 32g
- Fat: 22g
- Carbohydrates: 12g
- Fiber: 1g
- Sugar: 1g
Chicken thighs are a great source of lean protein, iron, and B vitamins, which support energy metabolism and red blood cell production. Parmesan cheese adds calcium and protein, while the panko provides a small amount of carbohydrates for energy. This recipe is naturally low in sugar and can fit into a balanced diet.
For those watching their sodium, you can reduce the added salt or use a low-sodium Parmesan. The smoked paprika and garlic powder add plenty of flavor without extra salt. If you’re following a low-carb or keto diet, the pork rind variation is a fantastic alternative that keeps the carbs minimal.
Potential allergens include dairy (Parmesan, butter) and eggs. For dairy-free adaptations, see the variations section above. Always check your ingredient labels if you have specific allergies.
Conclusion
These crispy baked parmesan crusted chicken thighs have become my go-to for busy weeknights, casual dinners with friends, and even meal prep Sundays. They’re proof that you don’t need a deep fryer or a complicated technique to get that satisfying crunch. The combination of panko, Parmesan, and a little butter creates a crust that’s golden, savory, and stays crispy long after it comes out of the oven.
I love how versatile this recipe is. You can spice it up, keep it mild, add herbs, or make it gluten-free—it’s hard to mess up once you’ve got the basic technique down. And honestly, the fact that my husband still asks for them every week tells me everything I need to know.
I’d love to hear how yours turn out. Did you try a variation? Add a new spice? Serve them with something unexpected? Drop a comment below and let me know. And if you’re looking for more easy, crispy dinner ideas, you might enjoy these crispy pan-seared pork chops with apple cider butter sauce or these crispy mini chicken quesadillas with fresh mango salsa for another quick weeknight win. Until next time, happy cooking!
Frequently Asked Questions
Can I use chicken breasts instead of thighs?
Yes, you can. Chicken breasts will work, but they cook faster and can dry out more easily. Reduce the baking time to 20-25 minutes and check the internal temperature at 20 minutes. I recommend pounding the breasts to an even thickness so they cook uniformly.
Why did my coating fall off?
This usually happens for one of three reasons: the chicken wasn’t patted dry, the egg wash was too thin, or you didn’t press the coating firmly enough. Make sure the chicken is bone-dry before dipping, whisk the eggs well, and really press that panko mixture into the meat.
Can I make these ahead of time?
You can prepare the coated chicken up to 24 hours in advance. Place the breaded thighs on the wire rack, cover loosely with plastic wrap, and refrigerate. Bake as directed when ready. The coating may darken slightly during storage, but they’ll still be delicious.
How do I get the crust extra crispy?
Use a wire rack, spray the tops with oil, and don’t overcrowd the pan. You can also double-coat the chicken by dipping it in the egg wash and panko mixture twice. For an even crunchier texture, try the air fryer method described in the variations section.
Can I freeze the uncooked breaded chicken?
Absolutely. Place the breaded chicken thighs on a parchment-lined baking sheet and freeze until solid (about 2 hours). Transfer to a freezer bag and store for up to 3 months. Bake from frozen at 400°F for 30-35 minutes, or until the internal temperature reaches 165°F.
Pin This Recipe!
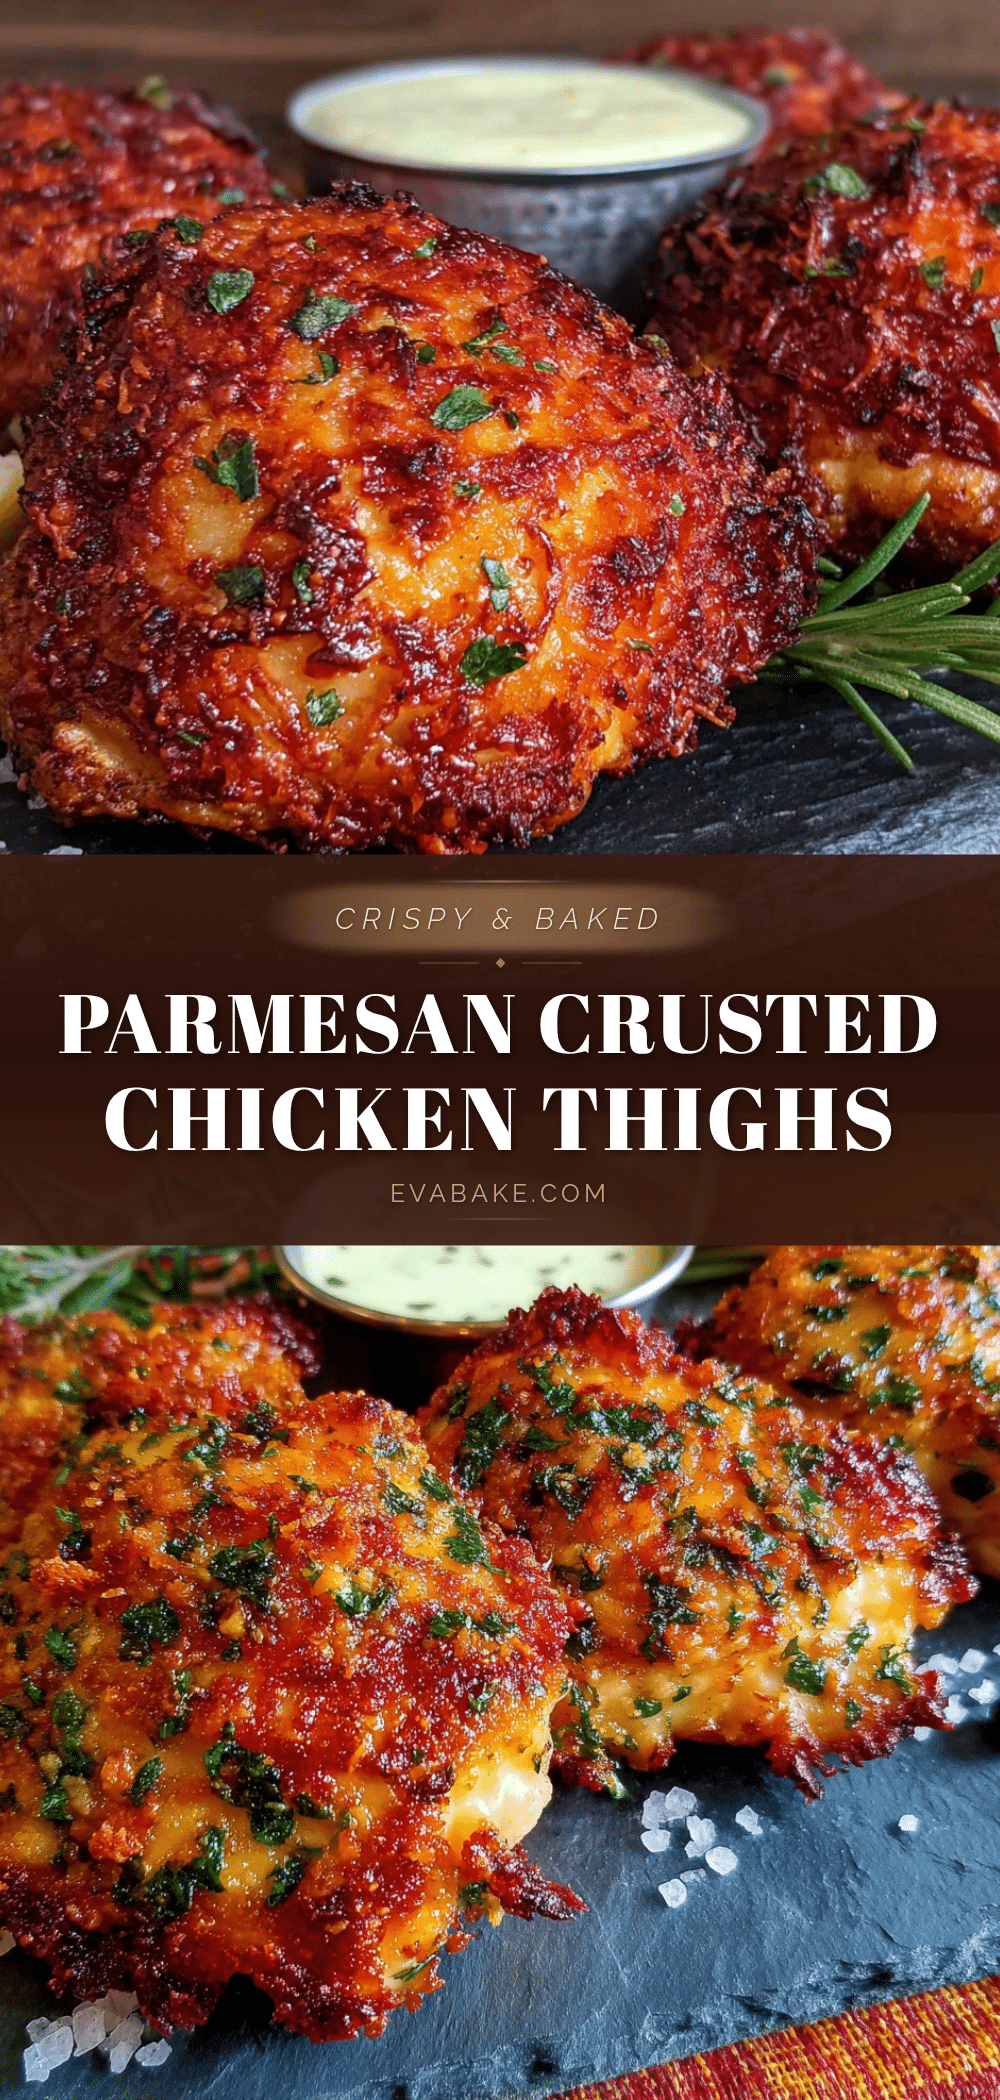
Best Crispy Baked Parmesan Chicken Thighs Recipe

These crispy baked parmesan crusted chicken thighs are juicy, golden, and packed with savory flavor. A quick and easy weeknight dinner that’s sure to become a family favorite.
- Prep Time: 10 minutes
- Cook Time: 25-30 minutes
- Total Time: 35-40 minutes
- Yield: 4 servings 1x
- Category: Main Course
- Cuisine: American
Ingredients
- 1½ pounds boneless, skinless chicken thighs (about 4–6 pieces)
- 1 cup panko breadcrumbs
- ½ cup finely grated Parmesan cheese
- 1 teaspoon garlic powder
- 1 teaspoon smoked paprika
- ½ teaspoon salt
- ¼ teaspoon black pepper
- 2 large eggs, room temperature
- 1 tablespoon water
- 2 tablespoons unsalted butter, melted
- Olive oil spray
Instructions
- Preheat your oven to 400°F (200°C). Place a wire rack inside a rimmed baking sheet and set aside.
- In one shallow bowl, whisk 2 large eggs with 1 tablespoon of water until smooth.
- In a second shallow bowl, combine 1 cup panko breadcrumbs, ½ cup finely grated Parmesan cheese, 1 teaspoon garlic powder, 1 teaspoon smoked paprika, ½ teaspoon salt, and ¼ teaspoon black pepper. Drizzle 2 tablespoons of melted unsalted butter over the panko mixture and stir with a fork until it looks like damp sand.
- Pat the chicken thighs thoroughly dry with paper towels.
- Working one piece at a time, dip a chicken thigh into the egg wash, letting any excess drip off. Then press it firmly into the panko mixture, coating both sides evenly. Place the coated thigh onto the wire rack. Repeat with all the chicken pieces.
- Lightly spray the tops of the coated chicken thighs with olive oil spray.
- Bake for 25-30 minutes, until the chicken is golden brown and crispy, and the internal temperature reaches 165°F (74°C) on an instant-read thermometer.
- Let the chicken rest on the wire rack for 5 minutes before serving.
Notes
For extra crunch, double-coat the chicken by dipping in egg wash and panko mixture twice. If you don’t have a wire rack, bake on a parchment-lined sheet, but the bottoms won’t be as crispy. Leftovers keep in an airtight container in the refrigerator for up to 4 days. Reheat in a 350°F oven for 5-7 minutes or in an air fryer at 375°F for 3-4 minutes to restore crispiness.
Nutrition
- Serving Size: 1 chicken thigh
- Calories: 380
- Sugar: 1
- Sodium: 580
- Fat: 22
- Saturated Fat: 8
- Carbohydrates: 12
- Fiber: 1
- Protein: 32
Keywords: crispy baked chicken thighs, parmesan chicken, easy chicken dinner, weeknight chicken recipe, baked chicken thighs


