I want a meal that tastes like October feels. And I want it in one pan because I do not want to deal with a mountain of dishes after I finally get the kids fed and the kitchen cleaned. That is the exact moment this skillet chicken with apples was born—out of a craving for something deeply comforting but also desperately needing to be simple. The kind of dinner that makes you close your eyes for a second when you take that first bite, but also the kind you can pull together on a Tuesday when you have exactly zero energy left.
The apples were already sitting in a bowl on my counter, the ones we bought at the orchard last weekend that were starting to get that perfect sweet-tart thing going on. And the chicken thighs were thawing in the fridge because honestly, I buy them every week without a real plan. So I just started building layers in my cast iron skillet—browning the chicken first, letting the fond stick to the pan, then softening the shallots and letting the apples get all jammy. It was not a recipe I tested. It was a recipe I felt.
And that first night, standing over the stove with a fork, eating straight from the skillet because I could not wait to plate it, I knew this was the kind of meal that needed to be shared. It is cozy without being heavy. It is impressive without being fussy. It is the kind of dinner that makes you remember why you love cooking in the first place. And I think you are going to love it too.
Why You Will Love This Recipe
This is not just another chicken dinner. This is the one-skillet wonder that solves your weeknight dinner problems while also making you feel like you actually have your life together. Let me break down exactly why this recipe earns a permanent spot in your fall rotation.
- One Skillet, Minimal Mess: Everything happens in a single pan. The chicken browns, the aromatics soften, the apples caramelize, and the sauce comes together all in one place. Less cleanup means more time actually enjoying your evening.
- Perfectly Balanced Flavors: The savory chicken gets all cozy with sweet apples, woody thyme, and a touch of maple syrup. Every bite hits that sweet-savory spot that feels like a warm hug in food form.
- Budget-Friendly Ingredients: Chicken thighs, apples, shallots, and pantry staples. No fancy trips to specialty stores. You probably already have most of this in your kitchen right now.
- Weeknight Fast, Company Ready: From start to finish, this comes together in about 45 minutes. But it looks and tastes like something you spent all day on. Perfect for those nights when you want to impress without the stress.
- Naturally Gluten-Free and Dairy-Free: This recipe works beautifully for anyone avoiding gluten or dairy. No swaps needed. It is just naturally that way.
What makes this recipe different from every other chicken and apple dish out there is the technique. I brown the chicken skin-side down until it is impossibly crispy, then let it finish cooking in the apple-infused pan juices. The apples get a chance to soften and release their natural sweetness into the sauce, creating this incredible syrupy glaze that coats every piece of chicken. It is not complicated. It is just smart cooking.
And honestly? This is the kind of meal that makes you feel taken care of. After a long day, when the air is getting chilly and the leaves are crunching underfoot, sitting down to a plate of this chicken with apples is exactly what your soul needs. It is comfort food that does not weigh you down. It is fall on a plate.
What Ingredients You Will Need
This recipe relies on simple, wholesome ingredients that work together to create something truly special. Here is everything you need and why each one matters.
For the Chicken:
- 4 bone-in, skin-on chicken thighs (about 1.5 pounds total) – The bone keeps the meat juicy and the skin gets beautifully crispy. You can use boneless thighs, but reduce cooking time by about 5-7 minutes.
- 1 teaspoon kosher salt – I prefer Diamond Crystal for its clean flavor and easy pinchability. Morton’s is saltier, so use about ¾ teaspoon if that is what you have.
- ½ teaspoon black pepper, freshly ground – Pre-ground pepper works fine, but fresh really does make a difference here.
- 1 tablespoon olive oil – For browning. Avocado oil works too if you prefer a higher smoke point.
For the Aromatics and Apples:
- 2 medium shallots, thinly sliced (about ½ cup) – Shallots are milder than onions and add a subtle sweetness. A small yellow onion works as a substitute.
- 2 medium apples, cored and sliced into ¼-inch wedges – I recommend Honeycrisp or Fuji for their sweetness and ability to hold their shape. Granny Smith works if you want more tartness. Do not peel them—the skin adds texture and color.
- 3 cloves garlic, minced – Fresh garlic only here. The jarred stuff will taste flat in this dish.
For the Sauce:
- ½ cup chicken broth – Low-sodium is best so you can control the salt. I like Kitchen Basics or make my own from scraps.
- 2 tablespoons maple syrup – Real maple syrup, not pancake syrup. The grade A dark amber is perfect for this. It adds depth without being overly sweet.
- 1 tablespoon Dijon mustard – Adds a little tang and helps emulsify the sauce. Whole grain mustard works too for a different texture.
- 1 tablespoon apple cider vinegar – Brightens everything up and balances the sweetness. White wine vinegar works in a pinch.
- 2 sprigs fresh thyme – Or ½ teaspoon dried thyme. Fresh is better here because the leaves stay on the stems and infuse the sauce.
For Garnish:
- Fresh parsley, chopped (about 2 tablespoons) – Optional but nice for color.
- Flaky sea salt – Like Maldon. A little sprinkle at the end makes a big difference.
One thing I have learned through making this recipe dozens of times—the apple variety really matters. I once used Red Delicious because that was all I had, and they basically dissolved into mush. Stick with firm, crisp apples that can handle a little heat. Honeycrisp is my go-to every single time.
Equipment Needed
The beauty of this recipe is that it does not require a ton of fancy equipment. Here is what you will need:
- 12-inch cast iron skillet – This is my favorite pan for this recipe. It holds heat beautifully and creates that perfect crispy skin. If you do not have cast iron, a heavy-bottomed stainless steel skillet works great. Avoid nonstick if possible—you want those brown bits to stick to the pan so they can become the sauce.
- Sharp chef’s knife – For slicing apples and shallots. A dull knife makes this whole process frustrating.
- Cutting board – Wood or plastic, whatever you prefer.
- Tongs – For flipping the chicken and moving things around the pan without splattering hot oil everywhere.
- Measuring spoons – For the salt, pepper, and liquid ingredients.
- Liquid measuring cup – For the chicken broth.
- Wooden spoon or spatula – For stirring and scraping up those browned bits.
If you do not own a cast iron skillet, do not go out and buy one just for this recipe. A good stainless steel pan will work perfectly. Just make sure it is oven-safe if you plan to finish the dish in the oven (though this stovetop version is my preferred method). I have been using the same Lodge skillet for about eight years now, and it just keeps getting better. Seasoning it well means nothing sticks, and the flavor it builds over time is irreplaceable.
Preparation Method
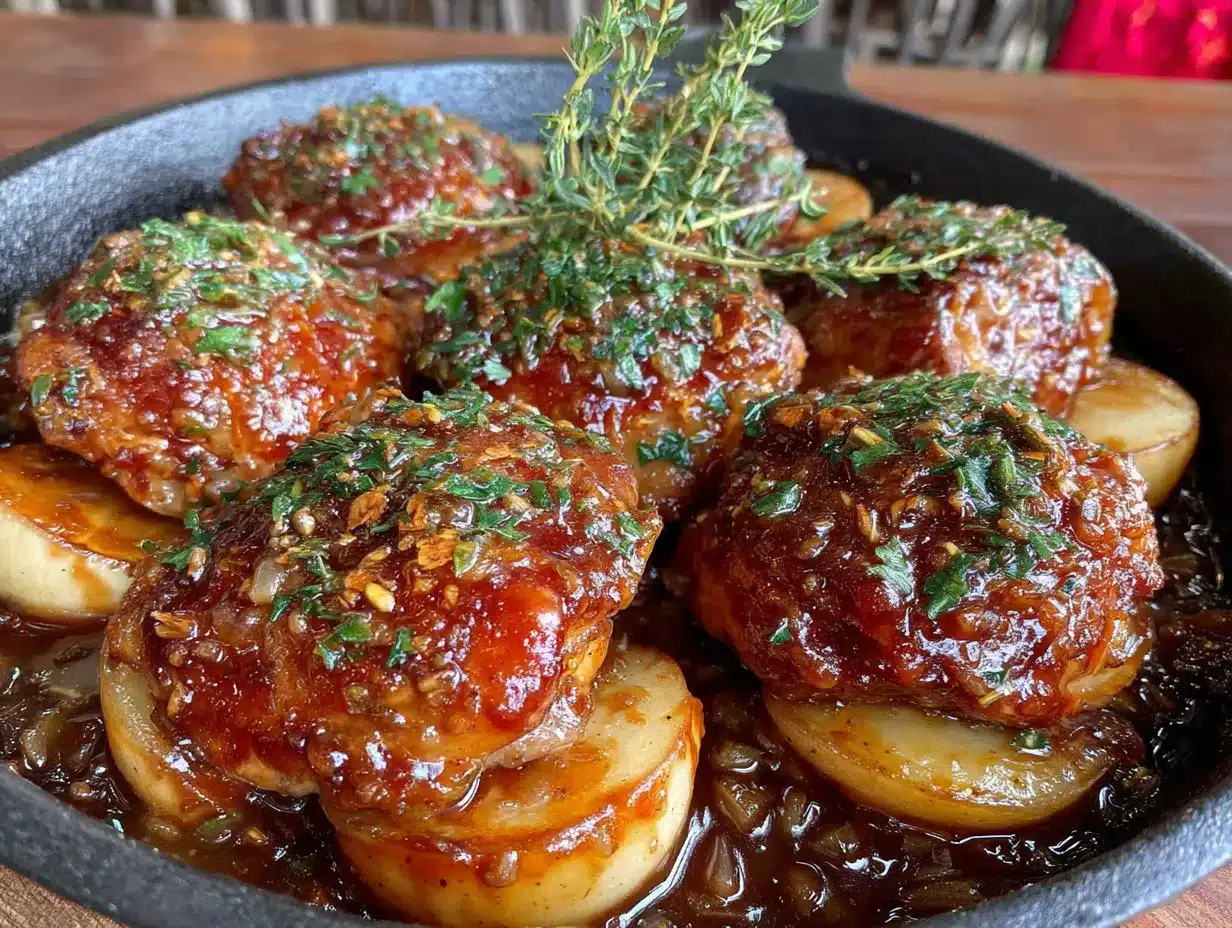
Let me walk you through this step by step. I have made this recipe more times than I can count, so I am including all the little details that make the difference between good chicken and unforgettable chicken.
- Prep your ingredients first. I know, I know, mise en place sounds fancy. But trust me on this one. Slice your shallots, core and slice your apples, mince your garlic, and measure out your liquids before you even turn on the stove. This recipe moves fast once you start, and you do not want to be scrambling to slice an apple while your chicken is burning. It has happened to me. It is not fun.
- Pat the chicken thighs dry. This is non-negotiable. Use paper towels and really get them dry, especially the skin side. Moisture is the enemy of crispy skin. Season both sides generously with salt and pepper. Let them sit at room temperature for about 10 minutes while you heat your pan.
- Heat your skillet over medium-high heat. Add the olive oil and let it get shimmering hot. You should see it ripple slightly when you tilt the pan. If you are using cast iron, give it a good 3-4 minutes to heat through. A cold pan will make the chicken stick.
- Place the chicken skin-side down in the hot skillet. You should hear a satisfying sizzle. If you do not, the pan is not hot enough. Let the chicken cook undisturbed for 6-7 minutes. I know it is tempting to peek, but do not move it. The skin needs that uninterrupted contact to get golden and crisp. The chicken will release naturally when it is ready.
- Flip the chicken and cook for 3 more minutes. Use your tongs and be gentle. The skin should be a deep golden brown. Remove the chicken to a plate and set aside. Do not wipe out the skillet—those browned bits are pure flavor.
- Reduce heat to medium. Add the sliced shallots to the skillet. Cook for 2 minutes, stirring occasionally, until they soften and start to turn translucent. Scrape up any browned bits from the bottom of the pan as you stir. This is called deglazing, and it is where the magic happens.
- Add the apple slices. Cook for 3-4 minutes, stirring occasionally. You want them to soften slightly but still hold their shape. They should start to look glossy and slightly caramelized on the edges. The smell at this point is absolutely intoxicating.
- Stir in the minced garlic. Cook for 30 seconds until fragrant. Garlic burns fast, so keep it moving. You just want to take the raw edge off.
- Pour in the chicken broth, maple syrup, Dijon mustard, and apple cider vinegar. Stir everything together, scraping up any remaining browned bits from the bottom of the pan. Add the thyme sprigs. Let the sauce come to a gentle simmer.
- Return the chicken to the skillet, skin-side up. Nestle the thighs into the sauce and apples. The skin should stay above the liquid so it stays crispy. Spoon a little sauce over the tops of the chicken.
- Reduce heat to medium-low. Cover the skillet with a lid or tight-fitting foil. Let it simmer gently for 15-18 minutes, or until the chicken reaches an internal temperature of 165°F. If you do not have a meat thermometer, pierce the thickest part of the thigh—the juices should run clear.
- Remove the lid and let it cook for 2-3 more minutes. This allows the sauce to thicken slightly. If you want a thicker sauce, remove the chicken and let the sauce bubble away for another 5 minutes on its own.
- Remove the thyme sprigs. Taste the sauce and adjust seasoning if needed. A little extra salt or a splash more vinegar can really brighten things up.
- Garnish with fresh parsley and a sprinkle of flaky sea salt. Serve directly from the skillet or transfer to a platter. The chicken is best served immediately while the skin is still crispy.
One thing I want you to pay attention to—when you flip the chicken in step 5, the skin should be a deep amber color. If it is pale, let it go another minute or two. That color is flavor. And do not worry if some of the skin sticks to the pan. That is just more goodness to scrape up later.
Cooking Tips and Techniques
I have made this recipe enough times to know exactly where things can go wrong. Here are the lessons I learned the hard way so you do not have to.
Do not overcrowd the pan. If you are doubling the recipe, use two skillets or cook the chicken in batches. When the pan is too full, the chicken steams instead of sears, and you lose that beautiful crispy skin. I made this mistake once when I was cooking for a crowd, and the skin came out rubbery. Never again.
Let the chicken rest after browning. That 10-minute break on the plate is not wasted time. It allows the juices to redistribute so the meat stays tender. Plus, it gives the apples and shallots a head start in the pan.
Control your heat. Medium-high for searing, medium for cooking the aromatics, medium-low for simmering. If you keep the heat too high after adding the broth, the sauce will reduce too quickly and the chicken will not cook through properly. Low and slow is the way to go for that tender, fall-apart texture.
Use a thermometer. I cannot stress this enough. Chicken thighs are forgiving, but they can still dry out if you overcook them. Pull them at 165°F for perfectly juicy meat. If you do not have a thermometer, look for clear juices when you pierce the thickest part.
Save the fond. Those browned bits stuck to the bottom of the pan after searing the chicken are pure gold. They are packed with concentrated flavor. When you add the broth and scrape them up, you are essentially creating an instant, deeply flavorful sauce. Do not skip this step.
Variations and Adaptations
This recipe is wonderfully flexible. Here are some ways to make it your own.
Make it dairy-free. It already is! This recipe contains no dairy. But if you want a creamier sauce, stir in a splash of full-fat coconut milk at the end. It adds richness without the dairy.
Swap the protein. Boneless, skinless chicken breasts work here, but reduce the cooking time significantly. Pork chops are also fantastic—use bone-in, about 1 inch thick, and adjust cooking time as needed. I have even made this with turkey cutlets for a lighter option.
Add some greens. Stir in a handful of fresh spinach or kale during the last 5 minutes of cooking. The greens wilt into the sauce and add color and nutrients. I love adding chopped kale because it holds up well to the heat.
Try different apple varieties. Honeycrisp is my favorite, but Fuji, Gala, or Braeburn all work beautifully. Granny Smith adds a tart contrast that some people prefer. Just avoid Red Delicious and McIntosh, which turn to mush.
Make it spicy. Add a pinch of red pepper flakes with the garlic, or stir in a finely chopped fresh chili. The heat pairs surprisingly well with the sweet apples and maple syrup.
Turn it into a one-pan meal. Add cubed butternut squash or sweet potatoes along with the apples. They will cook in the sauce and become tender and caramelized. I do this all the time when I want everything in one pan.
Serving and Storage Suggestions
This chicken with apples is incredibly versatile when it comes to serving. Here is how I like to enjoy it and how to store leftovers.
Serving Temperature and Presentation: Serve the chicken hot, straight from the skillet. The presentation is gorgeous with the golden chicken nestled among glossy apple slices and glistening sauce. Spoon extra sauce over each piece when plating. If you want to get fancy, arrange the chicken on a platter with the apples and sauce spooned around it.
What to Serve With It: This dish pairs beautifully with so many sides. Mashed potatoes are classic and soak up the sauce perfectly. Rice or quinoa also work well. For something lighter, try roasted Brussels sprouts or a simple green salad with a tangy vinaigrette. I personally love serving it with maple Dijon chicken thighs with roasted Brussels sprouts for a full fall feast. Crusty bread is a must for sopping up every last drop of sauce.
Beverage Pairings: A crisp hard cider is my go-to drink with this dish. The apple notes complement the recipe perfectly. A dry Riesling or unoaked Chardonnay also works beautifully. For red wine drinkers, a light Pinot Noir is a lovely choice.
Storage Instructions: Store leftovers in an airtight container in the refrigerator for up to 4 days. The flavors actually deepen and get even better overnight. The apples will soften more, but that is part of the charm.
Reheating Methods: Reheat gently in a covered skillet over medium-low heat with a splash of chicken broth or water to loosen the sauce. The microwave works in a pinch, but the stovetop method preserves the texture better. The skin will not be as crispy the second time around, but the flavor will still be amazing.
Freezing Instructions: This dish freezes beautifully. Let it cool completely, then transfer to a freezer-safe container. It will keep for up to 3 months. Thaw overnight in the refrigerator and reheat as directed above. I often double the recipe and freeze half for busy nights.
Nutritional Information and Benefits
This recipe is not just delicious—it also offers some solid nutritional benefits. Here is what you get in one serving (one chicken thigh with sauce and apples).
- Calories: Approximately 380 calories per serving
- Protein: 28 grams – Chicken thighs are an excellent source of high-quality protein that keeps you full and satisfied.
- Fat: 22 grams – Mostly from the chicken skin and olive oil. Healthy fats help your body absorb nutrients and keep meals satisfying.
- Carbohydrates: 18 grams – From the apples, maple syrup, and shallots. Natural sugars with fiber from the apples.
- Fiber: 3 grams – The apple skin provides fiber that supports digestive health.
- Vitamin C: 8% of the daily value – Apples and shallots both contribute to your vitamin C intake.
- Iron: 10% of the daily value – Chicken thighs are a good source of heme iron, which is easily absorbed by the body.
This recipe is naturally gluten-free and dairy-free, making it accessible for many dietary needs. The apples provide antioxidants and fiber, while the chicken offers protein and B vitamins. It is a balanced meal that feels indulgent but is actually quite wholesome.
One thing I appreciate about this dish is that it does not rely on heavy creams or excessive butter for flavor. The richness comes from the chicken skin and the natural sweetness of the apples and maple syrup. It is comfort food you can feel good about eating.
Conclusion
This cozy one-skillet fall harvest chicken with apples has become a staple in my kitchen for good reason. It is the kind of recipe that delivers on every level—flavor, simplicity, and that warm, fuzzy feeling you get from a truly satisfying meal. The crispy chicken skin, the tender meat, the sweet-tart apples, and that glossy, savory-sweet sauce all come together in one pan with minimal fuss.
What I love most about this recipe is how adaptable it is. You can swap in different apples, add greens, adjust the sweetness, or serve it with whatever side you have on hand. It works for a quiet weeknight dinner or a casual gathering with friends. It is forgiving, flexible, and always delicious.
I would love to hear how this recipe turns out for you. Did you try a different apple variety? Add something unexpected? Serve it with a side that blew your mind? Drop a comment below and let me know. Your adaptations might inspire someone else to try something new. And if you loved this recipe, share it with a friend who needs a little cozy comfort in their life.
Until next time, happy cooking. And remember—the best meals are the ones you make with love, even if they only take one pan.
Frequently Asked Questions
Can I use boneless, skinless chicken thighs instead?
Yes, you can. Boneless, skinless thighs will cook faster—about 10-12 minutes total after browning. The skinless version will not get crispy, but the meat will still be tender and flavorful. Just pat them dry before seasoning and sear them well on both sides.
What is the best apple for this recipe?
Honeycrisp is my top choice because it holds its shape well and has the perfect balance of sweet and tart. Fuji and Gala are also excellent. If you prefer a more tart flavor, Granny Smith works beautifully. Avoid soft apples like Red Delicious or McIntosh, which will turn into applesauce.
Can I make this recipe in advance?
Absolutely. This dish actually tastes even better the next day as the flavors meld together. Prepare it completely, let it cool, and store it in the refrigerator. Reheat gently on the stovetop with a splash of broth to loosen the sauce. The skin will not be as crispy, but the flavor will be incredible.
Is this recipe gluten-free?
Yes, this recipe is naturally gluten-free. None of the ingredients contain gluten, and there is no flour or wheat-based thickener in the sauce. Just double-check your chicken broth label to make sure it is certified gluten-free if that is a concern for you.
Can I add other vegetables to this dish?
Definitely. Butternut squash, sweet potatoes, or parsnips all work beautifully. Add them along with the apples so they have time to cook through. You can also stir in spinach or kale during the last few minutes of cooking. Just keep in mind that adding more vegetables may require a slightly larger skillet or a longer cooking time.
Pin This Recipe!
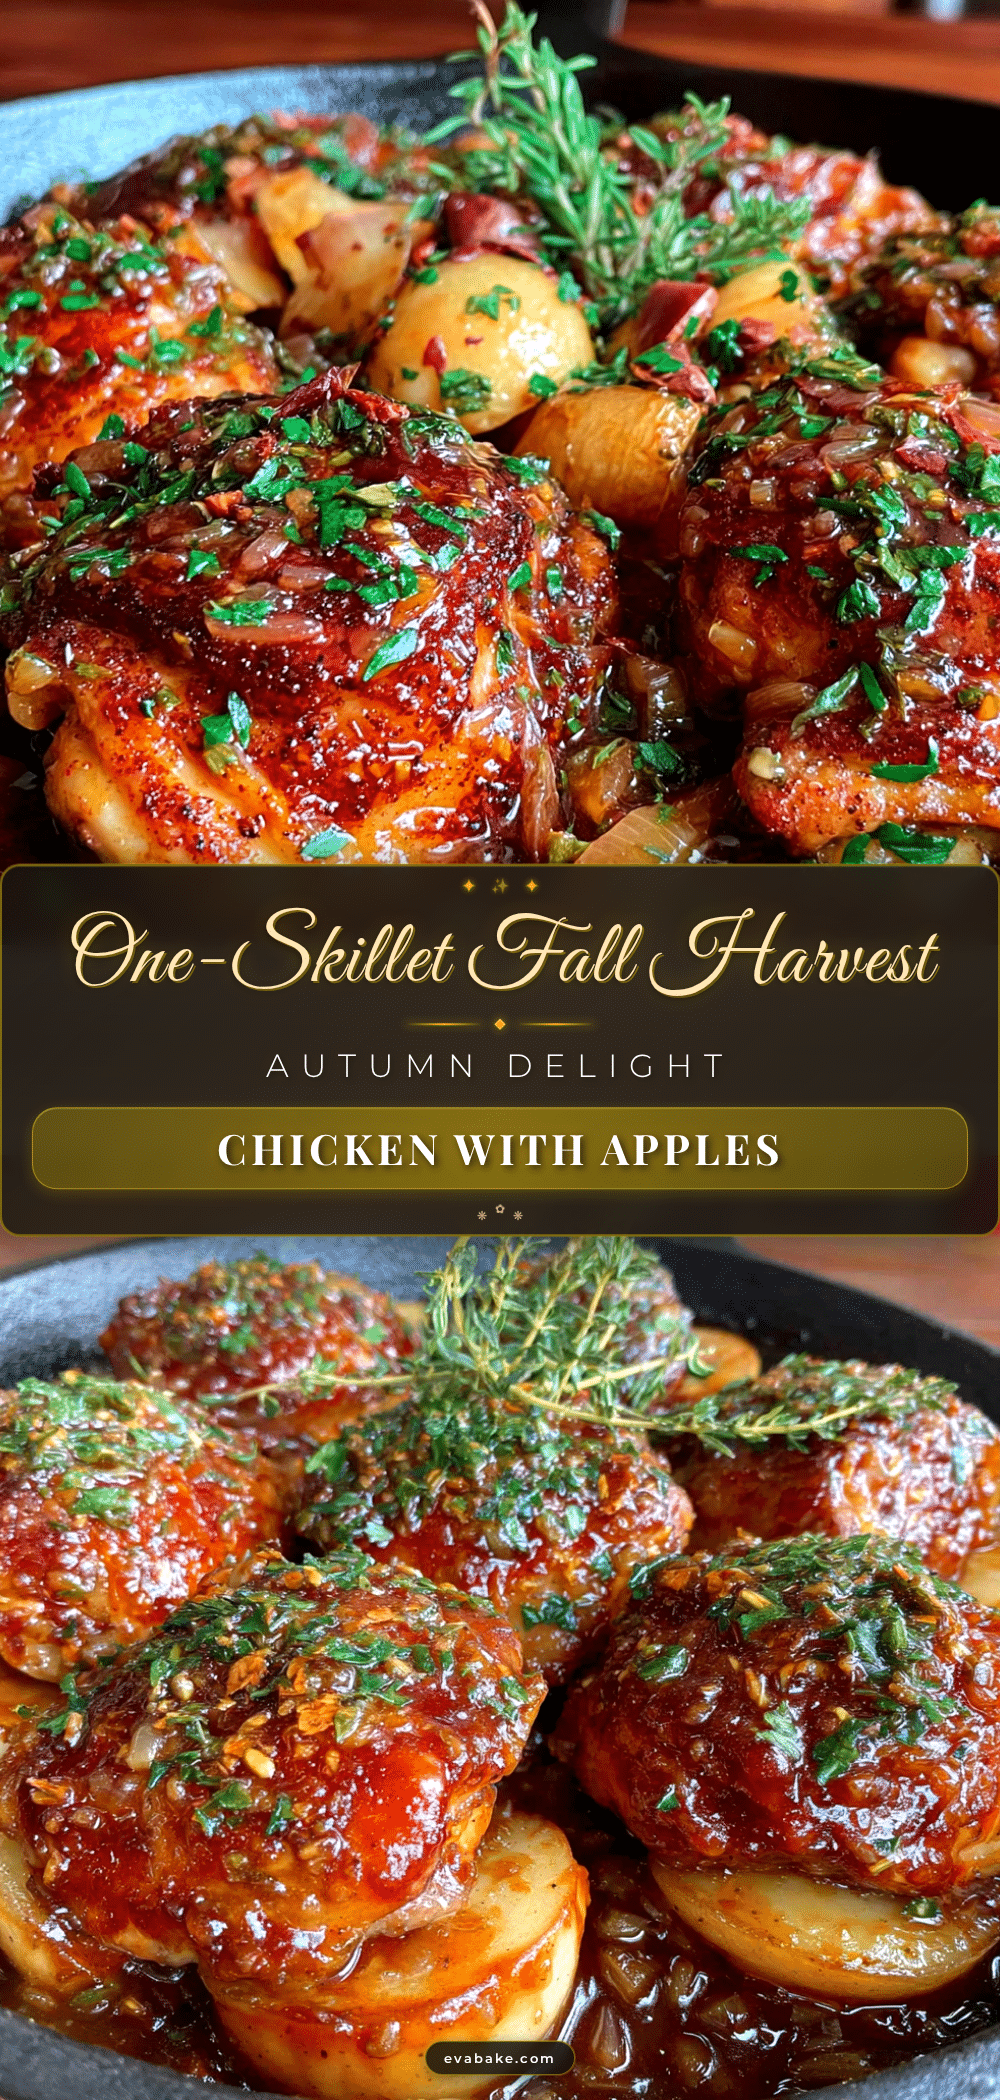
Cozy One-Skillet Fall Harvest Chicken with Apples

A comforting one-skillet chicken dinner featuring crispy-skinned chicken thighs, sweet-tart apples, and a savory maple-Dijon sauce. Perfect for busy weeknights when you want a cozy, impressive meal with minimal cleanup.
- Prep Time: 15 minutes
- Cook Time: 30 minutes
- Total Time: 45 minutes
- Yield: 4 servings 1x
- Category: Main Course
- Cuisine: American
Ingredients
- 4 bone-in, skin-on chicken thighs (about 1.5 pounds total)
- 1 teaspoon kosher salt (Diamond Crystal preferred; use ¾ teaspoon if using Morton’s)
- ½ teaspoon black pepper, freshly ground
- 1 tablespoon olive oil
- 2 medium shallots, thinly sliced (about ½ cup)
- 2 medium apples (Honeycrisp or Fuji recommended), cored and sliced into ¼-inch wedges
- 3 cloves garlic, minced
- ½ cup low-sodium chicken broth
- 2 tablespoons maple syrup (real maple syrup, not pancake syrup)
- 1 tablespoon Dijon mustard
- 1 tablespoon apple cider vinegar
- 2 sprigs fresh thyme (or ½ teaspoon dried thyme)
- Fresh parsley, chopped (about 2 tablespoons, for garnish)
- Flaky sea salt (like Maldon, for garnish)
Instructions
- Prep your ingredients first: slice shallots, core and slice apples, mince garlic, and measure out liquids before starting.
- Pat chicken thighs dry with paper towels, especially the skin side. Season both sides generously with salt and pepper. Let sit at room temperature for about 10 minutes while heating the pan.
- Heat a 12-inch cast iron skillet over medium-high heat. Add olive oil and let it get shimmering hot (about 3-4 minutes for cast iron).
- Place chicken skin-side down in the hot skillet. Cook undisturbed for 6-7 minutes until skin is deep golden brown.
- Flip chicken and cook for 3 more minutes. Remove chicken to a plate and set aside. Do not wipe out the skillet.
- Reduce heat to medium. Add sliced shallots to the skillet. Cook for 2 minutes, stirring occasionally, until softened and translucent, scraping up browned bits from the bottom.
- Add apple slices. Cook for 3-4 minutes, stirring occasionally, until slightly softened and caramelized on edges.
- Stir in minced garlic. Cook for 30 seconds until fragrant.
- Pour in chicken broth, maple syrup, Dijon mustard, and apple cider vinegar. Stir together, scraping up any remaining browned bits. Add thyme sprigs. Let sauce come to a gentle simmer.
- Return chicken to the skillet, skin-side up. Nestle thighs into the sauce and apples, keeping skin above the liquid. Spoon a little sauce over the tops.
- Reduce heat to medium-low. Cover skillet with a lid or tight-fitting foil. Simmer gently for 15-18 minutes, until chicken reaches an internal temperature of 165°F.
- Remove lid and cook for 2-3 more minutes to thicken the sauce slightly. For a thicker sauce, remove chicken and let sauce bubble for 5 more minutes.
- Remove thyme sprigs. Taste sauce and adjust seasoning if needed.
- Garnish with fresh parsley and a sprinkle of flaky sea salt. Serve immediately from the skillet.
Notes
Pat chicken dry for crispy skin. Do not overcrowd the pan; cook in batches if doubling. Use a meat thermometer for perfect doneness (165°F). The sauce thickens as it simmers; adjust consistency with extra broth if needed. Leftovers keep in the refrigerator for up to 4 days and freeze for up to 3 months.
Nutrition
- Serving Size: 1 chicken thigh with
- Calories: 380
- Sugar: 12
- Sodium: 650
- Fat: 22
- Saturated Fat: 6
- Carbohydrates: 18
- Fiber: 3
- Protein: 28
Keywords: one-skillet chicken, fall harvest chicken, chicken with apples, maple Dijon chicken, gluten-free chicken dinner, dairy-free chicken recipe, easy weeknight dinner


