Let’s be honest—mornings can be a mess. For a while, I just accepted that weekday breakfast wasn’t going to taste like anything special. I’d grab a granola bar or skip it entirely, telling myself I’d make something proper on the weekend. But then September hit, and I had a fridge full of pumpkin purée from a pumpkin spice coffee cake experiment. I also had a container of oats staring at me. I wanted something I could grab and go, but I also wanted it to actually taste like fall. Not dry. Not sad. Something that felt like a real breakfast.
These pumpkin baked oatmeal cups were born from that very specific craving. They’re not fussy, they don’t require weird ingredients, and honestly? They’re the best thing I’ve made for meal prep in a long time. The texture is soft but sturdy, the pumpkin flavor is warm without being overwhelming, and they keep for days. I’ve made them three times in two weeks. That’s not an exaggeration.
If you’ve been looking for a breakfast that actually works with your schedule and still makes you feel like you’re eating something homemade, this is it. No hype. Just a really good recipe that stuck.
Why You’ll Love This Recipe
- Quick & Easy: From mixing bowl to oven in under 15 minutes. These come together faster than you’d expect for something that tastes this baked and satisfying.
- Simple Ingredients: No protein powders, no obscure flours, no trips to a specialty store. Oats, pumpkin, eggs, milk, a few warm spices—that’s it.
- Perfect for Meal Prep: Bake a batch on Sunday, and you’ve got breakfast (or a snack) ready for the whole week. They reheat beautifully and travel well.
- Crowd-Pleaser: I’ve brought these to a playdate and a work potluck. Kids devoured them. Adults asked for the recipe. They’re not too sweet, not too plain—just right.
- Unbelievably Delicious: The edges get slightly chewy, the inside stays tender, and every bite has that cozy pumpkin spice warmth. It’s the kind of breakfast that makes you look forward to Monday morning.
What makes these different from other baked oatmeal recipes? It’s the texture. I use a combination of rolled oats and a quick pulse in the food processor to create a mix that holds together without being dense. Plus, the pumpkin keeps them incredibly moist. You won’t get that dry, crumbly situation that sometimes happens with oatmeal cups. These are soft, tender, and just sturdy enough to pick up with your hand.
This recipe isn’t just good—it’s the kind that makes you close your eyes after the first bite. It’s comfort food reimagined as a portable, healthy breakfast. Perfect for busy mornings, impromptu brunches, or turning a simple meal into something memorable.
What Ingredients You Will Need
This recipe uses simple, wholesome ingredients to deliver bold fall flavor and a satisfying texture without any fuss. Most of these are pantry staples, especially if you’ve already started your autumn baking.
- Rolled oats (2 cups / 180g): Not quick oats. Rolled oats give the cups structure and a chewy texture. I use Quaker or Bob’s Red Mill. If you only have quick oats, the texture will be softer and less defined.
- Pumpkin purée (1 cup / 245g): Make sure it’s 100% pumpkin purée, not pumpkin pie filling. Libby’s is my go-to. It adds moisture, color, and a mild earthy sweetness.
- Large eggs (2): These help bind everything together. Room temperature eggs mix more evenly.
- Milk (¾ cup / 180ml): Any milk works—dairy, almond, oat. I’ve used whole milk and unsweetened almond milk with equal success.
- Maple syrup (⅓ cup / 80ml): Adds sweetness and a hint of caramel flavor. Honey works too, but maple syrup feels more seasonal.
- Coconut oil or melted butter (3 tablespoons / 42g): For moisture and richness. Coconut oil keeps them dairy-free; butter adds a slightly nuttier flavor.
- Vanilla extract (1 teaspoon): Enhances the warm spices.
- Pumpkin pie spice (1½ teaspoons): You can use store-bought or make your own with cinnamon, nutmeg, ginger, and cloves.
- Cinnamon (½ teaspoon): Extra warmth because you can never have too much cinnamon.
- Baking powder (1 teaspoon): Helps the cups rise just a bit and stay light.
- Salt (¼ teaspoon): Balances the sweetness and brings out the flavors.
- Optional add-ins: ½ cup chocolate chips, chopped pecans, or dried cranberries. I usually add chocolate chips because everything is better with chocolate.
Equipment Needed
You don’t need anything fancy for this recipe. Here’s what you’ll need:
- Muffin tin (12-cup): Standard size works best. I use a non-stick tin, but a silicone muffin pan also works great and makes removal even easier.
- Mixing bowls: One large, one medium.
- Whisk or fork: For mixing the wet ingredients.
- Measuring cups and spoons: For accuracy, especially with the baking powder and spices.
- Spatula: For scraping the bowl clean.
- Food processor or blender (optional): I pulse about half the oats to create a flour-like texture that helps bind the cups. You can skip this step, but the texture won’t be as cohesive.
- Ice cream scoop or spoon: For portioning the batter evenly.
- Cooling rack: Helps the cups cool evenly without getting soggy on the bottom.
If you don’t have a food processor, just use all rolled oats and let the batter rest for 10 minutes before baking. The oats will absorb some liquid and soften up.
Preparation Method
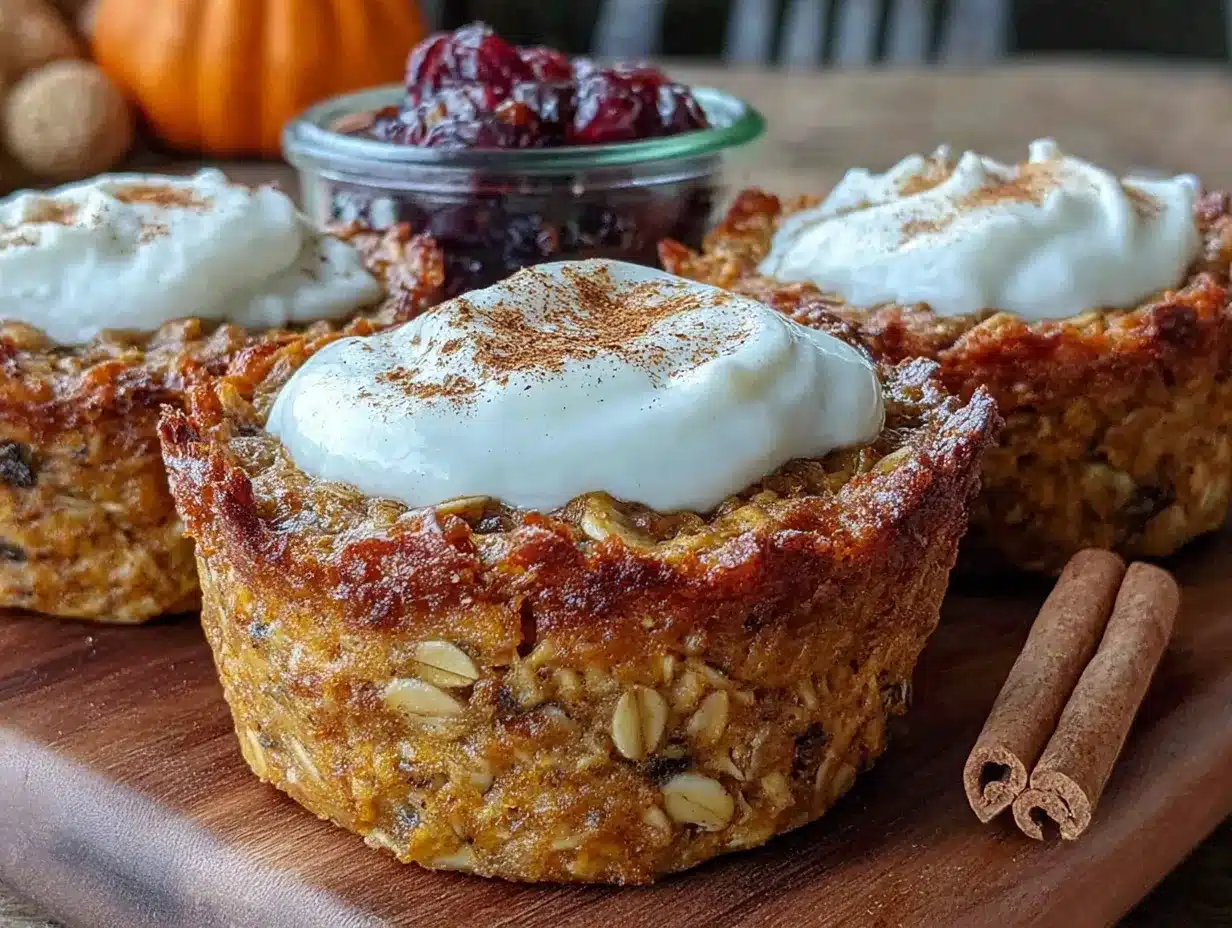
- Preheat your oven to 350°F (175°C). Grease a 12-cup muffin tin with cooking spray or line with paper liners. I prefer greasing the tin directly—the cups get slightly crispier edges that way.
- Pulse the oats (optional but recommended). Place 1 cup of the rolled oats in a food processor or blender. Pulse 5–6 times until you have a mix of fine oat flour and small oat pieces. Pour into a large mixing bowl. Add the remaining 1 cup of whole rolled oats along with the pumpkin pie spice, cinnamon, baking powder, and salt. Whisk to combine.
- Mix the wet ingredients. In a medium bowl, whisk together the pumpkin purée, eggs, milk, maple syrup, melted coconut oil (or butter), and vanilla extract until smooth. The mixture should look like a thick, creamy orange liquid.
- Combine wet and dry. Pour the wet ingredients into the bowl with the dry ingredients. Stir with a spatula until just combined. Be careful not to overmix—a few streaks of flour are fine. If you’re adding chocolate chips or nuts, fold them in now.
- Let the batter rest (important!). Let the batter sit for 10 minutes. This allows the oats to absorb some of the liquid, which gives the cups a better texture and prevents them from being too wet in the center. This is a step I learned after my first batch came out a little mushy.
- Fill the muffin cups. Use an ice cream scoop or a spoon to divide the batter evenly among the 12 cups. The batter will be thick and slightly chunky—that’s normal. Fill each cup almost to the top. The cups won’t rise much, so you can fill them generously.
- Bake. Place the muffin tin on the middle rack of your preheated oven. Bake for 18–22 minutes, or until the tops are set and lightly golden. A toothpick inserted into the center should come out clean or with a few moist crumbs. My oven runs hot, so I check at 18 minutes.
- Cool in the pan. Let the cups cool in the muffin tin for 5 minutes. Then transfer them to a wire rack to cool completely. If you try to remove them too early, they might fall apart. Patience is key here.
Sensory cues: Your kitchen will smell like a fall candle commercial. The tops should look matte, not shiny, and the edges will pull away slightly from the sides of the tin. They should feel firm to the touch but spring back when pressed gently.
Cooking Tips & Techniques
I’ve made this recipe about six times now, and I’ve learned a few things the hard way. Here are the tips that actually matter:
- Don’t skip the rest time. I know it’s tempting to throw everything straight into the oven, but that 10-minute rest is the difference between a perfectly textured cup and a soggy one. The oats need time to hydrate.
- Use room temperature ingredients. Cold eggs or milk can cause the coconut oil to solidify into little lumps. If you forget to take them out ahead of time, place the eggs in a bowl of warm water for 5 minutes and microwave the milk for 10 seconds.
- Grease the pan well. Even with non-stick tins, these cups can stick if you’re not generous with the spray. I use a pastry brush to coat every crevice with melted butter or oil.
- Don’t overbake. They’ll continue to set as they cool. If you wait until they look completely dry on top, they’ll be dry in the middle too. Take them out when a toothpick comes out clean but the tops are still soft.
- Double the batch. These freeze beautifully, so I always make 24 at a time. It’s the same amount of work, and you’ll thank yourself on a busy Wednesday morning.
One failure I’ll admit: My first batch, I used quick oats and didn’t let the batter rest. The cups were mushy and fell apart when I tried to take them out of the pan. I ate them with a spoon and pretended they were oatmeal. They tasted fine, but they were not portable. Learn from my mistake.
Variations & Adaptations
This recipe is incredibly flexible. Here are some variations I’ve tried and loved:
- Vegan version: Replace the eggs with two flax eggs (2 tablespoons ground flaxseed mixed with 6 tablespoons water, let sit for 5 minutes). Use plant-based milk and coconut oil. The texture will be slightly denser but still delicious.
- Gluten-free: Use certified gluten-free rolled oats. That’s the only swap needed. I’ve tested this with GF oats from Bob’s Red Mill, and they worked perfectly.
- Protein boost: Add 2 scoops (about 60g) of vanilla or unflavored protein powder. Reduce the oats by ¼ cup to keep the texture balanced. I’ve done this with a collagen-based protein powder, and it worked great for post-workout breakfasts.
- Nutty crunch: Fold in ½ cup of chopped pecans or walnuts before baking. Toast them lightly first for extra flavor.
- Chocolate pumpkin: Add ½ cup dark chocolate chips and reduce the maple syrup by 1 tablespoon. The chocolate chunks melt into little pockets of sweetness.
- Apple pumpkin: Finely dice one small apple and fold it into the batter. The apple pieces stay soft and add a fresh, fruity note.
I personally love the chocolate chip version the most. There’s something about warm pumpkin and melted chocolate that feels like a hug in breakfast form.
Serving & Storage Suggestions
These pumpkin baked oatmeal cups are best served warm, but they’re perfectly delicious at room temperature too. I like to pop one in the microwave for 20 seconds before eating—it softens them up and makes the spices smell incredible.
For serving, try them with a dollop of Greek yogurt and a drizzle of maple syrup. Or crumble one over a bowl of warm oatmeal for extra texture. They’re also great alongside a pumpkin chai latte for the ultimate fall breakfast combo.
Storage: Place cooled cups in an airtight container. They’ll keep at room temperature for up to 3 days, or in the refrigerator for up to a week. I actually prefer them cold straight from the fridge—they firm up and get a chewier texture.
Freezing: These freeze beautifully. Arrange the cooled cups in a single layer on a baking sheet and freeze for 1 hour. Then transfer to a freezer-safe bag or container. They’ll keep for up to 3 months. To reheat, microwave for 30–40 seconds from frozen, or let them thaw overnight in the fridge.
One note: The flavors actually get better after a day or two. The spices meld together, and the pumpkin flavor becomes more pronounced. So don’t worry if they taste even better on day three than they did fresh out of the oven.
Nutritional Information & Benefits
Here’s an approximate nutritional breakdown per oatmeal cup (based on 12 servings, without add-ins):
- Calories: 145
- Protein: 5g
- Carbohydrates: 22g
- Fiber: 3g
- Sugar: 8g (from maple syrup and pumpkin)
- Fat: 5g
- Iron: 6% DV
- Vitamin A: 80% DV (from pumpkin)
These cups are a great source of vitamin A thanks to the pumpkin, which supports eye health and immune function. The oats provide steady-release energy and fiber to keep you full until lunch. Plus, they’re naturally sweetened with maple syrup, so you won’t get a sugar crash mid-morning.
Dietary considerations: This recipe is easily made gluten-free, dairy-free, and vegan. It’s nut-free if you skip the pecan variation. Always check your oat label for gluten-free certification if needed.
Conclusion
These easy pumpkin baked oatmeal cups are the kind of recipe that makes meal prep feel less like a chore and more like a treat. They’re simple enough for a beginner baker, flexible enough for endless variations, and delicious enough to actually look forward to eating all week long.
I love that I can make a batch on Sunday and have breakfast sorted for the next five days. No more sad granola bars. No more skipping breakfast because I’m running late. Just warm, cozy, pumpkin-spiced goodness that I can grab on my way out the door.
I’d love to hear how these turn out for you. Did you add chocolate chips? Try them with pecans? Make a vegan version? Drop a comment below and let me know—your adaptations might inspire someone else. And if you loved them, share this recipe with a friend who needs a little more pumpkin in their life.
Frequently Asked Questions
Can I use steel-cut oats instead of rolled oats?
No, steel-cut oats won’t soften enough during the short baking time. They’ll stay hard and crunchy, which doesn’t work well for these cups. Stick with rolled oats for the best texture.
How do I know when the oatmeal cups are done baking?
The tops should look set and lightly golden, and a toothpick inserted into the center should come out clean or with a few moist crumbs. They’ll feel firm to the touch but still soft when pressed gently.
Can I make these without a muffin tin?
Yes! You can bake the mixture in a greased 8×8-inch baking dish for about 25–30 minutes. Cut into squares after cooling. The texture will be slightly different, but it works in a pinch.
Why did my oatmeal cups turn out mushy?
This usually happens if you skip the 10-minute rest time, use quick oats, or underbake them. Make sure to let the batter rest before baking and check for doneness with a toothpick.
Can I use fresh pumpkin instead of canned?
Yes, but fresh pumpkin purée has more water content than canned. To compensate, cook the purée in a skillet over medium heat for 5–7 minutes to reduce some of the moisture, or add an extra 2 tablespoons of oats to the batter.
Pin This Recipe!
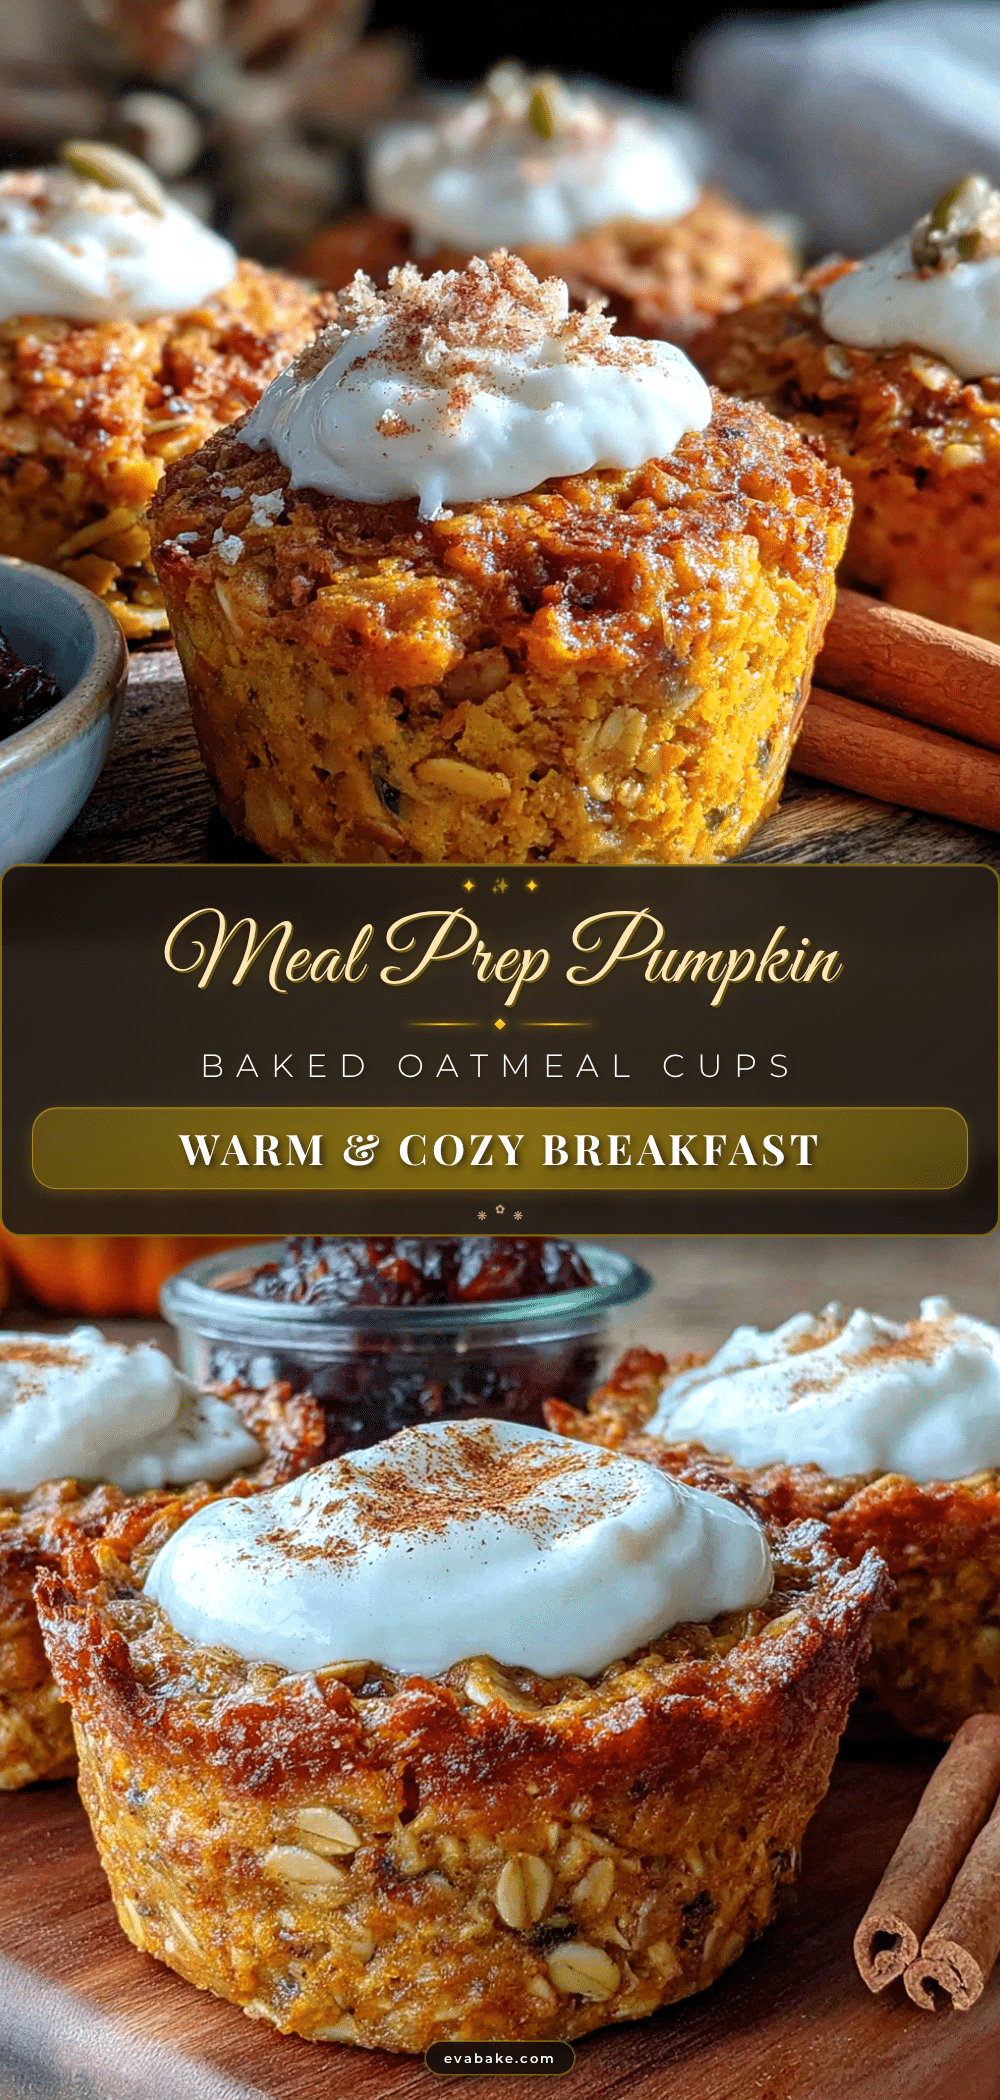
Best Easy Pumpkin Baked Oatmeal Cups for Meal Prep

These pumpkin baked oatmeal cups are soft, tender, and just sturdy enough to pick up with your hand. Perfect for meal prep, they reheat beautifully and taste like a cozy fall breakfast.
- Prep Time: 15 minutes
- Cook Time: 20 minutes
- Total Time: 35 minutes
- Yield: 12 servings 1x
- Category: Breakfast
- Cuisine: American
Ingredients
- 2 cups (180g) rolled oats
- 1 cup (245g) pumpkin purée
- 2 large eggs
- ¾ cup (180ml) milk (dairy or non-dairy)
- ⅓ cup (80ml) maple syrup
- 3 tablespoons (42g) coconut oil or melted butter
- 1 teaspoon vanilla extract
- 1½ teaspoons pumpkin pie spice
- ½ teaspoon cinnamon
- 1 teaspoon baking powder
- ¼ teaspoon salt
- Optional: ½ cup chocolate chips, chopped pecans, or dried cranberries
Instructions
- Preheat your oven to 350°F (175°C). Grease a 12-cup muffin tin with cooking spray or line with paper liners.
- Pulse 1 cup of the rolled oats in a food processor or blender 5–6 times until you have a mix of fine oat flour and small oat pieces. Pour into a large mixing bowl. Add the remaining 1 cup of whole rolled oats, pumpkin pie spice, cinnamon, baking powder, and salt. Whisk to combine.
- In a medium bowl, whisk together the pumpkin purée, eggs, milk, maple syrup, melted coconut oil (or butter), and vanilla extract until smooth.
- Pour the wet ingredients into the bowl with the dry ingredients. Stir with a spatula until just combined. Fold in any optional add-ins.
- Let the batter rest for 10 minutes to allow the oats to absorb liquid.
- Use an ice cream scoop or spoon to divide the batter evenly among the 12 muffin cups, filling each almost to the top.
- Bake on the middle rack for 18–22 minutes, or until the tops are set and lightly golden, and a toothpick inserted into the center comes out clean or with a few moist crumbs.
- Let the cups cool in the muffin tin for 5 minutes, then transfer to a wire rack to cool completely.
Notes
Don’t skip the 10-minute rest time—it prevents soggy cups. Use room temperature ingredients for best results. Grease the pan well to prevent sticking. These cups freeze beautifully for up to 3 months.
Nutrition
- Serving Size: 1 oatmeal cup
- Calories: 145
- Sugar: 8
- Sodium: 120
- Fat: 5
- Saturated Fat: 2.5
- Carbohydrates: 22
- Fiber: 3
- Protein: 5
Keywords: pumpkin baked oatmeal cups, meal prep breakfast, pumpkin oatmeal cups, easy breakfast recipe, fall breakfast


