My husband took one bite, then looked at me with that expression—the one that says “you’re keeping this recipe forever”—and went back for a third scoop of rice before I could even sit down. That was the moment I knew this quick garlic butter chicken skillet was more than just another weeknight dinner. It was a keeper.
I had thrown it together on a Tuesday when the fridge looked sad and my energy levels were even lower. Chicken thighs, a knob of butter, some garlic that was starting to sprout (let’s be honest), and a lemon rolling around in the crisper drawer. Thirty minutes later, we were eating something that tasted like it took twice the effort. Funny how that happens when you stop overthinking things.
This recipe has become our go-to for those nights when you need real food fast. Not takeout. Not a frozen pizza. Something that feels like you actually cooked, but without the cleanup mountain that usually follows. The butter gets nutty and brown in spots, the garlic softens into sweet little morsels, and the chicken stays juicy on the inside with those gorgeous golden-brown edges. It is weeknight cooking at its most honest—and honestly, its most delicious.
Why You’ll Love This Recipe
Let me tell you why this quick garlic butter chicken skillet has earned permanent rotation in my kitchen. I have tested it more times than I care to admit—sometimes intentionally, sometimes because I forgot to set a timer. Every single time, it delivered.
- Ready in 20 Minutes : From the moment you pull the chicken out of the fridge to the moment you’re sitting down with a fork, you are looking at twenty minutes. Maybe twenty-two if you stop to answer a text. That is faster than most delivery services around here.
- Pantry-Friendly Ingredients : Butter, garlic, chicken, lemon, salt, pepper. That is it. No trips to specialty stores, no hunting down obscure spices. You probably have everything right now.
- Perfect for Busy Weeknights : Whether you are juggling homework, late meetings, or just a serious case of the “I don’t want to cook” blues, this recipe meets you where you are. It works with whatever side you have on hand—rice, noodles, crusty bread, roasted veggies.
- Crowd-Pleaser Status : I have served this to picky eaters, to in-laws, to friends who claim they “don’t really like chicken.” Empty plates every time. The garlic butter situation is just that good.
- One Skillet, Minimal Mess : One pan does all the work. That means fewer dishes, less scrubbing, and more time doing literally anything else.
What makes this version different from the hundreds of garlic chicken recipes out there? It is the technique. Instead of dumping everything in at once, you sear the chicken first to build that deep, golden crust. Then you let the garlic gently cook in the butter until it is fragrant but not bitter. A splash of lemon at the end cuts through the richness and brings everything into balance. It is simple cooking done right—and that makes all the difference.
What Ingredients You Will Need
This recipe uses simple, honest ingredients to create something genuinely special. No long lists, no fuss. Here is what you will need:
- Boneless, skinless chicken thighs (1.5 lbs or 680g) — I prefer thighs over breasts here because they stay juicier and are more forgiving if you accidentally cook them a minute too long. If you only have breasts, go for it—just watch the timing closely.
- Unsalted butter (4 tablespoons or 56g) — Butter is the star here, so use a good one. I like Kerrygold for its rich flavor, but any high-quality unsalted butter works. Salted butter will work too, just reduce the added salt.
- Garlic (8-10 cloves, smashed or thinly sliced) — Do not skimp on the garlic. We are not being shy here. Smashed cloves give you mellow, sweet garlic flavor, while sliced pieces brown up into crispy little chips. Both are wonderful.
- Fresh lemon juice (2 tablespoons, from about 1 lemon) — Bottled lemon juice will do in a pinch, but fresh makes a noticeable difference. The brightness cuts through the butter beautifully.
- Kosher salt (1 teaspoon) — I use Diamond Crystal. If you are using Morton’s, reduce to about ¾ teaspoon.
- Freshly ground black pepper (½ teaspoon) — Freshly ground matters here. Pre-ground pepper just does not hit the same.
- Fresh parsley (2 tablespoons, chopped, for garnish) — Optional but highly recommended. It adds color and a fresh finish.
- Optional: Red pepper flakes (¼ teaspoon) — If you like a little heat, sprinkle these in with the garlic. It is not traditional, but it is delicious.
A quick note on chicken selection: Look for thighs that are roughly the same size so they cook evenly. If some are much thicker than others, place them between two sheets of plastic wrap and gently pound them to an even thickness. Your butcher can also do this for you if you ask nicely.
Equipment Needed
One of the best things about this recipe is how little equipment it requires. Here is what you will need:
- Large cast iron skillet or heavy-bottomed stainless steel pan (10-12 inches) — Cast iron gives you that beautiful golden crust and holds heat like a champ. A stainless steel pan works beautifully too. Avoid nonstick if you can—you will not get the same browning.
- Sharp chef’s knife — For smashing and slicing garlic. A dull knife makes this job frustrating.
- Cutting board — Wood or plastic, whatever you prefer.
- Tongs — For flipping the chicken without piercing it and losing those precious juices.
- Measuring spoons — For salt, pepper, and lemon juice.
- Small bowl — For holding your prepped ingredients. Mise en place makes everything easier.
- Paper towels — For patting the chicken dry. This step is non-negotiable for good browning.
If you do not own a cast iron skillet, do not panic. Any heavy-bottomed pan will work—just make sure it is large enough to hold the chicken in a single layer without crowding. Crowding leads to steaming, and steaming means no golden crust.
Preparation Method
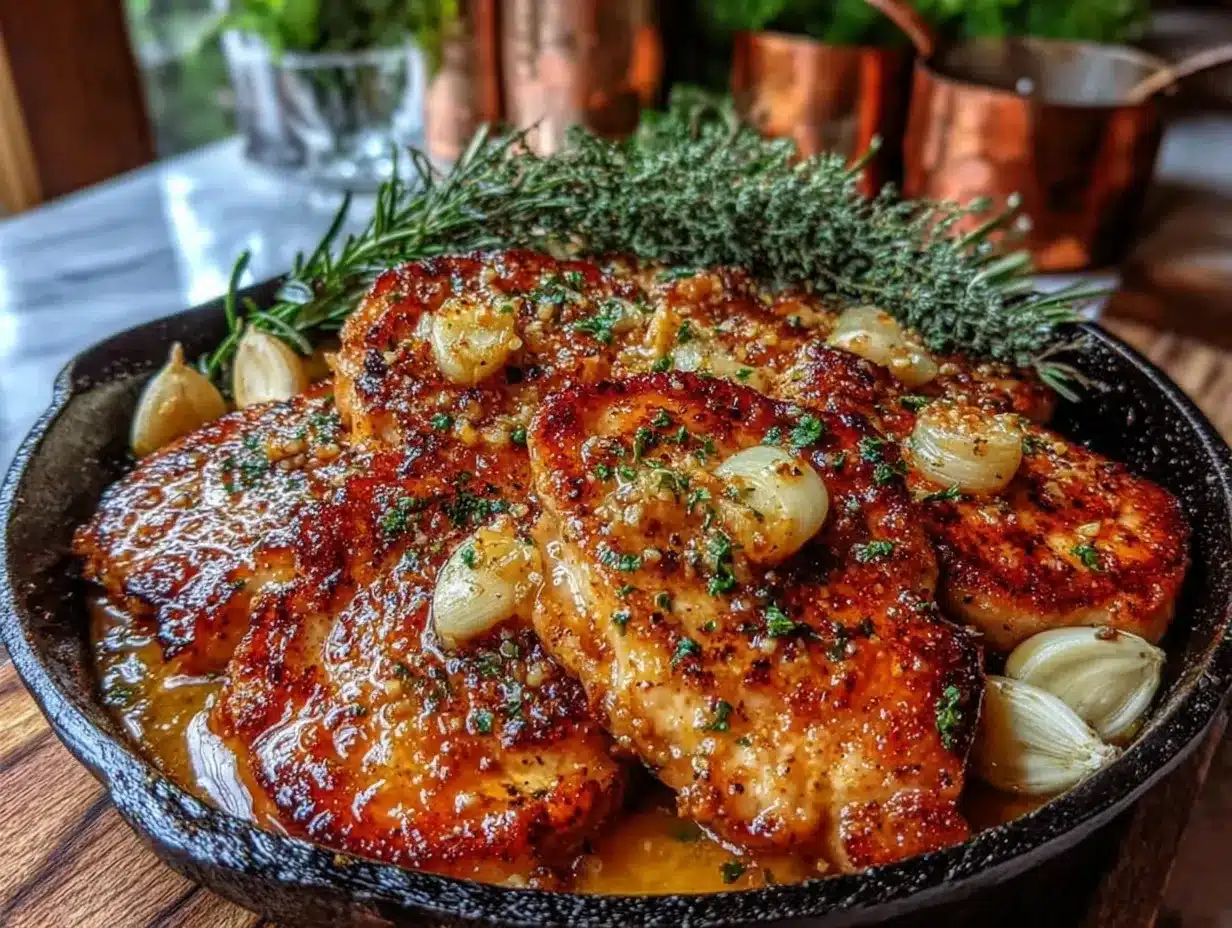
Let me walk you through this step by step. Trust me on the order here—it matters.
- Prep the chicken (5 minutes). Pat the chicken thighs dry with paper towels. This is the single most important step for getting that golden-brown crust. Season both sides generously with salt and pepper. Let them sit at room temperature while you get the pan ready—cold chicken will lower the pan temperature too quickly.
- Heat the skillet (2 minutes). Place your skillet over medium-high heat and let it get hot. Add 1 tablespoon of the butter and swirl to coat. The butter should sizzle immediately when it hits the pan. If it browns too fast, your heat is too high—turn it down just a notch.
- Sear the chicken (6-8 minutes). Place the chicken thighs in the skillet in a single layer. Do not crowd them—work in batches if needed. Let them cook undisturbed for 3-4 minutes until the underside is deep golden brown. Flip with tongs and cook another 3-4 minutes on the other side. The chicken should feel firm to the touch and register 165°F (74°C) internally.
- Rest the chicken (2 minutes). Transfer the chicken to a plate and tent loosely with foil. Do not skip this—the resting time lets the juices redistribute so your chicken stays moist.
- Make the garlic butter (3 minutes). Reduce the heat to medium-low. Add the remaining 3 tablespoons of butter to the skillet. Once it melts, add the garlic (and red pepper flakes if using). Cook for 1-2 minutes, stirring constantly, until the garlic is fragrant and just starting to turn golden. Watch it carefully—burnt garlic turns bitter fast.
- Finish the dish (1 minute). Add the lemon juice and stir to combine. Return the chicken to the skillet, turning to coat in the garlic butter. Spoon some of the butter over the top of each piece. Let everything warm through together for about 30 seconds.
- Serve immediately. Transfer the chicken to a serving platter or straight onto plates. Pour any remaining garlic butter from the skillet over the top. Garnish with fresh parsley and an extra squeeze of lemon if you like.
A few sensory cues to watch for: When you flip the chicken, it should release easily from the pan. If it sticks, give it another 30 seconds—it is not ready yet. The garlic is done when it smells sweet and nutty, not sharp or acrid. The butter should be bubbly and slightly thickened, not greasy.
Cooking Tips & Techniques
I have made this quick garlic butter chicken skillet more times than I can count, and I have learned a few things the hard way. Let me save you the trouble.
Patience is everything. The biggest mistake people make is moving the chicken too soon. Let it sit in that hot pan and develop a proper crust. That golden-brown exterior is where all the flavor lives. I once flipped a piece after two minutes because I was impatient, and it was pale and sad. Lesson learned.
Watch your heat. Medium-high for searing, then medium-low for the garlic butter. If you keep the heat too high when adding the garlic, it will burn before the butter even melts. Burnt garlic tastes bitter and will ruin the whole dish. Trust me, I have been there—it is not salvageable.
Smash, don’t mince. For this recipe, I prefer smashed garlic cloves over minced. Smashed pieces are more forgiving—they take longer to burn and release a sweeter, more mellow flavor. Plus, they look beautiful in the finished dish. Just lay the flat side of your knife on a clove and give it a firm smack.
Room temperature matters. If your chicken is straight from the fridge, it will lower the pan temperature and steam instead of searing. Let it sit out for 15-20 minutes before cooking. Same goes for the butter—cold butter will cool the pan too much.
Multitask smartly. While the chicken sears, you can prep your side dish. Rice takes about 15 minutes, which lines up perfectly with this recipe. Or steam some broccoli in the microwave while the garlic butter comes together. A little planning goes a long way.
One more thing: if your garlic butter looks like it is separating or getting greasy, add a tiny splash of water and whisk it in. It will bring everything back together into a glossy, emulsified sauce.
Variations & Adaptations
This recipe is wonderfully flexible. Here are some ways I have adapted it over the years:
- Creamy Garlic Butter Chicken : After removing the chicken, add ¼ cup (60ml) heavy cream to the garlic butter and stir until smooth. Return the chicken and simmer for 2 minutes. It becomes a rich, luscious sauce that is incredible over pasta.
- Herb-Infused Version : Add a sprig of fresh thyme or rosemary to the butter while it melts. The herbs infuse the butter with earthy, aromatic flavor. Remove the sprig before serving. I do this when I want something a little more elegant.
- Lighter Option : Swap half the butter for olive oil. It will not be quite as rich, but it will still be delicious. Add an extra splash of lemon juice to brighten things up.
- Spicy Twist : Increase the red pepper flakes to ½ teaspoon or add a sliced fresh chili with the garlic. My husband loves this version—he says it keeps things interesting.
- Low-Carb Friendly : Serve the chicken over sautéed spinach or zucchini noodles instead of rice or pasta. The garlic butter works beautifully with vegetables.
- Dairy-Free Adaptation : Use a high-quality vegan butter or ghee (which is lactose-free). The flavor will be slightly different but still delicious. I have tested this with Miyoko’s European Style Cultured Vegan Butter and it worked beautifully.
I have also tried this with chicken breasts instead of thighs. It works, but you need to be more careful with cooking time—breasts dry out fast. Pound them to even thickness and cook for about 3-4 minutes per side, depending on size.
Serving & Storage Suggestions
This quick garlic butter chicken skillet is best served immediately, while the butter is still glossy and the chicken is hot. But here is how to make the most of it:
Serving. I love this over a bed of fluffy white rice or egg noodles to soak up all that garlic butter. Mashed potatoes are also incredible—the butter pools in the crevices. For a lighter option, try it with steamed green beans or a simple arugula salad dressed with lemon juice and olive oil. If you are in the mood for something cozy, this pairs beautifully with a side of creamy homemade tomato soup for dipping crusty bread on the side.
Storage. Leftover chicken keeps in an airtight container in the refrigerator for up to 3 days. The garlic butter will solidify, but that is okay—it will melt again when reheated. I do not recommend freezing this dish, as the butter can separate and the texture of the chicken may suffer.
Reheating. The best way to reheat is in a skillet over medium-low heat with a splash of water or chicken broth. Cover the pan and let it warm gently for 4-5 minutes. The microwave works in a pinch, but it will not revive that gorgeous crust. If you are making this for meal prep, I suggest storing the chicken separately from any sides and reheating only what you need.
Flavor development. Here is a little secret: this dish actually tastes even better the next day. The garlic butter seeps into the chicken overnight, making every bite more flavorful. I have been known to make a double batch just for the leftovers.
Nutritional Information & Benefits
Here is the approximate nutritional breakdown for one serving (about 2 chicken thighs with garlic butter, not including sides):
- Calories: 420-450
- Protein: 35-40g
- Fat: 30-35g
- Carbohydrates: 2-3g
- Fiber: 0g
- Sugar: 0g
Chicken thighs are an excellent source of high-quality protein, which supports muscle health and keeps you feeling full. They also provide B vitamins, particularly B6 and B12, which are important for energy metabolism. Garlic is more than just flavor—it contains compounds that may support immune function and heart health. Butter gets a bad reputation, but in moderation, it provides fat-soluble vitamins like A, D, and E.
This recipe is naturally low-carb and gluten-free, making it suitable for keto, paleo, and whole30 diets (just skip any added sugar in your sides). If you are watching your sodium, use unsalted butter and reduce the added salt. The lemon juice provides a boost of vitamin C without any added sugar.
I will be honest—this is not a “health food” recipe. It is comfort food made with real ingredients. But that has its own kind of value. Sometimes a nourishing, satisfying meal is exactly what your body needs, even if it is not low in calories.
Conclusion
This quick garlic butter chicken skillet has become one of those recipes I genuinely look forward to making. It is simple enough for a Tuesday night when you have zero energy, yet impressive enough to serve when friends come over. The combination of crispy golden chicken, sweet softened garlic, and rich buttery sauce is just… right.
What I love most is how forgiving it is. You do not need to be a trained chef to nail this. You just need a hot pan, a little patience, and a willingness to let the butter do its thing. The first time I made it, I was shocked at how something so simple could taste so good. That feeling has not gone away.
I would love to hear how this turns out for you. Did you add a twist? Serve it with something unexpected? Leave a comment below and let me know—your version might inspire someone else. And if you are looking for another quick weeknight dinner that delivers big flavor without the fuss, you will love this quick honey garlic shrimp that comes together just as fast.
Frequently Asked Questions
Can I use chicken breasts instead of thighs?
Absolutely. Just know that chicken breasts cook faster and dry out more easily. Pound them to an even thickness and cook for 3-4 minutes per side. Use an instant-read thermometer to check for 165°F (74°C) internal temperature.
Can I make this recipe dairy-free?
Yes. Use a high-quality vegan butter or ghee. Ghee is technically butter with the milk solids removed, so it is lactose-free but still has that rich buttery flavor. Vegan butters work well too—just watch the salt content, as some brands are heavily salted.
How do I prevent the garlic from burning?
Lower the heat before adding the garlic. Medium-low is your friend here. Stir constantly and remove the pan from the heat if the garlic starts browning too quickly. Smashed cloves are more forgiving than minced garlic because they take longer to cook through.
Can I add vegetables to this skillet?
Definitely. Add sliced mushrooms or asparagus to the pan after removing the chicken. Cook them in the garlic butter for 2-3 minutes before returning the chicken. You can also throw in a handful of spinach at the end and let it wilt in the residual heat.
What should I serve with this chicken?
Rice, egg noodles, mashed potatoes, or crusty bread are all excellent choices for soaking up the garlic butter. For vegetables, try steamed broccoli, roasted asparagus, or a simple green salad. This dish also pairs wonderfully with a side of creamy roasted tomato garlic sauce drizzled over pasta.
Pin This Recipe!
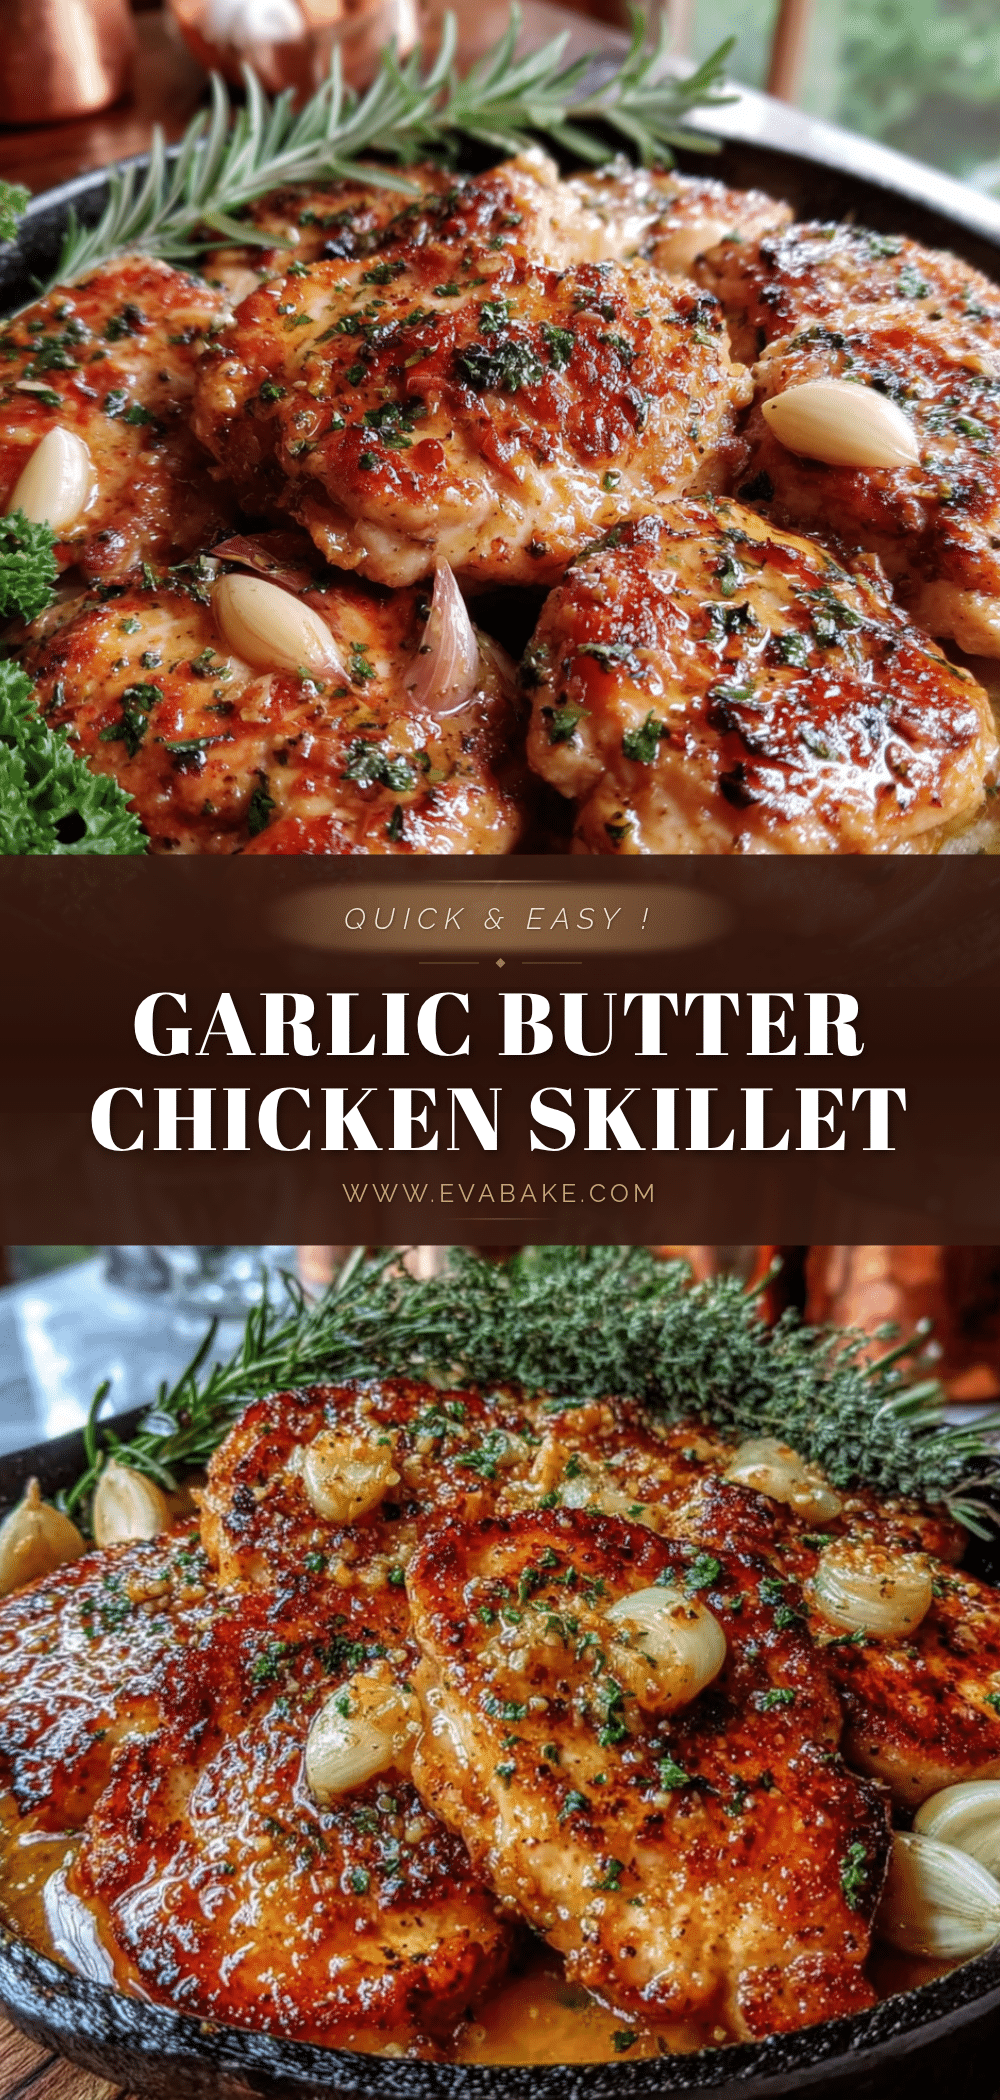
Quick Garlic Butter Chicken Skillet in 20 Minutes
A quick and easy garlic butter chicken skillet ready in just 20 minutes. Juicy chicken thighs are seared to golden perfection, then finished in a rich garlic butter sauce with a splash of lemon. Perfect for busy weeknights.
- Prep Time: 5 minutes
- Cook Time: 15 minutes
- Total Time: 20 minutes
- Yield: 4 servings 1x
- Category: Main Course
- Cuisine: American
Ingredients
- 1.5 lbs (680g) boneless, skinless chicken thighs
- 4 tablespoons (56g) unsalted butter
- 8–10 cloves garlic, smashed or thinly sliced
- 2 tablespoons fresh lemon juice (from about 1 lemon)
- 1 teaspoon kosher salt (use ¾ teaspoon if using Morton’s)
- ½ teaspoon freshly ground black pepper
- 2 tablespoons fresh parsley, chopped (for garnish)
- ¼ teaspoon red pepper flakes (optional)
Instructions
- Prep the chicken (5 minutes): Pat the chicken thighs dry with paper towels. Season both sides generously with salt and pepper. Let them sit at room temperature while you get the pan ready.
- Heat the skillet (2 minutes): Place your skillet over medium-high heat and let it get hot. Add 1 tablespoon of the butter and swirl to coat. The butter should sizzle immediately when it hits the pan.
- Sear the chicken (6-8 minutes): Place the chicken thighs in the skillet in a single layer. Do not crowd them—work in batches if needed. Let them cook undisturbed for 3-4 minutes until the underside is deep golden brown. Flip with tongs and cook another 3-4 minutes on the other side. The chicken should feel firm to the touch and register 165°F (74°C) internally.
- Rest the chicken (2 minutes): Transfer the chicken to a plate and tent loosely with foil.
- Make the garlic butter (3 minutes): Reduce the heat to medium-low. Add the remaining 3 tablespoons of butter to the skillet. Once it melts, add the garlic (and red pepper flakes if using). Cook for 1-2 minutes, stirring constantly, until the garlic is fragrant and just starting to turn golden.
- Finish the dish (1 minute): Add the lemon juice and stir to combine. Return the chicken to the skillet, turning to coat in the garlic butter. Spoon some of the butter over the top of each piece. Let everything warm through together for about 30 seconds.
- Serve immediately: Transfer the chicken to a serving platter or straight onto plates. Pour any remaining garlic butter from the skillet over the top. Garnish with fresh parsley and an extra squeeze of lemon if you like.
Notes
Pat chicken dry for best browning. Let chicken come to room temperature before cooking. Lower heat before adding garlic to prevent burning. Smashed garlic cloves are more forgiving than minced. If garlic butter separates, add a tiny splash of water and whisk. Leftovers keep in refrigerator for up to 3 days. Reheat in a skillet over medium-low heat with a splash of water or broth.
Nutrition
- Serving Size: 2 chicken thighs wit
- Calories: 435
- Sodium: 620
- Fat: 32
- Saturated Fat: 14
- Carbohydrates: 2
- Protein: 37
Keywords: garlic butter chicken, quick chicken skillet, weeknight dinner, easy chicken recipe, 20 minute meal, one skillet chicken


