My brother-in-law Mark asked why I couldn’t just toss the chicken thighs in the sauce raw and let them finish cooking together. I started to explain why that wouldn’t work—something about caramelization, about searing locking in flavor, about the sugar burning before the chicken cooked through. Then I stopped. Honestly, I had no good reason. I’d just always done it the other way.
So I let him try it his way. He dumped a half cup of honey into the pan with soy sauce and garlic, dropped the raw thighs right in, and cranked the heat. I stood there mentally preparing to salvage dinner with takeout. Twenty minutes later, that chicken came out glistening like something from a fancy restaurant menu—sticky, dark, and impossibly tender. The sauce had reduced into this glossy coating that clung to every piece. I took a bite and just stood there in my own kitchen, proven completely wrong by a guy who once set a grilled cheese on fire.
That was three years ago, and I haven’t made honey garlic chicken any other way since. This version—my best easy sticky honey garlic chicken thighs—is the one I bring to every potluck, every family dinner, every gathering where I need to show up with something that disappears fast. It’s the recipe that made Mark text me the next day asking for it again. And honestly? It’s the recipe that taught me to shut up and let people cook.
Why You’ll Love This Recipe
Let me tell you why this particular chicken recipe has earned a permanent spot in my hosting rotation. It checks every box you want when cooking for a crowd.
- Comes together in 30 minutes — From fridge to table in half an hour. That’s less time than it takes your guests to finish their first drink.
- Uses pantry staples — Honey, soy sauce, garlic, chicken thighs. You probably have everything right now.
- Perfect for gatherings — This is the dish that gets passed around twice. I’ve served it at birthday parties, casual weeknight dinners, and holiday buffets. It works everywhere.
- Crowd-pleaser guaranteed — Kids love the sweetness. Adults love the savory depth. Picky eaters clean their plates.
- Unbelievably sticky and flavorful — The sauce reduces into this thick, glossy coating that clings to every bite. It’s the kind of sticky that makes you lick your fingers shamelessly.
What makes this recipe different from every other honey garlic chicken out there? It’s the method. Most recipes have you sear the chicken first, then make the sauce separately. This one lets everything cook together in one pan, which means the chicken stays incredibly moist while the sauce concentrates into pure flavor. No dry chicken. No burnt sugar. Just perfectly sticky, tender meat every single time.
This is the recipe I turn to when I want to impress without stress. It’s the one I make when I need to feed eight people and I only have one pan and thirty minutes. And it’s the one that makes people close their eyes after the first bite and say, “Okay, I need this recipe.”
What Ingredients You Will Need
This recipe keeps things simple with ingredients you likely already have in your kitchen. The magic happens when these everyday staples come together in just the right proportions.
For the Chicken
- 2 pounds bone-in, skin-on chicken thighs (about 6-8 thighs) — Bone-in keeps the meat juicier during cooking. The skin crisps up beautifully in the sauce. If you prefer boneless, they’ll cook faster—about 15 minutes total.
- 1 tablespoon olive oil — Just enough to get things started in the pan. Avocado oil works too.
- Salt and black pepper — To season the chicken before cooking. Don’t skip this step; it builds the foundation of flavor.
For the Sticky Honey Garlic Sauce
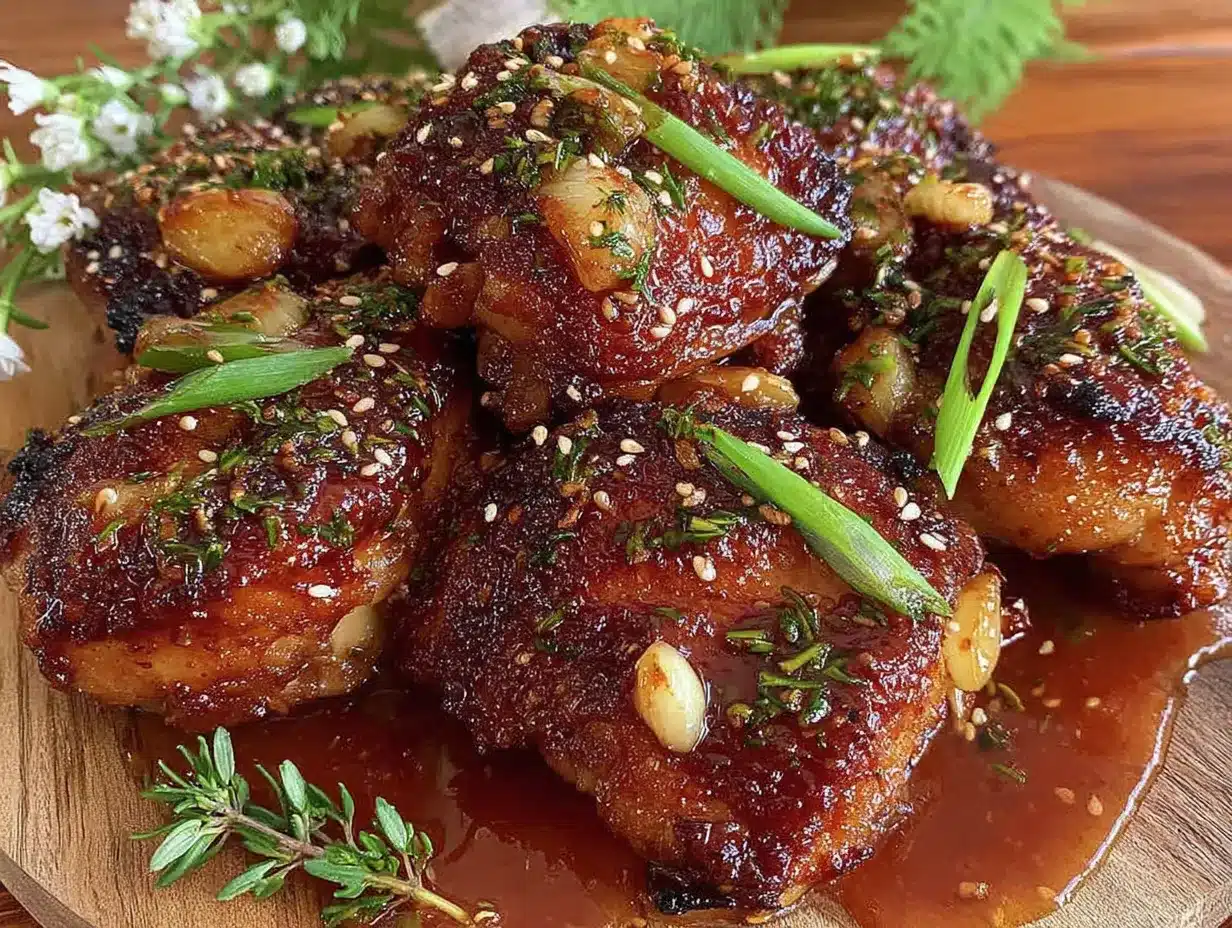
- 1/3 cup honey — Use a good quality honey here. I prefer a mild wildflower honey, but anything you like will work. The honey provides sweetness and helps create that signature sticky glaze.
- 1/4 cup low-sodium soy sauce — Low-sodium is important here. Regular soy sauce will make the final dish too salty since the sauce reduces significantly. Tamari or coconut aminos work great for gluten-free options.
- 6 cloves garlic, minced — Fresh garlic makes a huge difference. Pre-minced jarred garlic won’t give you the same punch. Take the extra minute to mince fresh cloves—your taste buds will thank you.
- 2 tablespoons rice vinegar — This brightens everything up and balances the sweetness. Apple cider vinegar works as a substitute.
- 1 tablespoon sesame oil — Adds that nutty, toasty flavor that makes this taste like restaurant-quality food. Don’t skip it if you can help it.
- 1 teaspoon fresh ginger, grated — Optional but highly recommended. It adds warmth and depth that complements the honey beautifully.
- 1 tablespoon cornstarch mixed with 2 tablespoons water — This slurry thickens the sauce at the end. If you’re gluten-free, arrowroot powder works the same way.
For Garnish
- Sesame seeds — Toasted white or black seeds add visual appeal and a subtle crunch.
- Chopped green onions — Fresh, bright, and essential for that pop of color and mild onion flavor.
- Fresh cilantro — Optional, but I love the freshness it brings. Some guests hate cilantro, so I serve it on the side.
I recommend using Bragg’s liquid aminos if you want a slightly milder, less salty soy sauce alternative. And for honey, Local Hive honey is my go-to—it’s pure, unfiltered, and supports local beekeepers. The flavor varies slightly by season, which keeps things interesting.
Equipment Needed
You don’t need fancy equipment for this recipe. Here’s what I use every single time:
- Large skillet or cast iron pan — A 12-inch skillet with high sides works perfectly. Cast iron gives you the best heat distribution and that beautiful browning. I use my Lodge 12-inch skillet and it’s never let me down.
- Tongs — For flipping the chicken without piercing the skin. Silicone-tipped tongs won’t scratch your pan.
- Sharp knife and cutting board — For mincing garlic and chopping green onions. A microplane is great for grating ginger.
- Small bowl — For mixing the cornstarch slurry.
- Measuring cups and spoons — Precision matters with the sauce ingredients since it reduces so much.
- Meat thermometer — Optional but recommended. Chicken thighs are done at 165°F, but honestly, I go by look and feel now. The meat should pull away from the bone easily.
If you don’t have a cast iron skillet, any heavy-bottomed pan will work. Non-stick is fine, but you won’t get as much browning on the chicken skin. Budget-friendly tip: check thrift stores for cast iron—I found my favorite pan for eight dollars.
Preparation Method
This comes together fast, so I recommend having everything prepped before you start. Trust me on this—once that chicken hits the pan, you won’t want to step away.
- Pat the chicken thighs dry with paper towels. This is crucial for getting crispy skin. Season both sides generously with salt and pepper. Let them sit at room temperature for 10 minutes while you prep the sauce.
- Make the sauce by whisking together honey, soy sauce, minced garlic, rice vinegar, sesame oil, and grated ginger in a small bowl. Set it aside. Don’t add the cornstarch slurry yet—that goes in at the end.
- Heat your skillet over medium-high heat and add the olive oil. When the oil shimmers (about 2 minutes), place the chicken thighs skin-side down. Don’t crowd the pan—work in batches if needed. Let them cook undisturbed for 5-6 minutes. The skin should be golden brown and crispy.
- Flip the chicken thighs using tongs. Cook for another 4-5 minutes on the second side. The chicken should be browned all over. If the pan looks dry, add another teaspoon of oil.
- Pour the honey garlic sauce over the chicken. It will sizzle and steam immediately—that’s normal. Reduce the heat to medium-low and let everything simmer together. Cover the pan with a lid slightly ajar to let steam escape.
- Cook for 10-12 minutes, flipping the chicken halfway through. The sauce will start to thicken and bubble around the edges. You’ll notice it turning darker and glossier. The kitchen will smell incredible at this point.
- Remove the chicken thighs from the pan and set them on a plate. Leave the sauce in the pan. Whisk the cornstarch slurry one more time (it settles), then pour it into the sauce while stirring constantly. The sauce will thicken almost immediately—about 30 seconds.
- Return the chicken to the pan and spoon the thickened sauce over each piece. Let everything cook together for 1-2 more minutes so the sauce really clings to the chicken.
- Transfer to a serving platter and sprinkle with sesame seeds and green onions. Let it rest for 5 minutes before serving. This lets the sauce set up a bit more and makes the chicken even more tender.
A few things I’ve learned the hard way: If the sauce starts looking too dark too quickly, your heat is too high. Turn it down immediately. And if you’re doubling the recipe (which you should for a party), use two pans. Crowding leads to steaming instead of caramelizing.
Cooking Tips & Techniques
I’ve made this recipe probably fifty times at this point. Here’s what I’ve learned that the recipe card doesn’t tell you.
Patience with the skin is everything. The first few times I made this, I moved the chicken around too much in the pan. Let it sit. That golden, crispy skin comes from leaving it alone for a full 5-6 minutes. You’ll know it’s ready when it releases easily from the pan. If it sticks, it’s not ready yet.
Watch the sugar. Honey burns faster than you think. That’s why we cook the chicken first, add the sauce, and keep the heat moderate. I once cranked the heat thinking it would speed things up—ended up with bitter, burnt sauce and sad chicken. Learn from my mistake.
Double the sauce if you’re serving a crowd. The sauce reduces by about half during cooking, and everyone wants extra to drizzle over rice. I always make 1.5 times the sauce recipe when I’m hosting. Leftover sauce keeps in the fridge for a week and is amazing on vegetables.
Use a meat thermometer if you’re nervous. Chicken thighs are forgiving—they stay moist even if you go a few degrees over—but 165°F is the safe zone. I check the thickest thigh away from the bone. After a few times, you’ll know by look alone.
Timing tip for hosting: You can sear the chicken up to 2 hours ahead. Keep it at room temperature, then finish with the sauce right before serving. This is my go-to strategy for dinner parties. It means I’m not stuck at the stove while my guests are eating appetizers.
Variations & Adaptations
One of the best things about this recipe is how easily it adapts. Here are my favorite variations:
Spicy Honey Garlic Chicken
Add 1-2 teaspoons of sriracha or red pepper flakes to the sauce. The heat cuts through the sweetness beautifully. I do this when I’m serving friends who love spice—it’s always a hit.
Garlic Lover’s Version
Use 10-12 cloves of garlic instead of 6. Roast half of them with the chicken and add the other half fresh at the end. The roasted garlic gets sweet and jammy while the fresh garlic keeps that punchy flavor.
Slow Cooker Adaptation
Sear the chicken first (don’t skip this step—it makes a difference), then transfer everything to a slow cooker. Cook on low for 4 hours. Thicken the sauce on the stovetop before serving. This version is perfect for parties where you want dinner ready when guests arrive.
Gluten-Free Option
Use tamari or coconut aminos instead of soy sauce. Make sure your cornstarch is certified gluten-free (most are). Everything else is naturally gluten-free.
Lighter Version
Use boneless, skinless chicken thighs and reduce the honey to 1/4 cup. The sauce will be less sticky but still delicious. Add more garlic and ginger to boost flavor without sugar.
I once made a version with orange juice instead of rice vinegar—half cup of fresh orange juice and a tablespoon of orange zest. It was incredible. Bright, citrusy, and perfect for summer gatherings. Just reduce the honey slightly since the orange juice adds sweetness.
Serving & Storage Suggestions
Serving temperature: Serve this chicken hot, straight from the pan. The sauce is at its glossiest and most flavorful right after cooking. If you’re hosting, keep it warm in a low oven (200°F) uncovered so the skin stays crispy.
What to serve alongside: Steamed jasmine rice is the classic choice—it soaks up all that extra sauce. For vegetables, I love roasted broccoli or green beans. A simple cucumber salad with rice vinegar and sesame seeds cuts through the richness perfectly. For a dinner party, I serve this with fluffy jasmine rice and garlic bok choy—the combination is unstoppable.
Presentation tip for guests: Arrange the chicken on a large white platter. Spoon the remaining sauce over the top. Sprinkle generously with sesame seeds and green onions. Add a few lime wedges around the edges for color. It looks like something from a restaurant menu.
Storage: Leftovers keep in an airtight container in the refrigerator for up to 4 days. The sauce will thicken as it cools—that’s normal. Reheat gently in a skillet over medium-low heat with a splash of water to loosen the sauce. Microwave works too, but the skin won’t be as crispy.
Freezing: This freezes beautifully for up to 3 months. Let it cool completely, then transfer to a freezer-safe container. Thaw overnight in the refrigerator and reheat in a skillet. The sauce might separate slightly—just stir it back together.
Flavor development: Honestly, this chicken tastes even better the next day. The flavors meld together overnight and the sauce penetrates deeper into the meat. I sometimes make it a day ahead on purpose. Just reheat gently and add fresh garnishes before serving.
Nutritional Information & Benefits
Here’s the approximate nutritional breakdown per serving (1 thigh with sauce):
| Nutrient | Amount |
|---|---|
| Calories | 380 |
| Protein | 28g |
| Fat | 18g |
| Saturated Fat | 5g |
| Carbohydrates | 22g |
| Sugar | 19g |
| Sodium | 680mg |
| Fiber | 0g |
Chicken thighs are a great source of protein, iron, and B vitamins. The bone-in version provides more minerals than boneless cuts. Honey contains antioxidants and has antibacterial properties. Garlic is known for its immune-boosting benefits. Ginger aids digestion—which is helpful after a big meal.
This recipe is naturally dairy-free and can be made gluten-free with simple swaps. It’s higher in sugar than some recipes, but that’s what makes it so addictive. If you’re watching your sugar intake, reduce the honey to 1/4 cup and add an extra tablespoon of soy sauce for balance.
I don’t stress about the numbers on this one. It’s a special occasion dish, not an everyday meal. And honestly, the joy it brings to a table full of people is worth every calorie.
Conclusion
This sticky honey garlic chicken thighs recipe has become my signature dish for a reason. It’s forgiving enough for a Tuesday night, impressive enough for a dinner party, and delicious enough that people text me for the recipe the next day. The sauce is glossy, the chicken is tender, and the whole thing comes together in one pan in under 30 minutes.
What I love most about this recipe is how it brings people together. I’ve served it at backyard barbecues, holiday dinners, and casual weeknight hangs. Every single time, someone asks for seconds. Every single time, someone asks how I made it. And every single time, I think about Mark standing in my kitchen, proving me wrong with a half cup of honey and a lot of confidence.
Try it for your next gathering. Customize it with extra spice or more garlic. Serve it with rice and a simple vegetable. Watch it disappear. And if you make it, come back and tell me how it went. I love hearing about your versions, your twists, your happy guests.
Drop a comment below or tag me in your photos. Let’s keep this recipe spreading—one sticky, glorious chicken thigh at a time.
Frequently Asked Questions
Can I use chicken breasts instead of thighs?
Yes, but be careful. Chicken breasts cook faster and dry out more easily. Use boneless, skinless breasts and reduce the cooking time to about 15 minutes total. Check the internal temperature at 12 minutes. The sauce will still be delicious, but the meat won’t be as juicy.
Why is my sauce not getting sticky?
Two common reasons: your heat is too low, or you didn’t let it reduce long enough. The sauce needs to simmer uncovered for at least 10 minutes to concentrate. If it’s still thin after that, mix another teaspoon of cornstarch with water and add it in. Also, make sure you’re using real honey—some processed honeys don’t caramelize as well.
Can I make this ahead of time for a party?
Absolutely. Sear the chicken up to 2 hours ahead and keep it at room temperature. Finish the sauce and combine everything right before serving. Or make the whole dish a day ahead, refrigerate, and reheat gently in a skillet with a splash of water. Add fresh garnishes before serving.
Is this recipe gluten-free?
With one simple swap, yes. Use tamari or coconut aminos instead of regular soy sauce. Make sure your cornstarch is certified gluten-free. Everything else in the recipe is naturally gluten-free. Always check labels on packaged ingredients to be safe.
How do I prevent the honey from burning?
Keep your heat at medium-low once you add the sauce. High heat causes the sugar in honey to burn quickly. If you see the sauce turning dark brown too fast, lower the heat immediately. Stir occasionally and keep an eye on it. The sauce should bubble gently, not furiously.
Pin This Recipe!
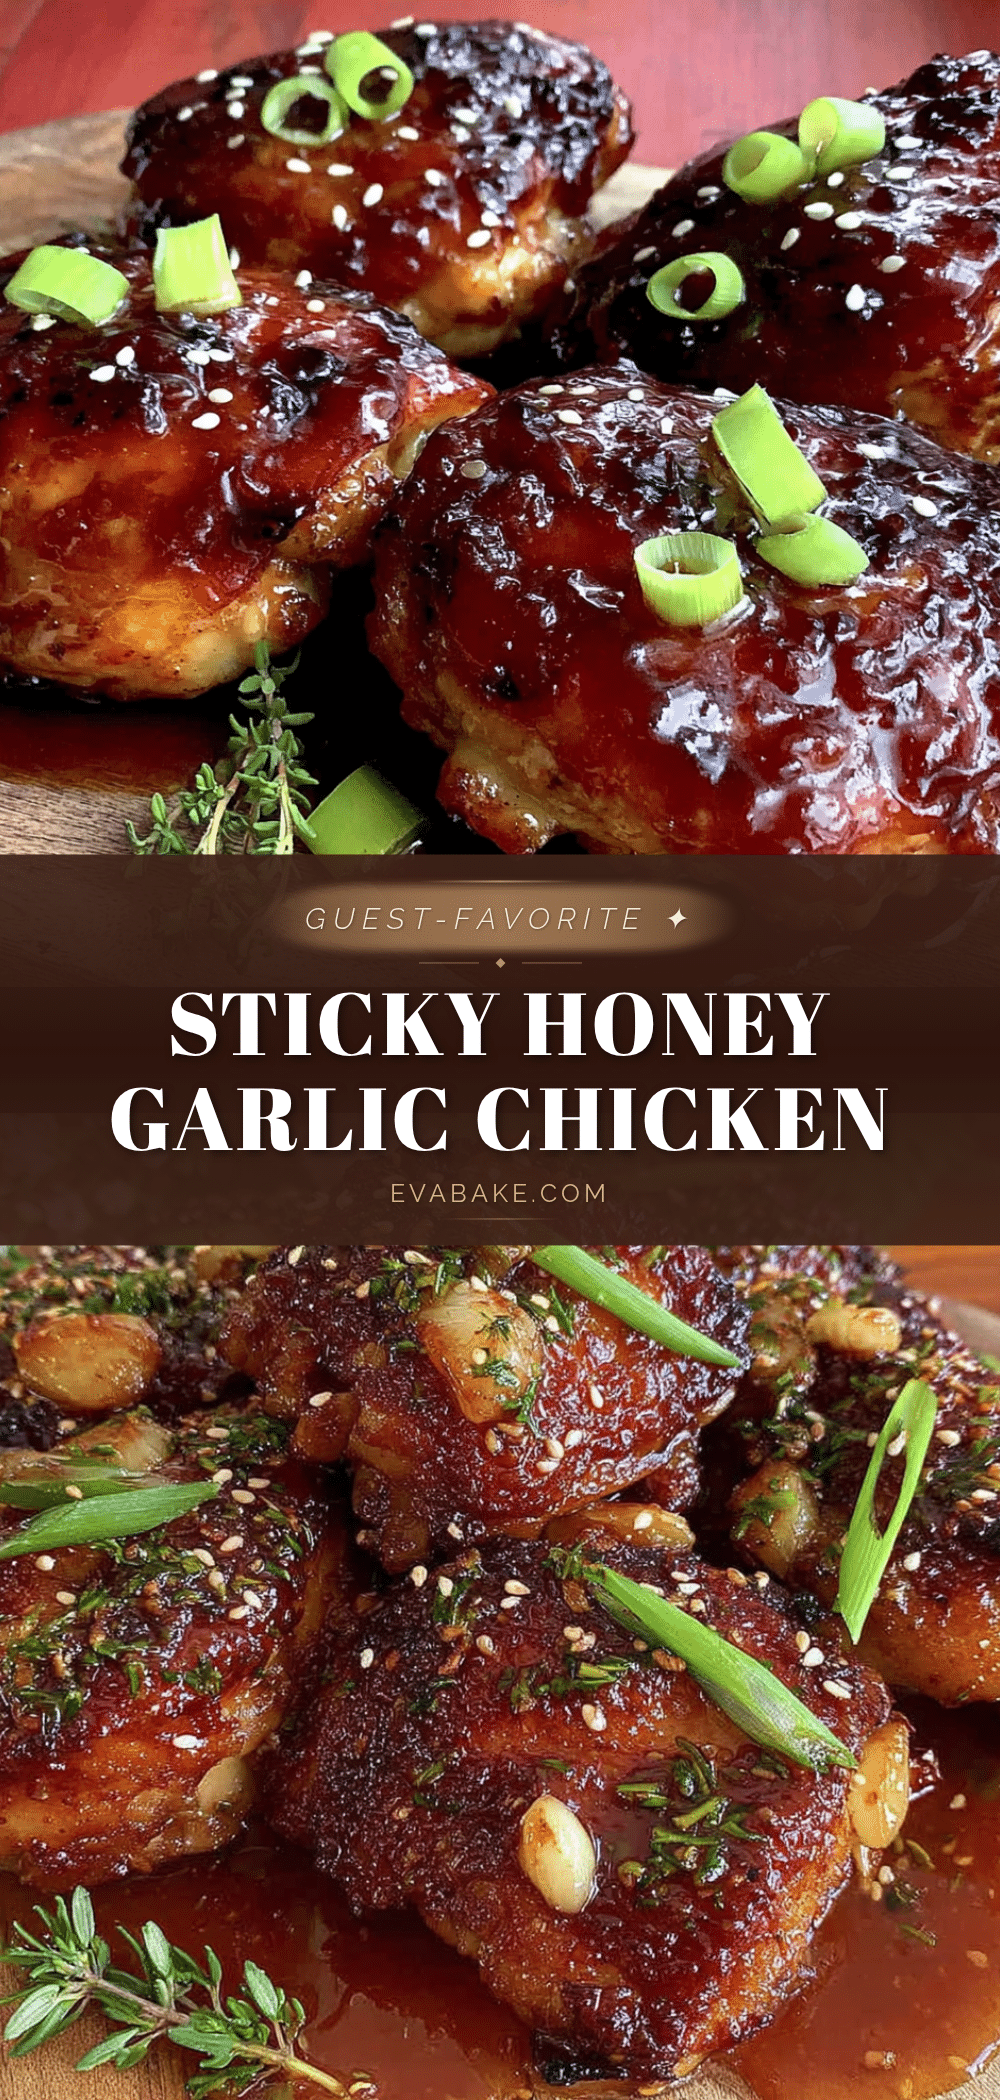
Best Easy Sticky Honey Garlic Chicken Thighs Recipe

This sticky honey garlic chicken thighs recipe comes together in one pan in under 30 minutes. The sauce reduces into a glossy coating that clings to every bite, making it perfect for gatherings and weeknight dinners alike.
- Prep Time: 10 minutes
- Cook Time: 20 minutes
- Total Time: 30 minutes
- Yield: 4 servings 1x
- Category: Main Course
- Cuisine: Asian
Ingredients
- 2 pounds bone-in, skin-on chicken thighs (about 6–8 thighs)
- 1 tablespoon olive oil
- Salt and black pepper to taste
- 1/3 cup honey
- 1/4 cup low-sodium soy sauce
- 6 cloves garlic, minced
- 2 tablespoons rice vinegar
- 1 tablespoon sesame oil
- 1 teaspoon fresh ginger, grated (optional)
- 1 tablespoon cornstarch mixed with 2 tablespoons water
- Sesame seeds for garnish
- Chopped green onions for garnish
- Fresh cilantro for garnish (optional)
Instructions
- Pat the chicken thighs dry with paper towels. Season both sides generously with salt and pepper. Let them sit at room temperature for 10 minutes.
- Make the sauce by whisking together honey, soy sauce, minced garlic, rice vinegar, sesame oil, and grated ginger in a small bowl. Set aside.
- Heat your skillet over medium-high heat and add the olive oil. When the oil shimmers, place the chicken thighs skin-side down. Cook undisturbed for 5-6 minutes until golden brown and crispy.
- Flip the chicken thighs using tongs. Cook for another 4-5 minutes on the second side until browned all over.
- Pour the honey garlic sauce over the chicken. Reduce heat to medium-low and let simmer. Cover the pan with a lid slightly ajar.
- Cook for 10-12 minutes, flipping the chicken halfway through. The sauce will thicken and bubble.
- Remove the chicken thighs from the pan and set aside. Whisk the cornstarch slurry, then pour it into the sauce while stirring constantly. Cook for about 30 seconds until thickened.
- Return the chicken to the pan and spoon the thickened sauce over each piece. Cook for 1-2 more minutes.
- Transfer to a serving platter and sprinkle with sesame seeds and green onions. Let rest for 5 minutes before serving.
Notes
Patience with the skin is key—let it sit undisturbed for 5-6 minutes to get crispy. Watch the sugar; honey burns quickly, so keep heat moderate. Double the sauce if serving a crowd. You can sear the chicken up to 2 hours ahead and finish with sauce before serving. Leftovers keep in the refrigerator for up to 4 days and freeze for up to 3 months.
Nutrition
- Serving Size: 1 thigh with sauce
- Calories: 380
- Sugar: 19
- Sodium: 680
- Fat: 18
- Saturated Fat: 5
- Carbohydrates: 22
- Protein: 28
Keywords: honey garlic chicken, sticky chicken thighs, easy chicken recipe, one pan chicken, chicken thighs, honey garlic sauce


