A friend of mine asked why I couldn’t just rub the butter mixture under the chicken skin instead of over it. I started to explain why that wouldn’t work — then stopped. Honestly, I had no good reason. I’d been making herb butter chicken the same way for years, slathering it on top like I was frosting a cake. But she had a point. The butter would melt down the sides anyway, right? Wrong. That tiny suggestion changed everything.
It was a Tuesday, and I had a whole chicken sitting in my fridge, a stick of butter getting soft on the counter, and a bunch of parsley that was about to turn. I was in a hurry — typical weeknight chaos, you know. I handed her the herb butter mixture and let her go for it. She carefully lifted the skin, working her fingers underneath, and spread that garlicky, herby goodness right where it mattered most. I stood there, arms crossed, ready to be proven right.
The chicken came out of the crockpot six hours later, and I have to tell you — I was wrong. So wrong. The meat was ridiculously juicy, the skin was crispy on the edges, and every single bite had that deep, buttery flavor infused all the way through. Not just on the surface. Not just in the drippings. Inside the meat itself. I mean, I’ve been cooking for years, and a beginner’s instinct taught me something I should have figured out ages ago.
That’s how this healthy herb butter crockpot chicken recipe was born — from me learning to shut up and listen. Maybe you’ve been there too, stuck in your ways, convinced your method is the only method. Let me tell you, there’s something freeing about being wrong. And this chicken? It’s the best kind of humble pie.
Why You’ll Love This Recipe
This isn’t just another chicken recipe you’ll forget about by next week. I’ve tested this one at least a dozen times, tweaking the herb ratios, playing with cooking times, and even getting my neighbor who’s a nutritionist to weigh in on the ingredient list. It’s been family-approved, guest-approved, and honestly, self-approved after many late-night leftovers straight from the fridge.
- Quick & Easy: Ten minutes of prep, then your crockpot does all the work. Perfect for those days when you forget about dinner until 3 PM.
- Simple Ingredients: You probably have butter, garlic, and dried herbs in your kitchen right now. No fancy trips to specialty stores.
- Perfect for Busy Families: Set it and forget it — this chicken is ready when you are, whether that’s for a rushed weeknight dinner or a Sunday meal prep session.
- Crowd-Pleaser: I’ve served this to picky kids, health-conscious friends, and meat-and-potatoes uncles. Everyone goes back for seconds.
- Unbelievably Juicy: The technique of putting the herb butter under the skin keeps the breast meat from drying out, which is usually the biggest problem with crockpot chicken.
What makes this recipe different from every other herb butter chicken out there? It’s the combination of a short ingredient list with a technique that actually works. Most recipes just dump butter on top and call it done. But by taking that extra two minutes to rub it under the skin, you get flavor that penetrates every single bite. Plus, I’ve balanced the herbs so nothing overpowers — the rosemary is present but not piney, the thyme is earthy but not bitter, and the garlic is warm without being sharp.
This is the kind of recipe that makes you close your eyes after the first bite. It’s comfort food that feels indulgent but fits into a healthy eating plan. No heavy creams, no excessive butter — just enough to carry those herbs and keep everything moist. It’s perfect for impressing guests without stress, or turning a simple Tuesday into something memorable.
What Ingredients You Will Need
This recipe uses simple, wholesome ingredients that work together to create deep, savory flavor without any complicated steps. Most of these are pantry staples, and the fresh herbs can be swapped for dried if that’s what you have on hand.
For the Herb Butter
- Unsalted butter, softened — 4 tablespoons (56g). I prefer unsalted so I can control the salt level. Let it sit out for 30 minutes before starting.
- Fresh garlic, minced — 4 cloves (about 2 teaspoons). Don’t use the jarred stuff here; fresh garlic makes a real difference in flavor.
- Fresh parsley, finely chopped — 2 tablespoons. Adds freshness and color. Flat-leaf parsley works best.
- Fresh rosemary, finely chopped — 1 teaspoon. Go easy on this one — rosemary can get overpowering fast.
- Fresh thyme leaves — 1 teaspoon. Strip the leaves off the stems; the stems are too woody.
- Dried oregano — ½ teaspoon. Adds a subtle Italian-style warmth.
- Salt — ½ teaspoon. I use kosher salt for its clean flavor.
- Black pepper, freshly ground — ¼ teaspoon. Fresh ground is worth the extra few seconds.
For the Chicken
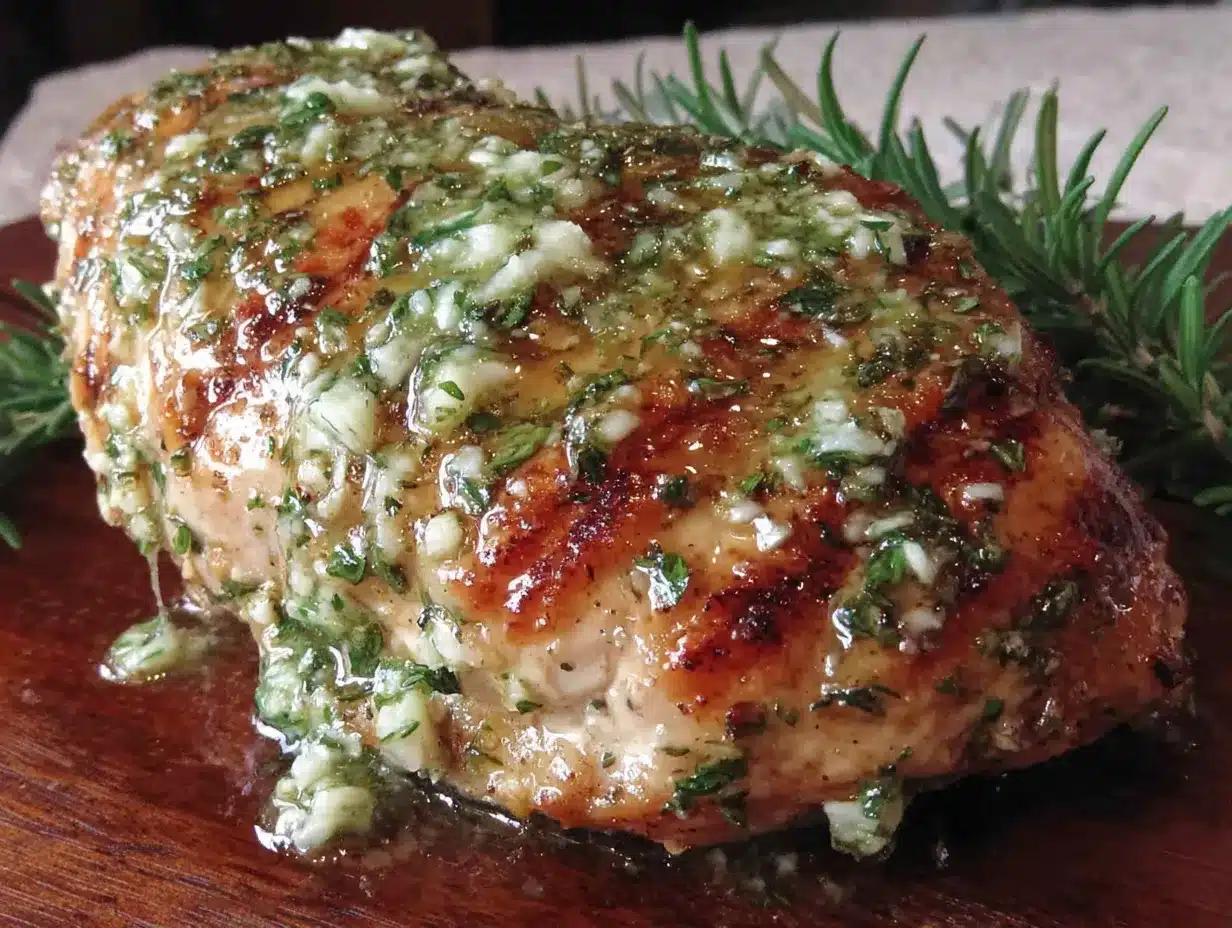
- Whole chicken — 1 (about 4-5 lbs or 1.8-2.3 kg). Look for a bird that’s not too huge; it needs to fit comfortably in your crockpot. I’ve had good luck with organic air-chilled chickens from Costco.
- Salt — 1 teaspoon, for seasoning the outside.
- Black pepper — ½ teaspoon.
- Optional aromatics for the cavity — 1 lemon, quartered, and 3 sprigs of fresh thyme. This adds extra moisture and a subtle citrus note.
- Chicken broth or water — ½ cup (120ml). Just enough to create steam and prevent sticking. Don’t drown the chicken.
If you’re using dried herbs instead of fresh, reduce the amounts by about half — dried herbs are more concentrated. For the rosemary, use only ¼ teaspoon dried. I’ve made this with all dried herbs in a pinch, and it still turns out great. Just don’t skip the fresh garlic. That’s non-negotiable in my book.
For a dairy-free version, you can use vegan butter or coconut oil. The flavor changes slightly, but the texture stays similar. I’ve tried it with olive oil too, and while it works, the butter gives a richer mouthfeel that’s hard to beat.
Equipment Needed
- Crockpot or slow cooker — 6-quart or larger. A 4-quart might work for a smaller chicken, but you’ll want room for the heat to circulate. I use a basic Cuisinart model that’s served me well for years.
- Small mixing bowl — For combining the herb butter.
- Sharp knife and cutting board — For mincing garlic and chopping herbs. A dull knife makes this step frustrating.
- Measuring spoons — For accuracy, especially with the salt.
- Kitchen twine — Optional but helpful for trussing the chicken so it cooks evenly. If you don’t have it, no big deal.
- Meat thermometer — Seriously, get one. It’s the only way to know for sure your chicken is done without cutting into it and losing all those juices.
- Tongs — For handling the hot chicken when it’s done. Silicone-tipped ones won’t scratch your crockpot.
If you don’t have a crockpot, you can use a Dutch oven in the oven at 300°F for about 3 hours. The results are similar, though the crockpot version is more forgiving if you run late.
Preparation Method
- Make the herb butter. In a small bowl, combine the softened butter, minced garlic, parsley, rosemary, thyme, oregano, salt, and pepper. Mash it together with a fork until everything is evenly distributed. It should look like a slightly chunky green paste. Set it aside while you prep the chicken. (About 3 minutes.)
- Prep the chicken. Remove the chicken from its packaging. Take out the giblets if they’re inside — I always forget this step and find them later. Pat the chicken completely dry with paper towels. This is important; wet skin won’t crisp up at all. Season the outside with the remaining salt and pepper. (About 2 minutes.)
- Apply the herb butter under the skin. This is the game-changing step. Gently work your fingers under the skin of the chicken breast, being careful not to tear it. Start at the cavity opening and loosen the skin from the meat. You want to create a pocket. Take about two-thirds of the herb butter and spread it directly onto the meat under the skin. Use your fingers to massage it around so it covers both breasts evenly. Spread the remaining butter over the outside of the skin. Don’t worry if some falls off — it’ll melt into the drippings. (About 5 minutes.)
- Stuff the cavity (optional). If using, stuff the lemon quarters and thyme sprigs into the chicken cavity. This adds moisture and a faint citrus flavor that brightens the whole dish. Don’t overstuff; you just want a little something in there.
- Truss the chicken (optional). Tie the legs together with kitchen twine. This helps the chicken cook more evenly and keeps the legs from drying out. If you don’t have twine, just tuck the wing tips under the bird and cross the legs. It’ll be fine.
- Place in the crockpot. Put the chicken breast-side up in the crockpot. Pour the chicken broth around the sides — not over the top, or you’ll wash off the butter. The liquid should come up about ¼ inch. Don’t add more; the chicken will release its own juices as it cooks.
- Cook low and slow. Cover and cook on LOW for 6-7 hours, or on HIGH for 3-4 hours. Low is better for tenderness. The chicken is done when the internal temperature reaches 165°F (74°C) in the thickest part of the thigh, not touching bone. My 5-pound chicken usually takes about 6.5 hours on low.
- Rest before carving. This is the hardest part. Carefully lift the chicken out of the crockpot using tongs and place it on a cutting board. Let it rest for 10-15 minutes. I know you want to dig in, but resting lets the juices redistribute. If you cut too soon, all that juiciness ends up on the board instead of in your mouth.
- Carve and serve. Remove the twine and any cavity aromatics. Carve the chicken into pieces — I usually do legs, thighs, wings, and slice the breast. Spoon some of the cooking juices over the top for extra flavor. Serve immediately.
One thing I learned the hard way: don’t lift the lid to check on it. Every time you open that crockpot, you lose heat and add 20-30 minutes to the cooking time. Trust the process and keep the lid on.
Cooking Tips & Techniques
Let me save you from some mistakes I’ve made. The first time I made this, I used cold butter straight from the fridge. It wouldn’t spread under the skin, and I ended up with chunks of butter that melted unevenly. Softened butter is key — it should be spreadable but not melted.
Another thing: don’t skip drying the chicken. I know it seems fussy, but wet skin steams instead of roasts, and you’ll end up with rubbery skin. A thorough pat-down with paper towels makes a noticeable difference. I once forgot this step when I was rushing, and the skin was so unappetizing I peeled it off entirely.
If you’re worried about the chicken being bland, you can season it the night before. Rub the herb butter under the skin, cover it, and let it sit in the fridge overnight. The flavors penetrate even deeper. Just pull it out 30 minutes before cooking to take the chill off.
For the most consistent results, use a meat thermometer. I ruined a few chickens before I bought one, thinking I could tell by touch or time alone. The difference between 160°F and 165°F is subtle but important. Underdone chicken is unsafe; overdone is dry. That thermometer is your insurance policy.
Multitasking tip: while the chicken rests, use the cooking liquid to make a quick pan sauce. Skim off some fat, add a splash of white wine or lemon juice, and simmer for a few minutes. Pour it over the carved chicken for an extra layer of flavor. It takes five minutes and feels fancy.
Variations & Adaptations
This recipe is surprisingly flexible. Here are a few ways I’ve changed it up depending on what I had on hand or who I was cooking for.
Lemon Herb Version
Add the zest of one lemon to the herb butter and replace the dried oregano with a teaspoon of fresh lemon thyme. The citrus cuts through the richness beautifully. I made this for a spring dinner party, and everyone asked for the recipe.
Spicy Southwest Version
Mix 1 teaspoon of smoked paprika, ½ teaspoon of cumin, and ¼ teaspoon of cayenne into the herb butter. Skip the rosemary and use cilantro instead of parsley. Serve with black beans and rice for a complete meal. This one’s great for meal prep — the spices hold up well over a few days.
Garlic Lovers Version
Double the garlic to 8 cloves. Roast them first in the oven at 400°F for 15 minutes until soft and sweet, then mash them into the butter. The roasted garlic adds a mellow, almost nutty flavor that’s completely different from raw garlic. Fair warning: your kitchen will smell incredible.
Dietary Adaptations
- Dairy-free: Use vegan butter or coconut oil. I’ve tried both; coconut oil gives a subtle tropical note that works surprisingly well with the herbs.
- Low-sodium: Use unsalted butter and reduce the added salt to ¼ teaspoon. The herbs provide plenty of flavor on their own.
- Keto-friendly: This recipe is already low-carb. Skip the lemon in the cavity if you’re strictly counting carbs, but honestly, the amount is negligible.
Serving & Storage Suggestions
This chicken is best served hot, right after resting. The skin is at its crispiest, and the meat is at its most tender. I like to arrange the carved pieces on a platter and spoon a little of the cooking juices over the top. A sprinkle of fresh parsley or thyme leaves adds a nice finishing touch.
For sides, keep it simple. Roasted vegetables — carrots, broccoli, or asparagus — complement the herby flavors without competing. Mashed potatoes or cauliflower mash are perfect for soaking up the juices. A crisp green salad with a lemony vinaigrette cuts through the richness. I’ve also served this over rice or quinoa for a heartier meal.
Leftovers are where this recipe really shines. The flavors deepen overnight, and the meat stays moist even after reheating. Store leftover chicken in an airtight container in the refrigerator for up to 4 days. For longer storage, shred the meat and freeze it in a freezer-safe bag for up to 3 months. I do this on purpose sometimes — having pre-cooked shredded chicken on hand is a lifesaver for quick lunches.
To reheat, the best method is in a covered dish in a 300°F oven for about 15 minutes. The microwave works in a pinch, but it tends to dry out the breast meat. If you’re reheating shredded chicken, a splash of broth in a skillet over medium heat brings it back to life.
One thing I’ve noticed: the chicken is actually better the next day when used cold in salads or sandwiches. The herb butter flavor has fully permeated the meat, and the texture is firmer. I love shredding it over a bed of greens with some cherry tomatoes and a simple vinaigrette.
Nutritional Information & Benefits
Here’s an approximate nutritional breakdown for a 6-ounce serving of this herb butter chicken (without skin):
| Nutrient | Amount |
|---|---|
| Calories | 320 |
| Protein | 38g |
| Fat | 18g |
| Saturated Fat | 8g |
| Carbohydrates | 1g |
| Fiber | 0g |
| Sugar | 0g |
| Sodium | 480mg |
Chicken is an excellent source of lean protein, which supports muscle maintenance and keeps you feeling full. The herbs in this recipe — parsley, thyme, rosemary, and oregano — are packed with antioxidants and anti-inflammatory compounds. Garlic is known for its immune-boosting properties and may help lower blood pressure. By using butter instead of processed oils, you’re getting a more natural fat source, though moderation is still key.
This recipe fits well into a balanced diet. It’s naturally low in carbs and sugar, making it suitable for low-carb and keto lifestyles. If you’re watching your sodium, you can easily reduce the salt without sacrificing too much flavor — the herbs carry the dish. The only potential allergen is dairy from the butter, but as mentioned, it can be substituted.
From my perspective, this is the kind of meal that makes eating healthy feel effortless. You’re getting high-quality protein and beneficial herbs, all in a package that tastes indulgent. It’s proof that you don’t need complicated ingredients or heavy sauces to create something deeply satisfying.
Conclusion
This healthy herb butter crockpot chicken has become my go-to for so many reasons. It’s forgiving enough for a beginner, but the technique is smart enough to impress experienced cooks. That little trick of putting the butter under the skin? It’s the kind of simple wisdom that makes you wonder why you didn’t think of it yourself.
I hope you give this recipe a try, and I hope you make it your own. Maybe you’ll add more garlic, or swap in tarragon for the rosemary, or stuff the cavity with orange slices instead of lemon. That’s the beauty of a simple recipe — it’s a starting point, not a rulebook. I’d love to hear how it turns out for you. Did you try a variation? Did your family love it? Drop a comment below and let me know.
And hey, if you discover something new in the process — even if it means being wrong about something you thought you knew — that’s a win too. Happy cooking, friends.
Frequently Asked Questions
Can I use chicken breasts instead of a whole chicken?
Yes, but the cooking time will be much shorter — about 3-4 hours on low. The herb butter under the skin technique won’t work the same way since chicken breasts don’t have loose skin. Instead, rub the butter directly onto the breasts and cook them in a single layer. Check for doneness at 3 hours.
Do I have to use fresh herbs?
Not at all. Dried herbs work perfectly fine. Use about half the amount of dried herbs compared to fresh. For this recipe, that means ½ teaspoon dried parsley, ¼ teaspoon dried rosemary, ¼ teaspoon dried thyme, and ¼ teaspoon dried oregano. The flavor will be slightly different but still delicious.
Can I cook this on HIGH instead of LOW?
You can, but I don’t recommend it. Cooking on LOW for 6-7 hours gives the collagen in the chicken time to break down, resulting in more tender meat. HIGH heat can make the breast meat dry out faster. If you’re in a hurry, 3-4 hours on HIGH will work, just watch the temperature closely.
How do I know when the chicken is done without a thermometer?
If you don’t have a thermometer, check that the juices run clear when you pierce the thigh with a knife. The meat should pull away easily from the bone, and there should be no pinkness near the joints. But honestly, a $10 thermometer is worth the investment — it takes the guesswork out completely.
Can I add vegetables to the crockpot with the chicken?
Yes, but add them later in the cooking process. Root vegetables like carrots and potatoes can go in at the start since they take longer to cook. More delicate vegetables like zucchini or bell peppers should be added in the last hour. Otherwise, they’ll turn to mush. I like to add baby carrots and quartered red potatoes at the beginning for a complete one-pot meal.
Pin This Recipe!
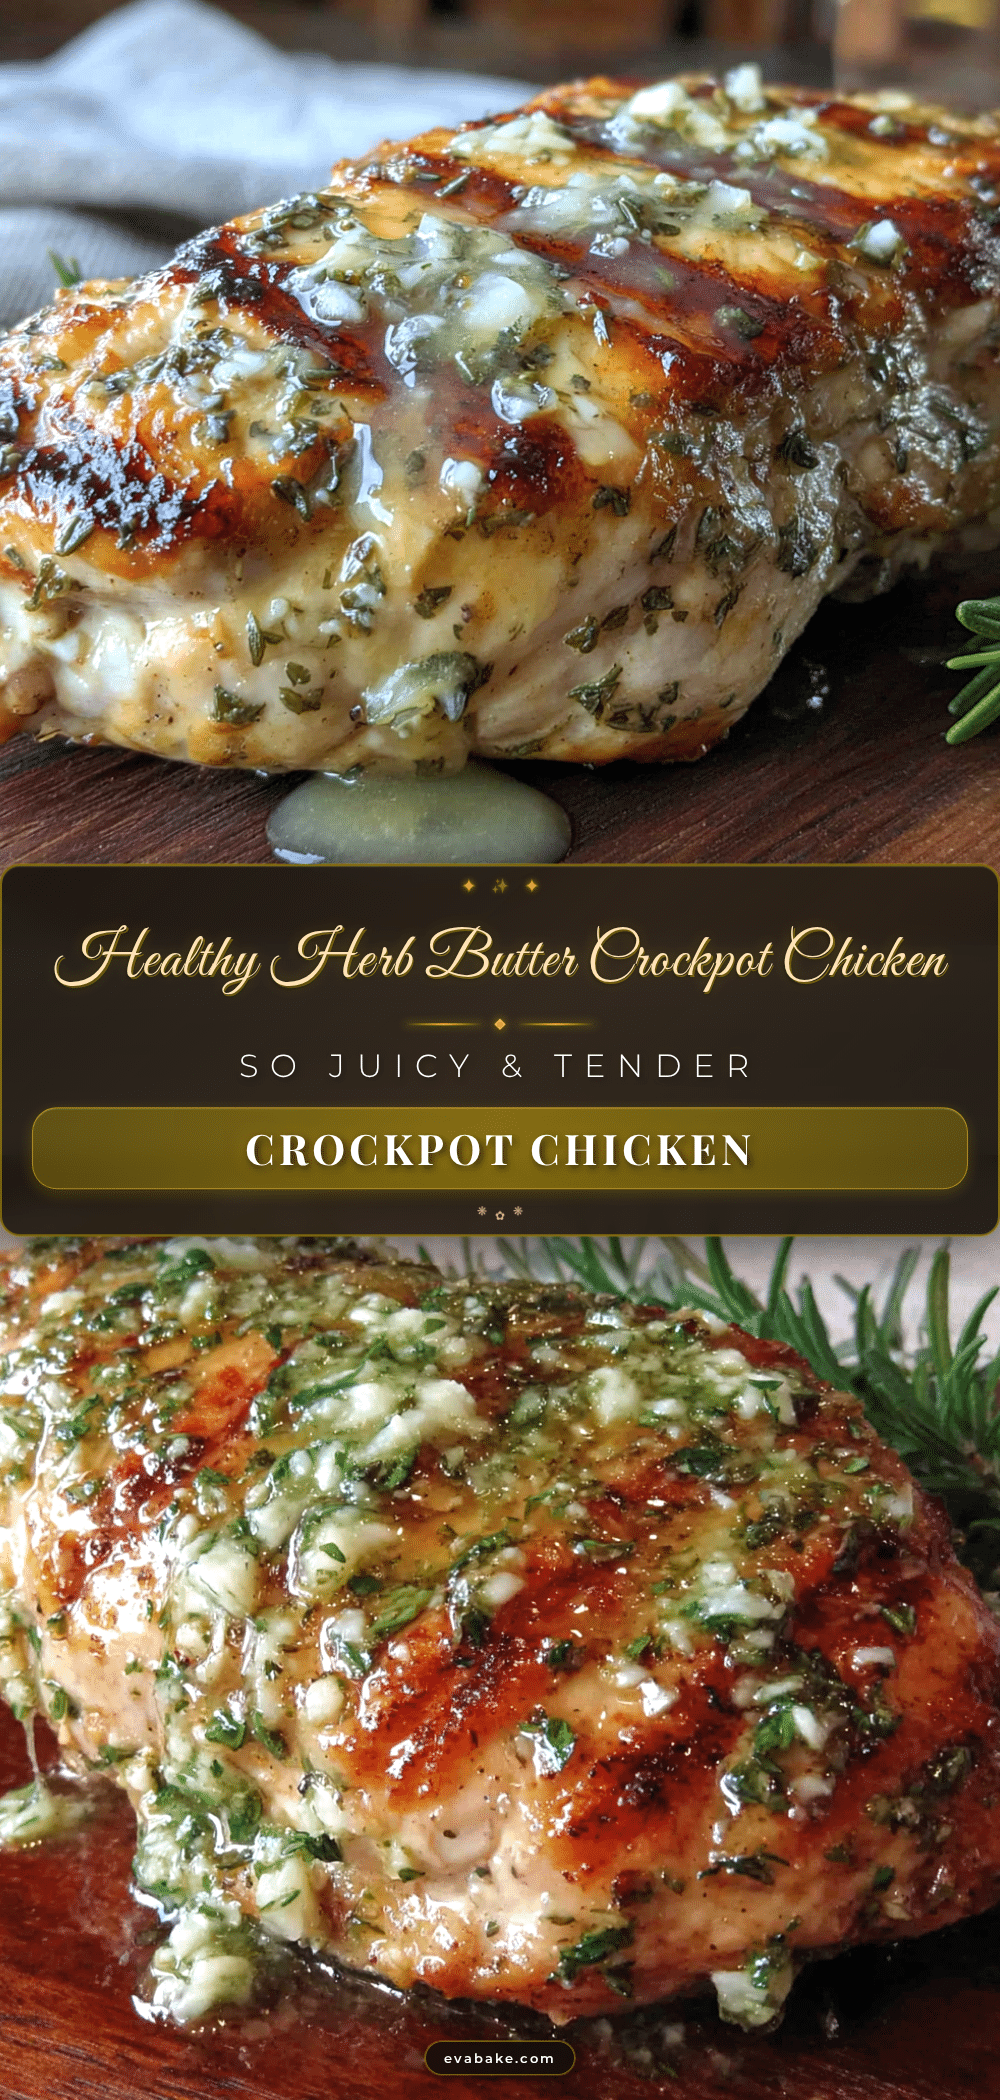
Healthy Herb Butter Crockpot Chicken – Best Juicy Easy Dinner

This healthy herb butter crockpot chicken is incredibly juicy and flavorful, thanks to a simple technique of rubbing the herb butter under the skin. With just 10 minutes of prep and a few pantry staples, you can set it and forget it for a delicious, crowd-pleasing dinner.
- Prep Time: 10 minutes
- Cook Time: 6 hours 30 minutes
- Total Time: 6 hours 40 minutes
- Yield: 6 servings 1x
- Category: Main Course
- Cuisine: American
Ingredients
- 4 tablespoons (56g) unsalted butter, softened
- 4 cloves fresh garlic, minced (about 2 teaspoons)
- 2 tablespoons fresh parsley, finely chopped
- 1 teaspoon fresh rosemary, finely chopped
- 1 teaspoon fresh thyme leaves
- ½ teaspoon dried oregano
- ½ teaspoon salt
- ¼ teaspoon black pepper, freshly ground
- 1 whole chicken (4–5 lbs / 1.8–2.3 kg)
- 1 teaspoon salt (for seasoning the outside)
- ½ teaspoon black pepper (for seasoning the outside)
- 1 lemon, quartered (optional)
- 3 sprigs fresh thyme (optional)
- ½ cup (120ml) chicken broth or water
Instructions
- Make the herb butter: In a small bowl, combine the softened butter, minced garlic, parsley, rosemary, thyme, oregano, salt, and pepper. Mash together with a fork until evenly distributed. Set aside.
- Prep the chicken: Remove the chicken from packaging and take out the giblets if present. Pat the chicken completely dry with paper towels. Season the outside with the remaining salt and pepper.
- Apply the herb butter under the skin: Gently work your fingers under the skin of the chicken breast to create a pocket. Spread about two-thirds of the herb butter directly onto the meat under the skin, massaging to cover both breasts evenly. Spread the remaining butter over the outside of the skin.
- Stuff the cavity (optional): If using, stuff the lemon quarters and thyme sprigs into the chicken cavity.
- Truss the chicken (optional): Tie the legs together with kitchen twine, or tuck the wing tips under the bird and cross the legs.
- Place in the crockpot: Put the chicken breast-side up in the crockpot. Pour the chicken broth around the sides (not over the top). The liquid should come up about ¼ inch.
- Cook low and slow: Cover and cook on LOW for 6-7 hours, or on HIGH for 3-4 hours, until the internal temperature reaches 165°F (74°C) in the thickest part of the thigh.
- Rest before carving: Carefully lift the chicken out of the crockpot and place on a cutting board. Let it rest for 10-15 minutes.
- Carve and serve: Remove twine and cavity aromatics. Carve the chicken into pieces and spoon some cooking juices over the top. Serve immediately.
Notes
For best results, use softened butter and pat the chicken dry. Don’t lift the lid during cooking. Let the chicken rest before carving to retain juices. For a dairy-free version, use vegan butter or coconut oil. Dried herbs can be substituted (use half the amount).
Nutrition
- Serving Size: 6 ounces (without sk
- Calories: 320
- Sodium: 480
- Fat: 18
- Saturated Fat: 8
- Carbohydrates: 1
- Protein: 38
Keywords: herb butter chicken, crockpot chicken, slow cooker chicken, healthy chicken recipe, easy dinner, juicy chicken