I was looking through a stack of old cookbooks at a library book sale when the elderly volunteer behind the counter said, “You know, I have the only sugar cookie recipe you’ll ever need.” I wasn’t expecting baking advice from a retired accountant named Betty who smelled like mothballs and peppermint, but there I was, standing in the musty basement of the public library, listening to her describe exactly how to make Classic Christmas Sugar Cookies with Royal Icing. She told me the recipe came from her mother-in-law, who had gotten it from a bakery in Chicago that closed in 1962. I scribbled her instructions on the back of a receipt, and honestly, I almost lost it twice before I got home. But I’m so glad I didn’t—because these cookies? They’re the real deal. Perfectly crisp edges, soft centers, and royal icing that dries like glass. Let me tell you, if you’ve been hunting for that one cookie recipe that actually delivers, this might just be it.
Why You’ll Love This Recipe
I’ve tested a lot of sugar cookie recipes over the years. Some spread too much. Some tasted like flour and sadness. Others just didn’t hold their shape when I tried to cut them into stars and trees. This one is different. After baking these for three consecutive Christmases, I can confidently say this is the recipe I reach for every single time.
- Quick & Easy: The dough comes together in about 15 minutes, and the chilling time does most of the work for you. Perfect for busy holiday weekends.
- Simple Ingredients: You probably already have butter, sugar, flour, and eggs in your kitchen right now. No specialty flours or hard-to-find extracts.
- Perfect for the Holidays: These cookies are designed for decorating, which makes them ideal for Christmas cookie exchanges, gift boxes, or a cozy afternoon with the kids.
- Crowd-Pleaser: I’ve brought these to three different holiday parties and watched them disappear before the savory dishes were even touched. Kids and adults both go back for seconds.
- Unbelievably Delicious: The combination of vanilla and almond extract gives these cookies a flavor that’s nostalgic but not boring. The royal icing sets up hard enough to stack without smudging.
This isn’t just another sugar cookie recipe. It’s the one that makes you close your eyes after the first bite. It’s comfort food reimagined—simple, reliable, and absolutely worth the little bit of effort it takes to roll and cut the dough.
What Ingredients You Will Need
This recipe uses straightforward, pantry-friendly ingredients to create cookies that taste anything but basic. Each component plays a specific role in the texture and flavor, so here’s what you’ll need and why it matters.
For the Cookies
- Unsalted butter, softened (1 cup / 226g) – I always use unsalted so I can control the salt level. Let it sit out for about 30 minutes before you start.
- Granulated sugar (1 cup / 200g) – Regular white sugar gives these cookies their classic sweetness and crisp edges.
- Large egg (1, room temperature) – Room temperature eggs incorporate more evenly into the creamed butter and sugar. Just set yours out with the butter.
- Vanilla extract (1½ teaspoons) – Pure vanilla makes a difference here. I prefer Nielsen-Massey, but any good brand works.
- Almond extract (½ teaspoon) – This is the secret ingredient. It adds a subtle, nutty warmth that makes people ask, “What’s in these?”
- All-purpose flour (2½ cups / 312g) – Spoon and level your flour for best results. Scooping directly from the bag can pack in too much.
- Baking powder (1 teaspoon) – Just enough to give the cookies a slight lift without making them puffy.
- Salt (½ teaspoon) – Balances the sweetness and enhances the other flavors.
For the Royal Icing

- Powdered sugar (3 cups / 360g) – Sift it if you can. Lumps will show up in the final icing.
- Meringue powder (2 tablespoons) – This is what gives royal icing its structure and glossy finish. You can find it at most craft stores or online.
- Warm water (4–5 tablespoons) – Add it slowly. You’re looking for a consistency that flows like thick honey.
- Vanilla extract (½ teaspoon) – Optional, but I like a hint of flavor in the icing too.
- Food coloring (gel-based preferred) – Liquid drops can thin the icing too much. Gel colors give vibrant shades without changing the texture.
Equipment Needed
You don’t need a professional bakery setup to make these cookies shine. Here’s what I use every time.
- Stand mixer or hand mixer – Creaming the butter and sugar by hand is possible but exhausting. A mixer makes it effortless.
- Rolling pin – A standard wooden one works fine. If you have adjustable rings, they help keep the thickness even.
- Cookie cutters – Christmas shapes like stars, trees, snowflakes, and bells are classics. I found a set at a thrift store for $2.
- Baking sheets – Light-colored, rimmed sheets give the most even browning. Dark sheets can over-brown the bottoms.
- Parchment paper or silicone baking mats – Non-negotiable for easy cleanup and preventing sticking.
- Cooling racks – Wire racks let air circulate so the cookies cool flat and even.
- Piping bags or squeeze bottles – For the royal icing. Squeeze bottles are easier for kids and beginners.
- Small offset spatula – Helps spread icing smoothly if you’re flooding the cookies.
Preparation Method
- Cream the butter and sugar. In a large mixing bowl, beat the softened butter and granulated sugar together on medium speed for about 3 minutes, until light and fluffy. Scrape down the sides of the bowl once during mixing. You want the mixture to look pale and airy—that’s how you know it’s ready.
- Add the egg and extracts. Crack the room-temperature egg into the bowl, then add the vanilla and almond extracts. Beat on low until just combined. Don’t overmix here, or the dough can get tough later.
- Combine the dry ingredients. In a separate bowl, whisk together the flour, baking powder, and salt. Add this mixture to the wet ingredients in two additions, mixing on low after each. Stop as soon as the flour disappears. The dough will look crumbly at first, but it will come together when you press it.
- Chill the dough. Divide the dough into two discs, wrap each tightly in plastic wrap, and refrigerate for at least 2 hours. Overnight is even better. Chilling prevents spreading and makes the dough much easier to roll.
- Preheat and prepare. When you’re ready to bake, preheat your oven to 375°F (190°C). Line your baking sheets with parchment paper or silicone mats.
- Roll and cut. Lightly flour your work surface and rolling pin. Roll one disc of dough to about ¼-inch thickness. Cut out your shapes and transfer them to the prepared baking sheets, spacing them about 1½ inches apart. Gather the scraps, re-roll, and cut more cookies until all the dough is used.
- Bake. Bake for 8–10 minutes, rotating the sheet halfway through. The cookies should be set around the edges but still pale on top. They will firm up as they cool. Let them rest on the baking sheet for 2 minutes, then transfer to a wire rack to cool completely.
- Make the royal icing. In a clean bowl, combine the powdered sugar and meringue powder. Add 4 tablespoons of warm water and the vanilla extract. Beat on low for about 4 minutes, until the icing is thick and glossy. If it’s too thick, add more water a teaspoon at a time. If it’s too thin, add a little more powdered sugar.
- Color and decorate. Divide the icing into small bowls and tint with gel food coloring. Transfer to piping bags or squeeze bottles. Outline each cookie first, then flood the center with a slightly thinner icing. Use a toothpick to spread the icing into corners and pop any air bubbles.
- Let the icing set. Allow the decorated cookies to dry at room temperature for at least 4 hours, or overnight. The icing should be hard to the touch before you stack or store them.
Cooking Tips & Techniques
I’ve made plenty of mistakes with sugar cookies over the years. Here’s what I’ve learned so you don’t have to repeat them.
Don’t skip the chill. I once tried to rush the process and rolled the dough after only 30 minutes in the fridge. The cookies spread into blobs. That extra hour makes all the difference.
Flour your cutters. Dip your cookie cutters in flour before each press. It prevents the dough from sticking and tearing the edges.
Watch the bake time. These cookies are done when the edges are just barely golden. Overbaking by even a minute can make them dry. I set a timer for 8 minutes and check from there.
Consistency is key for icing. For outlining, the icing should hold a stiff peak. For flooding, it should flow like thick honey and settle smooth within 10 seconds. Test a small amount on a plate before you start decorating.
Work in batches. Keep the dough you’re not using in the fridge. Warm dough is sticky dough. I only take out one disc at a time.
Variations & Adaptations
One of the best things about this recipe is how easy it is to adapt. Here are a few ways I’ve changed it up over the years.
- Gluten-Free Version: Substitute the all-purpose flour with a 1:1 gluten-free baking flour blend. I’ve used Bob’s Red Mill with great results. The texture is slightly more tender, but they still hold their shape.
- Citrus Twist: Add 1 teaspoon of lemon or orange zest to the dough along with the extracts. It brightens the flavor and pairs beautifully with the almond.
- Spiced Sugar Cookies: Add ½ teaspoon of cinnamon and ¼ teaspoon of nutmeg to the dry ingredients. It gives the cookies a warm, holiday-spice flavor that’s perfect for gingerbread-shaped cutters.
- Dairy-Free Option: Use vegan butter sticks (like Earth Balance) in place of the regular butter. The texture is slightly different, but the cookies still taste fantastic.
- No Royal Icing: If you’re short on time, skip the icing altogether. Sprinkle the cookies with colored sanding sugar or cinnamon sugar right before baking. They’re still beautiful and delicious.
Serving & Storage Suggestions
These cookies are best served at room temperature, and they really shine when the icing has had time to fully set. I usually decorate them the night before I plan to serve them.
How to serve: Arrange them on a platter with other holiday treats like gingerbread or peppermint bark. They also make wonderful gifts—stack them in a tin lined with parchment paper, and they’ll travel well.
Storage: Store undecorated cookies in an airtight container at room temperature for up to 2 weeks. Decorated cookies should be stored in a single layer (or with parchment between layers) to keep the icing intact. They’ll stay fresh for about 10 days.
Freezing: You can freeze the unbaked dough discs for up to 3 months. Thaw overnight in the fridge before rolling and cutting. Baked, undecorated cookies also freeze well for up to 2 months. Just thaw at room temperature before icing.
Reheating: These cookies don’t really need reheating, but if you want a warm cookie, pop one in a 300°F oven for 3 minutes. Skip this if they’re iced—the icing will melt.
Nutritional Information & Benefits
Let’s be real—these are sugar cookies, so they’re not health food. But they do use simple, recognizable ingredients without preservatives or artificial flavors. Here’s the approximate breakdown per cookie (based on 36 cookies with icing).
- Calories: 140
- Fat: 6g
- Carbohydrates: 21g
- Protein: 1g
- Sugar: 15g
The butter provides a small amount of vitamin A, and the egg adds a bit of protein. If you’re watching your sugar intake, you can reduce the icing or skip it altogether. For a lower-sugar option, try the sanding sugar variation mentioned above—you’ll use less sugar overall.
Conclusion
I honestly think this is the only sugar cookie recipe you’ll ever need. It’s reliable, forgiving, and produces cookies that taste like the holidays should. Whether you’re baking with your kids, making gifts for neighbors, or just want a quiet afternoon in the kitchen, these cookies deliver every single time.
I’d love to hear how yours turn out. Did you try a fun variation? Did your kids go wild with the sprinkles? Drop a comment below and let me know—I read every single one. And if you share your cookies on social media, tag me so I can see your beautiful creations. Happy baking, friend!
Frequently Asked Questions
Can I make the dough ahead of time?
Absolutely. The dough can be refrigerated for up to 3 days or frozen for up to 3 months. Just wrap it tightly in plastic wrap and then foil to prevent freezer burn.
Why did my cookies spread in the oven?
This usually happens when the dough isn’t chilled enough, or the butter was too soft when you creamed it. Make sure your dough chills for at least 2 hours, and don’t skip that step.
Can I use liquid food coloring in the royal icing?
You can, but it will thin the icing. Gel-based colors are much better because they give vibrant shades without changing the consistency. Start with a tiny amount and add more until you get the color you want.
How long does royal icing take to dry?
It depends on humidity and thickness, but generally, expect 4 to 6 hours for a thin layer. Overnight is safest if you’re stacking the cookies. A fan can speed things up, but don’t use a hair dryer—it can crack the icing.
Can I skip the almond extract?
Yes, you can leave it out or replace it with more vanilla extract. The almond adds a subtle flavor, but the cookies are still delicious without it. If you have nut allergies in the house, definitely skip it.
Pin This Recipe!
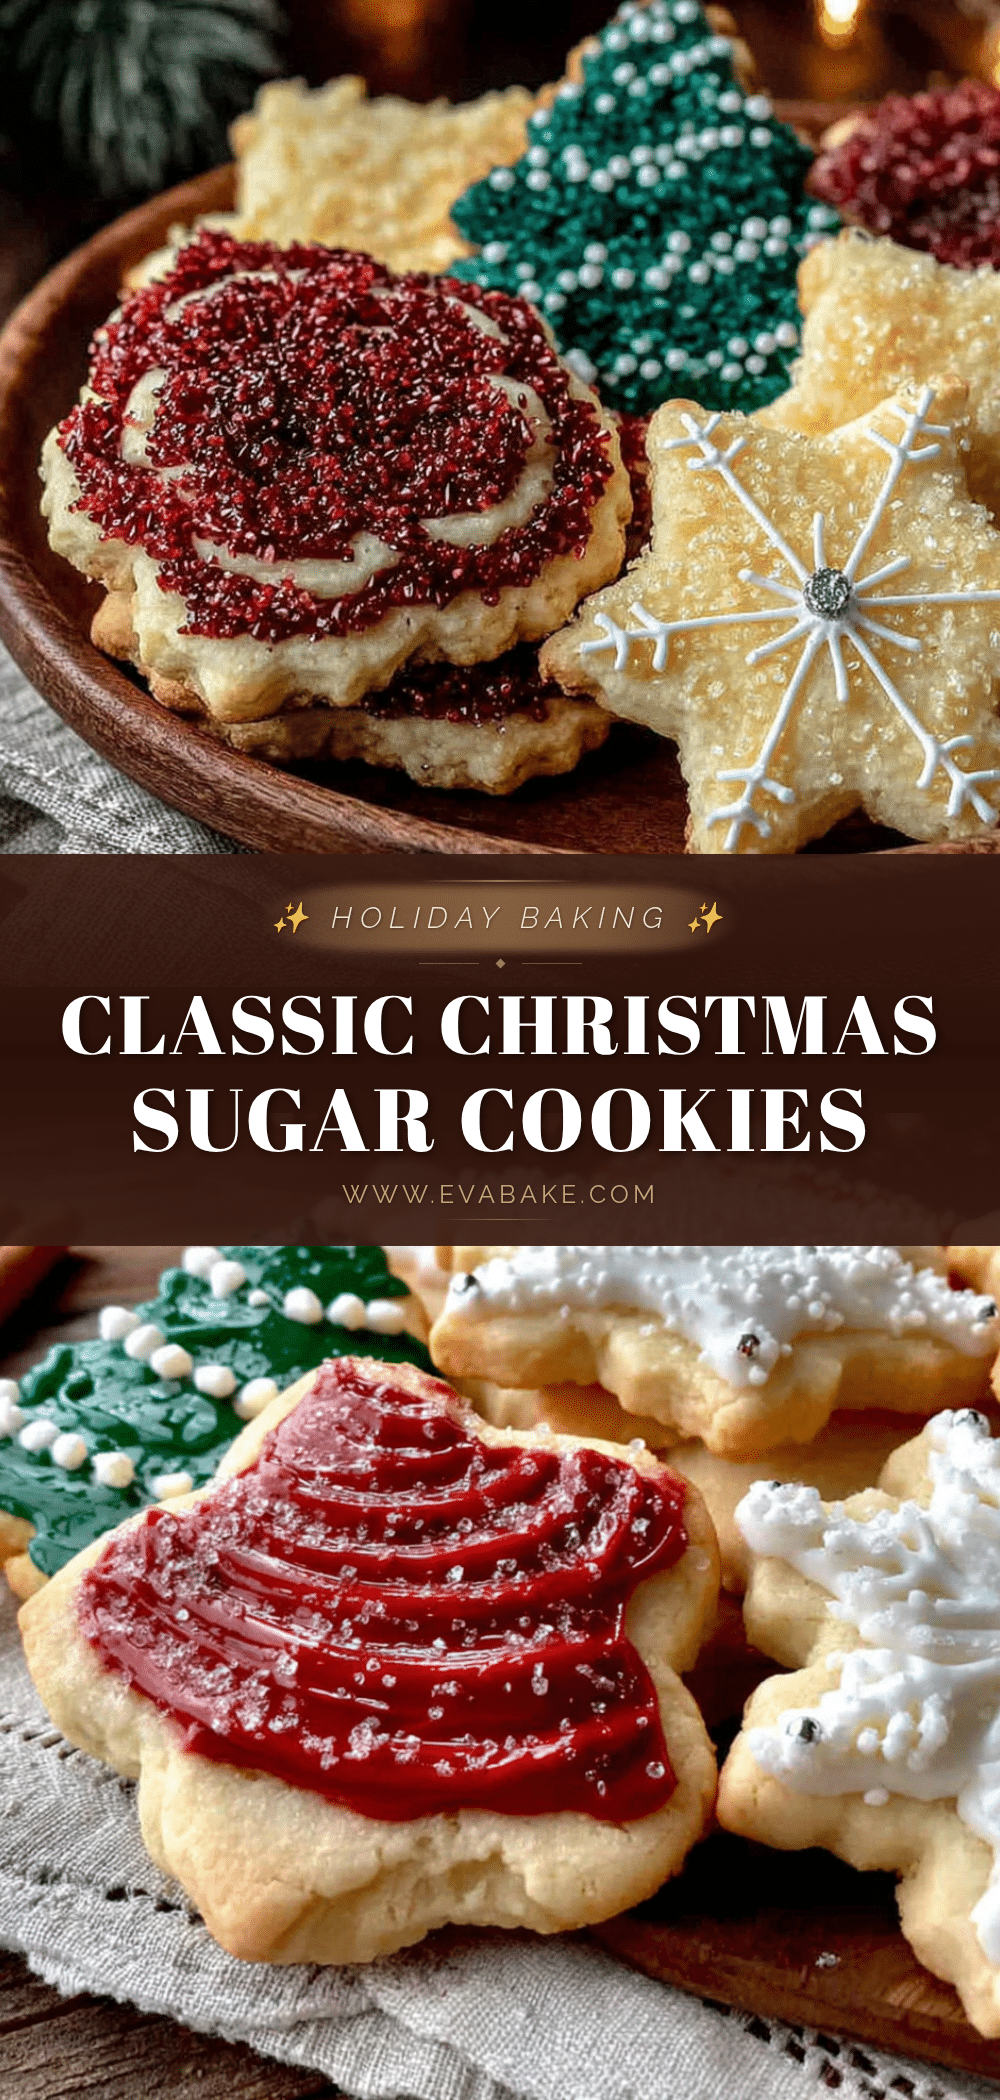
Classic Christmas Sugar Cookies with Royal Icing – Easy Recipe

Perfectly crisp edges, soft centers, and royal icing that dries like glass. This is the only sugar cookie recipe you’ll ever need for the holidays.
- Prep Time: 15 minutes
- Cook Time: 10 minutes
- Total Time: 2 hours 25 minutes (includes chilling)
- Yield: 36 servings 1x
- Category: Dessert
- Cuisine: American
Ingredients
- 1 cup (226g) unsalted butter, softened
- 1 cup (200g) granulated sugar
- 1 large egg, room temperature
- 1½ teaspoons vanilla extract
- ½ teaspoon almond extract
- 2½ cups (312g) all-purpose flour
- 1 teaspoon baking powder
- ½ teaspoon salt
- 3 cups (360g) powdered sugar
- 2 tablespoons meringue powder
- 4–5 tablespoons warm water
- ½ teaspoon vanilla extract (optional, for icing)
- Gel food coloring (optional)
Instructions
- Cream the butter and sugar. In a large mixing bowl, beat the softened butter and granulated sugar together on medium speed for about 3 minutes, until light and fluffy. Scrape down the sides of the bowl once during mixing.
- Add the egg and extracts. Crack the room-temperature egg into the bowl, then add the vanilla and almond extracts. Beat on low until just combined.
- Combine the dry ingredients. In a separate bowl, whisk together the flour, baking powder, and salt. Add this mixture to the wet ingredients in two additions, mixing on low after each. Stop as soon as the flour disappears.
- Chill the dough. Divide the dough into two discs, wrap each tightly in plastic wrap, and refrigerate for at least 2 hours. Overnight is even better.
- Preheat and prepare. When you’re ready to bake, preheat your oven to 375°F (190°C). Line your baking sheets with parchment paper or silicone mats.
- Roll and cut. Lightly flour your work surface and rolling pin. Roll one disc of dough to about ¼-inch thickness. Cut out your shapes and transfer them to the prepared baking sheets, spacing them about 1½ inches apart. Gather the scraps, re-roll, and cut more cookies until all the dough is used.
- Bake. Bake for 8–10 minutes, rotating the sheet halfway through. The cookies should be set around the edges but still pale on top. Let them rest on the baking sheet for 2 minutes, then transfer to a wire rack to cool completely.
- Make the royal icing. In a clean bowl, combine the powdered sugar and meringue powder. Add 4 tablespoons of warm water and the vanilla extract. Beat on low for about 4 minutes, until the icing is thick and glossy. If it’s too thick, add more water a teaspoon at a time. If it’s too thin, add a little more powdered sugar.
- Color and decorate. Divide the icing into small bowls and tint with gel food coloring. Transfer to piping bags or squeeze bottles. Outline each cookie first, then flood the center with a slightly thinner icing. Use a toothpick to spread the icing into corners and pop any air bubbles.
- Let the icing set. Allow the decorated cookies to dry at room temperature for at least 4 hours, or overnight. The icing should be hard to the touch before you stack or store them.
Notes
Don’t skip the chill time—it prevents spreading. For best results, chill dough at least 2 hours. For royal icing, use gel food coloring to avoid thinning. Store undecorated cookies up to 2 weeks, decorated cookies up to 10 days. Freeze dough discs up to 3 months.
Nutrition
- Serving Size: 1 cookie
- Calories: 140
- Sugar: 15
- Sodium: 75
- Fat: 6
- Saturated Fat: 3.5
- Carbohydrates: 21
- Protein: 1
Keywords: sugar cookies, Christmas cookies, royal icing, holiday baking, easy cookie recipe