My neighbor wasn’t trying to impress anyone. She was just making eggnog. I’d stopped by to borrow a ladder—mine had mysteriously vanished after the last garage sale—and the smell hit me before I even knocked. Warm, spicy, boozy, and something else I couldn’t quite name. It was early December, and her kitchen windows were fogged up like something magical was happening inside.
“Oh, that’s just my Christmas eggnog,” she said when I asked, waving a whisk in my direction like it was no big deal. But let me tell you, it was a big deal. The kind of big deal that makes you forget why you came over in the first place. I stood there, ladder completely forgotten, watching her grate fresh nutmeg over a steaming pot of custard. She caught me staring and laughed. “My grandmother never used the pre-ground stuff. Said it was a crime against Christmas.”
I left that day with a mason jar of the most incredible homemade Christmas eggnog I’d ever tasted—and a brand new obsession. Honestly, I’ve been making it every December since. Maybe you’ve been there, standing in someone’s kitchen, watching them do something so simple yet so perfect that you know you’ll never go back to the store-bought version. That was my moment. And now, I’m sharing it with you.
This homemade Christmas eggnog with fresh nutmeg is everything you want the holidays to taste like—rich, creamy, warm with spice, and just a little bit indulgent. It’s the recipe that made me stop buying cartons and start making my own. And once you try it, you’ll understand why.
Why You’ll Love This Recipe
Let me be honest with you—I’ve tested a lot of eggnog recipes over the years. Some were too thin. Some were so thick they felt like drinking pudding. And others? They just didn’t have that something that makes you close your eyes after the first sip. This one? It’s the one.
- Quick & Easy : This homemade Christmas eggnog comes together in about 20 minutes on the stove. Twenty minutes for something that tastes like you spent all day in the kitchen. That’s my kind of holiday magic.
- Simple Ingredients : No weird additives, no preservatives, nothing you can’t pronounce. Just milk, cream, eggs, sugar, and spices. Oh, and fresh nutmeg—non-negotiable, trust me.
- Perfect for Christmas Gatherings : Whether you’re hosting a cozy night in or a full-blown holiday party, this eggnog is the star. Serve it chilled or warm—both ways are incredible.
- Crowd-Pleaser : I’ve served this to eggnog skeptics, and they’ve asked for seconds. Kids love it (without the bourbon), and adults love it even more with a splash of something spirited.
- Unbelievably Delicious : The texture is silky. The flavor is perfectly balanced—not too sweet, not too eggy. And that fresh nutmeg on top? Game-changer.
What makes this recipe different from all the others? It’s the technique. Most recipes just whisk everything together and call it a day. But this one? It uses a gentle custard method that gives you that velvety, luxurious texture without scrambling the eggs. Plus, the fresh nutmeg isn’t just a garnish—it’s infused into the milk first, so every single sip carries that warm, aromatic spice.
This isn’t just another eggnog recipe. It’s the one you’ll make every single Christmas. The one your family will start asking for in November. The one that makes you feel like a holiday hero with almost no effort. Honestly, it’s comfort in a cup—healthier than the store-bought stuff, faster than you’d think, and made with the kind of love that only comes from a home kitchen.
What Ingredients You Will Need
This homemade Christmas eggnog uses simple, wholesome ingredients to deliver that rich, creamy, holiday-perfect flavor. Most of these are pantry staples, but a few—like fresh nutmeg—are worth the extra effort to track down.
- Whole milk, 4 cups (960 ml) — Use the good stuff here. Whole milk gives the eggnog its creamy body without being too heavy.
- Heavy cream, 1 cup (240 ml) — Adds richness and that silky mouthfeel. Don’t substitute with half-and-half; you’ll lose the texture.
- Large eggs, 6 — The base of the custard. Make sure they’re fresh and at room temperature for the best results.
- Granulated sugar, ¾ cup (150 g) — Just enough sweetness without overpowering the spices. You can adjust slightly to taste.
- Fresh nutmeg, 1 whole nutmeg, grated — This is non-negotiable. Pre-ground nutmeg loses its volatile oils quickly and tastes dusty. A whole nutmeg grated fresh is a completely different experience.
- Ground cinnamon, 1 teaspoon — Adds warmth and depth. I prefer Ceylon cinnamon for its milder, sweeter flavor.
- Vanilla extract, 1 teaspoon — Pure vanilla, not imitation. It rounds out the spices beautifully.
- Salt, a pinch — Just a tiny pinch to balance the sweetness and enhance the other flavors.
- Bourbon, rum, or brandy (optional), ½ to 1 cup (120-240 ml) — Totally up to you. I like a good bourbon for its vanilla notes, but dark rum or brandy work beautifully too. Leave it out for a kid-friendly version.
Ingredient Tips from My Kitchen: I always buy organic eggs when making eggnog since they’re not fully cooked. It’s a small extra step for peace of mind. For the milk, I’ve tried this with oat milk once (don’t ask—it was a desperate Christmas Eve situation), and honestly, stick with dairy. The texture just isn’t the same. And please, please get a whole nutmeg. You can find them in the spice aisle, and a good microplane will grate it in seconds. I promise you’ll taste the difference.
Substitution Guidance: If you’re dairy-sensitive, you can try a combination of full-fat oat milk and canned coconut cream, but I won’t pretend it’s the same. For a lower-sugar version, reduce the sugar to ½ cup and add an extra pinch of salt. And if you don’t drink alcohol, this eggnog is absolutely delicious on its own—the spices are more than enough to make it feel special.
Equipment Needed
You don’t need a fancy kitchen to make this homemade Christmas eggnog. Just a few basic tools you probably already have.
- Medium saucepan — A heavy-bottomed one is best for even heating and preventing scorching.
- Whisk — A good balloon whisk makes all the difference. You’ll be whisking constantly, so make it a comfortable one.
- Mixing bowls — One medium for the eggs and sugar, one large for the ice bath later.
- Microplane or fine grater — For grating that fresh nutmeg. This is my most-used holiday tool.
- Fine-mesh strainer — Essential for catching any bits of cooked egg and getting that silky-smooth texture.
- Pitcher or jar for storing — A glass pitcher or mason jars work perfectly.
- Wooden spoon or spatula — For stirring the ice bath.
- Candy thermometer (optional but helpful) — Takes the guesswork out of tempering eggs. I use one every time now after a slightly scrambled egg incident a few years back.
If you don’t have a candy thermometer, don’t worry. You can test the custard by dipping a wooden spoon in—if it coats the back of the spoon and you can draw a clean line through it with your finger, it’s ready. That’s how my neighbor did it, and she never owned a thermometer in her life.
Preparation Method
Making homemade Christmas eggnog is easier than you think. The key is patience and constant whisking. Trust the process—it’s worth every second.
- Infuse the milk with fresh nutmeg. In a medium saucepan, combine the whole milk, heavy cream, and about half of your freshly grated nutmeg (roughly ½ teaspoon). Heat over medium heat until it’s steaming but not boiling—you’ll see tiny bubbles forming around the edges. This takes about 5-7 minutes. Remove from heat and let it steep for 10 minutes. This step is where the magic starts.
- Whisk the eggs and sugar. While the milk is steeping, crack your eggs into a medium bowl. Add the sugar and whisk until the mixture is pale yellow and slightly thickened, about 2-3 minutes. It should fall off the whisk in a ribbon. This is your custard base.
- Temper the eggs. This is the most important step. Slowly, and I mean slowly, drizzle about a cup of the warm milk mixture into the eggs while whisking constantly. You’re warming the eggs up gradually so they don’t scramble. Then, pour the egg mixture back into the saucepan with the remaining milk. Whisk it all together.
- Cook the custard. Return the saucepan to medium-low heat. Cook, stirring constantly with your whisk, until the mixture thickens enough to coat the back of a spoon. This takes about 8-10 minutes. Don’t rush it! If you see any steam or small bubbles, reduce the heat. You want it to thicken gently. If you’re using a thermometer, aim for 160°F (71°C).
- Strain immediately. Set a fine-mesh strainer over a large bowl. Pour the custard through it to catch any accidental lumps or cooked egg bits. This gives you that silky-smooth texture every time.
- Cool it down fast. Fill a larger bowl with ice and water. Set the bowl of strained custard into the ice bath and stir occasionally with a wooden spoon. This stops the cooking process and cools it down quickly. It takes about 10-15 minutes.
- Add the flavorings. Once the custard is cool, stir in the vanilla extract, ground cinnamon, and a pinch of salt. If you’re adding alcohol, now’s the time. Start with ½ cup and taste—you can always add more.
- Chill thoroughly. Pour the eggnog into a pitcher or jar and refrigerate for at least 4 hours, preferably overnight. The flavors meld and deepen as it sits. I know it’s hard to wait, but trust me—it’s so much better the next day.
- Serve with fresh nutmeg. When you’re ready to serve, pour the eggnog into cups and grate a generous amount of fresh nutmeg over the top. It’s the final touch that makes this homemade Christmas eggnog unforgettable.
My Personal Tip: If you’re in a hurry, you can skip the ice bath and just refrigerate immediately, but the texture won’t be quite as silky. The rapid cooling really does make a difference. Also, if you accidentally cook the eggs too fast and see small lumps, don’t panic—just blend the strained eggnog with an immersion blender for a few seconds. I’ve done this more times than I’d like to admit, and it works like a charm.
Cooking Tips & Techniques
I’ve made this homemade Christmas eggnog more times than I can count, and I’ve learned a few things the hard way. Let me save you some trouble.
The number one mistake? Crank the heat too high. I did this my second time making eggnog, thinking I’d speed things up. Within minutes, I had sweet, spicy scrambled eggs. It was heartbreaking. Low and slow is the way to go. Patience isn’t just a virtue here—it’s a requirement.
Another common issue is not whisking enough. You need to whisk constantly while the custard is on the heat. Not aggressively, but steadily. Walk away for even 30 seconds, and you risk scorching the bottom. I learned this while trying to answer a text message. The eggnog survived, but it had a slightly burnt flavor that I couldn’t quite hide.
Here’s a pro tip for perfect tempering every time: Use a ladle to add the hot milk to the eggs, one ladleful at a time, while whisking. It gives you more control than pouring from the saucepan. And if you’re nervous, err on the side of adding the milk too slowly rather than too fast.
For the best texture, strain the custard even if you think you don’t have any lumps. You’ll be surprised at what the strainer catches—tiny bits of cooked egg white that you didn’t even see. It takes 30 seconds and makes a world of difference.
Timing strategy: I like to make this eggnog the day before I plan to serve it. That way, it has all night to chill and the flavors have time to develop. Plus, it’s one less thing to do on the day of the party. Future you will be very grateful.
One last thing— don’t skip the fresh nutmeg on top. I know I sound like a broken record, but it’s the difference between good eggnog and unforgettable eggnog. The aroma alone will make everyone in the room stop and ask what you’re making.
Variations & Adaptations
This homemade Christmas eggnog is incredibly versatile. Here are a few ways to make it your own.
Dairy-Free Version: Use full-fat oat milk and canned coconut cream (not coconut milk—it’s too thin). The texture won’t be quite as rich, but it’s still delicious. I made this for a friend with dairy sensitivity, and she asked for the recipe. Just be extra careful with the tempering since plant-based milks can curdle more easily.
Spiced Chai Eggnog: Add 2-3 cardamom pods, a cinnamon stick, and a few slices of fresh ginger to the milk while it steeps. Strain them out before tempering the eggs. The chai spices pair beautifully with the nutmeg and give the eggnog a cozy, complex flavor. I tried this one cold December night when I ran out of cinnamon and had to improvise—it was a happy accident.
Vegan Version: This one takes a bit more work, but it’s possible. Use silken tofu blended with canned coconut milk as the base, and sweeten with maple syrup instead of sugar. The texture is surprisingly creamy, and the spices do a lot of the heavy lifting flavor-wise. It’s not traditional, but it’s its own thing and honestly pretty good.
Lower-Sugar Option: Reduce the sugar to ½ cup and add an extra pinch of salt. You can also swap half the sugar for a sugar-free alternative like allulose, but I find the texture is slightly better with real sugar. I’ve made this version for myself when I’m trying to be a little more mindful during the holidays, and it still hits the spot.
Extra-Boozy Eggnog: If you’re serving adults only, try a combination of bourbon and dark rum. The bourbon adds vanilla notes, and the rum brings a molasses-y depth. Start with ½ cup total and add more to taste. Just remember—the alcohol doesn’t cook off, so it’s stronger than you might expect.
Serving & Storage Suggestions
This homemade Christmas eggnog is best served cold, straight from the fridge, with a generous grating of fresh nutmeg on top. But it’s also wonderful warm—just gently reheat it on the stove (don’t boil!) and serve in mugs with a cinnamon stick for stirring.
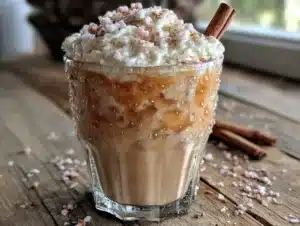
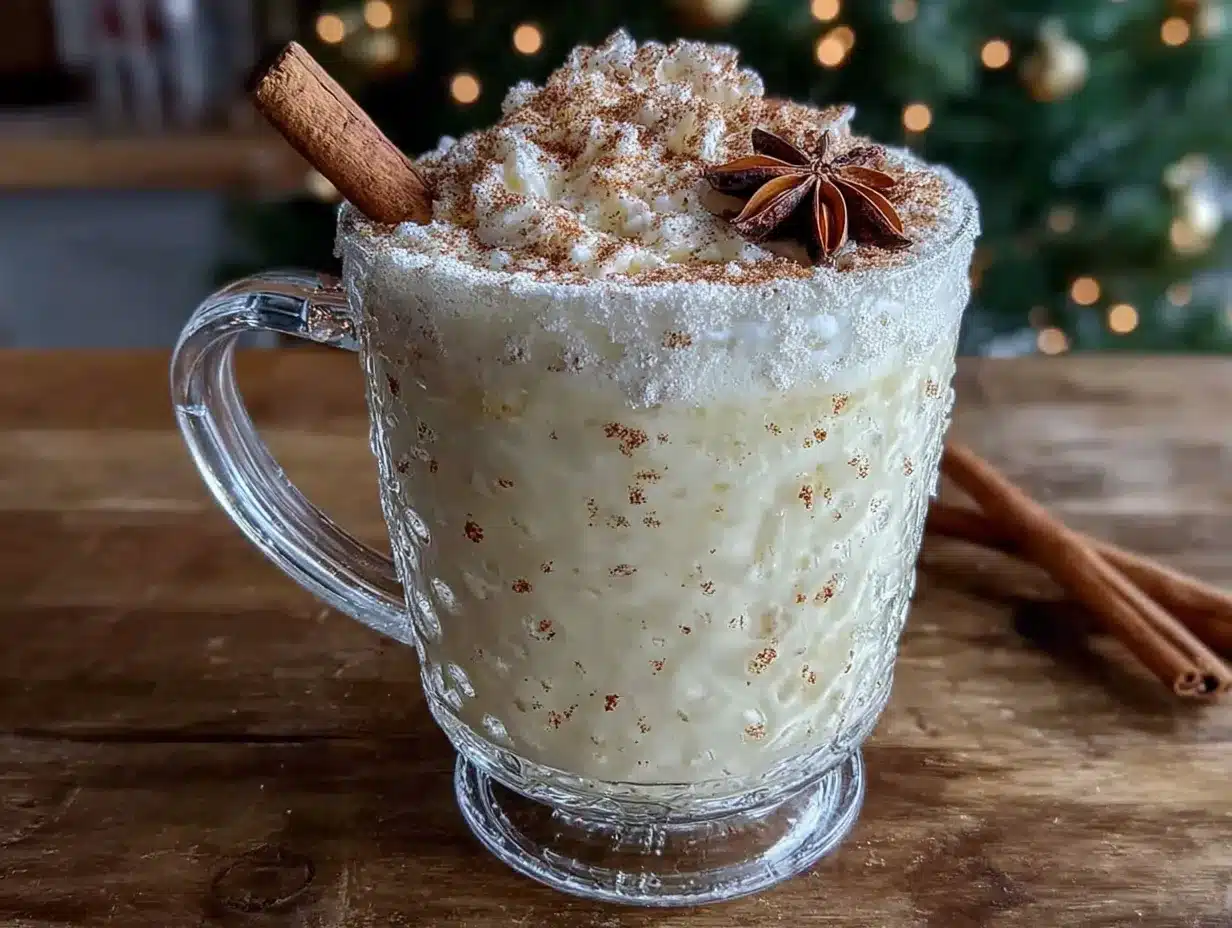
Presentation ideas: Serve in clear glass cups or mugs so everyone can see that beautiful, creamy color. Top with a dollop of lightly sweetened whipped cream and an extra dusting of nutmeg for a truly show-stopping look. A cinnamon stick or a star anise makes a gorgeous garnish.
What to serve with it: This eggnog pairs beautifully with gingerbread cookies, shortbread, or a simple pound cake. For a full holiday spread, serve it alongside classic sugar cookies or spiced Christmas cake. The warm spices in both complement the eggnog perfectly.
Storage instructions: Store your eggnog in a sealed pitcher or jar in the refrigerator for up to 5 days. The flavors actually improve after a day or two as the spices meld. Give it a good stir before serving because the cream may separate slightly.
Freezing: You can freeze eggnog for up to 3 months. Pour it into a freezer-safe container, leaving an inch of headroom for expansion. Thaw overnight in the refrigerator and whisk well before serving. The texture may be slightly less silky after freezing, but it’s still delicious. I’ve done this when I made a double batch and couldn’t finish it all—it was a lifesaver for a last-minute holiday visit.
Reheating: If you prefer your eggnog warm, gently reheat it on the stovetop over low heat, stirring frequently. Do not let it boil, or it may curdle. You can also reheat individual servings in the microwave at 50% power, stirring every 30 seconds. I’ve done both, and the stovetop method gives you more control.
One thing I love about this recipe is how the flavors deepen over time. Day-old eggnog is actually better than fresh-made, in my opinion. The spices settle in, the sweetness mellows, and everything becomes perfectly balanced. So don’t be afraid to make it a day or two ahead—you’ll be glad you did.
Nutritional Information & Benefits
Let’s be real—this is a treat, not a health food. But there are some redeeming qualities worth mentioning.
Estimated nutritional values per serving (1 cup, without alcohol): approximately 320 calories, 18g fat, 28g carbohydrates, 10g protein, 22g sugar. Values will vary based on specific ingredients and portion sizes.
Health benefits of key ingredients: Eggs are a great source of high-quality protein and choline, which supports brain health. Milk and cream provide calcium and vitamin D for bone health. And fresh nutmeg? It contains compounds with anti-inflammatory properties and has been used in traditional medicine for digestive health. Plus, that pinch of salt helps with electrolyte balance—hey, every little bit counts.
Dietary considerations: This recipe contains dairy, eggs, and gluten-free ingredients (always check your vanilla extract if you’re strictly gluten-free). For a lower-sugar version, reduce the sugar to ½ cup. For a dairy-free version, see the variations section above. The alcohol is optional, so this can easily be made kid-friendly.
My wellness perspective: I believe in balance—especially during the holidays. This eggnog is meant to be enjoyed in moderation, as part of a festive celebration. One cup is plenty to feel satisfied and special. I make it once a year, savor every sip, and don’t feel a bit guilty about it. Food is about joy, connection, and tradition, and this recipe delivers all three.
Conclusion
This homemade Christmas eggnog with fresh nutmeg is more than just a recipe—it’s a tradition waiting to happen. It’s the kind of thing that makes your house smell like the holidays, that brings people into the kitchen asking what’s cooking, that turns an ordinary evening into something worth remembering.
I still think about that day at my neighbor’s house, watching her make eggnog like it was nothing special. But it was special. And now, every time I grate fresh nutmeg over a cup of this creamy, spiced perfection, I remember that feeling—the warmth, the aroma, the simple joy of something made by hand.
I hope you’ll try this recipe and make it your own. Add a little more cinnamon if that’s your thing. Splash in extra bourbon if you’re feeling festive. Leave out the alcohol and let the spices shine. However you make it, I promise it’ll be the best eggnog you’ve ever had.
When you do make it, I’d love to hear about it. Drop a comment below and tell me how it turned out—did you add your own twist? Did your family love it? Did you finally understand what all the fuss about fresh nutmeg is? Share your photos, your stories, your happy holiday moments. That’s what this is all about.
Here’s to warm kitchens, good company, and the perfect cup of homemade Christmas eggnog. Cheers, friends.
Frequently Asked Questions
Can I make this eggnog without alcohol?
Absolutely! The eggnog is delicious on its own. The spices—especially the fresh nutmeg and cinnamon—provide plenty of flavor. Just leave out the bourbon, rum, or brandy, and you’ll have a wonderful non-alcoholic version that’s perfect for kids and anyone who prefers it without the kick.
Is it safe to eat raw eggs in homemade eggnog?
This recipe gently cooks the eggs to 160°F (71°C), which kills any potential bacteria. That’s why the tempering and gentle cooking steps are so important. If you’re serving anyone with a compromised immune system, pregnant, or elderly, you can use pasteurized eggs for extra safety. But the cooking process itself makes this safe for most people.
How long does homemade eggnog last in the fridge?
Homemade eggnog will keep for up to 5 days in the refrigerator when stored in a sealed container. The flavors actually improve after a day or two as the spices meld together. Just give it a good stir before serving because the cream may separate slightly. And if it starts to smell off or develops any separation that doesn’t whisk back together, it’s time to toss it.
Can I use pre-ground nutmeg instead of fresh?
You can, but honestly, you’ll be missing out. Freshly grated nutmeg has a warm, aromatic, slightly sweet flavor that pre-ground nutmeg just can’t match. Pre-ground nutmeg loses its volatile oils over time and can taste dusty or bitter. If you only have pre-ground, use about half the amount called for—fresh nutmeg is more potent. But I really encourage you to try the fresh stuff at least once. It’s a game-changer.
Can I double this recipe for a party?
Yes, this recipe doubles beautifully. Just make sure you have a large enough saucepan—you need room to whisk without splashing. The cooking time will be slightly longer since there’s more liquid to heat. I’ve made a triple batch for Christmas parties before, and it was a huge hit. Just be prepared for everyone to ask you for the recipe.
Pin This Recipe!
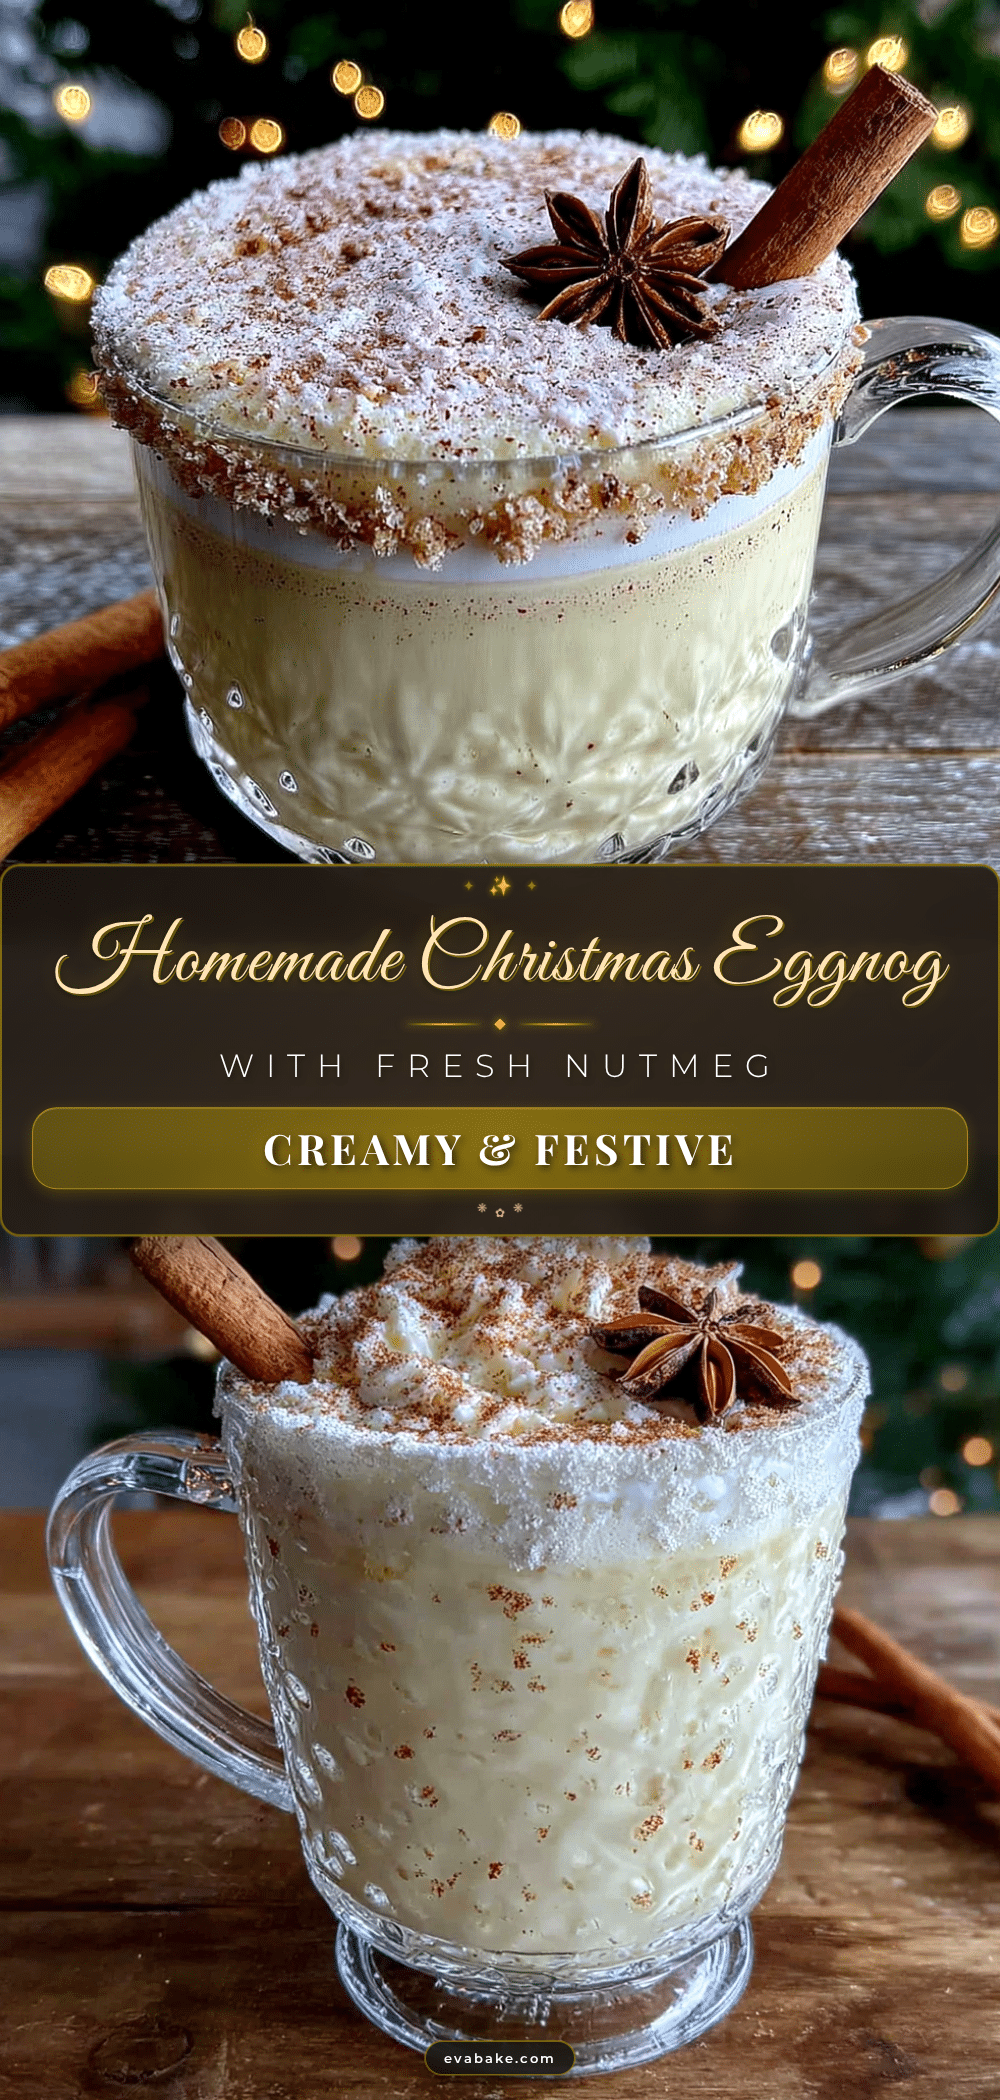
Homemade Christmas Eggnog with Fresh Nutmeg – Easy Recipe
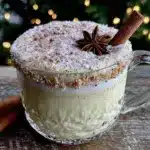
This homemade Christmas eggnog with fresh nutmeg is everything you want the holidays to taste like—rich, creamy, warm with spice, and just a little bit indulgent. It’s the recipe that made me stop buying cartons and start making my own.
- Prep Time: 15 minutes
- Cook Time: 20 minutes
- Total Time: 35 minutes (plus 4 hours chilling)
- Yield: 8 servings
- Category: Beverage
- Cuisine: American
Ingredients
- Whole milk, 4 cups (960 ml)
- Heavy cream, 1 cup (240 ml)
- Large eggs, 6
- Granulated sugar, ¾ cup (150 g)
- Fresh nutmeg, 1 whole nutmeg, grated
- Ground cinnamon, 1 teaspoon
- Vanilla extract, 1 teaspoon
- Salt, a pinch
- Bourbon, rum, or brandy (optional), ½ to 1 cup (120-240 ml)
Instructions
- Infuse the milk with fresh nutmeg. In a medium saucepan, combine the whole milk, heavy cream, and about half of your freshly grated nutmeg (roughly ½ teaspoon). Heat over medium heat until it’s steaming but not boiling—you’ll see tiny bubbles forming around the edges. This takes about 5-7 minutes. Remove from heat and let it steep for 10 minutes.
- Whisk the eggs and sugar. While the milk is steeping, crack your eggs into a medium bowl. Add the sugar and whisk until the mixture is pale yellow and slightly thickened, about 2-3 minutes. It should fall off the whisk in a ribbon.
- Temper the eggs. Slowly drizzle about a cup of the warm milk mixture into the eggs while whisking constantly. Then, pour the egg mixture back into the saucepan with the remaining milk. Whisk it all together.
- Cook the custard. Return the saucepan to medium-low heat. Cook, stirring constantly with your whisk, until the mixture thickens enough to coat the back of a spoon. This takes about 8-10 minutes. If using a thermometer, aim for 160°F (71°C).
- Strain immediately. Set a fine-mesh strainer over a large bowl. Pour the custard through it to catch any lumps.
- Cool it down fast. Fill a larger bowl with ice and water. Set the bowl of strained custard into the ice bath and stir occasionally with a wooden spoon. This takes about 10-15 minutes.
- Add the flavorings. Once the custard is cool, stir in the vanilla extract, ground cinnamon, and a pinch of salt. If adding alcohol, stir it in now. Start with ½ cup and taste.
- Chill thoroughly. Pour the eggnog into a pitcher or jar and refrigerate for at least 4 hours, preferably overnight.
- Serve with fresh nutmeg. Pour the eggnog into cups and grate a generous amount of fresh nutmeg over the top.
Notes
For best results, make the eggnog a day ahead to allow flavors to meld. If you accidentally cook the eggs too fast and see small lumps, blend the strained eggnog with an immersion blender for a few seconds. Fresh nutmeg is non-negotiable for the best flavor.
Nutrition
- Serving Size: 1 cup
- Calories: 320
- Sugar: 22
- Sodium: 120
- Fat: 18
- Saturated Fat: 10
- Carbohydrates: 28
- Protein: 10
Keywords: homemade eggnog, Christmas eggnog, fresh nutmeg, holiday drink, custard eggnog