I was standing in the baking aisle of our local grocery store last Tuesday when a woman walked past me, and the faint smell of cocoa and vanilla trailed behind her. It hit me like a wave — and suddenly I was eight years old in my Aunt Lena’s tiny kitchen, watching her pull a tray of lopsided red cupcakes out of the oven. She wasn’t much of a baker, honestly. Her cakes always leaned a little to one side, and her frosting was more of a happy accident than a planned event. But those cupcakes? They were pure magic. She’d cut them into rough heart shapes with a paring knife, smear on cream cheese frosting with a butter knife, and hand them to me like they were the most precious things in the world. I’d forgotten about that until the cocoa and vanilla hit me in the grocery store. I stood there for a second, holding my cart, trying to hold onto the feeling. And that’s when I knew I had to make them myself — but faster, simpler, and with a proper heart-shaped mold so nobody has to wrestle with a paring knife. These quick red velvet heart-shaped cupcakes are my love letter to Aunt Lena’s messy, imperfect, unforgettable kitchen. And honestly, if you’ve ever had a food memory that just won’t let you go, you know exactly what I’m talking about.
Why You’ll Love This Recipe
Let me tell you why these cupcakes are about to become your new weeknight hero. I’ve tested this recipe about seven times now — yes, seven — because I wanted it to be foolproof for exactly the kind of tired, hungry people I’m talking to right now.
- Quick & Easy: From start to finish, you’re looking at about 35 minutes. That’s less time than it takes to decide what to order for delivery.
- Simple Ingredients: No weird extracts or hard-to-find specialty items. Cocoa powder, buttermilk, vinegar — stuff you probably already have.
- Perfect for Weeknights: Whether it’s a random Tuesday that needs a little joy or a last-minute Valentine’s treat, these deliver without the stress.
- Crowd-Pleaser: I brought a batch to my neighbor’s book club, and they vanished in under ten minutes. People love a red velvet that actually tastes like something.
- Unbelievably Delicious: The texture is tender, the crumb is soft, and that cream cheese frosting is the kind of thing you’ll want to eat with a spoon when nobody’s watching.
What makes this different from every other red velvet recipe out there? It’s the balance. I’ve played with the cocoa-to-flour ratio until the chocolate flavor is present but not pushy. The vinegar and buttermilk react just right to give you that signature tang and a super tender crumb. And the heart shape? It’s not just cute — it makes every single cupcake feel like a little gift. This isn’t just another version of red velvet. It’s the one I’d make for someone I love on a night when I’m exhausted but still want to show up.
What Ingredients You Will Need
This recipe uses simple, honest ingredients that work together to create something special. Most of these are pantry staples, which means you can probably make these right now without a trip to the store.
- All-purpose flour, 1 ½ cups (190g) — regular flour works perfectly here; no need for cake flour
- Unsweetened cocoa powder, 2 tablespoons (15g) — I prefer Hershey’s for its smooth flavor, but any brand works
- Granulated sugar, 1 cup (200g) — adds sweetness and helps with that tender texture
- Baking soda, 1 teaspoon — reacts with the vinegar to give the cupcakes their rise
- Salt, ½ teaspoon — balances the sweetness and enhances the chocolate
- Vegetable oil, ½ cup (120ml) — keeps the cupcakes moist without making them greasy
- Buttermilk, ½ cup (120ml) — adds tang and tenderness; if you don’t have it, mix ½ cup milk with ½ tablespoon lemon juice and let it sit for 5 minutes
- Large egg, 1, room temperature — helps bind everything together
- White vinegar, 1 teaspoon — reacts with the baking soda for that classic red velvet rise
- Red food coloring, 1 tablespoon — I use gel food coloring for a more vibrant color without thinning the batter
- Vanilla extract, 1 teaspoon — brings warmth and depth to the flavor
For the Cream Cheese Frosting:
- Cream cheese, 8 oz (226g), softened — full-fat works best for a rich, stable frosting
- Unsalted butter, ¼ cup (57g), softened — adds structure and creaminess
- Powdered sugar, 2 cups (240g) — sifted to avoid lumps
- Vanilla extract, 1 teaspoon — that little extra flavor boost
A quick note on the food coloring: I know some people prefer natural alternatives, and I respect that. You can use beet powder or natural red food coloring, but the color will be more of a deep burgundy than a bright red. If you’re making these for a special occasion and want that classic vibrant look, gel coloring is your friend. Also, look for a good-quality cocoa powder — it really does make a difference in the flavor depth.
Equipment Needed
You don’t need a fancy bakery setup for these. Here’s what you’ll actually use:
- Heart-shaped cupcake pan — I found mine at a kitchen supply store for about $12, but you can also use a regular muffin pan and cut the cupcakes into hearts after baking
- Heart-shaped silicone baking cups (optional but amazing) — these make cleanup a breeze and help the hearts keep their shape perfectly
- Mixing bowls — one large, one medium
- Whisk — for the dry ingredients
- Electric hand mixer — for the frosting; you can do it by hand, but your arm will thank you
- Measuring cups and spoons — accuracy matters with baking
- Piping bag or zip-top bag — for neat frosting application
- Cooling rack — so the bottoms don’t get soggy
- Spatula — for scraping every last bit of batter
If you don’t have a heart-shaped pan, don’t worry. I’ve made these in regular round pans and just called them “heart-adjacent” cupcakes. They taste exactly the same. Also, if you’re using silicone baking cups, place them on a regular baking sheet for stability — they can be a bit wobbly otherwise.
Preparation Method
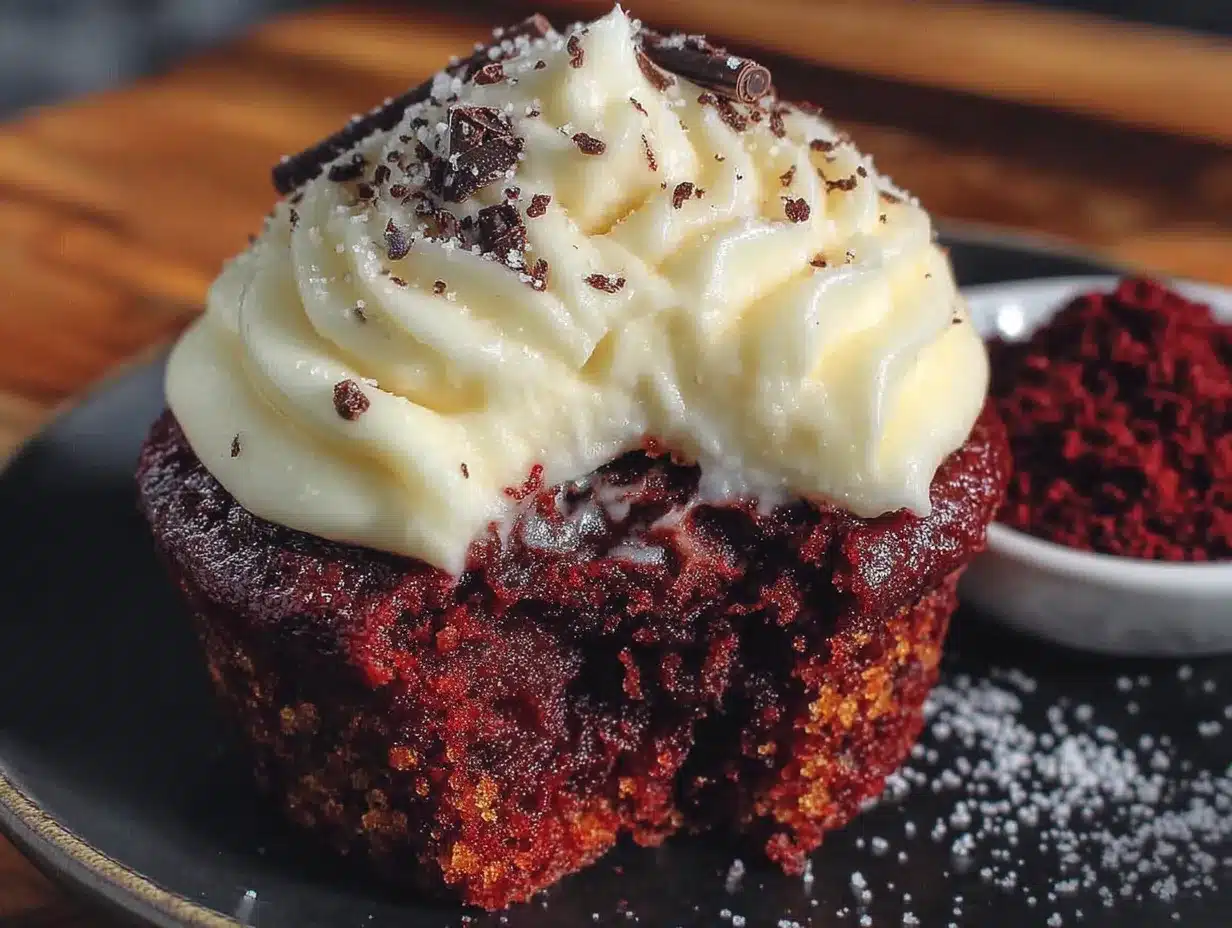
- Preheat your oven to 350°F (175°C). Place your heart-shaped baking cups in the pan, or grease the pan well if you’re going without cups. I learned the hard way that heart-shaped pans have more corners for batter to stick to, so don’t skip this step.
- Mix the dry ingredients. In a large bowl, whisk together the flour, cocoa powder, sugar, baking soda, and salt. Make sure there are no lumps — cocoa powder can be sneaky. Give it a good 30 seconds of whisking.
- Combine the wet ingredients. In a medium bowl, whisk the oil, buttermilk, egg, vinegar, food coloring, and vanilla extract until everything is smooth and evenly colored. The mixture should look like a deep red milkshake.
- Bring it all together. Pour the wet ingredients into the dry ingredients and stir with a spatula until just combined. Do not overmix — stop as soon as you don’t see any more streaks of flour. A few tiny lumps are okay. Overmixing makes the cupcakes tough, and we want them tender.
- Fill the cups. Spoon the batter into the heart-shaped cups, filling each about ⅔ full. An ice cream scoop works great here for even portions. I usually get about 12 cupcakes from this batter.
- Bake for 15-18 minutes. The tops should spring back when lightly touched, and a toothpick inserted in the center should come out with just a few moist crumbs. Start checking at 15 minutes — ovens vary, and you don’t want dry cupcakes.
- Cool completely. Let the cupcakes sit in the pan for 5 minutes, then transfer them to a cooling rack. And I mean completely cool — if you frost them while they’re warm, your cream cheese frosting will turn into a puddle. Trust me on this one. I’ve made that mistake at 11 PM and regretted it.
- Make the frosting. While the cupcakes cool, beat the softened cream cheese and butter together with an electric mixer until smooth and creamy. Add the powdered sugar gradually, mixing on low speed to avoid a sugar cloud. Add the vanilla and beat on medium-high for about 2 minutes until light and fluffy.
- Frost the cupcakes. Spoon the frosting into a piping bag (or a zip-top bag with the corner snipped off) and pipe onto the cooled cupcakes. Or just spread it with a knife — Aunt Lena style. No judgment here.
Cooking Tips & Techniques
Here’s the stuff I wish someone had told me before I started making these. First, the order of ingredients matters more than you think. The vinegar and buttermilk need to react with the baking soda, so don’t let the batter sit around after mixing. Get it in the oven within a few minutes for the best rise.
I once forgot the vinegar entirely. The cupcakes turned out flat and dense — still edible, but not the light, tender texture you want from red velvet. So don’t skip it, even though it seems like a tiny amount.
For the frosting, make sure your cream cheese and butter are truly softened — like, leave them on the counter for an hour softened. Cold cream cheese creates lumpy frosting, and nobody wants that. If you’re in a hurry, cut the cream cheese into smaller cubes and let it sit for 15 minutes.
Here’s a mistake I made more than once: overfilling the cups. I wanted big, proud heart shapes, so I filled them too full, and the batter overflowed, creating a mess and losing the heart definition. Stick to ⅔ full. You’ll get cleaner hearts and less cleanup.
And about the food coloring — if you’re using liquid coloring, you might need a bit more than a tablespoon to get a vibrant red. Gel coloring is more concentrated, so a tablespoon goes a long way. Start with less and add more if you want a deeper color.
Variations & Adaptations
These cupcakes are surprisingly flexible. Here are some ways I’ve changed them up:
- Gluten-Free Version: Substitute the all-purpose flour with a 1:1 gluten-free baking blend. I’ve used Bob’s Red Mill with good results. The texture is slightly more delicate, so handle them gently.
- Dairy-Free Option: Use a dairy-free buttermilk substitute (almond milk with lemon juice) and a vegan cream cheese for the frosting. Miyoko’s brand works really well — it has that tangy cream cheese flavor without being too soft.
- Natural Coloring: If you want to skip artificial colors, use 2 tablespoons of beet powder mixed with a tablespoon of water. The color will be more of a deep rose or burgundy, but it’s beautiful in its own way.
- Flavor Twist: Add ½ teaspoon of espresso powder to the dry ingredients. It doesn’t make the cupcakes taste like coffee — it just deepens the chocolate flavor in a way that’s really subtle and lovely.
- Mini Version: Use a mini heart-shaped pan and bake for 10-12 minutes. These are perfect for parties or lunchbox surprises.
I tried a version with coconut oil instead of vegetable oil once, and honestly, it wasn’t my favorite. The texture was a bit greasy, and the coconut flavor clashed with the red velvet. Stick with a neutral oil for the best results.
Serving & Storage Suggestions
These are best served at room temperature, which lets the frosting soften to that perfect creamy consistency. If you’re making them for a special occasion, arrange them on a pretty plate or cake stand — the heart shapes look even more charming when they’re grouped together.
For storage, place the frosted cupcakes in an airtight container in the refrigerator. They’ll keep for up to 4 days. But here’s the thing — let them sit at room temperature for about 15 minutes before serving. Cold cream cheese frosting loses its creamy magic. Trust me, the difference is noticeable.
You can also freeze the unfrosted cupcakes for up to 2 months. Wrap each one individually in plastic wrap, then place them in a freezer bag. When you’re ready, thaw them at room temperature and frost them fresh. The frosting does not freeze well, so always make that fresh.
One thing I love about these cupcakes is that the flavor actually gets better after a day in the fridge. The tangy buttermilk and cream cheese meld together in a really satisfying way. So don’t feel bad if you’re making them a day ahead — you might actually prefer them that way.
Nutritional Information & Benefits
Per cupcake (with frosting), here’s the approximate breakdown:
- Calories: 320
- Fat: 16g
- Carbohydrates: 42g
- Protein: 4g
- Sugar: 32g
Now, I’m not going to pretend these are health food. They’re cupcakes, and they’re meant to be a treat. But there are a few bright spots. The cocoa powder contains antioxidants called flavonoids, which are good for heart health — ironic, given the shape. The cream cheese provides a small amount of calcium and protein. And because these are made with oil instead of butter, they’re actually lower in saturated fat than many traditional cupcake recipes.
If you’re watching your sugar intake, you can reduce the sugar in the frosting by about ¼ cup without affecting the texture too much. The cupcakes themselves need the full cup of sugar for the right structure and tenderness, so I wouldn’t cut there.
These are not gluten-free or dairy-free in their standard form, but as I mentioned earlier, substitutions work well. They do contain eggs and wheat, so keep that in mind for allergies.
Conclusion
These quick red velvet heart-shaped cupcakes are more than just a recipe — they’re a way to bring a little bit of love into a busy weeknight without spending hours in the kitchen. They’re for the nights when you want to make something special but you’re running on empty. They’re for the moments when a memory hits you in the grocery store and you need to bake your way back to it.
I hope you’ll try them and make them your own. Maybe you’ll add a little extra vanilla, or skip the food coloring, or frost them with a butter knife like my Aunt Lena did. However you make them, they’ll be yours. And that’s the whole point, isn’t it?
If you give these a try, I’d love to hear how they turned out. Drop a comment below and tell me about your own food memories — the ones that made you want to bake something. And if you share them on social media, tag me so I can see your beautiful heart-shaped creations. Happy baking, friend.
Frequently Asked Questions
Can I make these without a heart-shaped pan?
Absolutely. Use a regular muffin pan and bake as directed. Once cooled, you can cut the cupcakes into heart shapes using a small heart-shaped cookie cutter, or just frost them round and call them love-adjacent. They’ll taste exactly the same.
Why did my cupcakes turn out dry?
This usually happens from overbaking. Start checking at 15 minutes, and pull them out as soon as a toothpick comes out with moist crumbs. Also, make sure you’re measuring your flour correctly — scoop it into the measuring cup and level it off, don’t pack it down.
Can I use natural food coloring instead of artificial?
Yes. Beet powder works well — use about 2 tablespoons mixed with a little water. The color will be more of a deep red or burgundy, not bright red, but it’s a beautiful alternative. Some readers have also used pomegranate juice, though that changes the liquid ratio slightly.
How far ahead can I make these?
You can bake the cupcakes up to 2 days ahead and store them unfrosted in an airtight container at room temperature. Make the frosting the day you plan to serve them. If you need to freeze them, do it unfrosted for up to 2 months.
My cream cheese frosting is too runny. What went wrong?
Most likely, your cream cheese was too soft or your butter was too warm. Cream cheese should be softened but still cool to the touch. If the frosting is runny, pop it in the fridge for 15-20 minutes to firm up, then try piping again. Also, make sure you’re using full-fat cream cheese — low-fat versions have more water and can make the frosting loose.
Pin This Recipe!
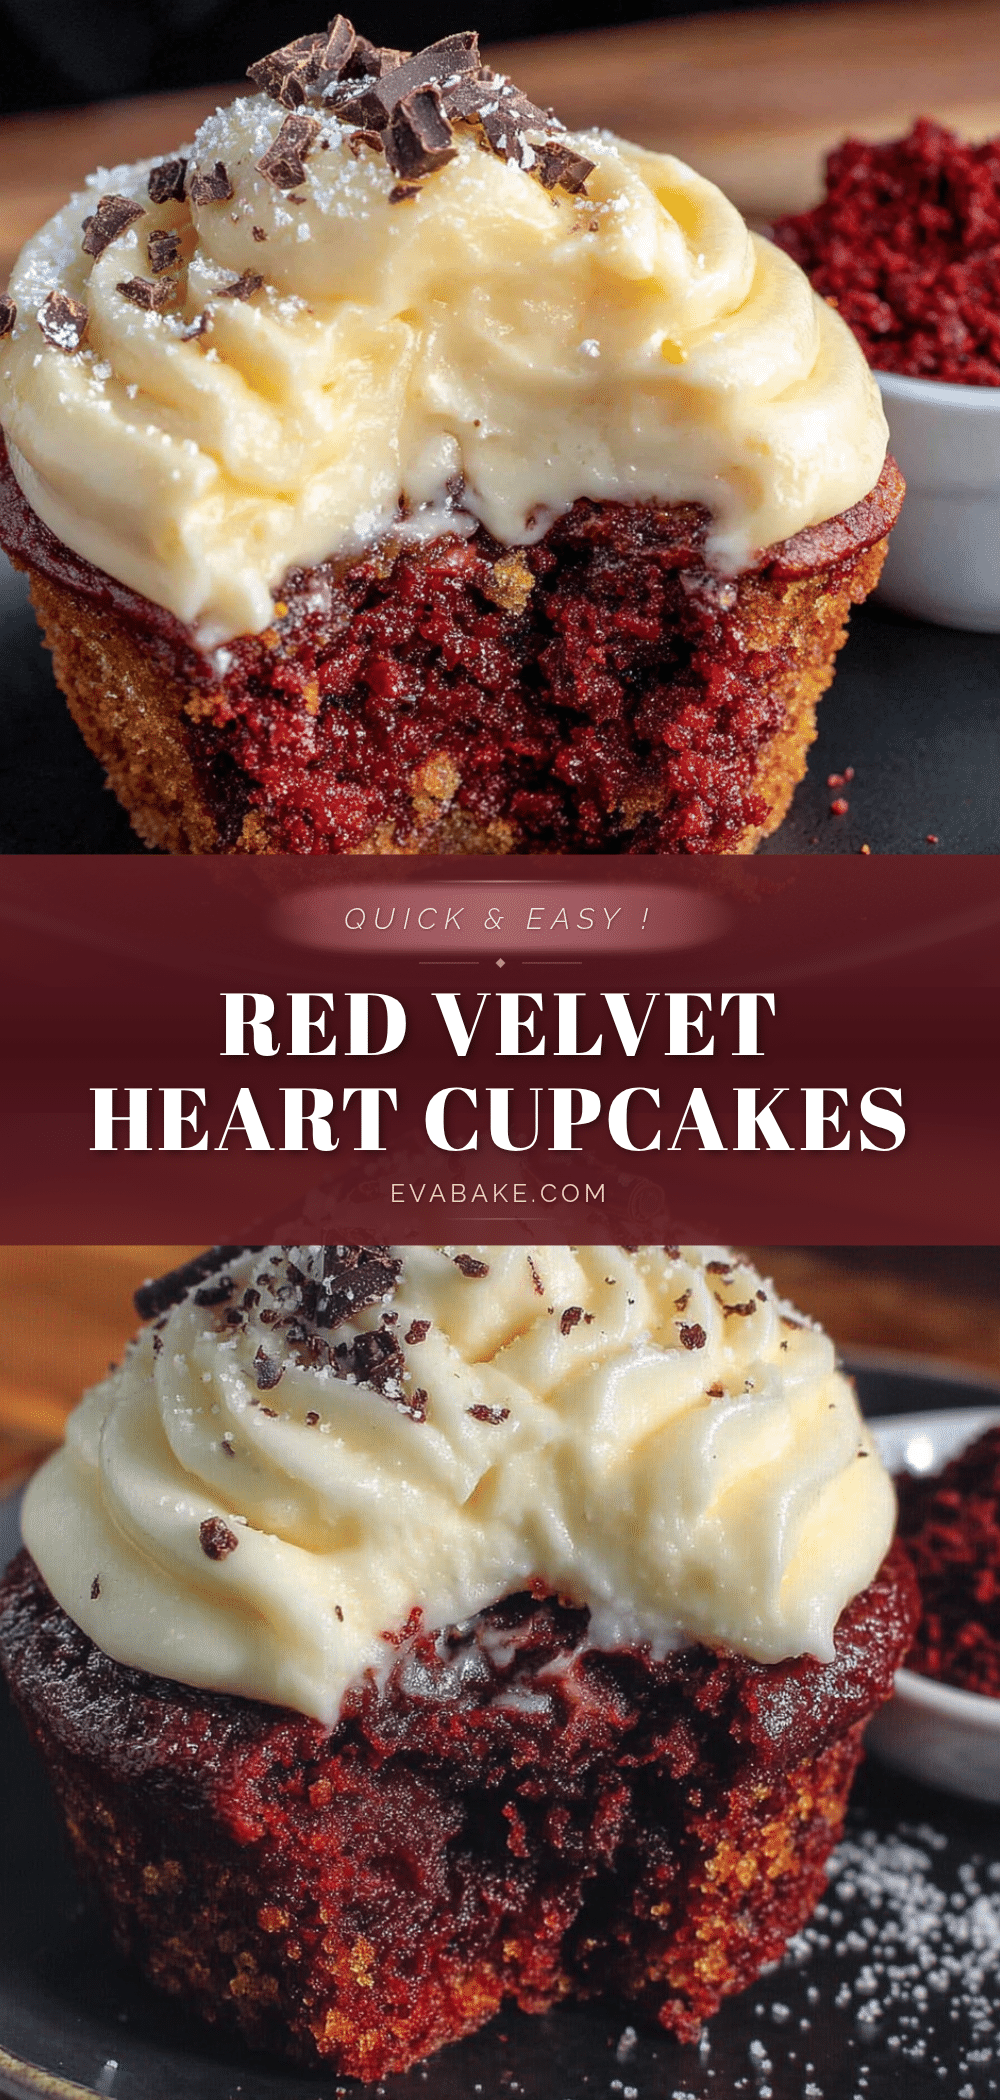
Quick & Easy Red Velvet Heart Cupcakes
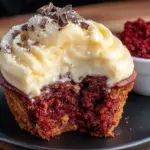
These quick red velvet heart-shaped cupcakes are a love letter to Aunt Lena’s messy, imperfect, unforgettable kitchen. They’re perfect for a weeknight treat or a last-minute Valentine’s dessert, with a tender crumb and creamy cream cheese frosting.
- Prep Time: 15 minutes
- Cook Time: 18 minutes
- Total Time: 33 minutes
- Yield: 12 servings 1x
- Category: Dessert
- Cuisine: American
Ingredients
- 1 ½ cups (190g) all-purpose flour
- 2 tablespoons (15g) unsweetened cocoa powder
- 1 cup (200g) granulated sugar
- 1 teaspoon baking soda
- ½ teaspoon salt
- ½ cup (120ml) vegetable oil
- ½ cup (120ml) buttermilk
- 1 large egg, room temperature
- 1 teaspoon white vinegar
- 1 tablespoon red food coloring (gel preferred)
- 1 teaspoon vanilla extract
- 8 oz (226g) cream cheese, softened
- ¼ cup (57g) unsalted butter, softened
- 2 cups (240g) powdered sugar, sifted
- 1 teaspoon vanilla extract
Instructions
- Preheat your oven to 350°F (175°C). Place heart-shaped baking cups in a heart-shaped cupcake pan, or grease the pan well.
- In a large bowl, whisk together the flour, cocoa powder, sugar, baking soda, and salt until no lumps remain.
- In a medium bowl, whisk the oil, buttermilk, egg, vinegar, food coloring, and vanilla extract until smooth and evenly colored.
- Pour the wet ingredients into the dry ingredients and stir with a spatula until just combined. Do not overmix; a few tiny lumps are okay.
- Spoon the batter into the prepared cups, filling each about ⅔ full. An ice cream scoop works well for even portions.
- Bake for 15-18 minutes, until the tops spring back when lightly touched and a toothpick inserted in the center comes out with a few moist crumbs.
- Let the cupcakes cool in the pan for 5 minutes, then transfer to a cooling rack to cool completely.
- While the cupcakes cool, make the frosting: Beat the softened cream cheese and butter together with an electric mixer until smooth and creamy. Gradually add the powdered sugar, mixing on low speed, then add the vanilla and beat on medium-high for about 2 minutes until light and fluffy.
- Frost the cooled cupcakes using a piping bag or a zip-top bag with the corner snipped off, or spread with a knife.
Notes
For best results, ensure cream cheese and butter are truly softened (leave on counter for an hour). Do not overfill cups; fill ⅔ full for clean heart shapes. If using liquid food coloring, you may need more than a tablespoon for vibrant red. Unfrosted cupcakes can be frozen for up to 2 months; frosting does not freeze well.
Nutrition
- Serving Size: 1 cupcake
- Calories: 320
- Sugar: 32
- Sodium: 220
- Fat: 16
- Saturated Fat: 6
- Carbohydrates: 42
- Fiber: 1
- Protein: 4
Keywords: red velvet, cupcakes, heart-shaped, Valentine's Day, cream cheese frosting, quick, easy