The power went out halfway through my planned dinner prep last Tuesday. There I stood, staring into the fridge by flashlight, with three hungry kids circling like sharks and a husband who’d just texted “On my way home!” I had defrosted chicken thighs that morning, and my grand plan for some complicated braised dish was literally dead in the dark.
I grabbed the biggest skillet I owned, threw it on the gas stove (thank goodness for pilot lights), and started pulling things out by feel. Butter, garlic, some random herbs I’d forgotten I had. I figured I’d just brown the chicken, maybe add a splash of something, and call it a night. Honestly, I was already mentally apologizing for the mediocre dinner we were about to have.
What happened next caught me completely off guard. That skillet — with nothing but butter, garlic, and chicken — filled my dark kitchen with a smell so good my oldest actually wandered in asking what was for dinner. Not the usual “what’s for dinner?” groan, but a real curious question. By the time the power came back (forty-five minutes later, thanks for asking), we were all sitting around the table, scraping the last bits of garlic butter off our plates with bread. Maybe you’ve been there — that moment when a backup plan turns into the main event.
Why You’ll Love This Recipe
Let me tell you why this one-pan wonder has become my most-requested dinner, even over meals I actually planned ahead for. I’ve tested this recipe at least a dozen times, tweaking the butter-to-garlic ratio and fiddling with cooking times until it was absolutely foolproof for busy weeknights.
- Quick & Easy: From fridge to table in under 35 minutes. No marinating, no complicated steps, and only one pan to wash. That’s not a typo — one pan.
- Simple Ingredients: You probably have everything already. Butter, garlic, chicken thighs, salt, pepper, and maybe some herbs. No trips to a specialty store required.
- Perfect for Family Dinners: This is the meal that pleases everyone. Picky eaters, vegetable-avoiders, even the spouse who claims they don’t like chicken thighs.
- Crowd-Pleaser: I’ve served this to my kids, my in-laws, and my neighbor who dropped by unannounced. Every single person asked for the recipe.
- Unbelievably Delicious: The magic is in the simplicity. The butter gets nutty and brown, the garlic infuses every bite, and the chicken thighs stay impossibly juicy with crispy, golden skin.
What makes this different from other chicken thigh recipes? It’s the technique. Most recipes tell you to sear the chicken, then add liquid and braise. But here, we let the chicken cook mostly in its own rendered fat with butter and garlic, creating a concentrated flavor that clings to every bite. No watery sauce, no bland meat — just pure, concentrated goodness.
This isn’t just good chicken. It’s the kind of meal that makes you close your eyes after the first bite. It’s comfort food that comes together faster than takeout, with ingredients you already trust.
What Ingredients You Will Need
This recipe relies on a handful of pantry staples to create something truly memorable. The beauty is in the simplicity — each ingredient plays a specific role, and together they create magic.
- Chicken Thighs, bone-in, skin-on (6-8 pieces, about 2.5 lbs / 1.1 kg): This is non-negotiable for the best results. The bone keeps the meat juicy, and the skin crisps up beautifully. Boneless, skinless thighs work in a pinch, but you’ll lose some flavor and moisture. I prefer thigh meat over breast here because it stays tender even if you accidentally cook it a few minutes too long.
- Unsalted butter (4 tablespoons / 56 grams): Use unsalted so you can control the salt level. I love using a good-quality European-style butter like Kerrygold for extra richness, but any unsalted butter works. The butter does double duty — it helps crisp the skin and creates the base for that incredible garlic sauce.
- Garlic cloves (8-10 large cloves, smashed): Don’t skimp here. We’re not looking for delicate garlic flavor — we want bold, aromatic garlic that mellows and sweetens as it cooks. Smashing the cloves (rather than mincing) prevents them from burning while still releasing their oils. I buy pre-peeled garlic cloves from the produce section when I’m in a rush.
- Kosher salt (1½ teaspoons / 9 grams): I use Diamond Crystal kosher salt. If you’re using table salt, reduce to 1 teaspoon. Salt is crucial here — it seasons the meat and helps the skin crisp.
- Black pepper (1 teaspoon / 2 grams, freshly ground): Freshly ground pepper makes a noticeable difference. Pre-ground pepper is fine in a pinch, but trust me on this one.
- Fresh thyme sprigs (6-8 sprigs): Thyme adds an earthy, slightly floral note that pairs perfectly with garlic and butter. If you only have dried thyme, use 1 teaspoon, but fresh really shines here.
- Fresh parsley (2 tablespoons, chopped, for garnish): Optional but highly recommended. The fresh parsley adds a pop of color and a fresh finish that cuts through the richness.
- Lemon juice (1 tablespoon / 15 ml, optional): A squeeze of lemon right before serving brightens everything up. I add it about half the time, depending on my mood. My kids prefer it without, so I often serve lemon wedges on the side.
That’s it. Seven ingredients (six if you skip the parsley), and you’re on your way to the best weeknight dinner of your life.
Equipment Needed
You don’t need a fancy kitchen to make this recipe work. Here’s what you’ll actually use:
- Large oven-safe skillet (12-inch / 30 cm): Cast iron is my first choice because it holds heat beautifully and gives you that perfect sear. A stainless steel skillet works great too. If you only have non-stick, it’ll work, but you won’t get quite as crispy skin. I bought my Lodge cast iron skillet for $25 about ten years ago, and it’s still going strong.
- Tongs: For flipping the chicken without piercing the skin. A good pair of spring-loaded tongs is worth the investment.
- Paper towels: For patting the chicken dry. This step is more important than you think.
- Cutting board and knife: For smashing the garlic and chopping parsley.
- Instant-read thermometer: Not strictly necessary, but it takes the guesswork out of knowing when the chicken is done. I use a $15 ThermoPro and it’s never let me down.
If you don’t have an oven-safe skillet, you can transfer the chicken to a baking dish after searing and finish it in the oven. Just make sure to pour all that glorious butter and garlic over the top.
Preparation Method
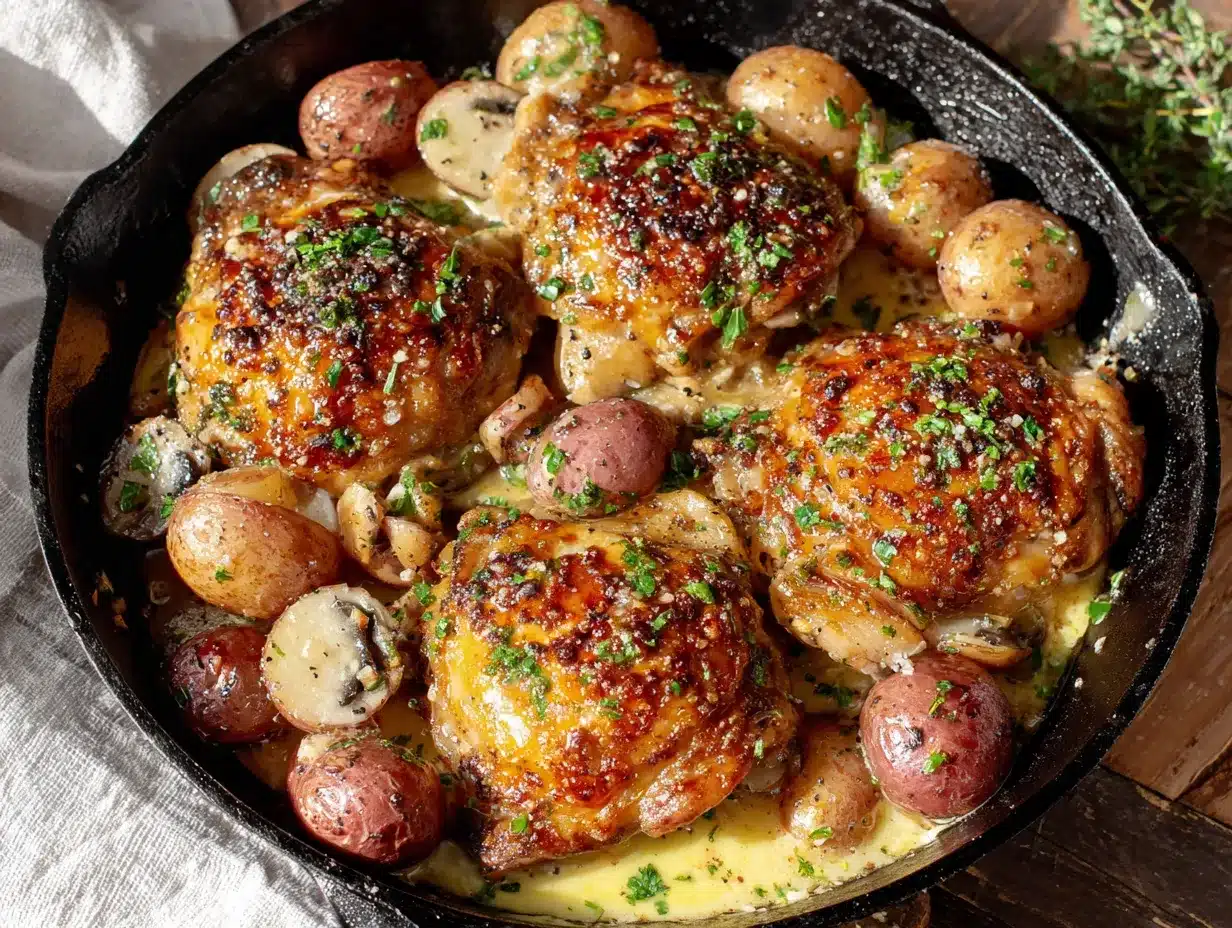
Let’s get cooking. I’ll walk you through every step so you feel confident, even if this is your first time making chicken thighs.
- Preheat your oven to 400°F (200°C). Give it a full 15-20 minutes to come to temperature. A properly preheated oven is key for that crispy skin.
- Pat the chicken thighs completely dry with paper towels. This is the most important step for crispy skin. I mean really dry — use at least 3-4 paper towels and press firmly. Any moisture on the surface will steam instead of sear, and you’ll end up with sad, rubbery skin.
- Season both sides of the chicken generously with salt and pepper. Don’t be shy here. Use about 1½ teaspoons of salt total. Season from a height of about 12 inches — it helps distribute the salt evenly. Let the seasoned chicken sit at room temperature for 10-15 minutes while you prepare the garlic.
- Smash the garlic cloves. Place each clove on your cutting board, lay the flat side of your knife on top, and give it a firm whack with your palm. The clove should split open but stay in one piece. This releases the flavor without making tiny pieces that could burn.
- Place your skillet over medium-high heat and let it get hot. This takes about 2-3 minutes. To test if it’s ready, flick a drop of water onto the pan — it should sizzle and evaporate immediately.
- Add 2 tablespoons of butter to the skillet. Swirl it around as it melts. The butter should foam up immediately — that’s your signal that the pan is hot enough.
- Place the chicken thighs in the skillet, skin-side down. Lay them away from you to avoid any splatter. Don’t crowd the pan — if your skillet isn’t large enough, work in batches. The chicken should sizzle loudly when it hits the pan. If it doesn’t, your pan wasn’t hot enough.
- Cook without moving for 6-7 minutes. This is crucial. Let the skin develop a deep golden-brown crust. Resist the urge to peek or move the chicken. You’ll know it’s ready when the skin releases easily from the pan. If it sticks, it needs more time.
- Flip the chicken thighs using your tongs. The skin should be beautifully browned and crispy. Cook for another 3-4 minutes on the second side. The meat should look opaque and browned.
- Add the remaining 2 tablespoons of butter and the smashed garlic cloves to the skillet. Tilt the pan slightly and use a spoon to baste the chicken with the melting butter. Let the garlic cook for about 1 minute until fragrant — it should smell amazing, not burnt.
- Scatter the thyme sprigs around the chicken. Tuck them under and around the thighs so they infuse the butter as it continues to cook.
- Transfer the skillet to the preheated oven. Roast for 15-18 minutes, or until the internal temperature of the thickest part of the thigh reaches 165°F (74°C). I usually pull them at 160°F (71°C) because the temperature will continue to rise as they rest.
- Remove the skillet from the oven and let the chicken rest for 5 minutes. This is not optional — resting allows the juices to redistribute throughout the meat. If you cut into it too soon, all those delicious juices will end up on the cutting board instead of in your mouth.
- Garnish with fresh parsley and a squeeze of lemon juice, if using. Spoon the garlic butter from the pan over the top of each piece. Serve immediately.
Cooking Tips & Techniques
After making this recipe more times than I can count, I’ve learned a few things the hard way. Let me save you some trouble.
The biggest mistake I see people make is using too low heat. I did it myself the first few times. You need that initial blast of high heat to create the crust. Medium-high is your friend here. Don’t be afraid of a little smoke — it means you’re doing it right. Just open a window and turn on your vent hood.
Patting the chicken dry changed everything for me. I used to skip this step because I was impatient, and I always wondered why my chicken skin was leathery instead of crispy. Now I take the extra 30 seconds, and the difference is night and day. Seriously, don’t skip it.
Here’s a trick I learned from a chef friend: After you flip the chicken, tilt the pan and spoon the hot butter over the skin side. This extra basting step gives you that restaurant-quality finish. It only takes 30 seconds but makes a huge difference.
If your garlic is browning too quickly, your heat is too high. The garlic should turn golden and soft, not dark brown and bitter. If you see it getting too dark, add another tablespoon of butter to cool things down, or move the garlic to the edge of the pan away from the direct heat.
Multitasking tip: While the chicken is roasting, this is the perfect time to throw together a quick side dish. I usually steam some green beans or toss a simple salad. The chicken takes about 18 minutes in the oven, which is exactly enough time to get a vegetable side ready.
One more thing about the pan: Don’t wash it right away. After you’ve served the chicken, there’s liquid gold left in that skillet. Add a splash of chicken broth or white wine, scrape up the browned bits, and you’ve got an instant pan sauce. My kids call it “the good stuff” and fight over who gets to dip their bread in it.
Variations & Adaptations
This recipe is incredibly flexible. Here are some ways I’ve adapted it depending on what I have on hand or who I’m feeding.
Herb variations: If you don’t have fresh thyme, try rosemary (2 sprigs) or sage (6-8 leaves). I’ve also used a tablespoon of dried Italian seasoning in a pinch. Each herb gives the dish a completely different personality. Rosemary makes it feel more rustic, while sage gives it an almost Thanksgiving vibe.
Spicy version for grown-up nights: Add ½ teaspoon of red pepper flakes along with the garlic, or tuck a halved serrano pepper into the pan. My husband loves this version, though the kids aren’t fans. I sometimes make half the pan spicy and half mild — just add the pepper to one side of the skillet.
Garlic butter sauce for pasta: After the chicken is done, remove it from the pan and add ½ cup of chicken broth and ¼ cup of heavy cream. Simmer for 2-3 minutes, then toss with cooked pasta. It’s like getting two meals in one. My neighbor Sarah discovered this by accident when she had extra guests show up, and now she makes it on purpose.
Dairy-free adaptation: Substitute the butter with a high-quality olive oil or vegan butter. The flavor will be different but still delicious. I’ve used extra-virgin olive oil when I was out of butter, and honestly, it was fantastic — just not as rich.
Air fryer method: If you want to skip the oven, transfer the seared chicken to an air fryer basket and cook at 375°F (190°C) for 12-15 minutes. The skin gets incredibly crispy. I do this when it’s summer and I don’t want to heat up the whole kitchen.
Serving & Storage Suggestions
This chicken is best served hot, straight from the skillet. I like to place the whole pan on a trivet in the center of the table and let everyone serve themselves. There’s something about eating from the same pan that makes dinner feel more communal and special.
What to serve with it: The garlic butter sauce begs for something to soak it up. Crusty bread is my go-to, but it’s also amazing over rice, mashed potatoes, or egg noodles. For vegetables, I keep it simple — steamed green beans, roasted asparagus, or a crisp green salad with lemon vinaigrette. The brightness of the salad cuts through the richness of the chicken perfectly.
Leftovers: If you somehow have any left, store the chicken in an airtight container in the refrigerator for up to 4 days. The flavors actually deepen overnight, so leftovers are almost better than the original. I often make extra on purpose just for lunch the next day.
Reheating: The best way to reheat is in a skillet over medium heat with a splash of chicken broth or water. Cover the pan and let it steam for 3-4 minutes. This keeps the meat moist while re-crisping the skin. The microwave works in a pinch, but the skin will be soft. If you’re meal prepping, I recommend storing the chicken and sauce separately.
Freezer instructions: This chicken freezes beautifully. Let it cool completely, then wrap each piece individually in plastic wrap and place in a freezer bag. It’ll keep for up to 3 months. Thaw overnight in the refrigerator and reheat as directed above.
One thing I’ve noticed — the garlic butter sauce solidifies when chilled, so don’t be alarmed if your leftovers look like a butter block. It melts right back into sauce when reheated.
Nutritional Information & Benefits
Here’s the nutritional breakdown for one serving (one chicken thigh with sauce):
| Nutrient | Amount |
|---|---|
| Calories | 385 |
| Protein | 28g |
| Fat | 29g |
| Saturated Fat | 12g |
| Carbohydrates | 2g |
| Fiber | 0g |
| Sugar | 0g |
| Sodium | 520mg |
Chicken thighs are a fantastic source of protein, iron, and B vitamins. They contain more fat than chicken breasts, but that’s actually what keeps them moist and flavorful during cooking. The fat also helps your body absorb fat-soluble vitamins from any vegetables you serve alongside.
Garlic is packed with antioxidants and has been shown to support immune health. Plus, butter contains vitamins A, D, and E. This recipe is naturally gluten-free and low-carb, making it suitable for a variety of dietary needs. If you’re watching your sodium, reduce the salt to 1 teaspoon and skip the optional lemon juice.
Conclusion
This one-pan garlic butter chicken has saved my sanity on more nights than I can count. It’s the recipe I turn to when I’m tired, when the kids are cranky, when I haven’t been to the grocery store in a week, and when I need to remind myself that cooking doesn’t have to be complicated to be amazing.
I love that it starts with a moment of panic (the power outage) and ends with everyone at the table, quiet except for the sounds of happy eating. That’s what good food does — it brings people together, even when everything else goes wrong.
Now I want to hear from you. Have you tried this recipe? Did your kids go back for seconds? Did you add your own twist? Drop a comment below and let me know how it turned out. And if you’ve got a picky eater who surprised you, I definitely want to hear that story.
Until next time, keep your skillet hot and your butter ready. You’ve got this.
Frequently Asked Questions
Can I use boneless, skinless chicken thighs?
Yes, but the cooking time will be shorter (about 10-12 minutes in the oven). The skin is what gets crispy and adds so much texture, so you’ll miss that. Also, boneless thighs tend to dry out faster, so use an instant-read thermometer and pull them at 160°F (71°C).
Can I make this recipe with chicken breasts instead?
You can, but I don’t recommend it. Chicken breasts cook faster and dry out more easily. If you must, use bone-in, skin-on breasts and reduce the oven time to 12-15 minutes. Check the temperature early — breasts are done at 160°F (71°C).
How do I prevent the garlic from burning?
Keep the garlic in larger pieces (smashed, not minced) and add it after you’ve flipped the chicken. If you notice it browning too quickly, push it to the edges of the pan where the heat is less intense. You can also add an extra tablespoon of butter to cool things down.
Can I prepare this recipe ahead of time?
Absolutely. You can season the chicken up to 24 hours in advance and keep it covered in the refrigerator. You can also smash the garlic and chop the parsley ahead of time. The actual cooking is best done just before serving, but leftovers reheat beautifully.
What’s the best way to get crispy skin?
Three things: pat the chicken completely dry, use a hot pan, and don’t move the chicken while it’s searing. The skin needs direct, consistent contact with the hot surface to crisp up. Also, make sure your chicken is at room temperature before cooking — cold chicken lowers the pan temperature and prevents proper browning.
Pin This Recipe!
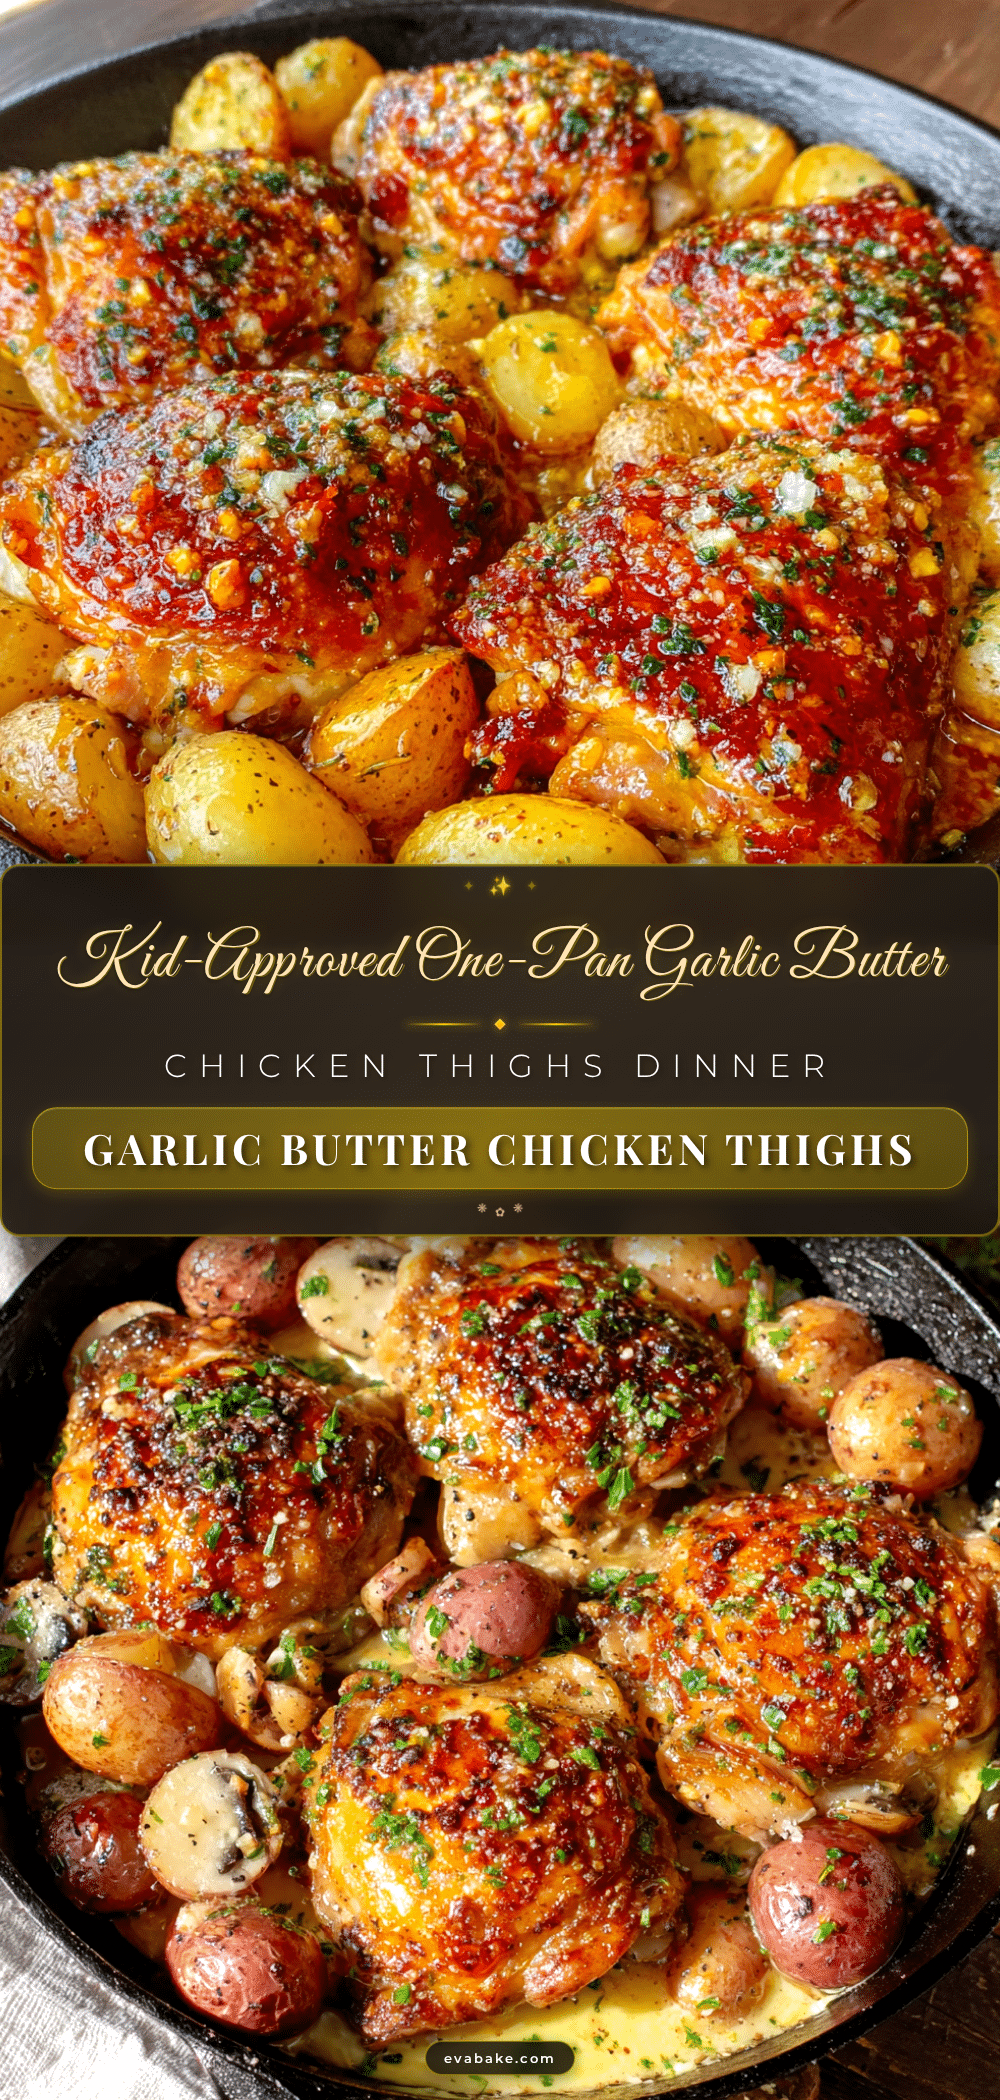
Easy One-Pan Garlic Butter Chicken Thighs Recipe

Juicy, crispy-skinned chicken thighs cooked in a rich garlic butter sauce, all in one pan. A quick and easy weeknight dinner that’s ready in under 35 minutes and pleases the whole family.
- Prep Time: 15 minutes
- Cook Time: 30 minutes
- Total Time: 45 minutes
- Yield: 4 servings 1x
- Category: Main Course
- Cuisine: American
Ingredients
- 6–8 bone-in, skin-on chicken thighs (about 2.5 lbs / 1.1 kg)
- 4 tablespoons (56 g) unsalted butter
- 8–10 large garlic cloves, smashed
- 1½ teaspoons (9 g) kosher salt (or 1 teaspoon table salt)
- 1 teaspoon (2 g) freshly ground black pepper
- 6–8 fresh thyme sprigs
- 2 tablespoons fresh parsley, chopped (for garnish)
- 1 tablespoon (15 ml) lemon juice (optional)
Instructions
- Preheat your oven to 400°F (200°C).
- Pat the chicken thighs completely dry with paper towels.
- Season both sides of the chicken generously with salt and pepper. Let sit at room temperature for 10-15 minutes.
- Smash the garlic cloves by placing each clove on a cutting board and pressing firmly with the flat side of a knife.
- Place a large oven-safe skillet (12-inch / 30 cm) over medium-high heat and let it get hot (about 2-3 minutes).
- Add 2 tablespoons of butter to the skillet and swirl until melted and foamy.
- Place the chicken thighs in the skillet, skin-side down, without crowding. Cook without moving for 6-7 minutes until the skin is deep golden brown.
- Flip the chicken using tongs and cook for another 3-4 minutes on the second side.
- Add the remaining 2 tablespoons of butter and the smashed garlic cloves to the skillet. Baste the chicken with the melting butter for about 1 minute until fragrant.
- Scatter the thyme sprigs around the chicken.
- Transfer the skillet to the preheated oven and roast for 15-18 minutes, or until the internal temperature reaches 165°F (74°C).
- Remove the skillet from the oven and let the chicken rest for 5 minutes.
- Garnish with fresh parsley and a squeeze of lemon juice, if using. Spoon the garlic butter from the pan over the top and serve immediately.
Notes
Pat the chicken completely dry for crispy skin. Use a hot pan and don’t move the chicken while searing. If garlic browns too quickly, add extra butter or move it to the edge of the pan. Let the chicken rest for 5 minutes before serving. Leftovers can be stored in an airtight container in the refrigerator for up to 4 days.
Nutrition
- Serving Size: 1 chicken thigh with
- Calories: 385
- Sodium: 520
- Fat: 29
- Saturated Fat: 12
- Carbohydrates: 2
- Protein: 28
Keywords: garlic butter chicken, one-pan chicken, crispy chicken thighs, easy weeknight dinner, chicken thighs recipe