The neighborhood holiday party was in three hours and I’d completely forgotten about the gift exchange. Everyone else would be bringing those beautifully wrapped store-bought items, maybe some fancy candles or expensive wine. I had a bag of marshmallows, some cocoa powder, and a growing sense of panic in my kitchen. Let me tell you, that frantic afternoon turned into one of my favorite accidental traditions.
I mean, who knew that throwing together some ingredients in mason jars would become the thing people actually fought over? My neighbor Susan literally grabbed two jars before I could even set them down. “These are better than anything at the store,” she said, and honestly, I thought she was just being nice. But then she made one that night and texted me a photo of her kids with chocolate mustaches, and I knew I’d stumbled onto something special.
These homemade hot cocoa mix jars ended up being the hit of the party, and I kept making them every year since. Maybe you’ve been there too — scrambling for a gift idea that feels personal without requiring a week of prep work. That’s the beauty of this recipe. It looks like you put in way more effort than you actually did, which is honestly my favorite kind of gift to give.
Why You’ll Love This Recipe
Let me share why these homemade hot cocoa mix jars have become my go-to gift for every occasion. I’ve tested this recipe more times than I can count, tweaking the ratios until the chocolate-to-milk balance was absolutely perfect. Here’s what makes these jars stand out from anything you’d buy at the store:
- Incredibly Easy: This comes together in under 15 minutes. No cooking, no complicated steps, just layering ingredients in a jar.
- Budget-Friendly: You probably have most of these ingredients in your pantry right now. Each jar costs a fraction of what you’d pay for fancy hot cocoa sets.
- Perfect for Gifting: These are ideal for teachers, neighbors, coworkers, or anyone on your list. They’re personal without being fussy.
- Completely Customizable: You can adjust the sweetness, add different mix-ins, or create themed variations for any holiday or occasion.
- Crowd-Pleasing: Let’s face it, who doesn’t love a warm cup of hot cocoa? Kids and adults both go crazy for these jars.
What makes my version different from the standard recipes you’ll find online is the attention to detail. I use a specific ratio of cocoa powder to sugar that creates a rich, not-too-sweet drink. Plus, I add a pinch of salt and a touch of powdered vanilla that makes the flavor taste almost like melted chocolate bar rather than powdered mix. It’s the kind of hot cocoa that makes you close your eyes after the first sip — seriously.
These jars are perfect for when you want to impress people without spending hours in the kitchen. They’re comfort in a jar, ready to be gifted and enjoyed.
What Ingredients You Will Need
This recipe uses simple, everyday ingredients that come together to create something truly special. Most of these are pantry staples, which makes these jars perfect for last-minute gift-making. Here’s everything you’ll need:
For the Hot Cocoa Mix Base
- Granulated sugar (1 cup per jar) — This provides the sweetness. I’ve tested with both white and organic cane sugar, and both work beautifully.
- Unsweetened cocoa powder (1/2 cup per jar) — I recommend using a high-quality brand like Ghirardelli or Droste for the richest flavor. The better your cocoa, the better your final drink.
- Powdered milk (1 cup per jar) — This makes the mix instant. You just add hot water, and the milk is already incorporated. Look for instant dry milk powder in the baking aisle.
- Powdered sugar (1/2 cup per jar) — This adds sweetness and helps the mix dissolve more smoothly than granulated sugar alone.
- Fine sea salt (1/4 teaspoon per jar) — Don’t skip this! It enhances the chocolate flavor and balances the sweetness.
- Powdered vanilla (1 teaspoon per jar) — This is my secret ingredient. It adds a subtle vanilla flavor without adding liquid. You can find it in the spice aisle or online. (If you can’t find it, use vanilla sugar or just omit it.)
For the Layered Presentation
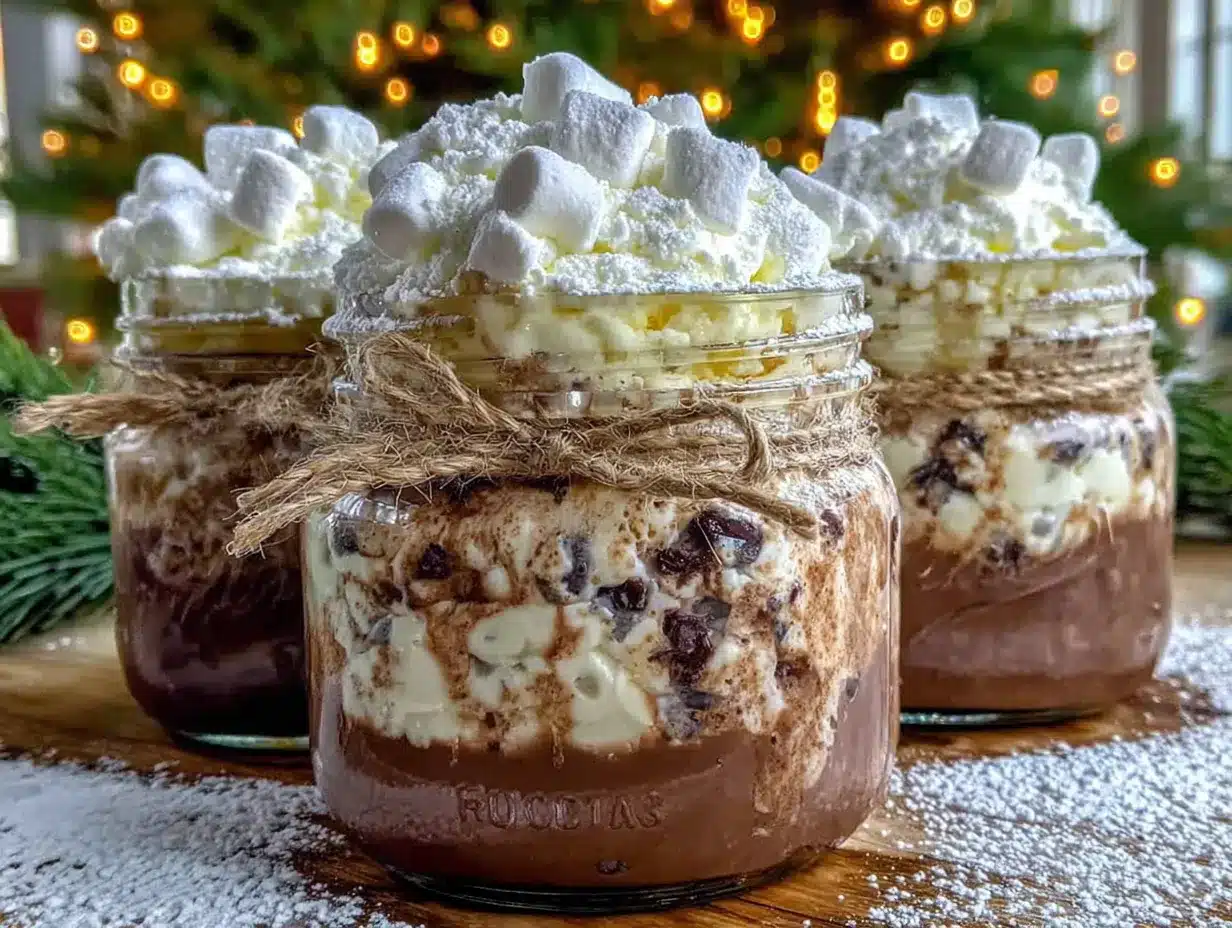
- Mini marshmallows (1/2 cup per jar) — These go on top for that classic hot cocoa look. I use the colorful ones for holidays.
- Chocolate chips (1/4 cup per jar) — Optional, but they add little melty pockets of chocolate when you make the drink. Use dark, milk, or white chocolate chips.
- Crushed candy canes (for peppermint variation) — Adds a festive crunch and minty flavor.
For the Jars and Decorating
- Quart-sized mason jars (wide mouth works best for layering) — You can find these at any grocery store or online.
- Ribbon or twine — For decorating the jars.
- Gift tags — Include instructions for making the hot cocoa.
- Fabric squares (optional) — Cut circles from festive fabric to place under the jar lids for a rustic look.
Ingredient Substitutions
If you need to adapt this recipe for dietary needs, here are some swaps that work well. Use dairy-free powdered milk (like coconut milk powder) for a dairy-free version. For a lower-sugar option, you can reduce the granulated sugar to 3/4 cup and use a sugar-free powdered sweetener. I’ve also made these with Dutch-process cocoa powder for a smoother, less acidic flavor — just keep in mind it’s darker in color.
Equipment Needed
You don’t need much fancy equipment for this recipe, which is part of what makes it so great. Here’s what you’ll need:
- Quart-sized mason jars with lids — Wide mouth jars are easiest for layering, but regular mouth jars work too. I buy mine in bulk at craft stores when they’re on sale.
- A funnel — This makes layering the ingredients so much neater. A wide-mouth funnel works best.
- Measuring cups and spoons — You’ll need standard measuring tools for accuracy.
- A small bowl — For mixing the dry ingredients before layering.
- A whisk — To combine the cocoa powder, sugar, and salt evenly.
- Scissors — For cutting fabric circles and ribbon.
- Gift tags — Printable or pre-made tags for attaching instructions.
If you don’t have a funnel, don’t worry. You can use a piece of paper rolled into a cone shape — it works just as well. I’ve done this many times when I couldn’t find my funnel. Also, if you’re making a large batch, a kitchen scale can help you measure ingredients more quickly, but it’s not necessary.
Preparation Method
Making these homemade hot cocoa mix jars is incredibly straightforward. Follow these steps, and you’ll have beautiful gifts ready in no time.
- Prepare your jars. Wash and dry your mason jars thoroughly. Make sure they’re completely dry inside — any moisture can cause the powdered milk to clump.
- Mix the dry ingredients. In a small bowl, whisk together the unsweetened cocoa powder, granulated sugar, powdered sugar, powdered milk, fine sea salt, and powdered vanilla. Whisk until everything is evenly combined. This step ensures that each scoop of the mix will have the perfect balance of flavors.
- Start layering. Using your funnel, begin adding the dry mix to the jar. For the classic layered look, you’ll want to create distinct bands of color. Start with about 1 cup of the cocoa mix as the bottom layer. Tap the jar gently on the counter to settle the powder.
- Add the chocolate chips. If you’re using chocolate chips, sprinkle about 2 tablespoons evenly over the cocoa mix layer. This creates a nice visual contrast.
- Continue layering. Add another cup of the cocoa mix, again tapping to settle. Then add another layer of chocolate chips if desired. Repeat until you’ve used all the dry mix, finishing with a layer of cocoa mix on top.
- Top with marshmallows. Gently press mini marshmallows into the top layer of the cocoa mix. Don’t pack them too tightly — you want them to stay visible. Fill the remaining space in the jar with marshmallows, leaving about 1/2 inch of headspace.
- Seal the jar. Place the lid on the jar and screw it on tightly. If you’re using fabric circles, place the fabric over the jar opening before screwing on the band. This gives a nice rustic look.
- Decorate. Tie a ribbon or twine around the neck of the jar. Attach a gift tag with instructions for making the hot cocoa.
- Add instructions. On your gift tag, write: “Empty contents of jar into a mug. Add 1 cup of hot milk or water. Stir until dissolved. Top with extra marshmallows if desired. Enjoy!”
Pro tip: For the most dramatic layered look, use contrasting colors. The cocoa mix is dark brown, the chocolate chips are darker, and the marshmallows are white. If you’re making a peppermint version, crushed candy canes add a beautiful pink and red stripe.
One thing I learned the hard way: Don’t over-tap the jar or pack the ingredients too tightly. You want the layers to be visible, not compressed into a solid block. A gentle tap or two is plenty.
Cooking Tips & Techniques
After making dozens of these jars over the years, I’ve picked up some tricks that make the process smoother and the final result more impressive. Let me share what I’ve learned.
Layer like a pro. The key to those beautiful Instagram-worthy layers is patience. Use your funnel and add each layer slowly. If you dump everything in at once, the layers will blend together. I learned this the hard way when my first batch looked more like mud than a layered jar.
Watch out for clumps. Cocoa powder loves to clump, especially if there’s any humidity. Before you start, sift your cocoa powder and powdered sugar through a fine-mesh strainer. This takes an extra minute but makes the layers look so much cleaner. Trust me on this one.
Test your ratios. Before you make a big batch, test one jar first. Make a cup of hot cocoa using your mix and adjust the sweetness or chocolate level to your taste. I once made 20 jars for a holiday market and realized the cocoa was too sweet. I had to redo them all. Learn from my mistake!
Keep it dry. Moisture is the enemy of powdered milk. Make sure your jars are bone-dry, and don’t make these on a humid day if you can avoid it. If the powdered milk absorbs moisture, it can develop an off flavor over time.
Make ahead tip. These jars actually get better after a day or two. The flavors meld together slightly, and the layers settle into a neat, compact package. I usually make mine a week before I plan to give them.
Variations & Adaptations
One of the best things about this recipe is how easy it is to customize. Here are some of my favorite variations that I’ve tested and loved:
Peppermint Hot Cocoa
Add 1/4 cup of crushed candy canes to the dry mix. Layer them in the middle of the jar for a festive red and white stripe. When making the drink, the candy cane pieces dissolve into the hot milk, giving it a refreshing minty flavor. This is my most-requested Christmas version.
Spiced Mexican Hot Chocolate
Add 1 teaspoon of ground cinnamon, 1/4 teaspoon of cayenne pepper, and a pinch of nutmeg to the dry mix. This gives the cocoa a warm, complex heat that’s absolutely addictive. I like to include a small cinnamon stick tied to the jar as a garnish.
Vegan & Dairy-Free Version
Use dairy-free powdered milk (coconut milk powder works great) and dairy-free chocolate chips. Everything else in the recipe is naturally vegan. The coconut milk powder adds a subtle tropical note that pairs beautifully with the chocolate.
White Chocolate Dream
Replace the unsweetened cocoa powder with white chocolate powdered drink mix. Use white chocolate chips instead of regular ones. This version is sweeter and creamier, perfect for those who prefer a milder chocolate flavor.
Sugar-Free Option
Substitute the granulated sugar with a granulated monk fruit sweetener and the powdered sugar with a powdered erythritol blend. Make sure your chocolate chips are sugar-free as well. This version is great for diabetics or anyone watching their sugar intake.
Serving & Storage Suggestions
These jars are designed to be gifts, but they’re also wonderful to have on hand for yourself. Here’s how to serve and store them properly.
How to serve: Empty the entire contents of the jar into a medium saucepan. Add 1 cup of milk (dairy or non-dairy) and heat over medium heat, whisking constantly, until the mixture is hot and steaming. Don’t let it boil. Pour into a mug and top with extra marshmallows, whipped cream, or a drizzle of chocolate syrup. For a single serving, use about 3 tablespoons of the mix with 3/4 cup of hot milk.
Storage instructions: These jars will keep for up to 3 months when stored in a cool, dry place. Don’t refrigerate them — the moisture in the fridge can cause the powdered milk to clump. Keep them away from direct sunlight and heat sources.
How flavors develop: The flavors actually meld and deepen over the first week. If you’re giving these as gifts, making them a week ahead is ideal. The vanilla and salt integrate into the cocoa powder, creating a more balanced flavor.
What to serve alongside: These jars pair beautifully with a bag of gourmet marshmallows, a festive mug, or a box of cookies. For a complete gift basket, add a small bottle of peppermint extract or a jar of homemade marshmallows.
Nutritional Information & Benefits
While these jars are definitely a treat, they do offer some surprising benefits. Here’s a rough nutritional breakdown per serving (1 cup of prepared hot cocoa):
- Calories: Approximately 220-280 calories, depending on the type of milk used.
- Fat: 8-12 grams, mostly from the cocoa butter and milk.
- Carbohydrates: 32-40 grams, primarily from sugar.
- Protein: 8-10 grams from the powdered milk.
- Fiber: 2-3 grams from the cocoa powder.
Health benefits: Cocoa powder is rich in antioxidants called flavonoids, which can help reduce inflammation and improve heart health. The magnesium in cocoa can also help with muscle relaxation and stress reduction. Plus, the warmth of the drink can be soothing on a cold day.
Dietary considerations: This recipe contains dairy and sugar. For a dairy-free version, use coconut milk powder. For a low-sugar version, use sugar substitutes. Always check labels if you’re gifting to someone with allergies.
My personal perspective: I believe in balance. These jars are a special treat, not an everyday drink. They’re perfect for cozy evenings, holiday gatherings, or as a thoughtful gift that shows you care. Enjoy them mindfully and savor every sip.
Conclusion
These homemade hot cocoa mix jars have become my signature gift for a reason. They’re simple to make, beautiful to look at, and absolutely delicious to drink. Whether you’re scrambling for a last-minute holiday gift like I was that first time, or you’re planning ahead for teacher appreciation week, these jars never disappoint.
I love that each jar is a little different — the layers shift, the marshmallows settle, and every one has its own personality. It’s the kind of gift that feels personal without requiring a ton of effort. And honestly, that’s my favorite kind of gift to give.
I’d love to hear how your jars turn out! Try adding your own twist — maybe some crushed toffee bits or a dash of espresso powder. Share your creations in the comments below, and don’t forget to tag me in your photos. Happy gifting, and here’s to warm mugs and happy hearts!
Frequently Asked Questions
Can I use hot water instead of milk with this mix?
Absolutely! Since this recipe includes powdered milk, you can use hot water and it will still be creamy. However, using hot milk will give you a richer, more indulgent drink. I recommend trying both and seeing which you prefer.
How long do these jars stay fresh?
When stored in a cool, dry place away from direct sunlight, these jars will stay fresh for up to 3 months. The powdered milk can start to lose its flavor after that, so I recommend using them within that timeframe for the best taste.
Can I use a different type of cocoa powder?
Yes, you can use Dutch-process cocoa powder for a smoother, less acidic flavor. Just keep in mind that it will be darker in color and might change the appearance of your layers. Natural cocoa powder works perfectly and gives that classic hot cocoa taste.
How much mix do I use per cup of milk?
For a standard 8-ounce mug, use about 3 tablespoons of the dry mix. If you like your cocoa extra rich, use 4 tablespoons. The gift tag instructions should specify to use the entire jar with 1 cup of milk, which makes a generous 12-ounce serving.
Can I freeze these jars to give as gifts?
I don’t recommend freezing them. The moisture in the freezer can cause the powdered milk to clump and the marshmallows to become sticky. They’re best stored at room temperature. If you want to make them ahead, just keep them in a cool, dark pantry.
Pin This Recipe!
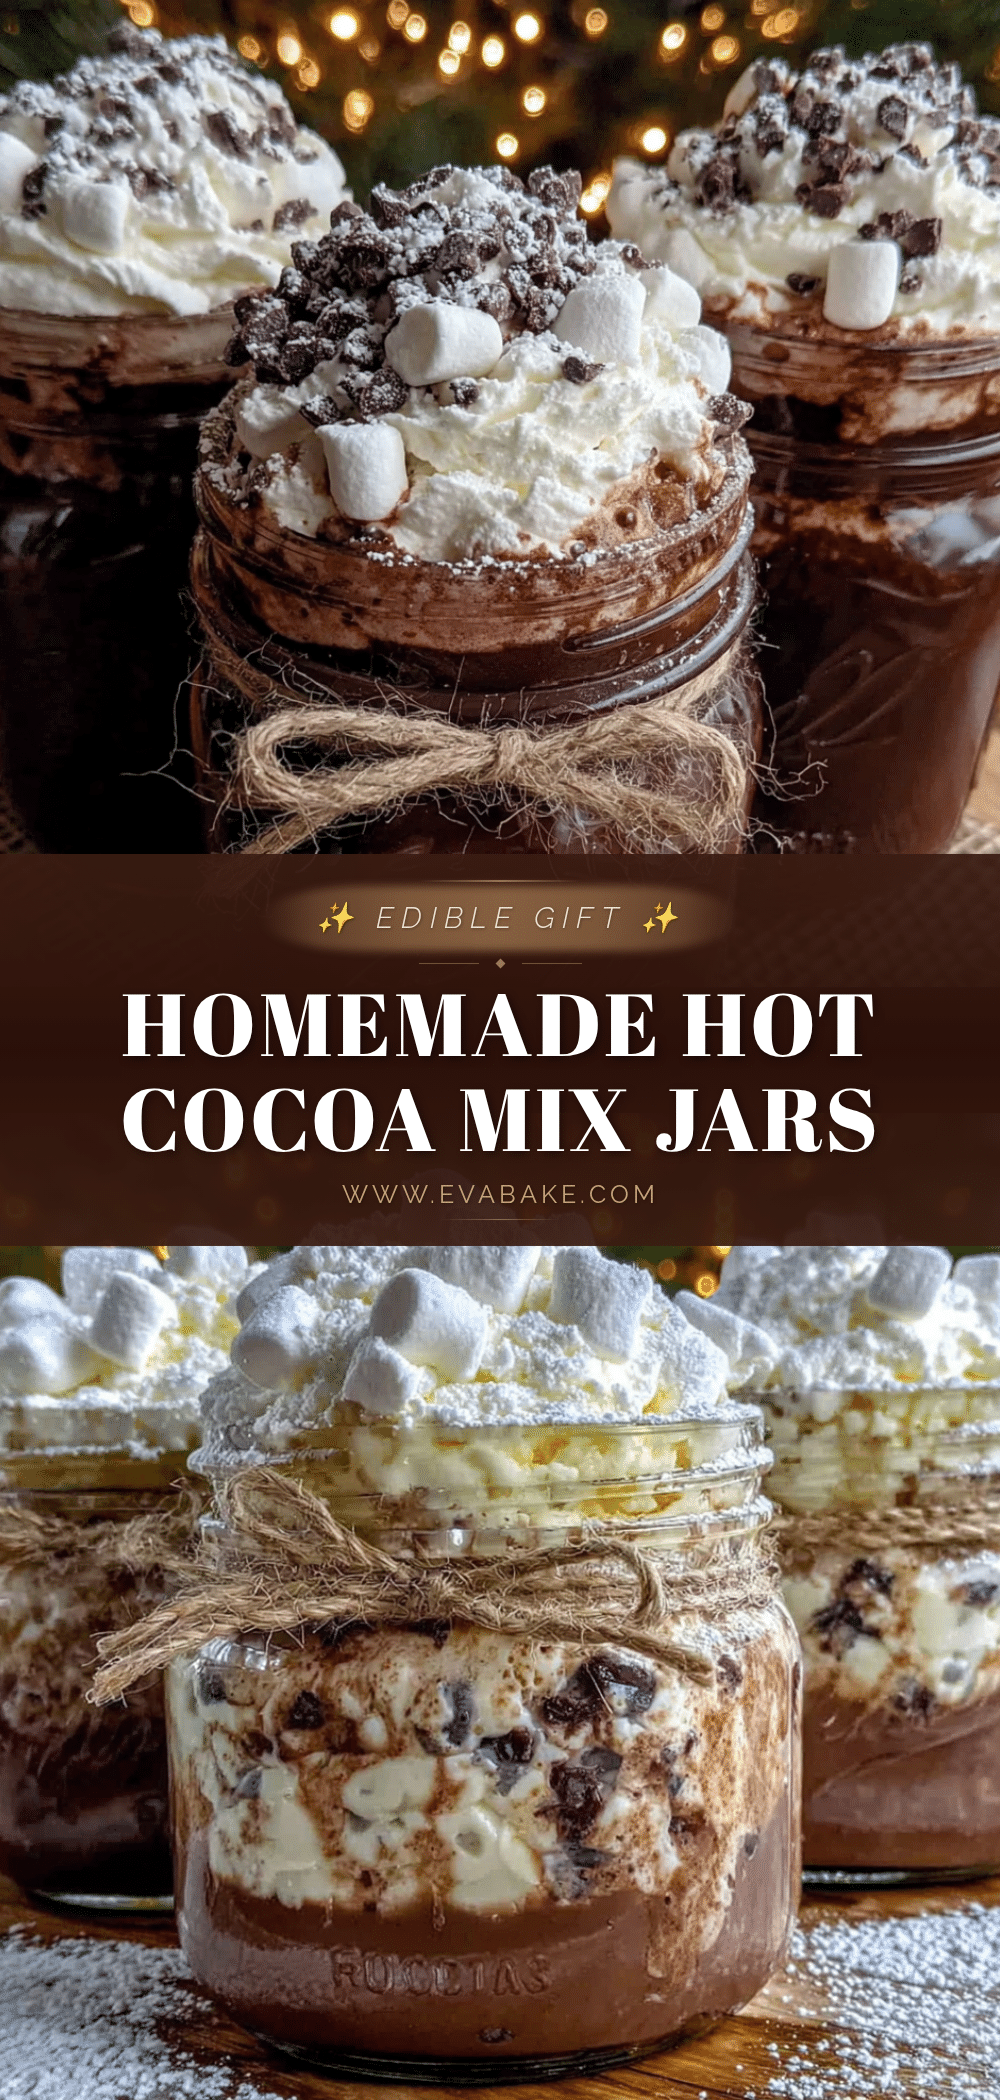
Homemade Hot Cocoa Mix Jars: The Best Easy Edible Gift
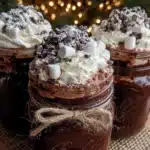
These homemade hot cocoa mix jars are the perfect easy edible gift, combining rich cocoa powder, sugar, and powdered milk in a beautiful layered mason jar. Ready in under 15 minutes, they’re budget-friendly, customizable, and guaranteed to delight anyone on your gift list.
- Prep Time: 15 minutes
- Cook Time: 0 minutes
- Total Time: 15 minutes
- Yield: 1 jar (makes about 4 servings) 1x
- Category: Beverage
- Cuisine: American
Ingredients
- 1 cup granulated sugar
- 1/2 cup unsweetened cocoa powder
- 1 cup powdered milk
- 1/2 cup powdered sugar
- 1/4 teaspoon fine sea salt
- 1 teaspoon powdered vanilla
- 1/2 cup mini marshmallows
- 1/4 cup chocolate chips (optional)
- Crushed candy canes (for peppermint variation, optional)
Instructions
- Wash and dry your mason jars thoroughly. Make sure they’re completely dry inside.
- In a small bowl, whisk together the unsweetened cocoa powder, granulated sugar, powdered sugar, powdered milk, fine sea salt, and powdered vanilla until evenly combined.
- Using a funnel, begin adding the dry mix to the jar. Start with about 1 cup of the cocoa mix as the bottom layer. Tap the jar gently on the counter to settle the powder.
- If using chocolate chips, sprinkle about 2 tablespoons evenly over the cocoa mix layer.
- Add another cup of the cocoa mix, tapping to settle. Add another layer of chocolate chips if desired. Repeat until all dry mix is used, finishing with a layer of cocoa mix on top.
- Gently press mini marshmallows into the top layer of the cocoa mix, filling the remaining space in the jar, leaving about 1/2 inch of headspace.
- Place the lid on the jar and screw it on tightly. If using fabric circles, place the fabric over the jar opening before screwing on the band.
- Tie a ribbon or twine around the neck of the jar. Attach a gift tag with instructions for making the hot cocoa.
- On the gift tag, write: ‘Empty contents of jar into a mug. Add 1 cup of hot milk or water. Stir until dissolved. Top with extra marshmallows if desired. Enjoy!’
Notes
For the most dramatic layered look, use contrasting colors. Don’t over-tap the jar or pack ingredients too tightly. Sift cocoa powder and powdered sugar to avoid clumps. Make jars a week ahead for best flavor melding. Store in a cool, dry place for up to 3 months. Do not refrigerate or freeze.
Nutrition
- Serving Size: 1 cup prepared hot c
- Calories: 250
- Sugar: 30
- Sodium: 180
- Fat: 10
- Saturated Fat: 6
- Carbohydrates: 36
- Fiber: 2.5
- Protein: 9
Keywords: hot cocoa mix, homemade gift, edible gift, mason jar gift, hot chocolate mix, easy gift, holiday gift, cocoa jar