I was halfway through sorting a pile of junk mail when my accountant, Mr. Henderson, called. Not about taxes, mind you—he was calling to tell me about orange slices. Let me tell you, that was the last conversation I expected to have with a man who speaks in spreadsheets. But there he was, describing how he dries them in his oven every December, his voice getting almost excited as he explained the low temperature and the patience required. Honestly, I almost dismissed it. I mean, oven-dried oranges? From my accountant?
But something about the way he described the transformation—the kitchen filling with this bright, sweet scent, the slices turning into stained glass—stuck with me. So I tried it. And then I tried it again. And now, every holiday season, my kitchen looks like a citrus workshop. These homemade oven-dried orange slices have become my secret weapon for gifting, and they started with a phone call about quarterly estimates. Maybe you’ve been there—finding the best recipe advice in the most unexpected places.
The process is almost meditative. You slice, you arrange, you wait. The oven does the hard work, and you get these gorgeous, translucent rounds that look like they came from a fancy boutique. But here’s the thing—they’re ridiculously easy to make. I forgot to flip them the first time, and they still turned out beautiful. That’s the kind of forgiving recipe this is. It’s the kind that makes you look like a crafting genius with minimal effort, which is honestly my favorite kind of project.
Why You’ll Love This Recipe
These oven-dried orange slices aren’t just pretty—they’re genuinely useful. I’ve tested this method about a dozen times now, tweaking temperatures and thicknesses, and I can tell you with confidence: this is the version that works every time. Here’s why they’ve become my go-to for gifting:
- Incredibly Easy: The oven does all the work. You just slice, arrange, and wait. Perfect for busy holiday prep or last-minute gift emergencies.
- Simple Ingredients: You need exactly one ingredient—oranges. No fancy syrups, no special equipment. Your grocery list just got a whole lot shorter.
- Perfect for Gifting: These look stunning in jars, tied with twine, or tucked into gift baskets. They’re the kind of homemade gift that feels thoughtful without being complicated.
- Naturally Beautiful: The colors deepen as they dry, creating these jewel-toned slices that look like art. Every batch is unique and gorgeous.
- Lasts for Months: Properly stored, these keep for up to a year. You can make them weeks ahead of the holidays and still have perfect gifts ready to go.
What makes this recipe different from the rest is the technique. I dry them at a slightly lower temperature than most recipes suggest, which preserves the vibrant color and prevents that burnt, bitter edge. The result is slices that are fragrant, beautiful, and completely usable—whether you’re decorating a wreath or flavoring your tea. There’s something deeply satisfying about turning a simple bag of oranges into something so special. It’s comfort crafting, honestly—the kind of project that makes your kitchen smell amazing and your heart feel full.
What Ingredients You Will Need
This recipe is beautifully simple. You really only need one main ingredient, though a few optional extras can elevate the final result. The beauty of oven-dried orange slices is that the ingredient list is almost laughably short—but the outcome is anything but basic.
- Fresh Oranges (3-4 large oranges): This is the star of the show. Look for firm, heavy oranges with smooth, unblemished skin. Navel oranges work beautifully for their sweetness and seedless interior. Blood oranges create stunning deep red slices, and cara cara oranges offer a lovely pinkish hue. I personally love using a mix of varieties for visual interest in gift jars. The fresher the oranges, the better the color and scent will be after drying.
- Optional: Cinnamon Sticks (2-3, broken into pieces): Adding these to the jar with your dried slices infuses a warm, spicy aroma that screams holidays. It’s a tiny addition that makes a big impression.
- Optional: Whole Cloves (1 teaspoon): Similar to cinnamon, cloves add that classic mulled-spice scent. A few scattered in the gift jar elevate the whole presentation.
- Optional: Star Anise (2-3 whole pods): These look gorgeous tucked among the orange slices and add a subtle licorice note to the fragrance. They’re purely decorative but so worth it.
- Optional: Dried Cranberries (¼ cup): For gift jars, adding dried cranberries creates a beautiful color contrast. They’re not necessary, but they make the final product look like something from a high-end kitchen shop.
The oranges themselves are really all you need. I recommend using organic oranges if possible, since you’ll be drying the peel and potentially using it in teas or decorations. Conventional oranges are fine too—just give them a good scrub before slicing to remove any wax or residue. The size matters somewhat: larger oranges produce bigger slices that are more dramatic for gifting, while smaller ones are better for garnishing cocktails or hot drinks. I usually buy a mix and sort them after slicing.
Equipment Needed
The equipment list is refreshingly short. You likely have everything you need already, which is part of the charm of this recipe.
- Sharp Knife or Mandoline Slicer: A sharp chef’s knife works perfectly, but a mandoline slicer gives you consistently thin, even slices. I’ve used both, and honestly, the mandoline is faster and more precise. If you’re making multiple batches for gifting, it’s worth the investment. A budget-friendly plastic mandoline works just fine.
- Cutting Board: Any sturdy cutting board will do. Just make sure it’s stable and has some grip underneath to prevent slipping.
- Baking Sheets: You’ll need 2-3 rimmed baking sheets, depending on how many oranges you’re drying. Standard half-sheet pans work perfectly. No need for anything fancy.
- Parchment Paper or Silicone Baking Mats: These prevent sticking and make cleanup a breeze. Parchment paper is cheap and disposable, while silicone mats are reusable and eco-friendly. Both work equally well.
- Paper Towels or Clean Kitchen Towels: For patting the slices dry before baking. This step is important for even drying, so don’t skip it.
- Cooling Rack: Optional but helpful for cooling the slices completely after drying. A wire rack allows air to circulate, preventing condensation.
- Airtight Jars or Containers: For storing and gifting the finished slices. Mason jars, clamp-lid jars, or any glass container with a tight seal works beautifully.
One tip I learned the hard way: if you’re using a mandoline, watch your fingers. Those blades are sharp, and orange slices require some pressure. I may have a small scar from my first batch. Use the guard, people.
Preparation Method
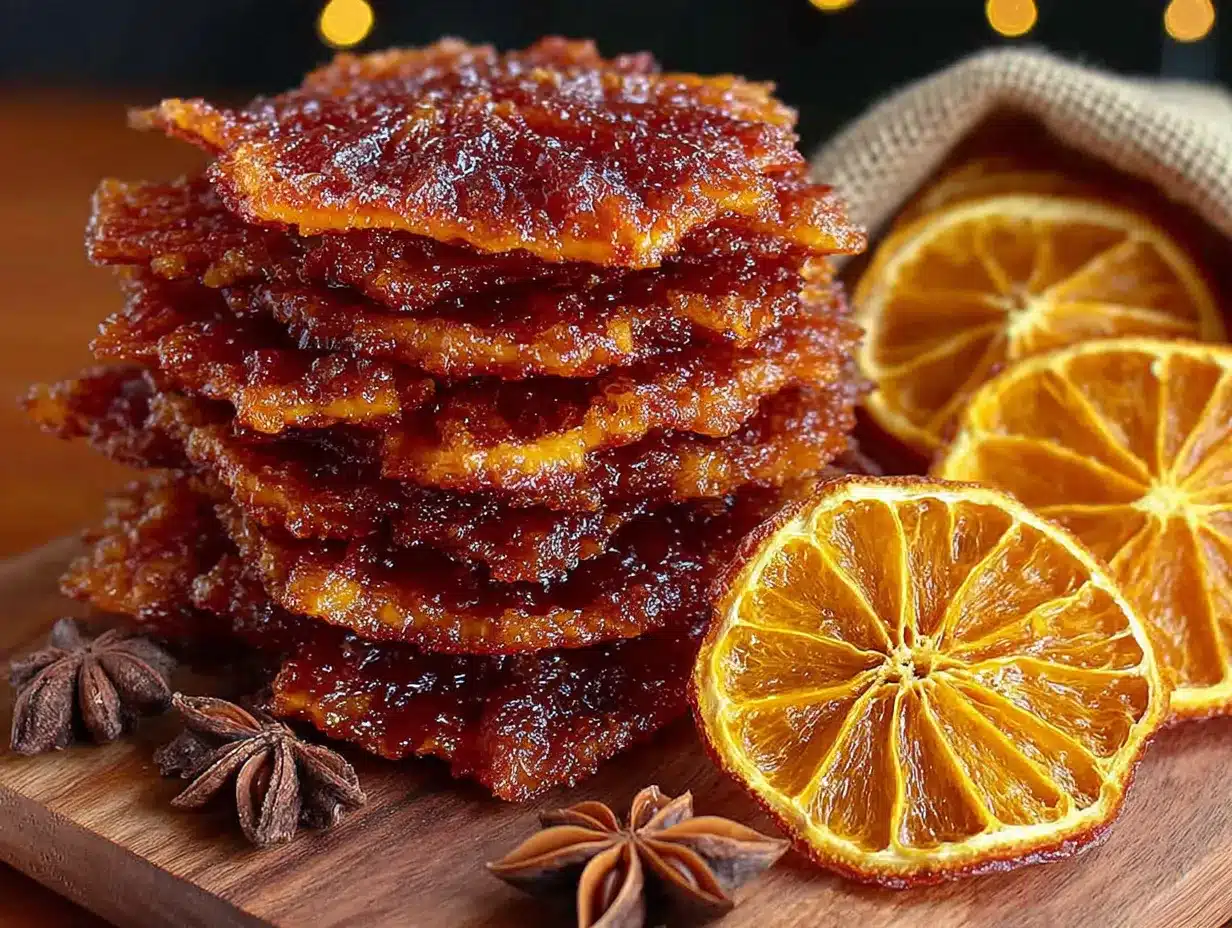
Let me walk you through this step by step. The process is simple, but a few details make all the difference between beautiful slices and sad, burnt ones.
- Preheat your oven to 200°F (93°C). This low temperature is crucial. Higher heat will cook the oranges instead of drying them, resulting in bitter, dark edges. Trust me on this—I ruined my first batch at 250°F. The low-and-slow approach preserves the vibrant color and natural sweetness.
- Wash and dry your oranges thoroughly. Scrub them under warm water to remove any wax, dirt, or residue. Pat them completely dry with a clean towel. Any moisture on the skin can cause uneven drying or steaming.
- Slice the oranges evenly. Using your sharp knife or mandoline, slice the oranges into rounds about ¼ inch (6mm) thick. Consistency is key here—slices that are too thick will take forever to dry, while paper-thin slices will burn or become brittle. Aim for uniform thickness so they dry at the same rate. I like to slice off the very ends of the oranges first (about ½ inch from each tip) since those pieces are mostly peel and dry unevenly.
- Blot the slices. Lay the slices in a single layer on paper towels or a clean kitchen towel. Place another towel on top and gently press to absorb excess juice. This step removes surface moisture, which helps the slices dry faster and more evenly. Don’t squeeze—just gentle pressure.
- Arrange on baking sheets. Line your baking sheets with parchment paper or silicone mats. Place the orange slices in a single layer, making sure they don’t overlap. Overlapping slices will stick together and dry unevenly. Leave a little space between each slice for air circulation. Depending on the size of your oranges, you’ll fit about 8-10 slices per standard baking sheet.
- Bake for 3-4 hours. Place the baking sheets in the preheated oven. The drying time depends on the thickness of your slices, the moisture content of the oranges, and your particular oven. Start checking at the 3-hour mark. The slices are done when they feel dry to the touch, slightly leathery, and no longer sticky. They should be flexible but not moist. If they crack when bent, they’ve gone too far.
- Flip halfway through. About 1.5 to 2 hours into baking, flip each slice over. This ensures even drying on both sides. Use a spatula or your fingers—they’ll be warm but not hot.
- Cool completely. Remove the baking sheets from the oven and let the slices cool on the pans for about 10 minutes. Then transfer them to a cooling rack to cool completely. As they cool, they’ll firm up slightly. Don’t skip this step—trapped heat can cause condensation and undo all your hard work.
- Check for doneness. Once completely cool, the slices should feel dry and slightly firm. They’ll still have a bit of flexibility, but no visible moisture. If any slices feel damp or sticky, return them to the oven for another 30 minutes. I usually have one or two thick slices that need extra time.
One thing I’ve learned: the kitchen will smell absolutely incredible. Like a citrus grove mixed with a holiday candle. It’s one of those scents that makes everyone wander into the kitchen asking what you’re making. Don’t be surprised if you find yourself making extra batches just for the aroma.
Cooking Tips & Techniques
After making these orange slices more times than I can count, I’ve collected a few tricks that make the process smoother and the results more beautiful. Here’s what I wish someone had told me before my first batch.
Watch the thickness. This is the most common mistake. Slices that are too thick take forever to dry and may spoil before they fully dehydrate. Slices that are too thin burn around the edges and become brittle. The sweet spot is about ¼ inch (6mm). If you’re using a mandoline, set it to that thickness. If you’re using a knife, practice on one orange first to get a feel for it.
Rotate your pans. Most ovens have hot spots. Halfway through drying, swap the top and bottom baking sheets and rotate them front to back. This ensures even drying across all slices. I forgot to do this once and had a batch where half the slices were perfect and half were still sticky. Lesson learned.
Don’t crowd the oven. If you’re making a large batch, dry the slices in batches rather than cramming all the baking sheets in at once. Good air circulation is essential for even drying. I usually do two sheets at a time in a standard oven, leaving at least an inch of space between racks.
Check for moisture pockets. Sometimes a slice will develop a small bubble or pocket of juice. If you see one, gently pierce it with a toothpick or the tip of a knife to release the moisture. Otherwise, that spot will stay wet while the rest of the slice dries perfectly.
Use the oven light. If your oven has a light, use it to check on the slices without opening the door. Every time you open the oven, heat escapes and extends the drying time. I’ve become an expert at peeking through the window.
Plan for shrinkage. Orange slices shrink significantly as they dry—about 30-40% in size. Keep this in mind if you’re making them for a specific project like a wreath or garland. You might need more oranges than you think.
One of my biggest failures happened when I tried to rush the process. I cranked the oven to 300°F thinking I’d save time. The edges burned, the centers were still wet, and the whole batch tasted bitter and unpleasant. Low and slow is not optional for this recipe. It’s the whole secret.
Variations & Adaptations
Once you’ve mastered the basic oven-dried orange slices, the possibilities open up. Here are some variations I’ve tried and loved.
Citrus Medley: Don’t stop at oranges. Lemons, limes, grapefruits, and even kumquats dry beautifully using the same method. A mix of citrus slices in a gift jar creates a stunning rainbow effect. I made a batch last year with blood oranges, meyer lemons, and key limes, and they looked like jewels. The different scents blend into this incredible bright, clean fragrance.
Spiced Slices: Before drying, brush the slices lightly with a mixture of honey and warm water (about 1 tablespoon honey to 2 tablespoons water), then sprinkle with cinnamon, cloves, or pumpkin pie spice. The spice sticks to the surface and infuses the slices with holiday warmth. These are especially lovely for tea gifts—drop one in a cup of hot water for instant spiced citrus tea.
Vanilla-Infused: Add a split vanilla bean to the jar with your dried slices. Over time, the vanilla scent infuses the oranges, creating a sweet, warm fragrance. This is my favorite variation for gifting to friends who love baking—they can use the slices in recipes or just enjoy the scent.
Dried Orange Garland: Before drying, use a toothpick or skewer to poke a small hole near the edge of each slice. After drying, thread them onto twine or ribbon to create a beautiful garland. I made one last Christmas that hung across my kitchen window—it looked gorgeous and smelled even better. The slices lasted through the entire holiday season.
Powdered Orange Sugar: Once your slices are completely dry and brittle, pulse them in a spice grinder or food processor to create orange powder. Mix this with granulated sugar for homemade orange sugar—perfect for baking, rimming cocktail glasses, or stirring into tea. It’s like having summer citrus flavor available year-round.
Serving & Storage Suggestions
These oven-dried orange slices are incredibly versatile. Here’s how to use them and keep them fresh.
For Gifting: Layer the slices in clear glass jars or cellophane bags. Add optional cinnamon sticks, star anise, or dried cranberries for visual interest. Tie with twine or ribbon and attach a tag with suggested uses. These make wonderful hostess gifts, teacher appreciation presents, or stocking stuffers. I’ve also tucked them into gift baskets with tea, honey, and a pretty mug.
For Decorating: Use the slices to adorn wreaths, garlands, or centerpieces. They add a natural, rustic touch to any holiday decor. String them onto twine for a simple garland, or glue them to a foam wreath form with cinnamon sticks and dried berries. They’re also lovely tucked into gift wrap or used as place card holders.
For Eating and Drinking: Drop a slice into hot tea, mulled wine, or cocktails for instant citrus flavor. They rehydrate slightly and release their oils into the drink. I love adding one to a cup of chamomile tea on cold evenings—it’s like a little moment of sunshine. You can also chop them and add to baked goods, granola, or trail mix.
Storage Instructions: Store completely cooled slices in an airtight container at room temperature. They’ll keep for 6-12 months if properly dried and sealed. Keep them away from direct sunlight and moisture. I use mason jars with tight-fitting lids and store them in a cool, dark pantry. If you live in a humid climate, add a silica gel packet to the jar to absorb excess moisture.
Rehydrating: If your slices become too brittle, you can rehydrate them slightly by placing them in a sealed container with a damp paper towel for a few hours. This restores some flexibility for crafting projects.
Flavor Development: The flavor of dried oranges actually improves over time. The natural sugars concentrate, and the oils in the peel mellow into a deeper, sweeter citrus note. Slices that are a month old taste noticeably better than fresh ones. So don’t worry about making them too far in advance—they’ll only get better.
Nutritional Information & Benefits
While these oven-dried orange slices are more often used for decoration and gifting than eating by the handful, they do retain the nutritional benefits of fresh oranges in concentrated form.
Estimated Nutritional Values (per slice, based on ¼ inch thickness):
| Nutrient | Amount |
|---|---|
| Calories | 15-20 |
| Carbohydrates | 4g |
| Sugar | 3g (natural) |
| Fiber | 1g |
| Vitamin C | 15% DV |
| Vitamin A | 2% DV |
| Calcium | 1% DV |
Health Benefits: Oranges are packed with vitamin C, which supports immune health—especially welcome during cold and flu season. The drying process concentrates these nutrients, so even a small slice provides a decent boost. The peel contains flavonoids and antioxidants that are preserved during low-temperature drying. When you use the slices in tea or baked goods, you’re getting those benefits too.
Dietary Considerations: These slices are naturally gluten-free, vegan, dairy-free, and nut-free. They contain no added sugar—only the natural sweetness of the fruit. They’re also Whole30 and paleo-friendly. The only potential allergen concern is citrus itself, which is rare but possible.
My Wellness Perspective: I love that these slices let me enjoy the benefits of citrus in a form that lasts. During winter, when fresh citrus is at its peak, I dry a big batch to carry that brightness into the darker months. Dropping a slice into my tea feels like a small act of self-care—a reminder that sunshine is still out there, even in January.
Conclusion
These homemade oven-dried orange slices have become one of my favorite traditions, and they started with the most unlikely source—my accountant’s phone call. That’s the thing about good recipes: they show up when you least expect them, often from people you’d never guess. Mr. Henderson probably has no idea how many jars of dried oranges have come out of my kitchen because of him, but I’m grateful every time I tie a ribbon around one.
I hope you give these a try. They’re forgiving, beautiful, and endlessly useful. Customize them with spices, mix in other citrus, or keep them simple—they’ll turn out gorgeous either way. There’s something deeply satisfying about transforming a bag of oranges into gifts that look like they came from a fancy boutique, all with just your oven and a little patience.
I’d love to hear how yours turn out. Did you add spices? Use them in a particular way? Gift them to someone special? Drop a comment below and share your experience—I read every single one. And if you’re looking for more simple homemade gift ideas, check out my cinnamon sugar scrub recipe that pairs perfectly with these slices in a gift basket. Happy drying, friends—your kitchen is about to smell amazing!
Frequently Asked Questions
Can I use a dehydrator instead of an oven?
Absolutely! A dehydrator works wonderfully for this recipe. Set it to 135°F (57°C) and dry for 6-8 hours, checking periodically. The lower temperature takes longer but produces even more vibrant color. I actually prefer my dehydrator for large batches since it frees up the oven for other holiday baking.
Why did my orange slices turn brown?
Browning usually happens for one of three reasons: the oven temperature was too high, the slices were cut too thin, or they were left in too long. Stick to 200°F (93°C) and check early. A little browning around the edges is normal and even pretty, but overall darkening means they’ve been overdone. Also, older oranges tend to brown more than fresh ones.
How do I know when they’re fully dried?
Fully dried slices should feel dry to the touch, slightly leathery, and not sticky at all. They should bend without cracking but not feel moist. If they crack when bent, they’re over-dried. If they feel cool or damp, they need more time. Let them cool completely before testing—they firm up as they cool.
Can I eat the dried orange slices?
Yes, they’re perfectly edible! They’re quite chewy and intensely citrusy—not like fresh oranges at all. Most people prefer to use them in tea, baked goods, or as garnishes rather than eating them plain. The peel is completely safe to eat, though it has a stronger flavor than the flesh. If you want sweeter slices for snacking, you can dip them in melted dark chocolate after drying.
How far in advance can I make these for gifting?
You can make them up to 6 months ahead if stored properly in an airtight container away from light and moisture. The flavor actually improves over the first month as the oils settle. I usually start my holiday batches in early November, and they’re perfect by December. Just make sure they’re completely dry before sealing—any residual moisture can cause mold.
Pin This Recipe!
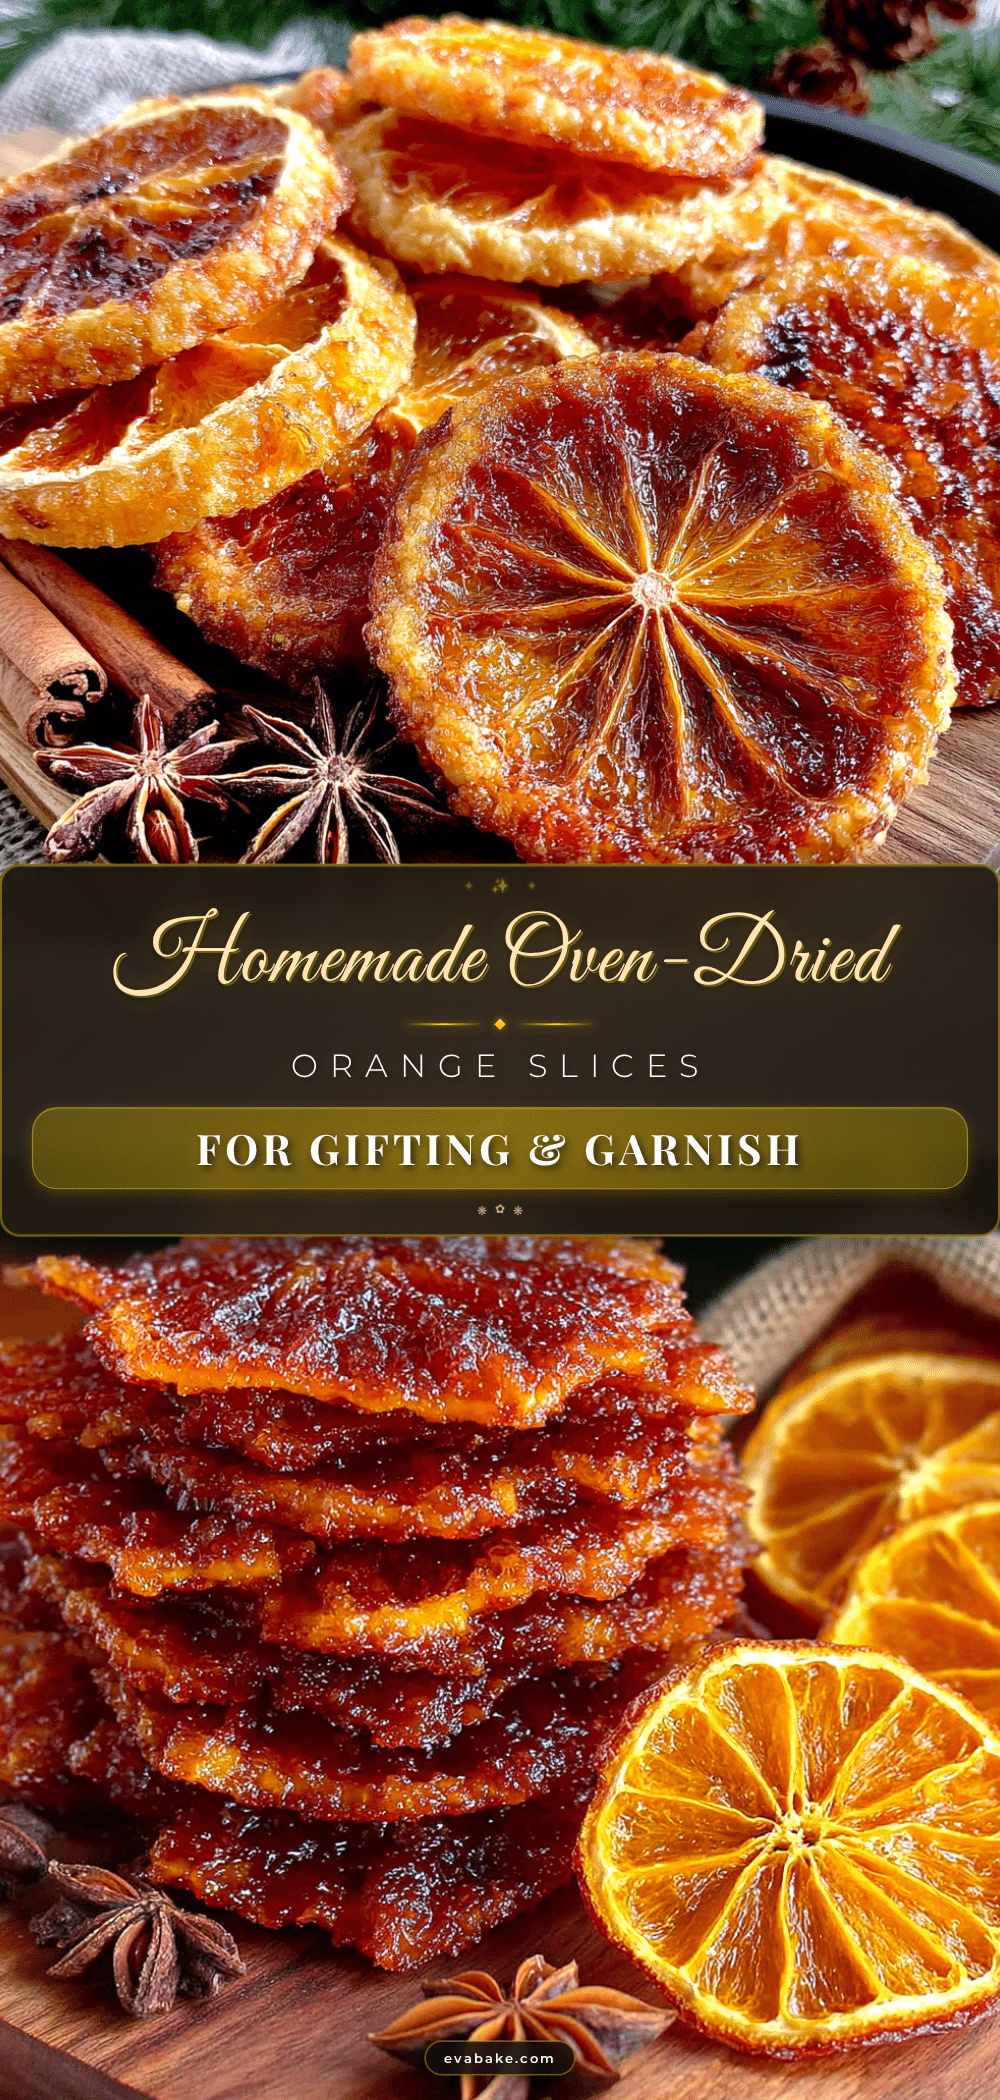
Homemade Oven-Dried Orange Slices: Easy Gifting Idea
Transform simple oranges into beautiful, jewel-toned dried slices perfect for gifting, decorating, or flavoring tea. This low-and-slow oven method preserves vibrant color and natural sweetness with minimal effort.
- Prep Time: 15 minutes
- Cook Time: 3 hours 30 minutes
- Total Time: 3 hours 45 minutes
- Yield: 24-32 slices (depending on orange size) 1x
- Category: Snack
- Cuisine: American
Ingredients
- 3–4 large fresh oranges (navel, blood, or cara cara)
- Optional: 2-3 cinnamon sticks, broken into pieces
- Optional: 1 teaspoon whole cloves
- Optional: 2-3 whole star anise pods
- Optional: ¼ cup dried cranberries
Instructions
- Preheat your oven to 200°F (93°C).
- Wash and dry your oranges thoroughly. Scrub under warm water to remove wax, dirt, or residue. Pat completely dry with a clean towel.
- Slice the oranges evenly into rounds about ¼ inch (6mm) thick. Slice off the very ends of the oranges first (about ½ inch from each tip) as those pieces are mostly peel and dry unevenly.
- Lay the slices in a single layer on paper towels or a clean kitchen towel. Place another towel on top and gently press to absorb excess juice. Do not squeeze.
- Line baking sheets with parchment paper or silicone baking mats. Arrange the orange slices in a single layer, making sure they do not overlap. Leave a little space between each slice for air circulation.
- Bake for 3-4 hours. Start checking at the 3-hour mark. The slices are done when they feel dry to the touch, slightly leathery, and no longer sticky. They should be flexible but not moist. If they crack when bent, they have gone too far.
- Flip halfway through: about 1.5 to 2 hours into baking, flip each slice over using a spatula or your fingers.
- Cool completely: remove the baking sheets from the oven and let the slices cool on the pans for about 10 minutes. Then transfer them to a cooling rack to cool completely.
- Check for doneness: once completely cool, the slices should feel dry and slightly firm. They will still have a bit of flexibility, but no visible moisture. If any slices feel damp or sticky, return them to the oven for another 30 minutes.
Notes
Use organic oranges if possible since the peel is used. The low temperature (200°F) is crucial to prevent burning and preserve color. Rotate pans halfway through for even drying. Slices shrink about 30-40% in size. Store in an airtight container at room temperature for up to 6-12 months. Flavor improves over the first month.
Nutrition
- Serving Size: 1 slice
- Calories: 1520
- Sugar: 3
- Carbohydrates: 4
- Fiber: 1
Keywords: oven-dried orange slices, dried oranges, homemade gift, citrus slices, holiday gift, edible decoration, tea garnish