I was standing in the frozen food aisle of our local grocery store last Tuesday, staring at a box of mac and cheese that cost almost nine dollars. Nine dollars for a box of noodles and powdered cheese, can you believe that? And right there, in the fluorescent lighting with a squeaky cart wheel and a toddler pulling boxes off the shelf behind me, I got hit with this memory so sharp it almost hurt. I was eight years old at my Aunt Rose’s tiny kitchen table, the one with the wobbly leg she’d fixed with a folded napkin, watching her pull a bubbling dish of baked mac and cheese out of the oven. The smell of melted cheddar and butter filled that whole apartment, and I remember thinking, “This is what rich people must eat every single day.” She laughed when I said that out loud. She wasn’t rich, not by a long shot, but she knew how to make a little bit of cheese go a really long way. That dish fed six of us that night, and there were still leftovers for her lunch the next day. I’ve been chasing that exact feeling ever since, honestly. Not just the taste, but the way it felt to sit at that table with people I loved, eating something that cost so little but felt so extravagant. This baked four-cheese mac and cheese is my attempt to bottle that feeling and share it with my own family.
Why You’ll Love This Recipe
Let me tell you why this baked four-cheese mac and cheese has become the most requested dish in my house. I’ve tested this recipe about a dozen times, tweaking the cheese ratios and the baking time until it hit that perfect sweet spot between creamy and golden-crusted. My neighbor Deb, who runs a small catering business on the side, tried it last month and immediately asked for the recipe. That felt pretty good, I’m not gonna lie.
- Budget-Friendly: This uses affordable block cheeses and pantry staples. No fancy imported stuff needed here.
- Family-Approved: My kids, who usually pick out anything green or suspicious, clean their plates every single time.
- Leftovers That Reheat Beautifully: This is a big deal, right? Nothing worse than dry, sad mac and cheese the next day. This one stays creamy.
- Feeds a Crowd: This recipe makes a generous 9×13 dish that serves 10 to 12 people easily. Perfect for potlucks, holidays, or just a Tuesday when you want leftovers.
- That Golden, Buttery Crust: The panko topping gets perfectly crispy while the inside stays luscious and smooth. It’s the best of both worlds.
What makes this different from every other mac and cheese out there? It’s the blend of four cheeses, each one doing a specific job. The sharp cheddar brings the tang, the mozzarella gives you that stretch, the Gruyère adds a nutty depth, and the cream cheese keeps everything velvety smooth. No grainy sauce here, I promise you that. This is the kind of mac and cheese that makes people close their eyes after the first bite. I’ve seen it happen at three different potlucks now. It’s comfort food that feels special without requiring a second mortgage to buy the ingredients.
What Ingredients You Will Need
This recipe uses simple, honest ingredients that work together to create something genuinely spectacular. Most of these are probably already in your fridge or pantry, which is exactly how I like to cook.
- 1 pound elbow macaroni (or cavatappi, if you want those fun corkscrew shapes that hold extra sauce)
- 4 tablespoons unsalted butter, divided
- 3 tablespoons all-purpose flour
- 3 cups whole milk, warmed slightly (I use 2% in a pinch and it works fine)
- 1 cup heavy cream (adds that luxurious texture, but you can use all milk if you’re watching pennies)
- 2 cups sharp cheddar cheese, shredded (buy a block and shred it yourself, please. The pre-shredded stuff has anti-caking agents that mess with the melt)
- 1 cup Gruyère cheese, shredded (this is the splurge ingredient, but it’s worth every penny for the flavor depth)
- 1 cup low-moisture mozzarella cheese, shredded
- 4 ounces cream cheese, softened and cut into small cubes
- 1 teaspoon Dijon mustard (don’t skip this, it brightens the whole dish)
- ½ teaspoon garlic powder
- ½ teaspoon onion powder
- ¼ teaspoon cayenne pepper (optional, but I love the tiny warmth it adds)
- Salt and black pepper to taste
- 1 cup panko breadcrumbs
- 2 tablespoons grated Parmesan cheese (for the topping)
- 2 tablespoons fresh parsley, chopped (optional, for garnish)
A few notes on ingredients. I really do recommend shredding your own cheese. I learned this the hard way after a particularly grainy mac and cheese disaster back in 2019. The pre-shredded bags have cellulose added to prevent clumping, and that stuff just doesn’t melt smoothly. As for the Gruyère, I buy it at Aldi for about half the price of the fancy grocery store. It freezes well too, so I grab two blocks when it’s on sale. For the milk, whole milk gives you the creamiest sauce, but I’ve made this with 2% and it was still delicious. Just don’t go below that, okay? Skim milk will give you a thinner sauce that might separate during baking.
Equipment Needed
You don’t need a professional kitchen to make this baked four-cheese mac and cheese. Here’s what you’ll need:
- Large pot (at least 5 quarts) for boiling pasta
- Colander for draining
- Large saucepan or Dutch oven for making the cheese sauce
- 9×13 baking dish (a 3-quart casserole dish works too)
- Whisk (a good one, not the flimsy kind that bends)
- Box grater or food processor for shredding cheese
- Wooden spoon or silicone spatula
- Measuring cups and spoons
- Small skillet for toasting the panko topping
If you don’t have a 9×13 dish, you can use two 8×8 dishes and bake them side by side. Just check them a few minutes early since they’ll cook faster. I’ve also used disposable aluminum pans for potlucks, and they work perfectly. No need to worry about getting your good dish back, you know how that goes.
Preparation Method
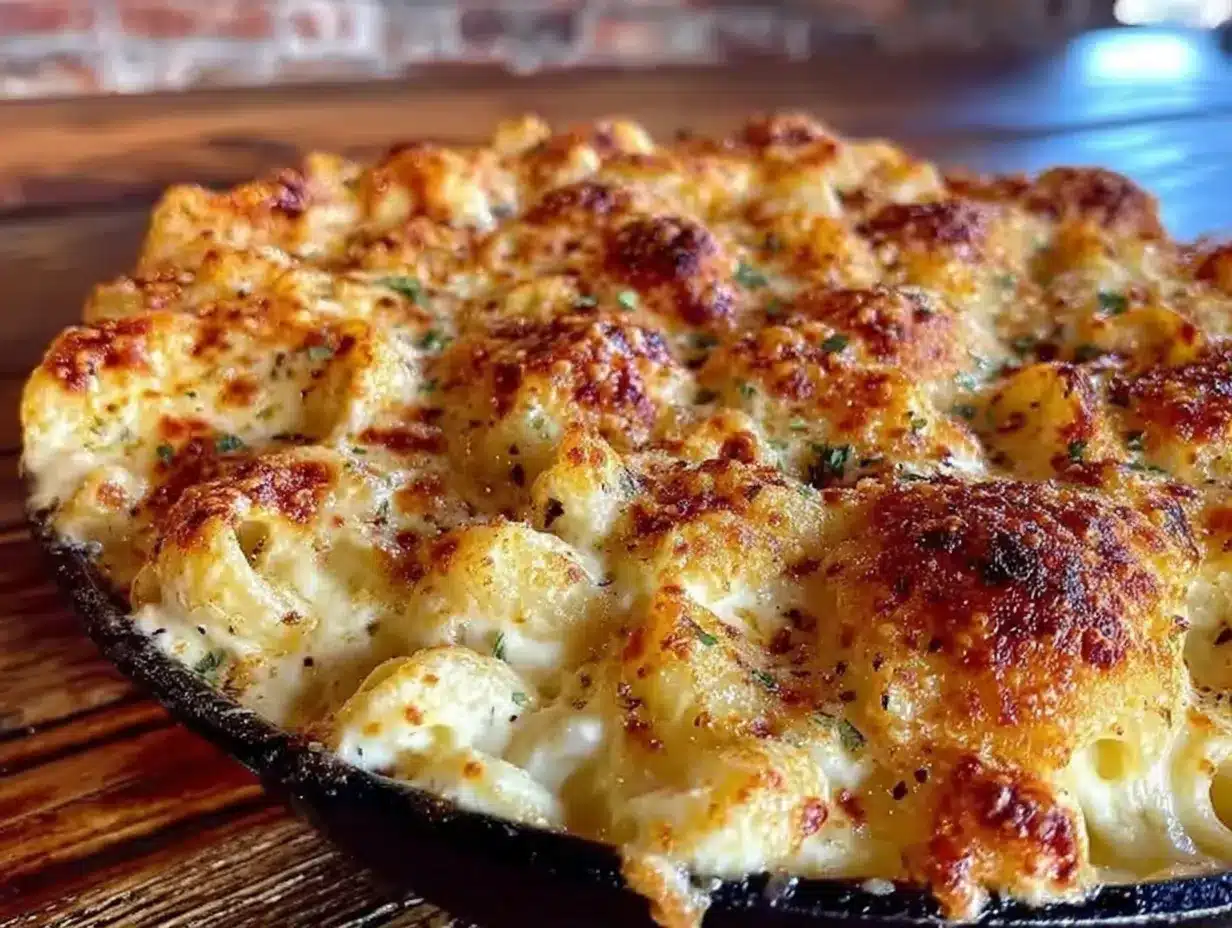
Alright, let’s make some mac and cheese. I’ll walk you through this step by step, including all the little things I’ve learned from making this dish probably thirty times now.
Step 1: Preheat and Prep
Preheat your oven to 375°F (190°C). Grease your 9×13 baking dish with a little butter or non-stick spray. Set a large pot of salted water over high heat to boil. The water should taste salty like the sea, that’s your only chance to season the pasta from the inside.
Step 2: Cook the Pasta
Once the water is boiling, add your elbow macaroni and cook it for 1 minute less than the package directions say. For most brands, that’s about 6 to 7 minutes. The pasta will finish cooking in the oven, so you want it slightly underdone. Drain it in a colander and give it a quick rinse with cool water to stop the cooking. Toss it with a tiny drizzle of olive oil so it doesn’t clump while you make the sauce.
Step 3: Make the Roux
In your large saucepan or Dutch oven, melt 3 tablespoons of butter over medium heat. Once it’s bubbling, whisk in the flour. Keep whisking for about 2 minutes until the mixture turns a pale golden color and smells kind of nutty. This is your roux, and it’s the foundation of your sauce. Don’t rush this part, I’ve burned more roux than I care to admit by walking away to check my phone.
Step 4: Build the Sauce
Slowly pour in the warm milk while whisking constantly. Then add the heavy cream. Keep whisking until the mixture thickens, about 3 to 4 minutes. It should coat the back of a spoon nicely. Reduce the heat to low.
Step 5: Add the Cheese
Now the fun part. Add the shredded cheddar, Gruyère, mozzarella, and the cubed cream cheese. Stir gently but constantly until everything is melted and smooth. This should take about 2 to 3 minutes. Don’t let it boil, that can make the sauce grainy. Stir in the Dijon mustard, garlic powder, onion powder, cayenne if using, and salt and pepper to taste. Give it a taste. Adjust the seasoning if needed. The sauce should be well-seasoned because it has to coat all that pasta.
Step 6: Combine
Add the drained pasta to the cheese sauce and stir until every piece is coated. Pour the whole thing into your prepared baking dish and spread it into an even layer.
Step 7: Make the Topping
In a small skillet, melt the remaining 1 tablespoon of butter over medium heat. Add the panko breadcrumbs and stir them around until they’re golden and toasted, about 3 minutes. Remove from heat and stir in the grated Parmesan. Sprinkle this mixture evenly over the mac and cheese.
Step 8: Bake
Place the dish in the preheated oven and bake for 20 to 25 minutes. You want the edges to be bubbly and the top to be golden brown. If the top isn’t brown enough after 20 minutes, you can switch the oven to broil for 1 to 2 minutes. Watch it carefully, broiling can go from perfect to burnt in about 30 seconds. I learned that one the hard way too.
Step 9: Rest and Serve
Let the mac and cheese rest for at least 10 minutes before serving. I know it’s hard to wait, but this lets the sauce set up a bit so it’s not runny. Garnish with fresh parsley if you’re feeling fancy, and serve warm.
Cooking Tips & Techniques
After making this baked four-cheese mac and cheese more times than I can count, I’ve picked up a few tricks that make a real difference. Here are the ones I think about most often.
Low and Slow for the Sauce: Keep your heat on the lower side when melting the cheese. High heat can cause the proteins to seize up, and you’ll end up with a gritty sauce instead of a silky one. If your sauce looks like it’s starting to separate, take it off the heat immediately and whisk in a splash of cold milk. It usually brings it back.
The Undercooked Pasta Rule: I cannot stress this enough. Cook your pasta a full minute less than the package says. It will continue cooking in the oven, and if you start with fully cooked pasta, you’ll end up with mushy mac and cheese. Nobody wants that texture.
Room Temperature Ingredients: This is one of those tips that sounds fussy but actually matters. Cold milk and cold cream cheese can make your sauce seize up or take forever to smooth out. Let your milk sit on the counter for 15 minutes, and let your cream cheese soften. Your sauce will come together in half the time.
Don’t Overbake: The mac and cheese is done when the edges are bubbly and the top is golden. If you bake it too long, the sauce can break and get oily. Set a timer and trust it. I’ve ruined a perfectly good dish by thinking “just five more minutes” and ending up with a greasy mess.
Make It Ahead: You can assemble this entire dish up to 24 hours in advance. Just don’t add the panko topping until right before baking. Cover the dish with foil and refrigerate. When you’re ready to bake, add the topping and bake for about 30 minutes, removing the foil for the last 10 minutes.
Variations & Adaptations
One of the best things about this baked four-cheese mac and cheese is how easy it is to change up. Here are some variations I’ve tried and loved.
Add Some Protein: Stir in 2 cups of cooked, crumbled bacon or diced ham before baking. My husband insists this is the only way to eat mac and cheese. I’ve also added shredded rotisserie chicken when I needed to stretch the meal further, and it was fantastic.
Veggie Boost: Toss in a cup of steamed broccoli florets or some sautéed mushrooms. My kids eat it without complaint when the veggies are hidden in all that cheesy goodness. Roasted cauliflower works great too, just chop it small.
Spicy Version: Add a diced jalapeño to the cheese sauce, or stir in a tablespoon of hot sauce. My brother-in-law requests this version for every family gathering. It’s got a nice kick without being overwhelming.
Gluten-Free Adaptation: Use gluten-free pasta and substitute the all-purpose flour with a 1-to-1 gluten-free flour blend. The sauce might be slightly thinner, so let it cook an extra minute before adding the cheese. Use gluten-free panko for the topping.
Lighter Version: Swap the heavy cream for additional milk, use reduced-fat cheeses, and skip the butter in the topping. It won’t be as rich, obviously, but it’s still pretty darn good. I made this version when I was trying to eat a bit lighter last spring, and it scratched the comfort food itch without the guilt.
Different Cheese Combos: If you don’t have Gruyère, try using Gouda or Fontina. Both melt beautifully and add their own unique flavor. I’ve also made this with all sharp cheddar and Monterey Jack when I was trying to use up what I had, and it was still delicious. The cream cheese is the one I wouldn’t skip, it really does make the sauce velvety.
Serving & Storage Suggestions
This baked four-cheese mac and cheese is a star on its own, but here’s how to serve it and store it like a pro.
Serving: Serve it warm, right after that 10-minute rest. I like to scoop it into shallow bowls so the crispy topping stays crunchy. It pairs beautifully with a simple green salad dressed with lemon vinaigrette, the acidity cuts through the richness perfectly. For a full meal, I serve it alongside roasted chicken or meatloaf. At potlucks, I keep it in the baking dish with a serving spoon, and it’s always one of the first empty dishes on the table.
Storage: Let any leftovers cool completely, then transfer them to an airtight container. It will keep in the refrigerator for up to 4 days. The texture will change slightly as it sits, but it’s still delicious.
Reheating: The best way to reheat this is in the oven. Place the mac and cheese in a baking dish, add a splash of milk, cover with foil, and bake at 350°F until heated through, about 15 to 20 minutes. You can also reheat individual portions in the microwave, just add a tablespoon of milk and cover with a damp paper towel. Heat in 30-second bursts, stirring between each, until hot.
Freezing: This freezes beautifully for up to 3 months. Let it cool completely, then wrap the dish tightly in plastic wrap and then foil. To thaw, place it in the refrigerator overnight. Reheat in a 350°F oven, covered, for about 30 minutes. The topping won’t be as crispy after freezing, so I like to add a fresh layer of panko before reheating.
The flavors actually deepen after a day in the fridge, so leftovers might taste even better than the first serving. Not that it ever lasts that long in my house, honestly.
Nutritional Information & Benefits
Let’s be real, this is comfort food and it’s not pretending to be a health food. But here’s the breakdown so you know what you’re getting into.
Estimated per serving (based on 12 servings):
Calories: 485 | Fat: 28g | Saturated Fat: 17g | Cholesterol: 85mg | Sodium: 520mg | Carbohydrates: 38g | Fiber: 1g | Sugar: 6g | Protein: 20g
Health Highlights: The cheese provides a good amount of calcium and protein, which is great for growing kids and active adults. The milk adds vitamin D and more calcium. If you’re watching your sodium, you can use low-sodium cheese and skip the added salt in the sauce. The cayenne pepper, if you use it, contains capsaicin which has anti-inflammatory properties. Every little bit helps, right?
Dietary Considerations: This recipe contains dairy and gluten. For a gluten-free version, see the variations section above. For a lower-fat version, use reduced-fat cheeses and swap the heavy cream for evaporated milk. It won’t be as luxurious, but it will still satisfy that mac and cheese craving.
I believe in balance. We eat salads and grilled chicken most nights, but when mac and cheese night rolls around, we go all in. Food is about joy too, not just fuel. This dish brings my family together around the table, and that has its own nutritional value, if you ask me.
Conclusion
This baked four-cheese mac and cheese is more than just a recipe, it’s the dish I turn to when I need to feed my family something that feels like a hug. It’s affordable, it’s forgiving, and it makes people happy. I’ve brought it to new neighbors, to sick friends, and to holiday dinners where it disappeared before the turkey. Every time I make it, I think about Aunt Rose and her wobbly table, and I smile.
I hope you’ll make this your own. Add your favorite mix-ins, adjust the cheese blend to what you have on hand, and don’t stress about perfection. The beauty of this recipe is that it works with what you’ve got. If you make it, I’d love to hear how it turned out. Leave a comment below and tell me about your own mac and cheese memories, or share a photo of your creation. And if you tweaked something and it worked brilliantly, please share that too. We’re all in this kitchen together, learning as we go.
Now go preheat your oven. Your family is going to love this.
Frequently Asked Questions
Can I use pre-shredded cheese for this recipe?
You can, but I really don’t recommend it. Pre-shredded cheese has anti-caking agents like cellulose and potato starch that prevent it from melting smoothly. You’ll get a grainier sauce. Shredding your own cheese from a block takes about 5 extra minutes and makes a noticeable difference in texture.
Why did my cheese sauce turn out grainy?
This usually happens for one of two reasons. Either the heat was too high when you added the cheese, or you added the cheese too quickly. Keep the heat on low and add the cheese gradually while stirring constantly. If your sauce does get grainy, try whisking in a splash of cold milk and removing it from the heat immediately.
Can I make this mac and cheese without heavy cream?
Absolutely. You can substitute the heavy cream with an equal amount of whole milk or half-and-half. The sauce will be slightly less rich and creamy, but it will still be delicious. I’ve done this many times when I didn’t have cream on hand, and my family didn’t notice the difference.
How do I prevent the mac and cheese from drying out when reheating?
The key is adding moisture back. Before reheating, stir in a splash of milk or cream. If you’re reheating in the oven, cover the dish with foil to trap steam. If using the microwave, cover the bowl with a damp paper towel. These little steps make all the difference between dry pasta and creamy leftovers.
Can I double this recipe for a larger crowd?
Yes, this recipe doubles beautifully. Use a large roasting pan or two 9×13 dishes. You might need to increase the baking time by about 5 to 10 minutes since there’s more volume. Check for doneness by looking for bubbly edges and a golden top. Just make sure your pot is big enough to hold the sauce and pasta comfortably.
Pin This Recipe!
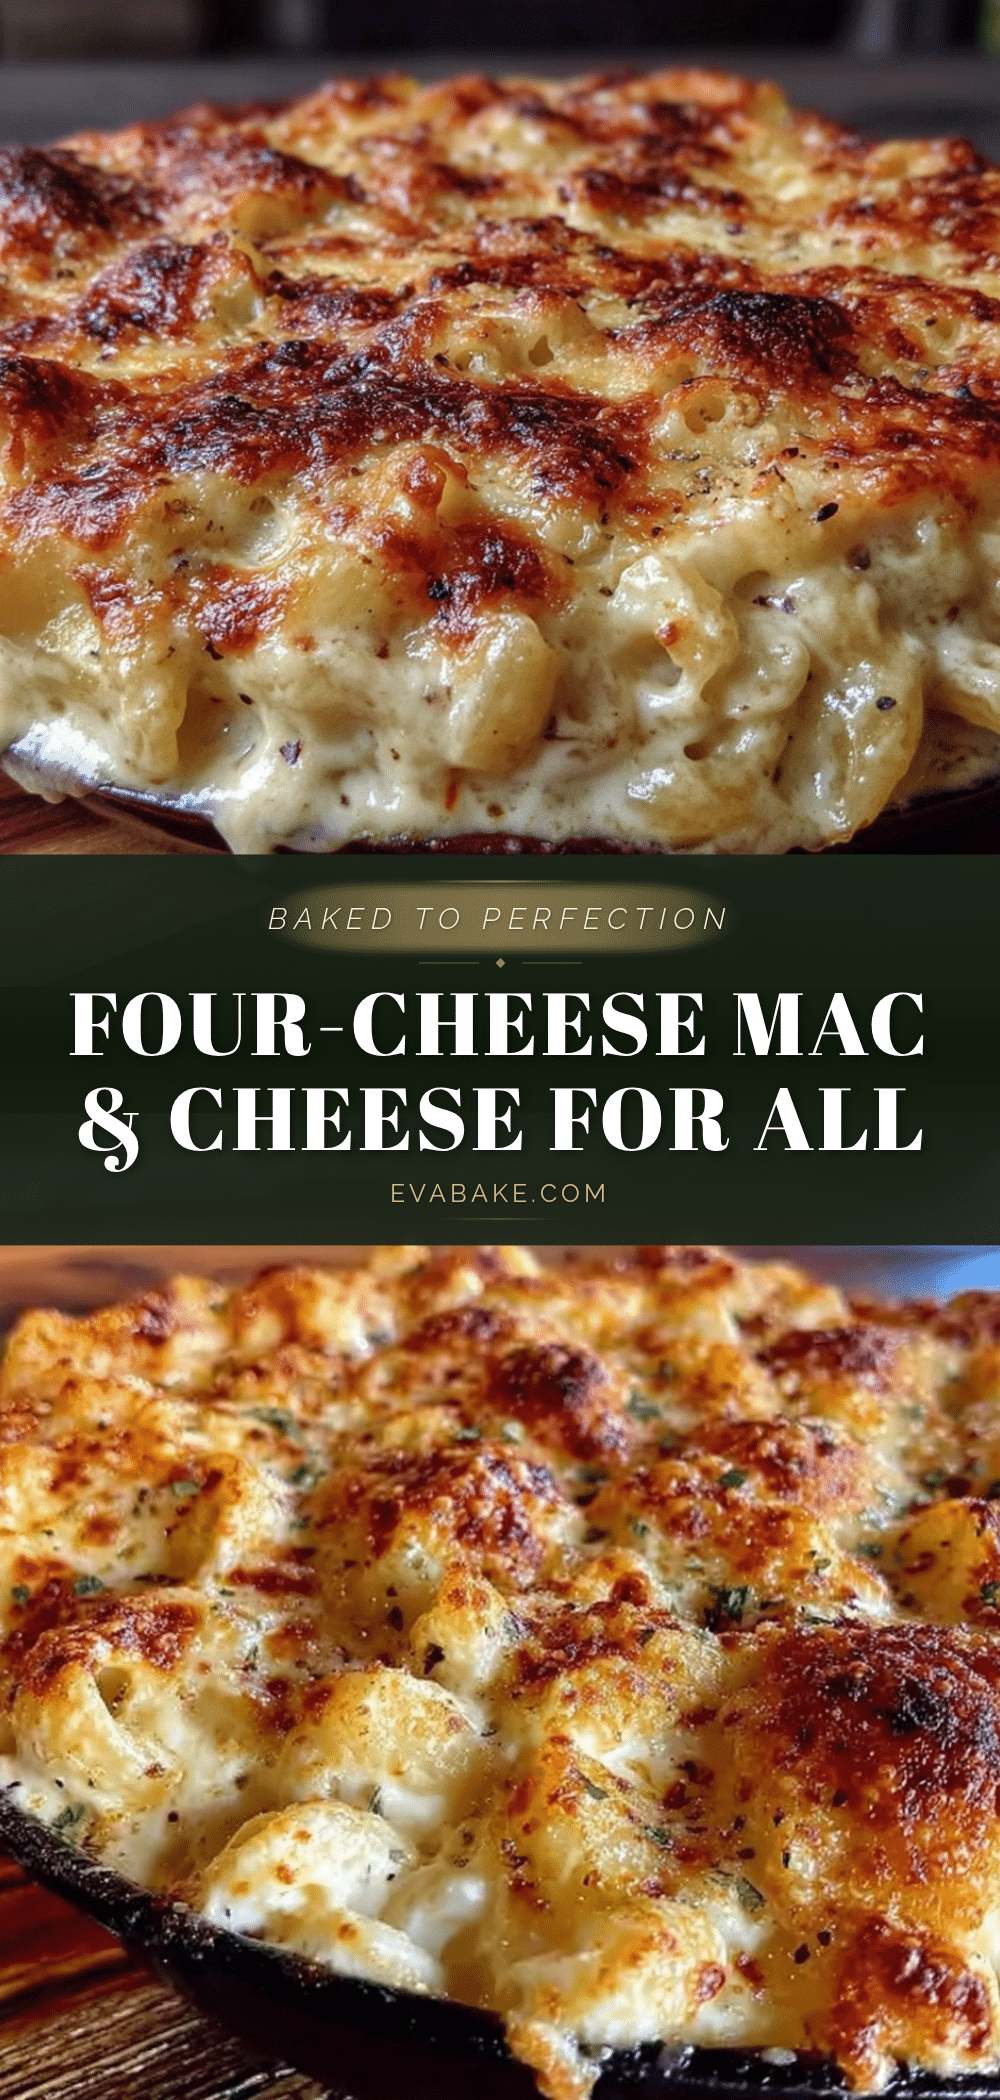
Best Baked Four-Cheese Mac and Cheese: The Ultimate Crowd-Pleaser
This baked four-cheese mac and cheese is the ultimate comfort food, featuring a blend of sharp cheddar, Gruyère, mozzarella, and cream cheese for a velvety sauce with a golden, buttery panko crust. It’s budget-friendly, family-approved, and perfect for feeding a crowd.
- Prep Time: 20 minutes
- Cook Time: 25 minutes
- Total Time: 45 minutes
- Yield: 10-12 servings 1x
- Category: Main Course
- Cuisine: American
Ingredients
- 1 pound elbow macaroni (or cavatappi)
- 4 tablespoons unsalted butter, divided
- 3 tablespoons all-purpose flour
- 3 cups whole milk, warmed slightly
- 1 cup heavy cream
- 2 cups sharp cheddar cheese, shredded
- 1 cup Gruyère cheese, shredded
- 1 cup low-moisture mozzarella cheese, shredded
- 4 ounces cream cheese, softened and cut into small cubes
- 1 teaspoon Dijon mustard
- ½ teaspoon garlic powder
- ½ teaspoon onion powder
- ¼ teaspoon cayenne pepper (optional)
- Salt and black pepper to taste
- 1 cup panko breadcrumbs
- 2 tablespoons grated Parmesan cheese
- 2 tablespoons fresh parsley, chopped (optional, for garnish)
Instructions
- Preheat oven to 375°F (190°C). Grease a 9×13 baking dish with butter or non-stick spray. Bring a large pot of salted water to a boil.
- Cook the elbow macaroni for 1 minute less than package directions (about 6-7 minutes). Drain, rinse with cool water, and toss with a drizzle of olive oil to prevent clumping.
- In a large saucepan or Dutch oven, melt 3 tablespoons of butter over medium heat. Whisk in the flour and cook for 2 minutes until pale golden and nutty.
- Slowly pour in the warm milk while whisking constantly, then add the heavy cream. Continue whisking until the mixture thickens, about 3-4 minutes. Reduce heat to low.
- Add the shredded cheddar, Gruyère, mozzarella, and cubed cream cheese. Stir gently until melted and smooth, about 2-3 minutes. Do not let it boil. Stir in Dijon mustard, garlic powder, onion powder, cayenne (if using), and salt and pepper to taste.
- Add the drained pasta to the cheese sauce and stir until well coated. Pour into the prepared baking dish and spread evenly.
- In a small skillet, melt the remaining 1 tablespoon of butter over medium heat. Add panko breadcrumbs and toast until golden, about 3 minutes. Remove from heat and stir in grated Parmesan. Sprinkle evenly over the mac and cheese.
- Bake for 20-25 minutes until edges are bubbly and top is golden brown. If needed, broil for 1-2 minutes, watching carefully.
- Let rest for at least 10 minutes before serving. Garnish with fresh parsley if desired.
Notes
Shred your own cheese for the smoothest sauce. Cook pasta 1 minute less than directed to avoid mushiness. Let ingredients come to room temperature for easier blending. For make-ahead, assemble without topping, refrigerate up to 24 hours, then add topping and bake 30 minutes (remove foil last 10 minutes). Leftovers keep 4 days in the fridge or freeze up to 3 months.
Nutrition
- Serving Size: 1 serving (based on
- Calories: 485
- Sugar: 6
- Sodium: 520
- Fat: 28
- Saturated Fat: 17
- Carbohydrates: 38
- Fiber: 1
- Protein: 20
Keywords: baked mac and cheese, four cheese mac and cheese, comfort food, casserole, cheesy pasta, crowd-pleaser, potluck recipe