Scrambling through the kitchen with a toddler tugging on my leg and the clock mercilessly ticking down to the Fourth of July barbecue, I realized the dessert I planned was nowhere to be found. Half the ingredients for my usual pie were missing, and honestly, there was no way I could pull off anything complicated with the chaos swirling around me. That’s when I grabbed some Jello packets, cream cheese, and a handful of pantry staples and started layering together what would become my go-to Perfect Red White and Blue Layered Jello Cheesecake Cups. The vibrant colors made them a hit at the party, and the ease saved my sanity.
There’s something about this recipe that feels like a little celebration in a cup—bright, sweet, and just a bit nostalgic. The smooth cream cheese layer adds a richness that balances the playful jiggly fruit flavors perfectly. I keep coming back to this dessert, especially when I need a quick patriotic treat that doesn’t require me to preheat an oven or fuss with crusts. It’s become a quiet favorite, the kind of recipe that makes me smile when I see those red, white, and blue layers sitting pretty in their cups.
Honestly, it’s the kind of recipe that feels like a small victory on hectic days. Every bite brings that sweet, creamy satisfaction, and I’m reminded why I keep these Jello packets stocked next to the staples for an easy, crowd-pleasing dessert. If you’re looking for a no-fuss way to add a festive touch to your celebrations, these cheesecake cups might just become your new secret weapon.
Why You’ll Love This Recipe
This Perfect Red White and Blue Layered Jello Cheesecake Cups recipe is a total game-changer for busy cooks and anyone who loves a festive dessert without the fuss. From my kitchen experiments and lots of family feedback, here’s why it’s become a favorite:
- Quick & Easy: Ready in under 30 minutes (plus chill time), it’s perfect for last-minute dessert emergencies or when you just don’t have time to bake.
- Simple Ingredients: Uses pantry staples and classic Jello flavors—no hunting for fancy stuff or specialty stores required.
- Perfect for Patriotic Occasions: Whether it’s the Fourth of July, Memorial Day, or any summer BBQ, these cups bring that red, white, and blue vibe effortlessly.
- Crowd-Pleaser: Kids adore the colorful jiggly layers, and adults appreciate the creamy cheesecake contrast. It’s a rare dessert that satisfies everyone.
- Unbelievably Delicious: The combo of creamy cheesecake middle and fruity, wobbly Jello layers creates a texture and flavor balance that’s just right—not too sweet, not too dense.
What makes this recipe stand out? The cheesecake layer is whipped just right—soft but firm enough to hold its shape, thanks to a touch of cream cheese and whipped topping blended together smoothly. Unlike some layered Jello desserts that can feel rubbery or artificial, this one has a real homemade charm and a perfect balance of sweetness and creaminess. Plus, it’s fuss-free but feels special—a rare find for patriotic desserts.
Why do I keep coming back to these cups? Because they’re that little moment of calm and color in a hectic kitchen, and honestly, they’re a treat that makes me feel festive without stress. If you want a dessert that looks impressive but is shockingly easy, this recipe is the one to try.
What Ingredients You Will Need
This recipe uses simple, wholesome ingredients that come together to deliver a bright, creamy, and fun patriotic dessert without any fuss. Most of them are pantry staples, and the Jello flavors can be swapped based on your preference or what you have on hand.
- Red Jello Layer: 1 package (3 oz / 85 g) strawberry or cherry Jello (classic brand recommended for consistent set)
- Blue Jello Layer: 1 package (3 oz / 85 g) berry blue Jello (I prefer berry blue for that perfect vibrant color)
- Cheesecake Layer:
- 8 oz (225 g) cream cheese, softened (Philadelphia brand works well for smooth texture)
- 1 cup (240 ml) heavy whipping cream or whipped topping (use dairy-free option if needed)
- ½ cup (60 g) powdered sugar, sifted (adjust to taste)
- 1 teaspoon vanilla extract (adds a warm note to the cheesecake filling)
- Additional:
- 1 cup (240 ml) boiling water (for dissolving Jello packets)
- ½ cup (120 ml) cold water (to mix with Jello for proper setting)
If you want to switch things up, you can use sugar-free Jello for a lighter version or swap the cream cheese with mascarpone for a richer cheesecake layer. For a fun summer twist, try peach cobbler cheesecake cups – they use similar layering but with fresh fruit flavors.
Equipment Needed
- Mixing bowls (at least two medium-sized bowls for the Jello and cheesecake layers)
- Electric mixer or hand whisk (to whip the cream cheese and cream smoothly; a stand mixer makes it faster but not necessary)
- Measuring cups and spoons (for accuracy—especially with powdered sugar and vanilla)
- Clear plastic or glass cups (4-6 oz / 120-180 ml size works great for layering and presentation)
- Small spatula or spoon (for layering the cheesecake and Jello carefully)
- Refrigerator space (to chill and set the layers)
For a budget-friendly option, inexpensive plastic dessert cups from your local store work perfectly and make serving easy. If you want a more elegant presentation, small glass tumblers or mason jars add charm. I keep a small offset spatula handy when layering to smooth the cheesecake filling evenly — it’s a little trick I picked up while making cream cheese frosted brownies.
Preparation Method
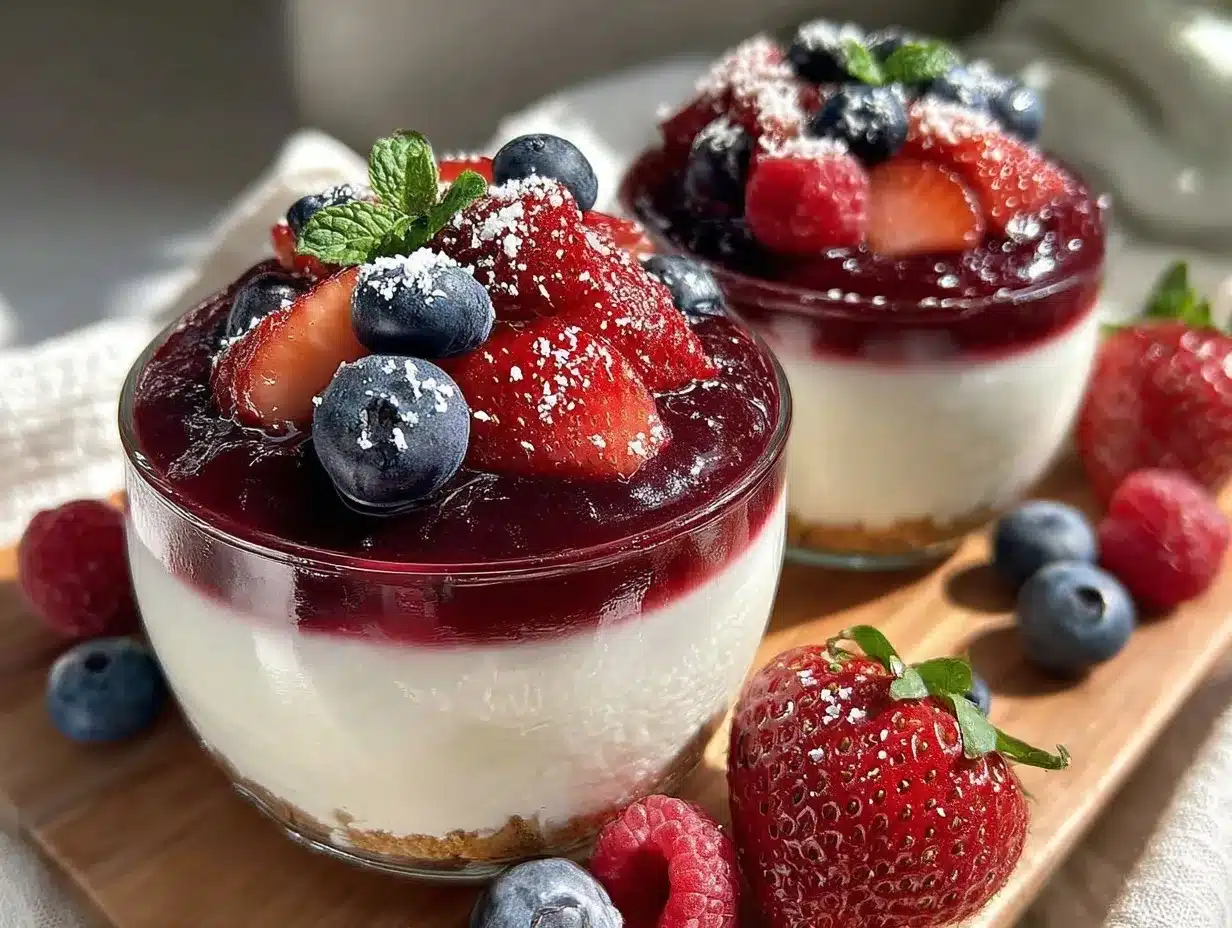
- Prepare the Red Jello Layer: In a mixing bowl, dissolve 1 package of strawberry or cherry Jello in 1 cup (240 ml) boiling water. Stir until fully dissolved (about 2 minutes). Add ½ cup (120 ml) cold water to the mix and stir again. Pour about ¼ cup (60 ml) of this mixture into each serving cup. Chill in the refrigerator for 20-30 minutes or until firm but still slightly tacky on top.
- Make the Cheesecake Filling: While the red layer sets, beat the softened cream cheese in a bowl using an electric mixer until smooth and creamy (about 2-3 minutes). Gradually add powdered sugar and vanilla extract, mixing well. In a separate bowl, whip the heavy cream until stiff peaks form. Gently fold the whipped cream into the cream cheese mixture until smooth and fluffy. This is your cheesecake layer.
- Layer the Cheesecake Filling: Once the red Jello layer is firm, carefully spoon or pipe about 2-3 tablespoons of the cheesecake filling over it in each cup. Smooth the tops gently with a small spatula. Return cups to the fridge to chill for at least 30 minutes so the cheesecake layer firms up nicely.
- Prepare the Blue Jello Layer: Repeat the Jello dissolving process with the berry blue Jello packet: dissolve in 1 cup (240 ml) boiling water, stir until clear, then add ½ cup (120 ml) cold water. Let it cool slightly at room temperature for 10 minutes, so it’s not hot (to avoid melting the cheesecake layer).
- Top with Blue Jello: Gently pour or spoon the blue Jello over the cheesecake layer in each cup. Pour slowly and use the back of a spoon to soften the pour and avoid disturbing the cheesecake layer below. Chill the cups in the fridge for at least 2 hours or until the blue layer is completely set.
- Serve and Enjoy: Before serving, let the cups sit at room temperature for 5-10 minutes to soften just slightly, making the layers easier to eat. Garnish with fresh berries or whipped cream if you like.
Tip: If the Jello layers seem too runny or thin, double-check the water amounts—too much cold water can make the layers less firm. Also, chilling between layers is key for clean, distinct separation. When I first tried rushing this step, the layers mixed, and it was a mess!
Cooking Tips & Techniques
Layered Jello desserts can be tricky if you don’t watch the temperature and timing closely. Here are some tips I’ve picked up after a few too many wobbly layers:
- Cool Jello before layering: Always let the Jello cool to just lukewarm before pouring over the cheesecake layer; hot Jello will melt and cause colors to bleed.
- Chill between layers: Patience is your friend here. Each layer should be set but still slightly tacky before adding the next. This helps layers stick but stay distinct.
- Use softened cream cheese: If your cream cheese isn’t softened, you’ll end up with lumps in the cheesecake layer. I usually leave it out on the counter for 30 minutes or zap it in short bursts in the microwave.
- Whip the cream well: Stiff peaks in the whipped cream make the cheesecake layer light and fluffy — don’t skimp on this step.
- Pour gently: Use the back of a spoon to help guide the blue Jello over the cheesecake. Pouring directly can disturb the layers below.
- Experiment with flavors: Feel free to swap strawberry for raspberry or blueberry for grape if you want a different twist.
One time, I forgot to chill the red layer properly and poured the cheesecake topping too soon — ended up with a swirl of colors instead of neat layers. Learned my lesson the hard way! Also, multitasking by prepping the cheesecake layer while the red Jello chills saves precious time.
Variations & Adaptations
Want to mix things up a bit? These Perfect Red White and Blue Layered Jello Cheesecake Cups are quite flexible:
- Dietary Variations: Use sugar-free Jello and sugar substitute in the cheesecake layer for a lower-sugar version. Swap regular cream cheese for dairy-free cream cheese for a vegan-friendly dessert.
- Seasonal Twists: In summer, add fresh berries on top or between layers for extra freshness and texture. I sometimes try layering with fresh blueberries instead of blue Jello for a more natural look.
- Flavor Swaps: Try lemon Jello for the white layer instead of cheesecake for a zesty twist, or add a splash of coconut extract to the cheesecake for a tropical vibe.
- Different Serving Styles: Instead of cups, pour layers into a glass trifle bowl for a show-stopping centerpiece dessert. Just be sure to chill each layer thoroughly before adding the next.
- Personal Favorite: I once mixed in crushed graham crackers with the cheesecake layer for a “crust” texture inside the cup — a delightful surprise bite!
Serving & Storage Suggestions
The Perfect Red White and Blue Layered Jello Cheesecake Cups are best served chilled, straight from the fridge. They look stunning on a dessert table, their layers shining brightly in clear cups. For a little extra flair, top with fresh strawberries, blueberries, or a dollop of whipped cream just before serving.
They pair wonderfully with classic summer dishes like grilled chicken or a fresh watermelon feta mint salad, adding a sweet, patriotic finish to your meal.
Store leftovers tightly covered in the refrigerator for up to 3 days. The layers hold up well but can start to soften after a couple of days. Avoid freezing as the texture of the Jello and cheesecake will suffer.
When reheating is necessary (say, you forgot to serve immediately), let the cups sit at room temperature for 15 minutes to take the chill off — this softens the layers for easier eating without losing the cool creaminess.
Nutritional Information & Benefits
These dessert cups provide a moderate treat option that balances sweet Jello with creamy cheesecake filling. Each serving typically contains about 200-250 calories, with a good source of calcium from the cream cheese and cream. The gelatin in Jello also contains some protein, though minimal.
Since the recipe uses simple ingredients, it can be easily adapted to be gluten-free and low-carb by choosing sugar-free Jello and sugar substitutes. The cream cheese adds a satisfying fat content that helps keep you full longer compared to sugary desserts alone.
From a wellness perspective, this recipe offers a fun way to enjoy dessert without overindulging, especially if you choose lighter ingredient versions. It’s a festive treat that won’t weigh you down, perfect for summer celebrations.
Conclusion
These Perfect Red White and Blue Layered Jello Cheesecake Cups are proof that you don’t need fancy ingredients or hours in the kitchen to make a stunning, delicious patriotic dessert. They’re quick, fun, and come together with ingredients you likely already have. Whether you’re rushing to a last-minute party or want a colorful dessert that’s as tasty as it looks, these cups deliver every time.
I love how this recipe feels like a little celebration in every bite and how easy it is to customize for different tastes and dietary needs. If you try it, I’d love to hear how you made it your own—drop a comment or share your twists!
Now, get ready to impress your guests with these cheerful layers and enjoy a hassle-free, crowd-pleasing dessert that’s truly a sweet slice of summer.
Frequently Asked Questions
Can I make these Jello cheesecake cups ahead of time?
Yes, you can prepare them up to 2 days in advance. Just keep them covered in the refrigerator to prevent drying out.
What if I don’t have berry blue Jello?
You can substitute with grape or blueberry Jello, but berry blue gives the brightest blue color for the patriotic look.
Can I use low-fat cream cheese or whipped topping?
Yes, but the texture might be less creamy and rich. Full-fat versions yield the best cheesecake layer consistency.
How do I prevent the layers from mixing?
Make sure each layer is chilled and set before adding the next. Also, pour gently and cool the Jello to lukewarm before layering.
Is there a vegan version of this dessert?
Use dairy-free cream cheese and whipped topping, plus vegan gelatin alternatives like agar-agar. The texture will differ slightly but still delicious!
Pin This Recipe!
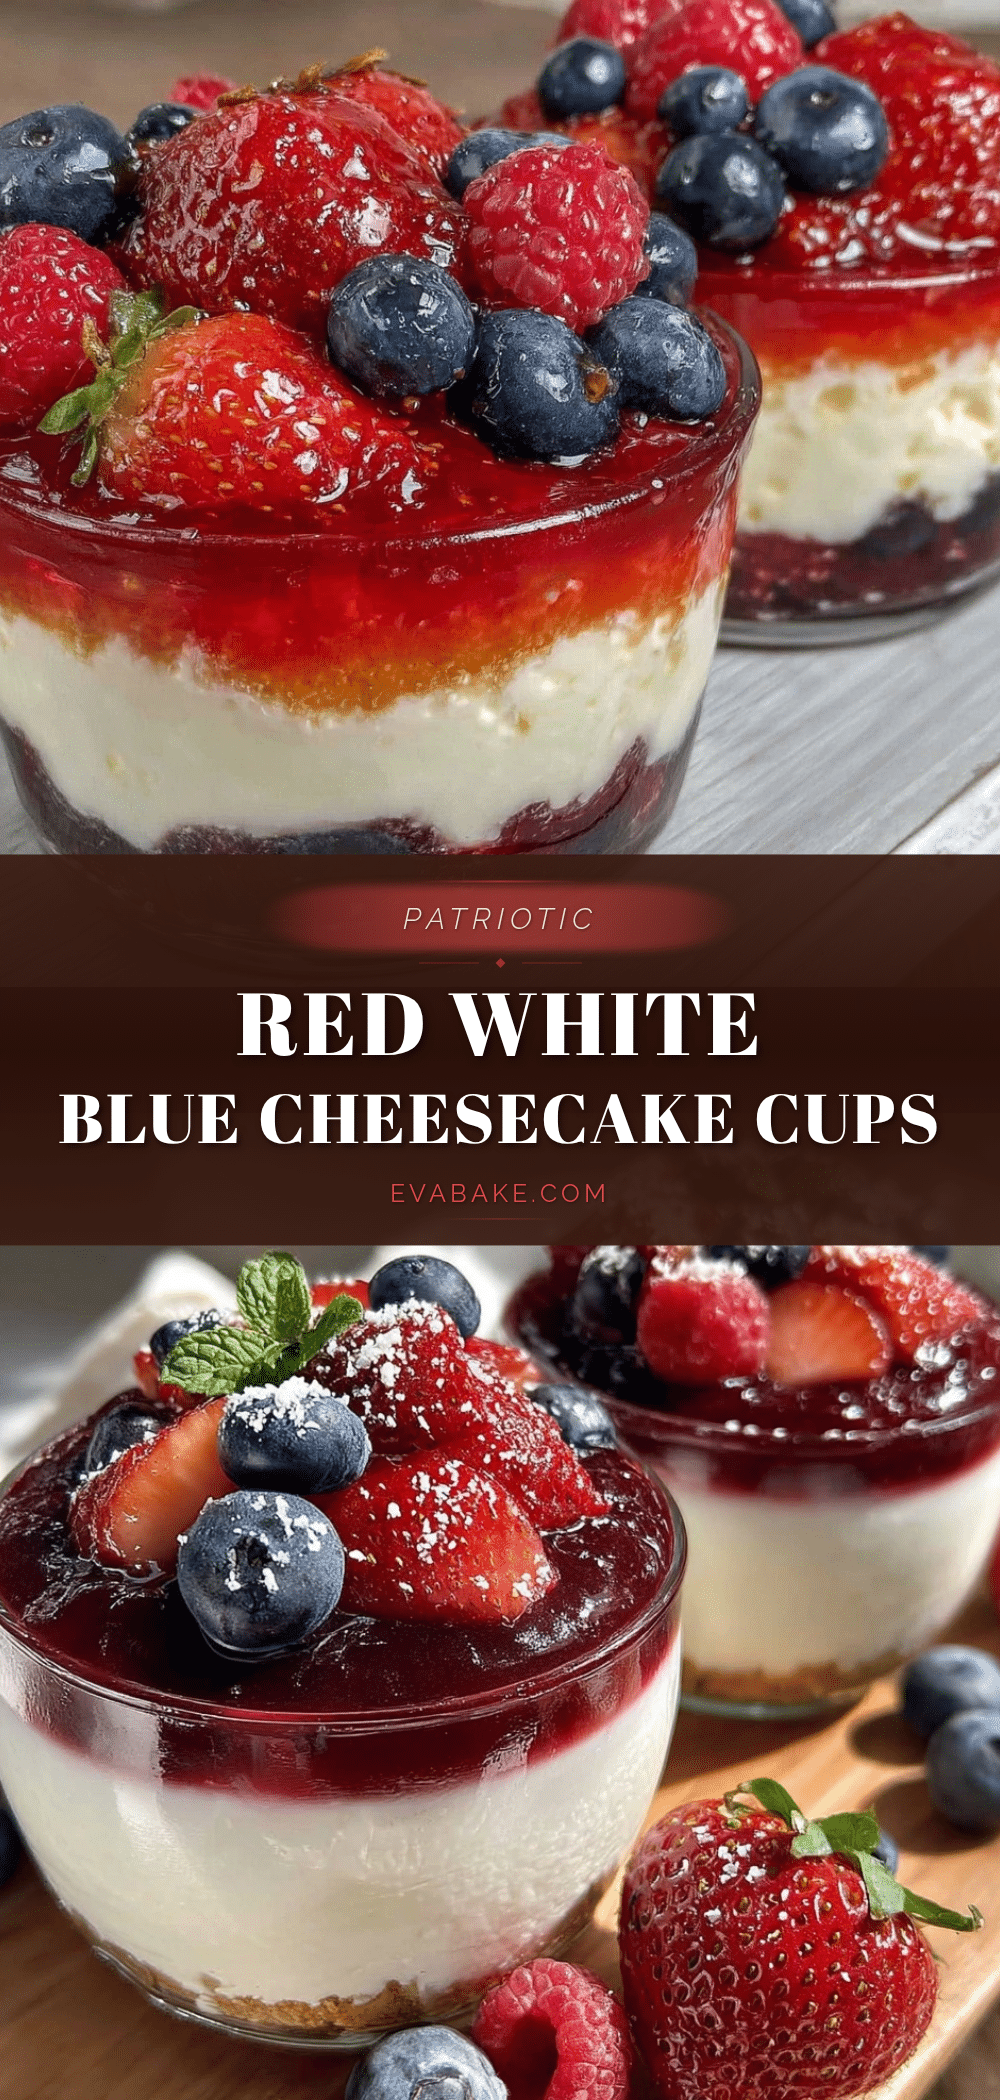
Perfect Red White and Blue Layered Jello Cheesecake Cups
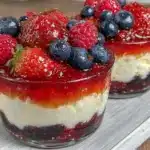
A quick and easy patriotic dessert featuring vibrant red and blue Jello layers with a creamy cheesecake filling, perfect for Fourth of July celebrations and summer BBQs.
- Prep Time: 15 minutes
- Cook Time: 15 minutes
- Total Time: 2 hours 45 minutes
- Yield: 6 servings 1x
- Category: Dessert
- Cuisine: American
Ingredients
- 1 package (3 oz / 85 g) strawberry or cherry Jello
- 1 package (3 oz / 85 g) berry blue Jello
- 8 oz (225 g) cream cheese, softened
- 1 cup (240 ml) heavy whipping cream or whipped topping
- ½ cup (60 g) powdered sugar, sifted
- 1 teaspoon vanilla extract
- 1 cup (240 ml) boiling water
- ½ cup (120 ml) cold water
Instructions
- Prepare the Red Jello Layer: Dissolve 1 package of strawberry or cherry Jello in 1 cup boiling water. Stir until fully dissolved (about 2 minutes). Add ½ cup cold water and stir again. Pour about ¼ cup of this mixture into each serving cup. Chill in the refrigerator for 20-30 minutes or until firm but still slightly tacky on top.
- Make the Cheesecake Filling: Beat softened cream cheese until smooth and creamy (2-3 minutes). Gradually add powdered sugar and vanilla extract, mixing well. In a separate bowl, whip heavy cream until stiff peaks form. Gently fold whipped cream into cream cheese mixture until smooth and fluffy.
- Layer the Cheesecake Filling: Spoon or pipe 2-3 tablespoons of cheesecake filling over the set red Jello layer in each cup. Smooth the tops gently. Chill for at least 30 minutes to firm up the cheesecake layer.
- Prepare the Blue Jello Layer: Dissolve berry blue Jello in 1 cup boiling water. Stir until clear, then add ½ cup cold water. Let cool at room temperature for 10 minutes.
- Top with Blue Jello: Gently pour or spoon blue Jello over the cheesecake layer in each cup, using the back of a spoon to avoid disturbing the cheesecake layer. Chill for at least 2 hours or until fully set.
- Serve and Enjoy: Let cups sit at room temperature for 5-10 minutes before serving to soften slightly. Garnish with fresh berries or whipped cream if desired.
Notes
Chill each layer until set but still slightly tacky before adding the next to ensure clean layers. Use the back of a spoon to gently pour the blue Jello layer to avoid disturbing the cheesecake layer. Softened cream cheese and stiffly whipped cream are key for a smooth cheesecake layer. Let Jello cool to lukewarm before layering to prevent melting. Store leftovers covered in the refrigerator for up to 3 days; avoid freezing.
Nutrition
- Serving Size: 1 cup (about 4-6 oz)
- Calories: 225
- Sugar: 18
- Sodium: 150
- Fat: 15
- Saturated Fat: 9
- Carbohydrates: 20
- Protein: 4
Keywords: patriotic dessert, layered jello, cheesecake cups, Fourth of July dessert, easy no bake dessert, red white and blue dessert