The first tray was gone before the first commercial break. I’m not exaggerating—my brother-in-law actually texted me from the living room asking if there was another one coming. That’s when I knew this loaded nacho bar had officially become the centerpiece of our game day spread.
It started a few years back, on a Sunday when I was tired of juggling three different appetizer recipes and still ending up with cold wings and soggy fries. I wanted something that let people build their own plate, something that stayed warm and stayed fun. So I dumped a bag of chips on a sheet pan, threw on whatever I had in the fridge, and crossed my fingers. Honestly, I wasn’t expecting much—just a messy, edible experiment.
But here’s the thing about nachos: they’re forgiving. And when you give people options—seasoned beef, creamy beans, melty cheese, fresh toppings—they get excited in a way that feels almost childlike. That first batch disappeared fast. The second one did too. By the third game day, people were asking if the “nachos situation” was happening again. It became a thing. A delicious, slightly ridiculous, completely necessary thing.
This isn’t a fancy recipe. It’s not trying to be. It’s the kind of food that makes people lean over the coffee table, grab a loaded chip, and forget about the score for a second. And honestly, that’s the whole point.
Why You’ll Love This Recipe
This isn’t just another nacho recipe. It’s a system. A way to feed a crowd without stress, without weird ingredients, and without ending up with a sad pile of un-topped chips. Here’s why it works:
- Build-Your-Own Fun – Everyone gets to customize their plate. Picky eaters? No problem. Adventurous eaters? They can pile on the jalapeños and hot sauce.
- Simple Ingredients, Big Flavor – You don’t need anything fancy. Ground beef, canned beans, shredded cheese, and a few fresh toppings do all the heavy lifting.
- Perfect for Game Day Crowds – This recipe scales up easily. One sheet pan feeds 4-6 people. Two sheet pans? You’re ready for a party.
- Stays Crisp Longer – I’ve tested this more times than I’d like to admit. Layering the chips and cheese just right keeps them from turning into a sad, soggy mess.
- Make-Ahead Friendly – Prep the toppings and proteins ahead of time. When kickoff happens, just assemble and bake. No last-minute scrambling.
This recipe has been family-approved, friend-approved, and even neighbor-approved (yes, I brought a tray next door once). It’s the kind of food that makes people close their eyes after the first bite—and then reach for another chip before they’ve finished chewing.
Ingredients Needed
This loaded nacho bar uses simple, everyday ingredients that come together to create something truly satisfying. You probably already have most of these in your pantry or fridge.
For the Base
- 1 large bag (13-16 oz) restaurant-style tortilla chips – Look for sturdy chips that can hold up to toppings. I prefer Juanita’s or Late July for their thickness.
- 2 cups shredded Mexican blend cheese – A mix of cheddar, Monterey Jack, and queso quesadilla melts beautifully.
- 1 cup shredded sharp cheddar cheese – Adds extra color and a sharper flavor kick.
For the Protein (Choose One or Both)
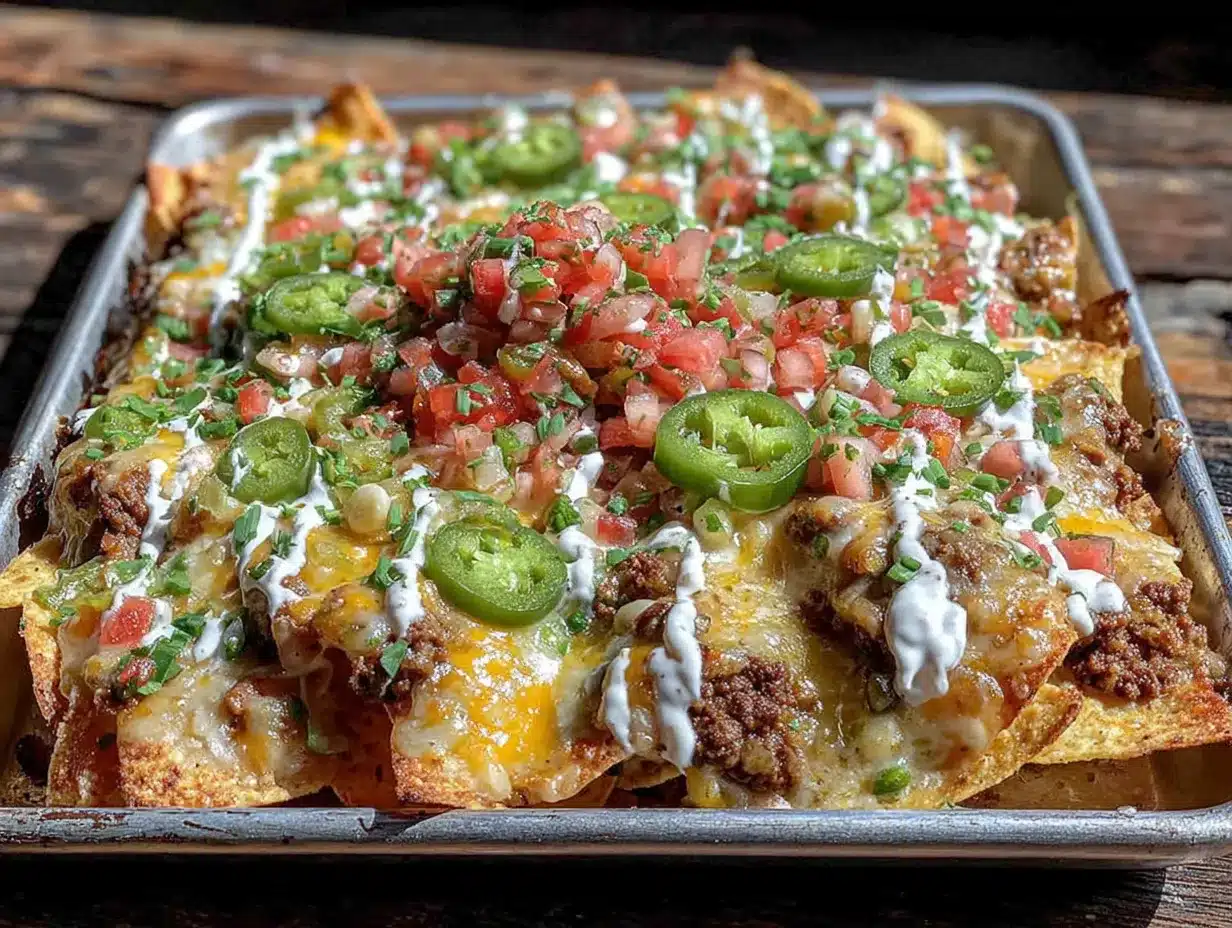
- 1 lb ground beef (80/20) – Provides rich flavor and stays juicy. You can also use ground turkey or plant-based crumbles.
- 1 tablespoon chili powder – The backbone of the seasoning.
- 1 teaspoon cumin – Adds warmth and depth.
- 1 teaspoon smoked paprika – Brings a subtle smokiness.
- ½ teaspoon garlic powder – Essential for savory flavor.
- ½ teaspoon onion powder – Rounds out the seasoning.
- Salt and black pepper to taste
- 1 can (15 oz) black beans, drained and rinsed – A great vegetarian option or addition for extra fiber.
For the Creamy Layers
- 1 cup sour cream – For drizzling or dolloping on top.
- ½ cup pickled jalapeños – Adds heat and acidity that cuts through the richness.
- 1 can (4 oz) diced green chiles – Mild but flavorful.
For the Fresh Toppings
- 1 cup pico de gallo or fresh salsa – Homemade or store-bought works great.
- 1 large avocado, diced – Adds creamy texture.
- ½ cup fresh cilantro, chopped – For brightness and color.
- 1 lime, cut into wedges – A squeeze of lime juice ties everything together.
- Optional: sliced black olives, diced red onion, hot sauce
Substitution Tip: For a lighter version, use ground chicken and low-fat cheese. For a vegetarian bar, swap the beef with seasoned black beans and add roasted corn or bell peppers. If you’re avoiding dairy, use a plant-based cheese shreds and cashew sour cream—just know the melt won’t be quite the same.
Equipment Needed
You don’t need a fully stocked kitchen to pull this off. Here’s what you’ll need:
- Large rimmed baking sheet (half-sheet pan) – The rim is crucial to catch any overflow. I use a 13×18-inch pan.
- Large skillet – For browning the ground beef. Cast iron works beautifully here.
- Cutting board and sharp knife – For prepping fresh toppings.
- Mixing bowls – For holding toppings and sour cream.
- Small spatula or spoon – For spreading the cheese and toppings.
- Aluminum foil or parchment paper – For easy cleanup. Trust me on this one.
- Oven mitts – That sheet pan gets hot.
Budget-Friendly Note: If you don’t have a half-sheet pan, use two smaller baking sheets or even a large cast-iron skillet. You can also assemble the nachos directly on a large oven-safe platter if you have one.
Preparation Method
This recipe comes together in about 30 minutes. Here’s how to do it step by step.
Step 1: Preheat and Prep
Preheat your oven to 400°F (200°C). Line your baking sheet with aluminum foil or parchment paper for easy cleanup. Trust me—this makes a huge difference when the cheese gets melty and stuck to the pan.
Step 2: Season the Beef
Heat a large skillet over medium-high heat. Add the ground beef and cook, breaking it apart with a spoon, until browned—about 6-8 minutes. Drain off any excess fat (leave about a tablespoon for flavor). Reduce heat to medium-low. Add chili powder, cumin, smoked paprika, garlic powder, onion powder, salt, and pepper. Stir well and cook for 1-2 minutes until fragrant. If the mixture seems dry, add 2-3 tablespoons of water to keep it moist. Set aside.
Sensory cue: You’ll know it’s ready when the kitchen smells like a taco truck.
Step 3: Layer the Chips
Spread a single layer of tortilla chips on the prepared baking sheet. Don’t pile them too high—you want each chip to get some love. Leave a little space so the cheese can melt evenly.
Step 4: Add the First Layer of Cheese
Sprinkle about half of the shredded Mexican blend cheese evenly over the chips. This first layer helps create that gooey base that holds everything together.
Step 5: Add the Beef and Beans
Scatter the seasoned ground beef evenly over the cheese layer. Then add the drained black beans, followed by the diced green chiles. If you’re using pickled jalapeños, add them now—they’ll mellow out a bit in the oven.
Step 6: Top with Remaining Cheese
Sprinkle the remaining Mexican blend cheese and the sharp cheddar on top. This second layer ensures every chip gets that beautiful, bubbly crust.
Step 7: Bake to Perfection
Place the baking sheet in the preheated oven and bake for 10-12 minutes, or until the cheese is fully melted and starting to bubble around the edges. If you like a little browning on top, switch to broil for the last 1-2 minutes—but watch it closely so it doesn’t burn.
Pro tip: Rotate the pan halfway through for even melting.
Step 8: Add Fresh Toppings
Remove the sheet pan from the oven. Immediately dollop spoonfuls of sour cream over the hot nachos. Sprinkle the diced avocado, pico de gallo, and fresh cilantro on top. Squeeze lime wedges over everything for a bright, zesty finish.
Step 9: Serve Immediately
Serve the nachos straight from the baking sheet—it’s part of the experience. Place the sheet pan on a trivet in the center of the table and let everyone dig in with their hands or small plates. No forks necessary.
Cooking Tips & Techniques
I’ve made this recipe more times than I can count, and I’ve definitely made some mistakes along the way. Here’s what I’ve learned:
- Don’t overload the chips. It’s tempting to pile everything on, but too many toppings mean soggy chips underneath. Stick to one even layer on the sheet pan.
- Use room-temperature cheese. Cold cheese takes longer to melt, which means the chips might burn before the cheese is bubbly. Let the shredded cheese sit out for 10-15 minutes before assembling.
- Drain the beans well. Excess liquid from canned beans can make the nachos watery. Rinse and drain them thoroughly, then pat them dry with a paper towel if needed.
- Watch the broiler. I once walked away for 30 seconds and came back to a smoky kitchen. Broiler heat is intense—stay close.
- Prep everything beforehand. Chop the veggies, mix the seasonings, and have the cheese ready. Once the oven is hot, you want to move quickly.
Common Mistake to Avoid: Adding fresh toppings like salsa or avocado before baking. They release moisture and make the chips soggy. Always add them after baking.
Variations & Adaptations
This loaded nacho bar is endlessly customizable. Here are a few of my favorite variations:
1. Carnitas Nachos
Swap the ground beef for shredded carnitas. It’s a game-changer. I love using the sheet pan nachos with carnitas and street corn approach—it adds a whole new level of flavor and texture.
2. Vegetarian Nachos
Skip the meat and double up on black beans. Add roasted corn, bell peppers, and zucchini for extra veggies. The creamy texture of avocado and sour cream makes it feel just as satisfying.
3. Buffalo Chicken Nachos
Use shredded rotisserie chicken tossed in buffalo sauce. Top with crumbled blue cheese and celery ribbons. It’s spicy, tangy, and absolutely addictive. If you love the buffalo flavor combo, you’ll also enjoy these crispy buffalo chicken flatbreads.
4. Breakfast Nachos
Yes, breakfast nachos are a thing. Use the same base but swap the beef for scrambled eggs, bacon, and breakfast sausage. Top with salsa verde and a drizzle of crema. It’s perfect for a lazy Sunday brunch during the game.
5. Spicy Mango Nachos
Add diced mango and a drizzle of honey-lime dressing on top of the classic version. The sweetness balances the heat from the jalapeños beautifully.
Serving & Storage Suggestions
These nachos are best served fresh and hot, straight from the oven. But if you have leftovers (unlikely, but possible), here’s how to handle them:
- Serving: Place the sheet pan on a heatproof surface in the center of the table. Provide small plates and plenty of napkins. A side of extra salsa and hot sauce is always a good idea.
- Storage: Store leftover nachos in an airtight container in the refrigerator for up to 2 days. The chips will soften, but the flavor will still be there.
- Reheating: Reheat leftovers in a 350°F (175°C) oven for 5-7 minutes. Avoid the microwave—it turns the chips into sad, chewy cushions. If you must use the microwave, do it in 30-second bursts and eat immediately.
- Make-Ahead: You can prep the seasoned beef and chop the fresh toppings up to a day in advance. Store them separately in the fridge and assemble just before baking.
Flavor Development Note: The nachos are at their absolute best within 10 minutes of coming out of the oven. After that, the chips start to soften. That’s why I always recommend making two smaller batches instead of one giant tray—it keeps everything fresh and crisp.
Nutritional Information & Benefits
This recipe is indulgent, but it also has some redeeming qualities. Here’s a rough estimate per serving (based on 6 servings):
| Nutrient | Amount Per Serving |
|---|---|
| Calories | ~520 |
| Protein | 28g |
| Fat | 32g |
| Carbohydrates | 35g |
| Fiber | 8g |
| Sodium | ~780mg |
Health Benefits: Black beans are packed with fiber and plant-based protein. Avocados provide healthy monounsaturated fats and potassium. Tomatoes and cilantro add vitamins A and C. Even the cheese offers a decent amount of calcium.
Dietary Considerations: This recipe is naturally gluten-free (just double-check your tortilla chips). For a lower-carb option, use pork rinds or bell pepper strips instead of chips. To reduce sodium, use low-sodium beans and skip the pickled jalapeños.
Personal Note: I don’t pretend this is health food. But I love that I can load it up with fresh ingredients and feel a little less guilty about going back for seconds.
Conclusion
This loaded nacho bar has become a non-negotiable part of game day in my house. It’s easy, it’s fun, and it makes people happy in a way that few other dishes can. Whether you’re hosting a crowd or just feeding your family on a Sunday afternoon, this recipe delivers every single time.
I’d love to hear how you make it your own. Do you pile on the jalapeños? Add extra cheese? Maybe throw in some leftover carnitas? Drop a comment below and let me know—I’m always looking for new ideas. And if you share a photo on social media, tag me so I can see your masterpiece!
Now go preheat that oven. Game day is calling.
Frequently Asked Questions
Can I make this recipe in an air fryer?
Yes! Assemble the nachos in a single layer in an air fryer basket or on a parchment-lined tray. Cook at 350°F (175°C) for 5-7 minutes, then add fresh toppings. Work in batches to avoid overcrowding.
What’s the best way to keep nachos warm during a party?
Use a warming tray or a slow cooker set to “warm” setting. You can also place the sheet pan on a heated trivet. Just remember that nachos are best within 15 minutes of coming out of the oven.
Can I use pre-shredded cheese from a bag?
You can, but freshly shredded cheese melts much better. Pre-shredded cheese contains anti-caking agents that can make the melt less smooth. If you’re in a pinch, it still works—just add a little extra.
How do I prevent the chips from getting soggy?
Layer the cheese directly on the chips before adding wet toppings like salsa or beans. Bake immediately after assembling. And never add fresh salsa or avocado before baking—add them after.
Can I freeze leftover nachos?
I don’t recommend it. The texture of the chips changes dramatically after freezing and thawing. If you have leftover beef and beans, freeze those separately and make fresh nachos later.
Pin This Recipe!
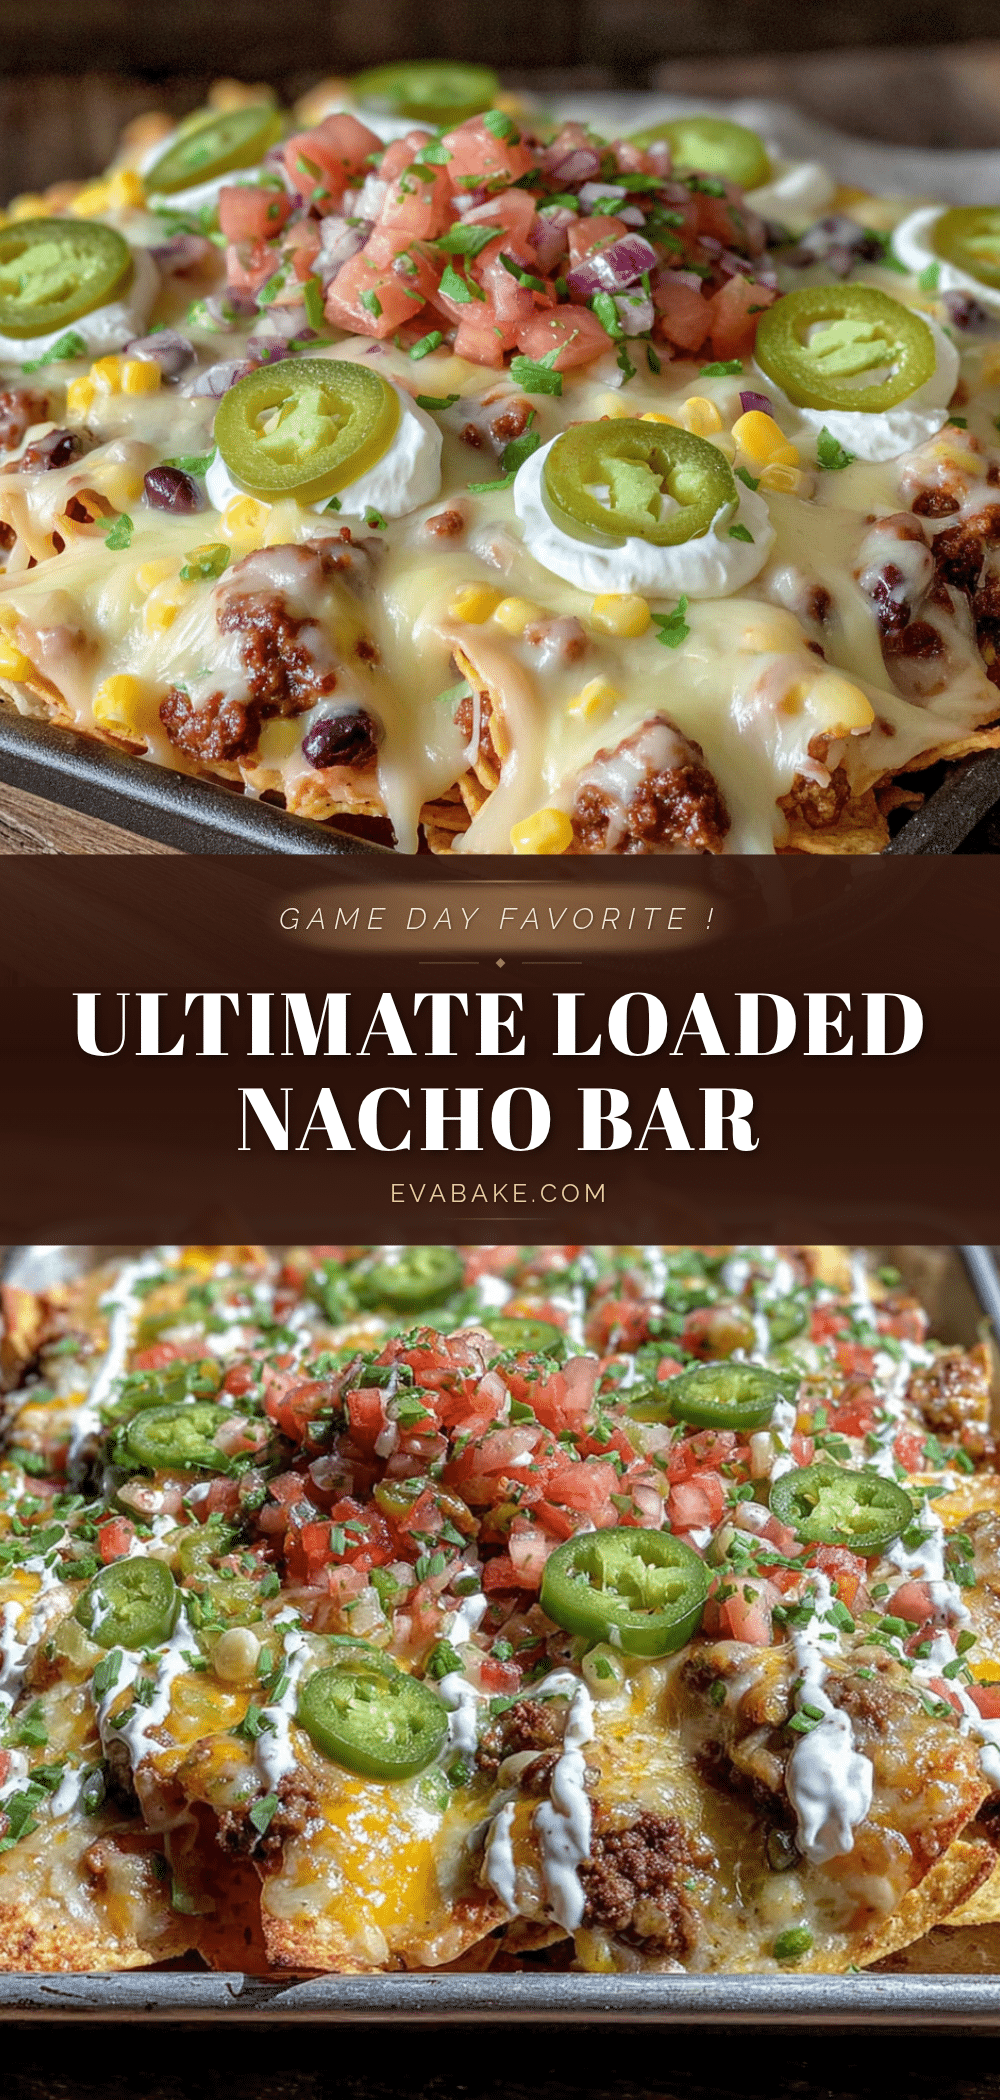
Best Easy Loaded Nacho Bar for Game Day
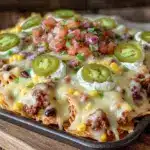
A build-your-own nacho bar with seasoned beef, creamy beans, melty cheese, and fresh toppings, perfect for feeding a crowd on game day.
- Prep Time: 15 minutes
- Cook Time: 12 minutes
- Total Time: 27 minutes
- Yield: 6 servings 1x
- Category: Appetizer
- Cuisine: Mexican-American
Ingredients
- 1 large bag (13–16 oz) restaurant-style tortilla chips
- 2 cups shredded Mexican blend cheese
- 1 cup shredded sharp cheddar cheese
- 1 lb ground beef (80/20)
- 1 tablespoon chili powder
- 1 teaspoon cumin
- 1 teaspoon smoked paprika
- ½ teaspoon garlic powder
- ½ teaspoon onion powder
- Salt and black pepper to taste
- 1 can (15 oz) black beans, drained and rinsed
- 1 cup sour cream
- ½ cup pickled jalapeños
- 1 can (4 oz) diced green chiles
- 1 cup pico de gallo or fresh salsa
- 1 large avocado, diced
- ½ cup fresh cilantro, chopped
- 1 lime, cut into wedges
- Optional: sliced black olives, diced red onion, hot sauce
Instructions
- Preheat oven to 400°F (200°C). Line a large rimmed baking sheet with aluminum foil or parchment paper.
- Heat a large skillet over medium-high heat. Add ground beef and cook, breaking it apart, until browned (6-8 minutes). Drain excess fat, leaving about 1 tablespoon.
- Reduce heat to medium-low. Add chili powder, cumin, smoked paprika, garlic powder, onion powder, salt, and pepper. Stir and cook for 1-2 minutes until fragrant. Add 2-3 tablespoons water if dry. Set aside.
- Spread a single layer of tortilla chips on the prepared baking sheet.
- Sprinkle half of the Mexican blend cheese evenly over the chips.
- Scatter the seasoned beef, black beans, and diced green chiles over the cheese. Add pickled jalapeños if using.
- Sprinkle the remaining Mexican blend cheese and sharp cheddar on top.
- Bake for 10-12 minutes, until cheese is melted and bubbling. For extra browning, broil for 1-2 minutes, watching closely.
- Remove from oven. Dollop sour cream over the hot nachos. Sprinkle with diced avocado, pico de gallo, and cilantro. Squeeze lime wedges over everything.
- Serve immediately from the baking sheet.
Notes
For best results, use room-temperature cheese and drain beans well. Add fresh toppings after baking to prevent sogginess. Nachos are best within 10 minutes of coming out of the oven.
Nutrition
- Serving Size: 1 serving (about 1/6
- Calories: 520
- Sugar: 4
- Sodium: 780
- Fat: 32
- Saturated Fat: 12
- Carbohydrates: 35
- Fiber: 8
- Protein: 28
Keywords: nachos, game day, loaded nachos, easy appetizer, party food, ground beef nachos