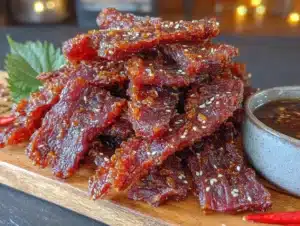
My hunting buddy Mark had claimed to hate venison jerky for a solid decade. “Too gamey,” he’d say, waving away the bag I’d offer on our annual elk trip. “Tastes like the forest floor smells.” Then last November, I caught him standing alone in my kitchen at 2 AM, pawing through my pantry like a raccoon who’d just discovered a unlocked cooler. The empty Ziploc bag from my latest batch was crumpled in his fist. “This is teriyaki?” he whispered, caught mid-chew. “I thought it was beef.”
Honestly, I didn’t even mean to convert him. I’d been tinkering with this savory homemade teriyaki venison jerky recipe for months, trying to crack the code on that perfect balance—tender enough to chew without breaking a tooth, flavorful enough to silence the “gamey” complaints, but still tasting undeniably like venison. You know that feeling when you’ve been working on something just for yourself, and someone else accidentally discovers it’s actually good? That was this moment.
I mean, let’s be real—venison jerky has a reputation problem. Too many folks have had one bad batch from someone’s uncle who thought “more black pepper” was the solution to everything. But this recipe? It’s the one that made Mark text me the next morning asking for the recipe before I’d even had coffee. And honestly? That’s the kind of endorsement that sticks with you.
Why You’ll Love This Recipe
This isn’t just another jerky recipe you’ll bookmark and forget. After countless batches—some rubbery, some dry as cardboard, a few that tasted like soy sauce tragedy—this version earned its spot in my permanent rotation. Here’s why it works:
- No Special Equipment Needed — You don’t need a fancy dehydrator. An oven works perfectly. I tested it both ways, and honestly, the oven method gives you more control over texture.
- Simple Pantry Ingredients — Teriyaki sauce, soy sauce, brown sugar, garlic, ginger. That’s it. No weird preservatives or chemical tenderizers.
- Perfect for Hunting Season — Whether you’re stocking up for a week in the backcountry or just want high-protein snacks for busy weeks, this jerky travels beautifully.
- Crowd-Pleaser Guaranteed — Mark proved that. Even self-proclaimed venison skeptics will reach for seconds.
- Customizable Heat Level — Mild for the kids? Add red pepper flakes. Want a kick? Double it. You’re in control.
What makes this different from every other teriyaki jerky recipe out there? The marinade technique. Most recipes tell you to marinate for 24 hours. I found that 8-12 hours is the sweet spot—any longer and the meat gets mushy, any shorter and the flavor doesn’t penetrate. It’s one of those little details you only learn from ruining a few batches yourself.
This is the kind of recipe that makes you close your eyes after the first bite. Not because it’s fancy—it’s not. But because it tastes like the woods, like campfire mornings, like the satisfaction of turning something you harvested into something genuinely delicious.
What Ingredients You Will Need
This recipe uses simple, honest ingredients to deliver that savory-sweet teriyaki flavor without any fuss. Most of these are pantry staples, which means you can probably start making this right now.
For the Marinade
- 1 cup low-sodium soy sauce — I prefer Kikkoman for its consistent flavor, but any brand works. Low-sodium is important here; full-sodium soy sauce will make your jerky aggressively salty after dehydration.
- 1/2 cup brown sugar, packed — Light or dark both work. Dark gives a deeper molasses note that I personally love with venison.
- 1/4 cup mirin — This Japanese sweet rice wine adds that authentic teriyaki sweetness and helps tenderize the meat. Find it in the Asian section of most grocery stores.
- 1/4 cup rice vinegar — Unseasoned, please. The acidity balances the sweetness and helps the marinade penetrate.
- 4 cloves garlic, minced — Fresh garlic matters here. Powdered just doesn’t give the same punch.
- 2 tablespoons fresh ginger, grated — A microplane makes this effortless. The ginger adds warmth without heat.
- 1 tablespoon sesame oil — Toasted sesame oil adds that nutty aroma that makes teriyaki taste like teriyaki.
- 1 teaspoon red pepper flakes — Optional, but I never skip it. The heat is subtle, not aggressive.
- 1/2 teaspoon black pepper — Freshly ground, if you have it.
For the Venison
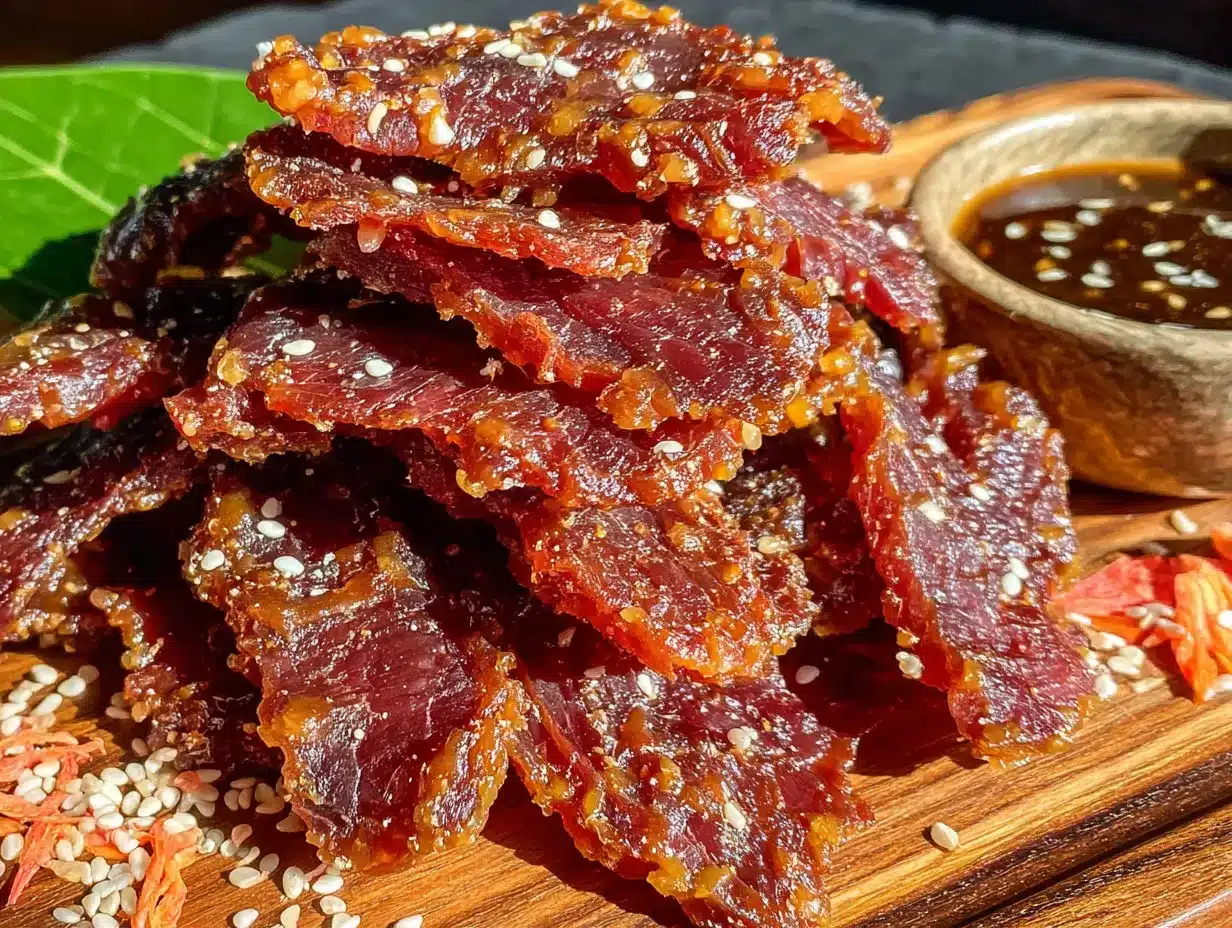
- 2 pounds venison roast or hindquarter — Any lean cut works. The key is trimming every bit of silver skin and fat, which goes rancid during dehydration.
- 1 tablespoon liquid smoke — Optional, but adds that campfire quality if you’re using an oven instead of a smoker.
Ingredient Tips from My Kitchen: If you can’t find mirin, mix 1/4 cup dry sherry with 2 tablespoons sugar as a substitute. For a gluten-free version, swap the soy sauce for tamari or coconut aminos. And here’s something I learned the hard way—don’t skip trimming the fat. I left some on once, thinking “a little fat adds flavor.” Three weeks later, that batch tasted like old socks. Never again.
Equipment Needed
You don’t need a lot of fancy gear for this recipe. Here’s what I use:
- Sharp knife — A good chef’s knife or slicing knife makes all the difference. Dull blades tear the meat instead of cutting cleanly.
- Cutting board — Preferably one with a juice groove to catch any meat juices.
- Large bowl or zip-top bag — For marinating. I prefer bags because they take up less fridge space and make flipping easy.
- Baking sheets — Two rimmed baking sheets fit a standard oven rack.
- Wire cooling racks — These fit inside the baking sheets and allow air to circulate under the meat. Worth the $10 investment.
- Oven — Set to its lowest temperature (usually 170°F or 175°F). If your oven doesn’t go that low, prop the door open slightly with a wooden spoon.
- Meat slicer (optional but amazing) — I resisted buying one for years. Then a friend let me borrow his, and I got perfectly uniform 1/4-inch slices in minutes. If you make jerky regularly, it’s a game-changer.
- Paper towels — For patting the meat dry before slicing. Trust me on this.
Budget Tip: Don’t have wire racks? You can place the meat directly on the baking sheets, just flip it halfway through drying. The texture won’t be quite as even, but it still works.
Preparation Method
Let me walk you through this step by step. I’ve included time estimates and sensory cues so you know exactly what to look for.
- Partially freeze the venison (30-45 minutes). Pop your trimmed roast in the freezer until it’s firm but not rock-solid. You know it’s ready when a knife slices through cleanly without the meat squishing. This step makes thin, even slicing possible. I learned this after trying to slice completely thawed meat and ending up with ragged, uneven pieces that dried at different rates.
- Slice against the grain into 1/4-inch strips. This is crucial for tenderness. Slicing against the grain breaks up the muscle fibers, so your jerky chews easily instead of feeling like you’re gnawing on a bootlace. If you want jerky that’s more “pull-apart” style, slice at a slight diagonal. For extra-tender jerky, slice as thin as 1/8-inch—just watch it carefully during drying.
- Whisk together all marinade ingredients in a medium bowl until the sugar dissolves. Taste it. It should be salty-sweet with a warm ginger finish and a tiny tingle of heat. Adjust the red pepper flakes now if you want more or less kick.
- Combine meat and marinade in a zip-top bag, squeeze out all the air, and seal. Massage the bag gently to coat every strip. Lay it flat in the fridge for 8-12 hours. I usually start this in the morning and dry it in the evening. Don’t go past 12 hours—the acid in the marinade will start breaking down the meat texture, and you’ll get mushy jerky instead of chewy.
- Preheat your oven to 170°F (or its lowest setting). Line two baking sheets with foil for easy cleanup, then place wire racks on top.
- Remove meat from marinade and pat each strip dry with paper towels. This step is non-negotiable. Wet meat steams instead of drying, and you’ll end up with jerky that’s cooked but not dehydrated. Discard the leftover marinade.
- Arrange strips in a single layer on the wire racks, leaving a little space between each piece for air circulation. Don’t overlap—if you crowd them, they’ll take forever to dry and might spoil before they’re fully dehydrated.
- Dry for 3-5 hours, depending on thickness and your oven’s actual temperature. Here’s how to tell when it’s done: Take a piece out and let it cool for 2 minutes. Bend it. It should crack slightly on the surface but not break in half. If it’s still squishy, give it another 30 minutes. If it snaps like a cracker, you’ve gone too far (still edible, just very dry).
- Let cool completely on the racks (about 30 minutes). This final drying step is when the texture sets. Don’t bag it while it’s still warm, or condensation will create moisture that leads to mold.
My Personal Timing Note: I’ve made this batch at least twenty times, and my oven consistently takes exactly 4 hours at 170°F. Your oven might be different. The bend test is more reliable than any timer.
Cooking Tips & Techniques
Here’s the stuff I wish someone had told me before my first attempt:
The Biggest Mistake I Made
My first batch of venison jerky was a tragedy. I used a whole bottom round roast, didn’t trim the silver skin, marinated it for 36 hours (because “more is better,” right?), and dried it at 200°F because I was impatient. The result was salty, tough, and vaguely metallic-tasting. I gave most of it to my dog, who politely declined. Learn from my failure: trim aggressively, respect the marinade time, and low-and-slow is the only way.
Temperature Management
Most home ovens don’t hold 170°F perfectly. I use an oven thermometer to verify. If your oven runs hot, crack the door open with a wooden spoon handle. If it runs cold, add 30 minutes and check frequently. Jerky is forgiving, but temperature swings create uneven results.
Multitasking Strategy
While the meat marinates, prep your baking sheets and racks. While it dries, clean up your kitchen. The actual hands-on time for this recipe is about 20 minutes—the rest is waiting. I usually make this on a Sunday afternoon while doing meal prep for the week.
Consistency Secret
Uniform thickness is everything. If some pieces are thicker than others, they’ll dry at different rates. I pull out the thinnest pieces about 30 minutes early and let the thicker ones keep going. It’s a small extra step that makes a huge difference in the final product.
Variations & Adaptations
This recipe is a great starting point, but don’t be afraid to make it your own. Here are some variations I’ve tested:
Spicy Sriracha Teriyaki
Add 2 tablespoons sriracha to the marinade and reduce the brown sugar to 1/3 cup. The heat hits you after the sweetness fades. My hunting buddy Dave calls this “the one that clears your sinuses.”
Smoky Maple Version
Replace the brown sugar with maple syrup (use 1/3 cup, since it’s sweeter) and add 2 teaspoons smoked paprika. This version pairs amazingly with sharp cheddar cheese on a camping trip. I brought this to a potluck once, and someone asked if I’d bought it from a fancy butcher. That felt good.
Garlic-Lover’s Adaptation
Double the garlic, add 1 tablespoon garlic powder, and skip the ginger entirely. This is my go-to when I want something that tastes more like traditional beef jerky. It’s also great for folks who think ginger is too “exotic.”
Dehydrator Method
If you have a dehydrator, dry at 160°F for 4-6 hours. The advantage is more consistent airflow and temperature. The disadvantage is you can’t watch it as easily. I use my oven when I want more control and the dehydrator when I’m making large batches.
Beef Alternative
This marinade works beautifully with flank steak or top round. Slice it the same way, marinate for the same time, and dry using the same method. The beef version tends to be slightly more tender because beef has more marbling.
Serving & Storage Suggestions
You’ve made a batch of jerky. Now what? Here’s how to enjoy it at its best:
Serving Ideas
Jerky is obviously great straight from the bag, but try it on a charcuterie board with sharp cheddar, dried apricots, and whole-grain crackers. Or crumble it over a salad for a protein boost. I’ve even used it in stir-fry—rehydrate it in hot water for 5 minutes, then add it at the end of cooking.
Storage Instructions
Store your jerky in an airtight container at room temperature for up to 2 weeks. For longer storage, vacuum-seal it and keep it in the pantry for up to 3 months. If you’re taking it backpacking, portion it into single-serving bags to avoid opening the main stash repeatedly.
Freezer Method
Jerky freezes beautifully. I vacuum-seal it in 4-ounce portions and pull out a bag whenever I need a snack. It thaws in about 10 minutes at room temperature. The texture stays perfect for at least 6 months.
Reheating Tip
Don’t microwave jerky—it gets tough and rubbery. If you want to warm it up (say, for a winter hike), tuck the bag inside your jacket for 20 minutes. Body heat is the perfect temperature.
How Flavors Develop
Fresh jerky is good. Jerky that’s sat for 3-4 days in an airtight container is better. The flavors mellow and meld, and the texture relaxes slightly. If you can resist eating it all immediately, you’ll be rewarded.
Nutritional Information & Benefits
This jerky isn’t just delicious—it’s actually good for you. Here’s the breakdown per 1-ounce serving (about 3-4 strips):
| Nutrient | Amount |
|---|---|
| Calories | 85 |
| Protein | 15g |
| Fat | 2g |
| Carbohydrates | 4g |
| Sugar | 3g |
| Sodium | 450mg |
Health Benefits: Venison is one of the leanest red meats you can eat, packed with iron, zinc, and B vitamins. It’s naturally grass-fed and free-range (assuming you harvested it ethically), which means higher omega-3 content than grain-fed beef. The protein content makes this an excellent post-workout snack or hiking fuel.
Dietary Considerations: This recipe is naturally low-carb and keto-friendly (about 4g net carbs per serving). For a gluten-free version, use tamari instead of soy sauce. It’s also dairy-free and egg-free.
Potential Allergens: Soy (from soy sauce) and sesame (from sesame oil). If you have allergies, coconut aminos and avocado oil make good substitutes.
My Wellness Perspective: I love that this jerky is made from an animal I harvested myself. There’s something deeply satisfying about knowing exactly where your food comes from. But even if you buy your venison from a farmer’s market or butcher, you’re still getting a cleaner product than most commercial jerky loaded with preservatives and artificial smoke flavor.
Conclusion
This savory homemade teriyaki venison jerky recipe isn’t just about making a snack—it’s about reclaiming what jerky should taste like. No mystery ingredients, no chemical aftertaste, just honest meat transformed by a simple, balanced marinade and a little patience.
I’ve made this recipe for hunting trips, road trips, and lazy Sunday afternoons when I just want something to chew on while reading. It’s never let me down. And the best part? You can tweak it endlessly. Too salty? Cut the soy sauce. Want more sweetness? Add more brown sugar. Like it spicy? You know what to do.
So go ahead—raid your freezer for that venison roast you’ve been saving, or pick up some flank steak from the store. Give this recipe a try, and let me know how it turns out. Did you add your own twist? Did it convert a venison skeptic in your life? Drop a comment below—I genuinely love hearing about your kitchen victories.
Happy drying, friends. And remember: the best jerky is the one you make yourself.
Frequently Asked Questions
Can I use this recipe for beef instead of venison?
Absolutely. Flank steak or top round work perfectly. The marinade time stays the same—8-12 hours. Beef tends to be slightly more tender, so check for doneness around the 3-hour mark instead of 4.
How do I know when the jerky is done without over-drying it?
The bend test is your best friend. Take a piece out, let it cool for 2 minutes, then bend it. It should crack slightly on the surface but not break in half. If it’s still flexible and feels damp, give it more time. If it snaps cleanly, it’s over-dried (still edible, just crunchy).
Can I make this jerky in a dehydrator instead of an oven?
Yes, and it works beautifully. Set your dehydrator to 160°F and dry for 4-6 hours. The advantage is more consistent airflow, which means even drying. The disadvantage is you can’t easily check progress without opening the unit. I recommend checking at the 4-hour mark and going from there.
How long does homemade jerky last without refrigeration?
Properly dried jerky stored in an airtight container at room temperature lasts 1-2 weeks. For longer storage, vacuum-seal it and keep it in a cool, dark place for up to 3 months. If you see any mold or smell something off, toss it immediately.
My jerky turned out too tough. What went wrong?
Three common culprits: you sliced with the grain instead of against it, you dried it too long, or your oven temperature was too high. Next time, slice against the grain, check doneness earlier, and verify your oven temperature with a thermometer. Also, make sure you’re using a lean cut—fat doesn’t dry properly and creates tough spots.
Pin This Recipe!
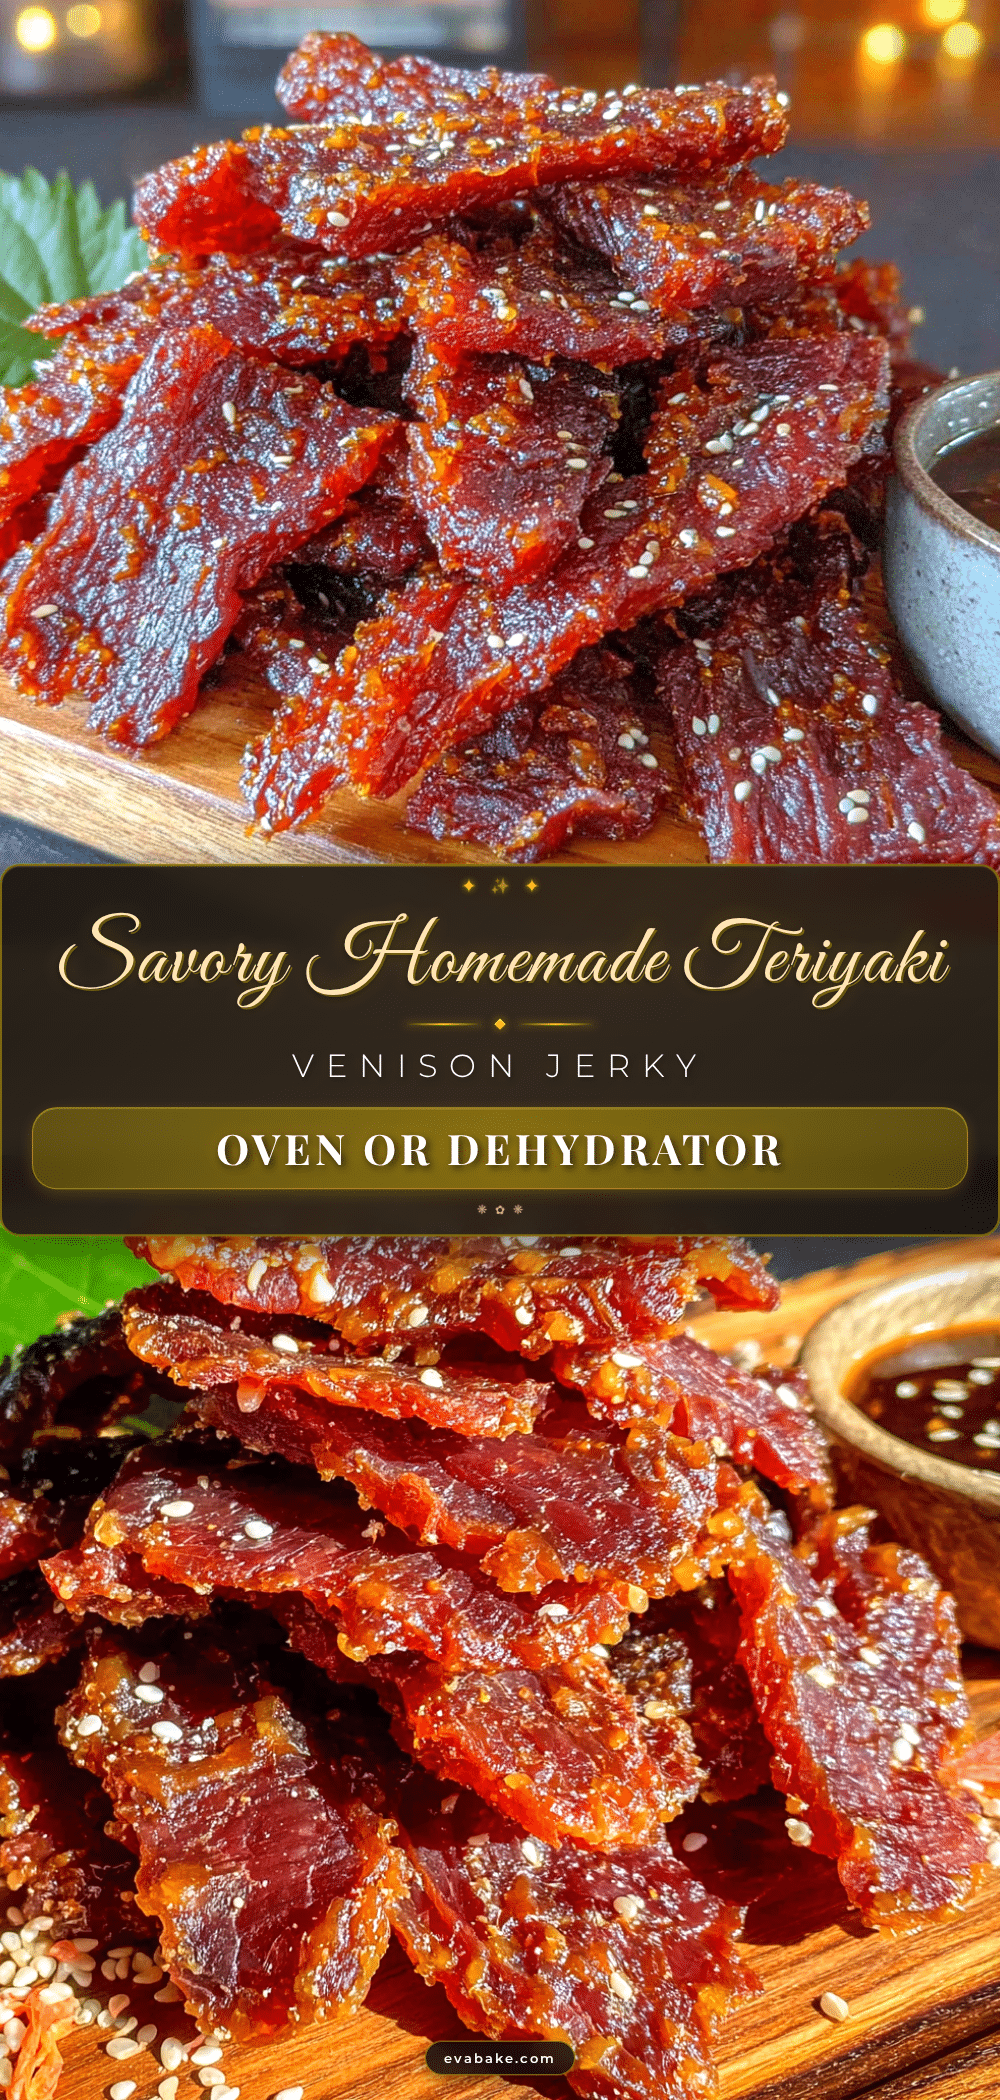
Savory Homemade Teriyaki Venison Jerky: Easy Best Recipe
This savory homemade teriyaki venison jerky recipe delivers tender, flavorful strips that even venison skeptics will love. With a simple marinade and oven method, it’s perfect for hunting season or high-protein snacks.
- Prep Time: 20 minutes
- Cook Time: 4 hours
- Total Time: 4 hours 20 minutes (plus 8-12 hours marinating)
- Yield: 4 servings 1x
- Category: Snack
- Cuisine: Japanese-inspired
Ingredients
- 1 cup low-sodium soy sauce
- 1/2 cup brown sugar, packed
- 1/4 cup mirin
- 1/4 cup rice vinegar (unseasoned)
- 4 cloves garlic, minced
- 2 tablespoons fresh ginger, grated
- 1 tablespoon sesame oil (toasted)
- 1 teaspoon red pepper flakes (optional)
- 1/2 teaspoon black pepper (freshly ground)
- 2 pounds venison roast or hindquarter (lean cut)
- 1 tablespoon liquid smoke (optional)
Instructions
- Partially freeze the venison for 30-45 minutes until firm but not rock-solid.
- Slice against the grain into 1/4-inch strips.
- Whisk together all marinade ingredients (soy sauce, brown sugar, mirin, rice vinegar, garlic, ginger, sesame oil, red pepper flakes, black pepper) until sugar dissolves.
- Combine meat and marinade in a zip-top bag, squeeze out air, seal, and massage gently. Refrigerate for 8-12 hours.
- Preheat oven to 170°F (or lowest setting). Line two baking sheets with foil and place wire racks on top.
- Remove meat from marinade and pat each strip dry with paper towels. Discard leftover marinade.
- Arrange strips in a single layer on wire racks, leaving space between pieces.
- Dry for 3-5 hours. Check doneness with bend test: a piece should crack slightly on surface but not break in half.
- Let cool completely on racks (about 30 minutes) before storing.
Notes
Marinate for 8-12 hours only; longer makes meat mushy. Trim all silver skin and fat to prevent rancidity. Use oven thermometer to verify temperature. For gluten-free, use tamari instead of soy sauce. For dehydrator, dry at 160°F for 4-6 hours.
Nutrition
- Serving Size: 1 ounce (about 3-4 s
- Calories: 85
- Sugar: 3
- Sodium: 450
- Fat: 2
- Carbohydrates: 4
- Protein: 15
Keywords: venison jerky, teriyaki jerky, homemade jerky, venison recipe, deer jerky, oven jerky, high protein snack