My starter, affectionately named Bertha, had been sitting in the back of the fridge for weeks. I was feeding her out of guilt, not love, and every time I opened the container, that sharp, sour smell hit me like a question I didn’t want to answer. What was I even doing with this thing? I had tried sandwich loaves that turned out like bricks and a ciabatta that was more frisbee than bread. So when a friend suggested I try a rosemary garlic sourdough focaccia, I honestly rolled my eyes. Focaccia was supposed to be airy, pillowy, that perfect balance of crispy bottom and soft, dimpled top. There was no way my grumpy starter was up for that.
But I was out of bread for the week, and the grocery store felt like a marathon I didn’t have the energy for. So I pulled Bertha out, gave her a good stir, and figured I had nothing to lose. I mixed the dough, let it sit, and waited. And waited. Honestly, I thought it was a lost cause. The dough looked shaggy and sad, not like the glossy, elastic blobs I saw on Instagram. But I kept going, because what else was I going to do with a Sunday afternoon?
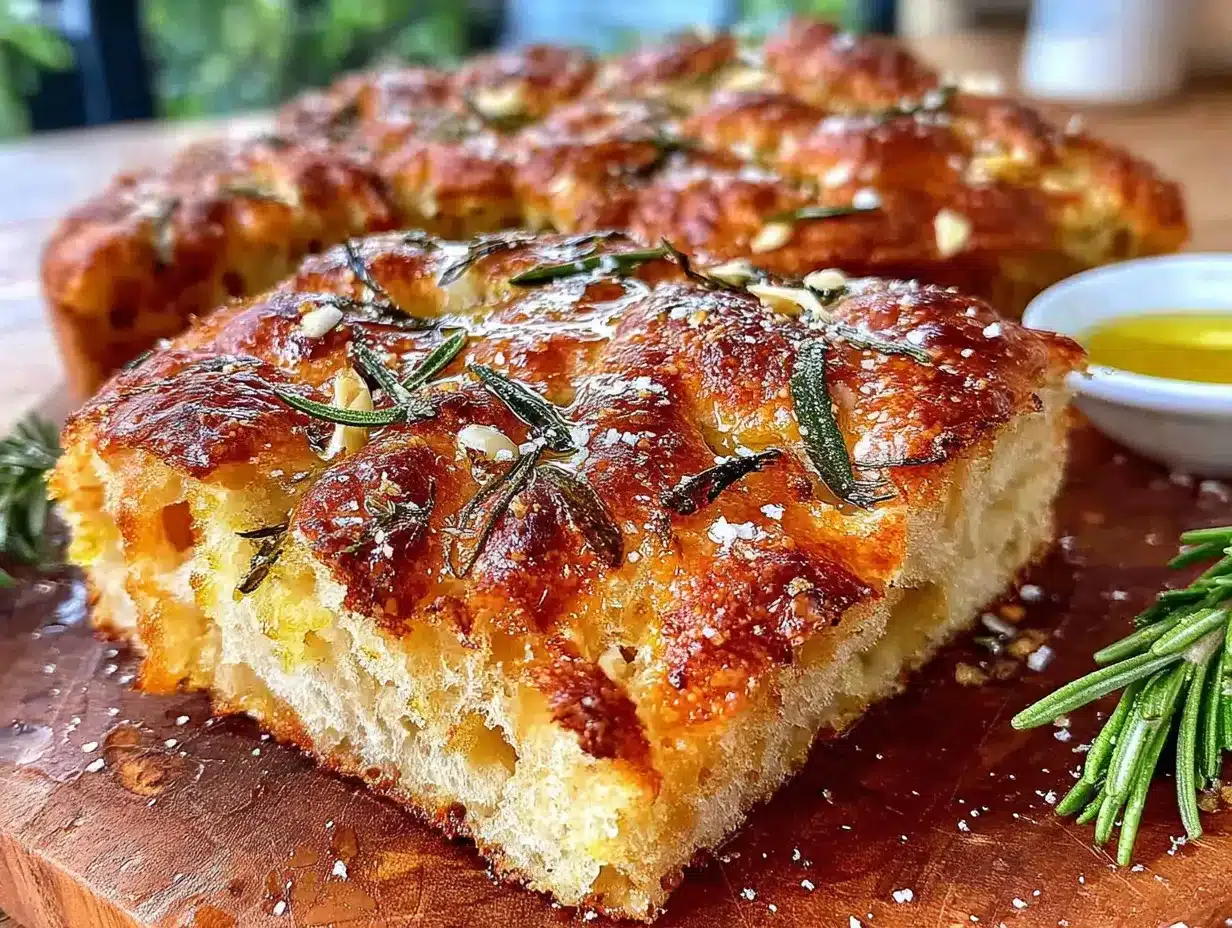
The first time I pulled that golden, herb-freckled pan out of the oven, I knew something had changed. The smell alone—warm garlic, earthy rosemary, that unmistakable tang of fermented dough—was enough to make me a believer. I cut a corner piece, still steaming, and the crust crackled under my knife. The inside was soft, almost creamy, with bubbles of olive oil catching the light. It was the kind of bread you eat standing at the counter, tearing off piece after piece without even thinking. And the best part? My starter, the one I had almost thrown out, was the hero of the story. This rosemary garlic sourdough focaccia didn’t just work—it became the reason I stopped neglecting Bertha.
Why You’ll Love This Recipe
This isn’t just another focaccia recipe. It’s the one that turns sourdough skeptics into sourdough stans. I’ve tested this method more times than I can count, tweaking the hydration, the proofing times, and the salt levels until I got it just right. Here’s why it stands out:
- Easy, No-Knead Method: You don’t need a stand mixer or any serious arm strength. A bowl and a spatula are all you need to bring this dough together. It’s the perfect recipe for a lazy weekend.
- Simple Pantry Ingredients: Flour, water, salt, olive oil, garlic, rosemary, and your sourdough starter. That’s it. No fancy yeast packets, no special flours.
- Perfect for Beginners: If you’ve been scared of sourdough, this is the recipe to break the ice. The dough is forgiving, and the high hydration means you get a beautiful, open crumb with very little effort.
- Incredible Flavor: The slow fermentation gives the focaccia a depth of flavor that instant yeast just can’t replicate. It’s tangy, savory, and utterly addictive.
- Endlessly Customizable: Once you master the base, you can top it with anything. But trust me, the classic rosemary and garlic combo is the one you’ll come back to again and again.
I remember the first time I brought this to a family dinner. My uncle, who usually only eats store-bought white bread, asked for the recipe. That was the moment I knew I had cracked the code. This focaccia is the kind of bread that makes people close their eyes after the first bite. It’s comfort in its purest form—crispy, chewy, and full of soul.
What Ingredients You Will Need
This recipe uses simple, wholesome ingredients to deliver that signature sourdough tang and a texture that’s both airy and satisfying. Most of these are probably in your pantry already, which makes this a great last-minute bake.
- Bread Flour (500 grams): I prefer King Arthur for its consistent protein content, which gives the focaccia a great chew. All-purpose flour will work in a pinch, but the crumb will be slightly less structured.
- Water (400 grams, lukewarm): The temperature matters. Too hot, and you’ll kill the good bacteria in your starter. Too cold, and the fermentation will take forever. Aim for bathwater temperature, around 80-85°F.
- Sourdough Starter (150 grams, active and bubbly): This is the heart of the recipe. You want it to be at its peak—doubled in size and full of bubbles. I feed mine the night before I plan to bake.
- Extra Virgin Olive Oil (60 grams, plus more for the pan and topping): Don’t skimp here. A good quality olive oil adds richness and helps create that crispy, golden crust. I use a California brand that’s fruity and a little peppery.
- Fine Sea Salt (10 grams): I use Morton’s fine sea salt. If you’re using kosher salt, you’ll need to increase the amount slightly. Salt is crucial for both flavor and gluten development.
- Fresh Garlic (4-5 cloves, thinly sliced): Fresh garlic is non-negotiable. The pre-minced stuff in a jar will burn and turn bitter. Thin slices melt into the olive oil and infuse the bread with a gentle, sweet garlic flavor.
- Fresh Rosemary (2 tablespoons, finely chopped): Dried rosemary just doesn’t have the same punch. Fresh rosemary is fragrant and slightly piney, and it softens beautifully as it bakes.
- Flaky Sea Salt (for finishing, like Maldon): That final sprinkle of flaky salt on top is what takes this from good to restaurant-quality. It adds little bursts of salinity that contrast perfectly with the olive oil.
Ingredient Selection Tips: If you want a stronger sourdough flavor, let the dough cold-proof in the fridge for 12-24 hours. The garlic slices can be a little sharp if they’re too thick, so take your time and slice them paper-thin. For the rosemary, I like to chop it just before using it to keep the oils fresh and fragrant.
Equipment Needed
You don’t need a lot of fancy gear for this recipe, which is part of its charm. Here’s what you’ll need:
- Large Mixing Bowl: A standard 4-quart bowl works perfectly. I use a glass one so I can see the bubbles forming in the dough.
- Digital Kitchen Scale: This is a must for consistent results. Measuring flour by volume can be wildly inaccurate. A scale ensures you get the hydration right every time.
- 9×13-inch Baking Pan: A metal pan is ideal because it conducts heat well and helps create a crispy bottom. Glass or ceramic pans will work, but the bottom won’t get as golden.
- Bench Scraper or Spatula: A flexible silicone spatula is great for the initial mix, and a bench scraper helps with the folds.
- Plastic Wrap or a Shower Cap: To cover the dough while it rises. A reusable shower cap is my secret weapon—it fits perfectly over the bowl and is easy to clean.
- Small Skillet (optional, for infusing oil): If you want to take the garlic flavor up a notch, you can gently warm the garlic and rosemary in the olive oil before adding it to the dough.
Budget-Friendly Tip: If you don’t have a digital scale, you can use the fluff-and-scoop method for flour, but your results may vary. I picked up my scale for under $15, and it’s one of the best investments I’ve made in my baking.
Preparation Method
This method is designed to be forgiving, even if you’re new to sourdough. The key is patience—the dough does most of the work for you.
- Mix the Dough (10 minutes): In your large mixing bowl, combine the 400 grams of lukewarm water and 150 grams of active sourdough starter. Stir gently until the starter is mostly dissolved. Add 500 grams of bread flour and 10 grams of fine sea salt. Use your spatula to mix until a shaggy dough forms. There should be no dry bits of flour left. Cover the bowl with plastic wrap and let it rest for 30 minutes. This is called the autolyse, and it helps the flour absorb the water, making the dough easier to work with.
- Perform the Folds (2 hours): After the rest, you’ll need to perform a series of folds to build strength. Wet your hands slightly to prevent sticking. Grab a section of dough from one side, stretch it up, and fold it over the center. Rotate the bowl a quarter turn and repeat. Do this 4-6 times, until the dough feels tighter and more elastic. Cover the bowl and let it rest for 30 minutes. Repeat this folding process every 30 minutes for a total of 4 rounds. By the last fold, the dough should be smooth, glossy, and full of air bubbles.
- Bulk Fermentation (4-6 hours at room temperature): This is the main rise. Cover the bowl and let it sit in a warm spot (around 75°F is ideal). The dough should nearly double in size and look pillowy. The surface should be domed and dotted with small bubbles. If your kitchen is cool, this could take longer. Don’t rush it—the flavor develops during this stage.
- Prepare the Pan and Cold Proof (Optional, but recommended): Pour a generous amount of olive oil (about 2-3 tablespoons) into your 9×13-inch pan and spread it around. Gently tip the dough into the pan. It will look a bit deflated, and that’s okay. Don’t try to stretch it to the edges yet. Cover the pan and place it in the fridge for 12-24 hours. This cold proof slows down the fermentation, deepens the sour flavor, and makes the dough easier to handle. If you’re in a rush, you can skip this step and let the dough rise in the pan at room temperature for 2-3 hours.
- Dimple and Top (15 minutes): When you’re ready to bake, take the pan out of the fridge and let it sit at room temperature for 30-60 minutes. The dough should be relaxed and spread out. If it hasn’t reached the edges of the pan, gently coax it there with your fingertips. Now for the fun part: generously drizzle more olive oil over the top (about 2 tablespoons). Use your fingers to press deep dimples all over the dough. Don’t be shy—you want to go all the way down to the bottom of the pan. This traps the oil in the pockets and creates those signature craggy bubbles. Scatter the thinly sliced garlic and chopped rosemary evenly over the top. Finish with a generous sprinkle of flaky sea salt.
- Bake (25-30 minutes): Preheat your oven to 425°F (220°C) with a rack in the middle. Place the pan in the oven and bake for 25-30 minutes, rotating the pan halfway through. The focaccia is done when the top is deep golden brown and the bottom sounds hollow when you tap it. The edges should be crispy and slightly caramelized from the olive oil.
- Cool (The Hardest Part): Let the focaccia cool in the pan for 5 minutes, then transfer it to a wire rack. If you try to cut it while it’s piping hot, the inside will be gummy. Let it cool for at least 20 minutes before slicing. The wait is worth it.
Sensory Cue: When you press the dimples into the dough, you should feel the bubbles popping under your fingers. That’s a good sign—it means the dough is alive and full of gas.
Cooking Tips & Techniques
Over the years, I’ve made every mistake you can imagine with focaccia. I’ve had dough that was too sticky, dough that was too dry, and dough that just refused to rise. Here’s what I’ve learned:
- Don’t Be Afraid of a Wet Dough: Sourdough focaccia is a high-hydration dough. It will be sticky, and that’s exactly what you want. The wetness is what creates those big, airy bubbles. Resist the urge to add more flour. Use wet hands or a wet spatula to handle it, and you’ll be fine.
- The Cold Proof is a Game Changer: I used to skip this step because I was impatient. But the cold proof does two things: it makes the dough easier to shape, and it gives the flavor a serious upgrade. The slow fermentation allows the acids to develop, giving you that classic sourdough tang. It also helps the crust get extra crispy.
- Use a Hot Oven: A 425°F oven is hot enough to create steam quickly, which helps the focaccia rise in the oven. If your oven runs cool, your focaccia will be flat and dense. I use an oven thermometer to make sure the temperature is accurate.
- Don’t Over-Proof: If the dough has been rising for too long, it will collapse when you dimple it. The surface should look bubbly and alive, but not deflated. If you see large, irregular bubbles on the surface, it’s ready.
- My Biggest Failure: I once forgot to add the salt. The focaccia looked beautiful, but it tasted like cardboard. Salt isn’t just for flavor—it strengthens the gluten and controls the fermentation. Don’t leave it out.
Variations & Adaptations
Once you’ve mastered the basic recipe, the possibilities are endless. Here are a few of my favorite twists:
- Roasted Garlic & Thyme: Roast a head of garlic in the oven until it’s soft and jammy. Squeeze the cloves over the dough before baking, and swap the rosemary for fresh thyme. It’s sweeter and more mellow than the raw garlic version.
- Tomato & Basil: Press cherry tomato halves into the dough before baking. They’ll burst in the oven and create little pockets of sweet, jammy tomato. Add fresh basil leaves after baking for a pop of color.
- Everything Bagel Focaccia: After dimpling the dough, sprinkle it with everything bagel seasoning. It’s salty, savory, and perfect for sandwiches. I’ve used this as the base for a breakfast sandwich, and it was life-changing.
- Gluten-Free Option: I’ve had good results using a gluten-free bread flour blend. The dough will be more like a batter, and you won’t be able to do the folds. Just pour it into the oiled pan and let it rise. It won’t be as airy, but the flavor is still fantastic.
- Cheese Lover’s Version: Sprinkle grated Parmesan or crumbled feta over the top before baking. The cheese gets crispy and golden in the oven, adding another layer of texture.
I once made a batch with caramelized onions and blue cheese for a party, and it disappeared in ten minutes. The key is to think of the focaccia as a blank canvas. Whatever you have in the fridge—roasted vegetables, olives, sun-dried tomatoes—can go on top.
Serving & Storage Suggestions
This focaccia is best served warm, right out of the oven, but it’s still incredible at room temperature. Here’s how to make the most of it:
- Serving Temperature: I like to serve it slightly warm. If it’s been sitting for a few hours, I pop it back in a 300°F oven for 5 minutes to re-crisp the crust.
- Pairings: It’s perfect on its own as a snack, but it also shines alongside a bowl of soup, like a hearty stew or a minestrone. I’ve also used it to make the best sandwiches—split it in half and fill it with prosciutto, fresh mozzarella, and arugula. It’s also a great side for a summer grazing board.
- Storage: Store leftover focaccia in an airtight container at room temperature for up to 2 days. Do not refrigerate it—the fridge will dry it out and make the crust rubbery.
- Freezing: This focaccia freezes beautifully. Wrap the cooled loaf tightly in plastic wrap, then in aluminum foil. Freeze for up to 3 months. To reheat, thaw it at room temperature, then pop it in a 350°F oven for 10 minutes. It will taste almost as good as fresh.
- How Flavors Develop: The garlic and rosemary flavors actually mellow and meld overnight. I often find the focaccia tastes even better the next day, especially if you toast it lightly.
Nutritional Information & Benefits
While this is a treat, it’s not without its merits. Here’s a rough breakdown per serving (1/8 of the recipe):
- Calories: Approximately 280
- Fat: 12g (mostly from heart-healthy olive oil)
- Carbohydrates: 35g
- Protein: 6g
- Fiber: 2g
Health Benefits: Sourdough fermentation reduces phytic acid, making the minerals in the flour more bioavailable. It also produces beneficial bacteria that can aid digestion. The olive oil is rich in monounsaturated fats and antioxidants, which are great for heart health. Rosemary and garlic are both known for their anti-inflammatory properties.
Dietary Considerations: This recipe is vegetarian and can be made vegan by using a vegan sourdough starter (which is naturally vegan). It is not gluten-free unless you use a specific flour blend. For a lower-carb option, I’ve seen people use almond flour, but the texture is very different.
Conclusion
This rosemary garlic sourdough focaccia is more than just a recipe—it’s a project that rewards you with the most incredible bread you can make at home. It’s forgiving enough for beginners but rewarding enough for seasoned bakers. The tangy crumb, the crispy, oil-soaked bottom, and the fragrant topping of garlic and rosemary make it a loaf you’ll want to bake on repeat.
I love this recipe because it reminds me that good things take time. That neglected starter in the back of the fridge? It just needed a chance to prove itself. And now, I bake this focaccia almost every week. It’s become a ritual, a way to slow down and enjoy the process.
I’d love to hear how yours turns out. Did you add your own twist? Did you use a different herb? Drop a comment below and let me know. And if you’re looking for another way to use up your sourdough starter, check out this rustic sourdough pumpkin focaccia for a seasonal spin. Happy baking!
Frequently Asked Questions
Can I use all-purpose flour instead of bread flour?
Yes, you can. The focaccia will still be delicious, but the crumb will be slightly less chewy and open. Bread flour has more protein, which creates a stronger gluten network and a more structured loaf.
My dough is very sticky. Is that normal?
Absolutely. This is a high-hydration dough, around 80% hydration. It’s supposed to be sticky. Use wet hands or a wet spatula to handle it, and avoid the temptation to add more flour.
Can I use dried rosemary instead of fresh?
You can, but I don’t recommend it. Dried rosemary can be woody and sharp. Fresh rosemary softens as it bakes and has a much more pleasant, aromatic flavor. If you’re in a pinch, use half the amount of dried and crush it between your fingers before adding it.
How do I know when my sourdough starter is ready to use?
Your starter should be at its peak—doubled in size, full of bubbles, and have a pleasant, slightly tangy smell. It should pass the float test: drop a small spoonful of starter into a glass of water, and if it floats, it’s ready. If it sinks, it needs more time to ferment.
Why is my focaccia dense and not airy?
This usually happens for one of three reasons: your starter wasn’t active enough, you didn’t let the dough rise long enough during bulk fermentation, or you handled the dough too roughly when transferring it to the pan. Make sure your starter is bubbly and active, and let the dough double in size before shaping.
Pin This Recipe!
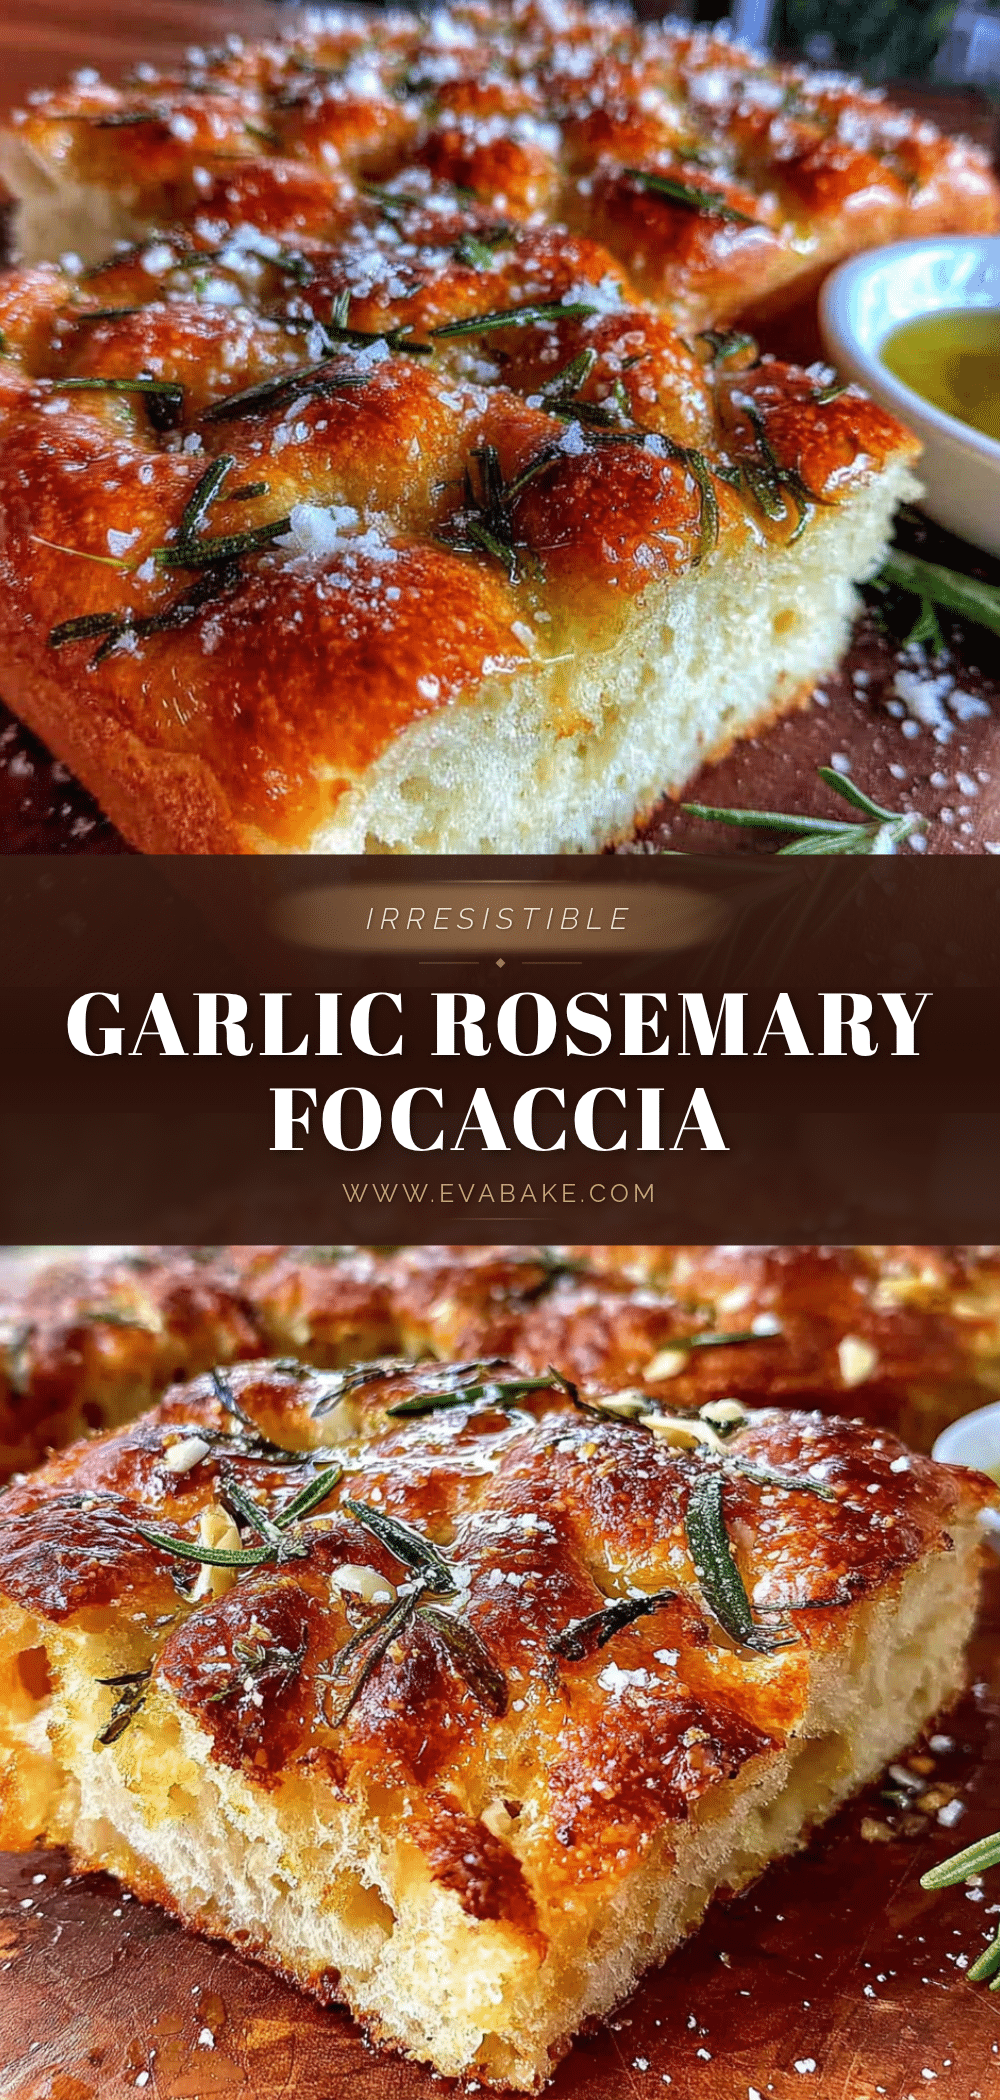
Perfect Rosemary Garlic Sourdough Focaccia Bread Recipe
This rosemary garlic sourdough focaccia is airy, pillowy, and perfectly crispy on the bottom. It’s an easy, no-knead recipe that turns sourdough skeptics into believers.
- Prep Time: 20 minutes
- Cook Time: 30 minutes
- Total Time: 14 hours (includes bulk fermentation and cold proof)
- Yield: 8 servings 1x
- Category: Bread
- Cuisine: Italian
Ingredients
- 500 grams bread flour (about 4 cups)
- 400 grams lukewarm water (about 1 3/4 cups)
- 150 grams active sourdough starter (about 2/3 cup)
- 60 grams extra virgin olive oil (about 1/4 cup), plus more for pan and topping
- 10 grams fine sea salt (about 2 teaspoons)
- 4–5 cloves fresh garlic, thinly sliced
- 2 tablespoons fresh rosemary, finely chopped
- Flaky sea salt (like Maldon) for finishing
Instructions
- Mix the Dough: In a large mixing bowl, combine 400 grams lukewarm water and 150 grams active sourdough starter. Stir gently until mostly dissolved. Add 500 grams bread flour and 10 grams fine sea salt. Mix with a spatula until a shaggy dough forms with no dry bits. Cover with plastic wrap and let rest for 30 minutes (autolyse).
- Perform the Folds: After the rest, wet your hands slightly. Grab a section of dough, stretch it up, and fold it over the center. Rotate the bowl a quarter turn and repeat. Do 4-6 folds total. Cover and rest 30 minutes. Repeat this folding process every 30 minutes for a total of 4 rounds. The dough should become smooth, glossy, and full of air bubbles.
- Bulk Fermentation: Cover the bowl and let it sit in a warm spot (around 75°F) for 4-6 hours, until nearly doubled in size and pillowy with small bubbles on the surface.
- Prepare the Pan and Cold Proof: Pour 2-3 tablespoons olive oil into a 9×13-inch baking pan and spread around. Gently tip the dough into the pan (it will deflate). Cover and refrigerate for 12-24 hours for deeper flavor. Alternatively, let rise at room temperature for 2-3 hours.
- Dimple and Top: Remove pan from fridge and let sit at room temperature for 30-60 minutes. Gently coax dough to edges of pan if needed. Drizzle about 2 tablespoons olive oil over top. Use fingers to press deep dimples all over the dough, going to the bottom of the pan. Scatter sliced garlic and chopped rosemary evenly over top. Finish with a generous sprinkle of flaky sea salt.
- Bake: Preheat oven to 425°F (220°C) with rack in middle. Bake for 25-30 minutes, rotating pan halfway through, until top is deep golden brown and bottom sounds hollow when tapped.
- Cool: Let focaccia cool in pan for 5 minutes, then transfer to a wire rack. Cool for at least 20 minutes before slicing.
Notes
For a stronger sourdough flavor, cold proof for 12-24 hours. Slice garlic paper-thin to avoid sharpness. Use fresh rosemary for best flavor. Do not refrigerate leftovers; store at room temperature for up to 2 days. Freezes well for up to 3 months.
Nutrition
- Serving Size: 1/8 of recipe
- Calories: 280
- Sugar: 1
- Sodium: 400
- Fat: 12
- Saturated Fat: 2
- Carbohydrates: 35
- Fiber: 2
- Protein: 6
Keywords: sourdough focaccia, rosemary garlic focaccia, no-knead bread, easy sourdough recipe, homemade focaccia