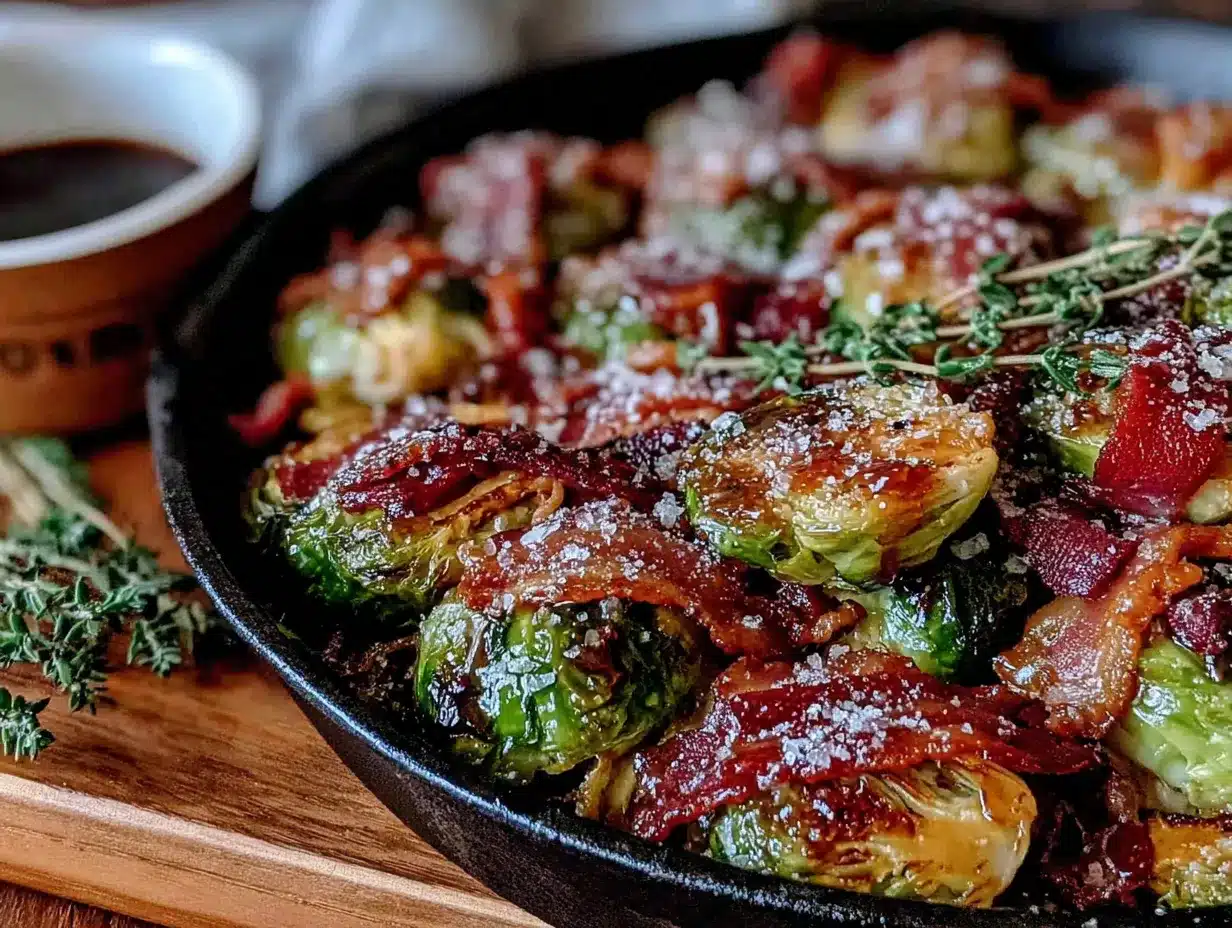
The shatter. That’s the first thing you notice. Not the maple sweetness or the salty bacon punch, but the actual crack your teeth make through the outermost leaves of these Brussels sprouts. I spent a solid two weeks trying to get that texture right, burning batches, undercooking others, and honestly, making my kitchen smell like a breakfast diner that forgot to open a window. But that first perfect shatter, followed by the soft, almost buttery interior, and then the little chewy tug of maple-glazed bacon? That was the moment I knew I had it. This wasn’t just another roasted vegetable side dish. This was a full-on obsession.
I’ve always been that person who judges a Brussels sprout by its outer leaf. If it’s soggy or steamed, I’m out. I need that caramelized, almost burnt-looking edge that tells you something good happened in the oven. And honestly, the maple syrup is doing double duty here. It’s not just for sweetness (though that helps with the bitterness some folks complain about). The sugar in the maple syrup actually helps create that crunchy exterior, especially when it hits the high heat of a 400°F oven. I learned that trick after my third failed batch, where the sprouts just sort of sat there, looking sad and pale.
This recipe stuck because it solved a real problem for me. I wanted a side dish that felt special enough for a holiday table but easy enough for a random Tuesday when you just need something crispy and satisfying to go with dinner. It’s become my go-to for impressing people without actually trying that hard. And let’s face it, that’s the best kind of recipe to have in your back pocket.
Why You’ll Love This Recipe
After testing this recipe about seven times (my neighbors started asking if I was okay), I can confidently say this is the version you’ll come back to. It hits every note you want from a side dish and then some.
- Quick & Easy: From cutting board to table in about 35 minutes. Perfect for a weeknight when you’re short on time but want something that tastes like you tried.
- Simple Ingredients: You probably already have most of this stuff. No weird specialty items or trips to three different grocery stores. Just Brussels sprouts, bacon, maple syrup, and a few pantry staples.
- Perfect for Entertaining: This dish looks gorgeous on a platter and pairs beautifully with everything from a simple roast chicken to a fancy holiday ham. I’ve served it at Thanksgiving and at casual summer barbecues.
- Crowd-Pleaser: Even people who swear they hate Brussels sprouts have asked me for this recipe. The bacon and maple combo is basically a gateway vegetable situation.
- Unbelievably Delicious: That crispy exterior, the tender center, the salty-sweet bacon bits. It’s the kind of side dish that steals the spotlight from the main course every single time.
What makes this different from the dozens of other Brussels sprouts recipes out there? It’s the technique. I roast the sprouts cut-side down first to get that deep caramelization, then toss them with the maple-bacon mixture halfway through. This two-step process ensures every single sprout gets that shatter-crisp exterior without burning the maple syrup. It’s a small tweak, but it makes a world of difference. Trust me, I learned this the hard way after making a sticky, burnt mess that tasted like a campfire accident.
This recipe is comfort food reimagined. It’s healthier than most roasted vegetable sides, faster than you think, and has the same soul-soothing satisfaction as your favorite savory breakfast. It’s perfect for impressing guests without stress or turning a simple weeknight meal into something memorable. Honestly, it’s the kind of dish that makes you close your eyes after the first bite.
What Ingredients You Will Need
This recipe uses simple, wholesome ingredients to deliver bold flavor and satisfying texture without the fuss. Most of these are pantry staples, and the ones that aren’t are easy to find at any grocery store.
For the Brussels Sprouts Base
- 1 ½ pounds Brussels sprouts, trimmed and halved (look for firm, bright green sprouts that are similar in size for even cooking)
- 3 tablespoons olive oil (use a good quality extra virgin for best flavor, or avocado oil for a higher smoke point)
- ½ teaspoon salt (I prefer kosher salt for its clean flavor and easy pinch-ability)
- ¼ teaspoon black pepper, freshly ground
For the Maple Bacon Glaze
- 6 slices thick-cut bacon, cut into ½-inch pieces (I recommend Wright Brand or Nueske’s for meaty, smoky bacon that doesn’t shrink too much)
- 3 tablespoons pure maple syrup (not pancake syrup—the real stuff makes a huge difference in flavor and caramelization)
- 1 tablespoon balsamic vinegar (adds depth and helps balance the sweetness)
- 1 clove garlic, minced (fresh is non-negotiable here; jarred garlic will burn)
- Pinch of red pepper flakes (optional, but gives a nice little warmth)
For the Finish
- 1 tablespoon maple syrup, for drizzling after roasting (optional but recommended for extra gloss and sweetness)
- Flaky sea salt, for finishing (like Maldon—it adds that final textural pop)
Ingredient selection tips: Look for Brussels sprouts that are firm and compact with tightly closed leaves. If they’re yellowing or have loose leaves, they’re past their prime. For the bacon, thick-cut is key here. Thin bacon will burn before the sprouts are done, and you’ll end up with sad, crispy bits instead of chewy, meaty pieces. And please, for the love of all things crispy, use real maple syrup. The artificial stuff has a weird aftertaste and doesn’t caramelize properly in the oven.
Substitution guidance: If you’re gluten-free, this recipe is naturally gluten-free as long as your bacon doesn’t contain any wheat-based additives. For a dairy-free option, you’re already good to go. If you want to make it vegetarian, you can skip the bacon and add a tablespoon of smoked paprika to the olive oil for that smoky flavor. The texture won’t be quite the same, but it’ll still be delicious. You can also swap the balsamic vinegar for apple cider vinegar if that’s what you have on hand.
Equipment Needed
You don’t need a fancy kitchen to make these Brussels sprouts shine. Here’s what you’ll need:
- Large rimmed baking sheet (half-sheet pan size, 18×13 inches). This is crucial. If your pan is too small, the sprouts will steam instead of roast, and you’ll lose that crispy texture. I’ve made that mistake before, and it’s heartbreaking.
- Chef’s knife and cutting board for trimming and halving the sprouts
- Small bowl for mixing the maple-bacon glaze
- Tongs for flipping the sprouts halfway through roasting
- Parchment paper or aluminum foil for easy cleanup (optional but highly recommended)
Budget-friendly tip: If you don’t have a half-sheet pan, you can use two smaller baking sheets. Just make sure to rotate them halfway through cooking so everything roasts evenly. And honestly, a good baking sheet is one of the best investments you can make for your kitchen. It’ll last for years and make everything from roasted vegetables to crispy chicken wings come out better.
Preparation Method
Follow these steps carefully, and you’ll end up with the crispiest, most flavorful Brussels sprouts of your life. I’ve included sensory cues at each stage so you know exactly what to look for.
- Preheat your oven to 400°F (200°C). Place one rack in the middle of the oven. While the oven is heating, line your baking sheet with parchment paper or foil for easier cleanup.
- Prepare the Brussels sprouts. Rinse the sprouts under cold water and pat them completely dry with a clean kitchen towel. Any moisture left on the sprouts will steam them instead of roasting them, and we’re not here for steamed sprouts. Trim the tough stem ends, then cut each sprout in half lengthwise through the stem. If you have any really large sprouts, cut them into quarters so they’re all roughly the same size.
- Toss with oil and season. In a large bowl, combine the halved Brussels sprouts with the olive oil, salt, and pepper. Toss well with your hands to make sure every cut side is coated. This is important—the cut sides need that oil to get properly caramelized.
- Arrange on the baking sheet. Spread the sprouts in a single layer on the prepared baking sheet, making sure they’re all cut-side down. This is non-negotiable. The cut side needs to be in direct contact with the hot pan to develop that deep, golden-brown crust. If the sprouts are crowded, use two pans. You want them to have room to breathe.
- Roast for 15 minutes. Place the pan in the preheated oven and roast without touching them. You’ll start to smell a nutty, toasty aroma around the 10-minute mark. That’s a good sign. The sprouts should be starting to brown on the cut sides.
- While the sprouts roast, cook the bacon. In a medium skillet over medium heat, cook the bacon pieces until they’re crispy but still a little chewy, about 5-7 minutes. Don’t overcook them—they’ll continue cooking in the oven. Use a slotted spoon to transfer the bacon to a paper towel-lined plate. Reserve about 1 tablespoon of the bacon fat in the skillet.
- Make the maple glaze. To the skillet with the reserved bacon fat, add the 3 tablespoons of maple syrup, balsamic vinegar, minced garlic, and red pepper flakes (if using). Stir and let it simmer for about 1 minute until it thickens slightly and becomes fragrant. Remove from heat.
- Flip and glaze. After 15 minutes, remove the pan from the oven. Use tongs to flip each sprout over so the cut side is now facing up. Drizzle the maple-bacon glaze evenly over the sprouts, then sprinkle the cooked bacon pieces on top. Toss everything gently with the tongs to coat.
- Roast for another 10-15 minutes. Return the pan to the oven and roast until the sprouts are tender when pierced with a fork and the edges are deeply caramelized and crispy. The bacon should be crispy and the glaze should be bubbling. Keep an eye on them in the last 5 minutes—maple syrup can burn quickly.
- Finish and serve. Remove from the oven and immediately drizzle with the extra tablespoon of maple syrup (if using). Sprinkle with flaky sea salt. Let them rest on the pan for 2-3 minutes before transferring to a serving platter. This resting time allows the caramelized edges to set and get even crispier.
Troubleshooting tip: If your sprouts are browning too quickly on the outside but aren’t tender inside, reduce the oven temperature to 375°F and cover loosely with foil for the last 10 minutes of roasting. This happened to me when I used a convection oven without adjusting the temperature.
Cooking Tips & Techniques
I’ve made this recipe more times than I care to admit, and I’ve learned a few things along the way. Here are the tips that make the biggest difference.
Dry your sprouts thoroughly. This is the number one mistake people make. Wet sprouts steam instead of roast. I learned this the hard way when I made a soggy, sad batch that tasted more like boiled cabbage than crispy roasted goodness. Take an extra minute to pat them dry after washing.
Don’t skip the cut-side down step. I know it’s tempting to just toss everything together and throw it in the oven, but that initial cut-side down roasting is what creates that deep, caramelized crust. It’s the difference between good sprouts and life-changing sprouts.
Use a hot oven. 400°F is the sweet spot. Any lower and the sprouts will cook too slowly and get mushy. Any higher and the maple syrup will burn before the sprouts are tender. Trust the temperature.
Bacon fat is liquid gold. Don’t you dare drain it down the sink. That tablespoon of reserved bacon fat in the maple glaze adds a depth of flavor you just can’t get from oil alone. It’s the secret ingredient that makes people ask, “What did you put in these? They’re incredible!”
Timing is everything. Start the bacon while the sprouts are doing their first roast. This way, everything comes together at the same time, and you’re not scrambling at the end. Good kitchen multitasking is all about overlapping tasks.
One more thing: If you’re making these for a crowd, you can prep the sprouts and cook the bacon a day ahead. Store them separately in the fridge, then just toss everything together and roast when you’re ready. This makes holiday cooking so much less stressful.
Variations & Adaptations
This recipe is incredibly versatile. Here are a few ways I’ve adapted it over the years, and they’ve all been delicious in their own way.
Spicy Maple Bacon Brussels Sprouts: Add an extra teaspoon of red pepper flakes to the maple glaze, or drizzle with sriracha before serving. The heat pairs beautifully with the sweetness of the maple syrup. I made this version for a game day gathering, and it was gone in minutes. If you love that sweet-heat combo, you might also enjoy these honey sriracha chicken drumettes for another spicy-sweet option.
Maple Bacon Brussels Sprouts with Pecans: Add ½ cup of roughly chopped pecans to the pan during the last 5 minutes of roasting. The nuts toast up beautifully and add a wonderful crunch. This is my go-to version for Thanksgiving because it feels a little more festive.
Balsamic Maple Bacon Brussels Sprouts: Increase the balsamic vinegar to 2 tablespoons and add a teaspoon of Dijon mustard to the glaze. The tanginess cuts through the sweetness and adds another layer of complexity. This version pairs especially well with roasted meats like the pan-seared pork chops with apple cider butter sauce.
Vegetarian Version: Skip the bacon and add 1 tablespoon of smoked paprika and ½ teaspoon of liquid smoke to the olive oil. Roast the sprouts as directed, then toss with toasted walnuts or pepitas for crunch. It’s not the same, but it’s still really good.
Air Fryer Adaptation: Cook the sprouts in an air fryer at 375°F for 12-15 minutes, shaking the basket halfway through. Cook the bacon separately and toss everything together at the end. This method is faster and gives you an even crispier exterior.
Serving & Storage Suggestions
These Brussels sprouts are best served hot, straight from the oven, when the edges are at their crispiest. But they’re still pretty darn good at room temperature, which makes them perfect for potlucks and holiday buffets.
Serving temperature: Serve immediately after the 2-3 minute rest. If you’re making them for a dinner party, you can keep them warm in a 200°F oven for up to 30 minutes, but they’ll lose some of their crunch. For the best texture, plan your timing so they come out of the oven right when you’re ready to eat.
Presentation: Transfer to a wide, shallow serving platter so the sprouts are in a single layer (this helps them stay crispy). Sprinkle with a little extra flaky sea salt and a drizzle of maple syrup right before serving. A garnish of fresh thyme or parsley adds a nice pop of green.
What to serve with them: These sprouts go with almost everything. They’re fantastic alongside a simple roast chicken, grilled steak, or even a big holiday turkey. For a vegetarian meal, serve them over creamy polenta or alongside a cold pasta salad with sun-dried tomatoes for a satisfying contrast in temperatures and textures. They also make a great topping for grain bowls or salads.
Storage: Store leftovers in an airtight container in the refrigerator for up to 4 days. They will soften as they sit, but the flavor will still be amazing. To reheat, spread them on a baking sheet and warm in a 375°F oven for 5-7 minutes. The microwave will make them soggy, so avoid it if you can.
Freezing: I don’t recommend freezing these. The texture just isn’t the same after thawing and reheating. They’re so quick to make that it’s better to prepare them fresh.
Nutritional Information & Benefits
This recipe is surprisingly nutritious for something that tastes this indulgent. Brussels sprouts are packed with vitamins, fiber, and antioxidants, and the maple syrup adds a touch of sweetness without being overwhelming.
| Nutrient | Per Serving (about 1 cup) |
|---|---|
| Calories | 245 |
| Total Fat | 16g |
| Saturated Fat | 4g |
| Cholesterol | 20mg |
| Sodium | 420mg |
| Total Carbohydrates | 20g |
| Dietary Fiber | 5g |
| Sugars | 12g |
| Protein | 8g |
| Vitamin C | 85% DV |
| Vitamin K | 195% DV |
Health benefits: Brussels sprouts are a cruciferous vegetable rich in vitamin C, vitamin K, and fiber. They’re also packed with antioxidants that help reduce inflammation. The bacon adds protein and healthy fats, while the maple syrup provides a natural source of sweetness with trace amounts of minerals like zinc and manganese. This dish is naturally gluten-free and can be made dairy-free with no adjustments.
Dietary considerations: This recipe is gluten-free, dairy-free, and suitable for paleo and Whole30 diets (just use a compliant bacon and skip the extra maple syrup drizzle). It’s also low-carb friendly at about 12g net carbs per serving.
Potential allergens: The only common allergen in this recipe is pork (bacon). For a pork-free version, use turkey bacon or omit the bacon entirely and add smoked paprika for flavor.
Conclusion
This crispy maple bacon Brussels sprouts recipe has become a staple in my kitchen for good reason. It’s simple enough for a Tuesday night but impressive enough for a holiday table. The combination of crispy caramelized edges, tender centers, salty bacon, and sweet maple glaze is just unbeatable. Every time I make these, they disappear faster than any other side dish on the table.
I encourage you to make this recipe your own. Try it with pecans, add extra heat, or experiment with different vinegars. The beauty of a good base recipe is that it invites customization. And honestly, that’s what cooking is all about—finding what works for you and your family.
If you make these Brussels sprouts, I’d love to hear about it. Drop a comment below and let me know how they turned out, what variations you tried, or if you have any questions. And if you loved them as much as I do, share this recipe with a friend who needs a new go-to side dish. Happy cooking, and remember—the crispier the sprout, the better the meal!
Frequently Asked Questions
Can I use frozen Brussels sprouts for this recipe?
I wouldn’t recommend it. Frozen Brussels sprouts contain a lot of moisture, which will make them steam instead of roast. You’ll end up with soggy sprouts instead of crispy ones. Fresh sprouts are really the way to go here. If frozen is all you have, thaw them completely and pat them very dry before roasting, but the texture won’t be quite the same.
How do I keep the maple syrup from burning in the oven?
This is a common concern, and the key is adding the maple syrup halfway through roasting rather than at the beginning. By the time you add the glaze, the sprouts have already started cooking and the sugars won’t have as long to burn. Also, keep an eye on them in the last 5 minutes. If they’re browning too quickly, you can tent the pan loosely with foil.
Can I make this recipe ahead of time?
You can prep the ingredients ahead of time, but I recommend roasting the sprouts just before serving for the best texture. You can trim and halve the sprouts up to 2 days in advance and store them in a sealed bag in the fridge. You can also cook the bacon ahead of time and store it in the fridge. Then, when you’re ready to serve, just toss everything together and roast.
What if I don’t have balsamic vinegar?
No problem! You can substitute apple cider vinegar, red wine vinegar, or even a squeeze of fresh lemon juice. The vinegar adds a bit of acidity to balance the sweetness of the maple syrup, so any acidic ingredient will work. If you’re using a different vinegar, start with a little less and taste as you go.
How do I get the Brussels sprouts extra crispy?
The secret to extra crispy sprouts is threefold: make sure they’re completely dry before roasting, arrange them cut-side down in a single layer without overcrowding, and don’t skip the initial 15-minute roast before adding the glaze. Also, letting them rest on the pan for a few minutes after roasting helps the caramelized edges set and get even crunchier.
Pin This Recipe!
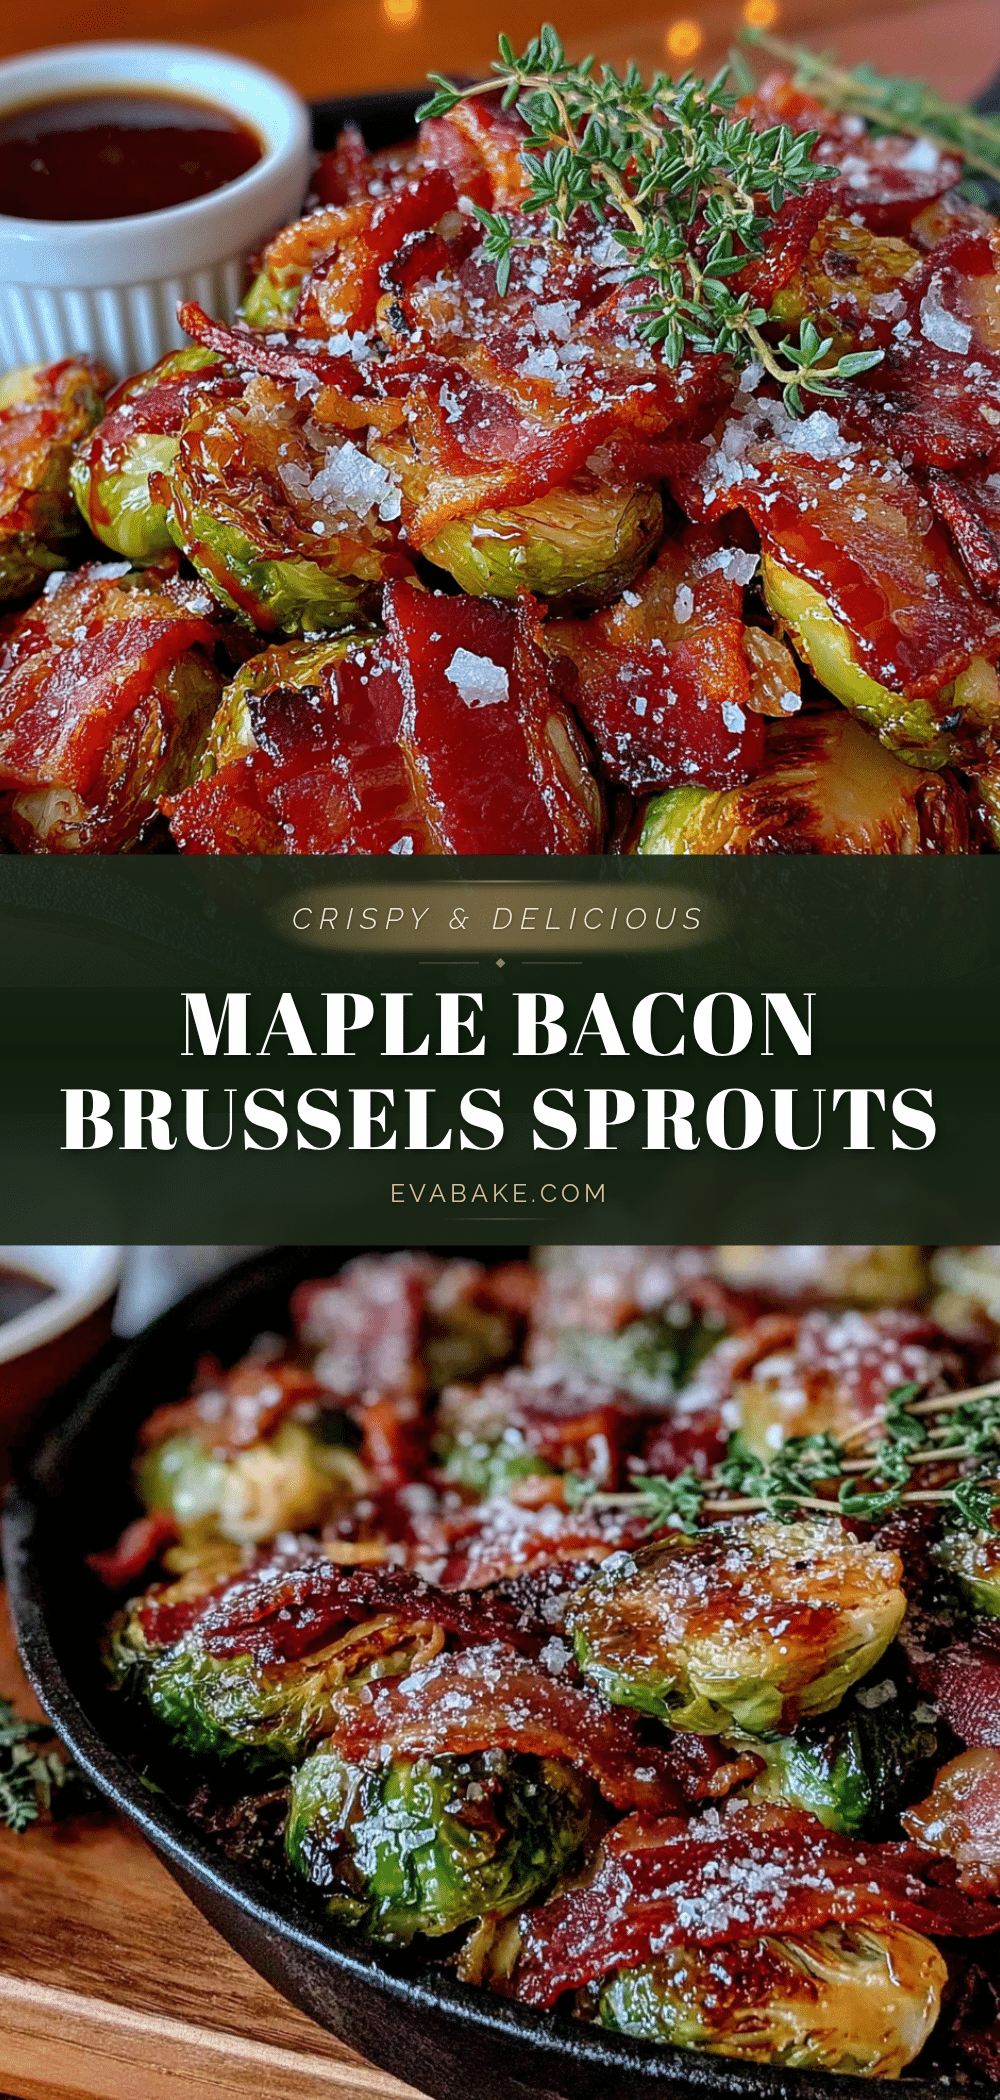
Best Crispy Maple Bacon Brussels Sprouts Recipe

These crispy maple bacon Brussels sprouts feature a shatter-crisp exterior, tender center, and salty-sweet bacon bits. Roasted cut-side down for deep caramelization, then tossed with a maple-bacon glaze, this side dish is quick, easy, and perfect for weeknights or holiday tables.
- Prep Time: 15 minutes
- Cook Time: 25 minutes
- Total Time: 40 minutes
- Yield: 4 servings 1x
- Category: Side Dish
- Cuisine: American
Ingredients
- 1 ½ pounds Brussels sprouts, trimmed and halved
- 3 tablespoons olive oil
- ½ teaspoon salt
- ¼ teaspoon black pepper, freshly ground
- 6 slices thick-cut bacon, cut into ½-inch pieces
- 3 tablespoons pure maple syrup
- 1 tablespoon balsamic vinegar
- 1 clove garlic, minced
- Pinch of red pepper flakes (optional)
- 1 tablespoon maple syrup, for drizzling after roasting (optional)
- Flaky sea salt, for finishing
Instructions
- Preheat your oven to 400°F (200°C). Place one rack in the middle of the oven. Line a large rimmed baking sheet with parchment paper or foil.
- Rinse the Brussels sprouts under cold water and pat them completely dry. Trim the tough stem ends, then cut each sprout in half lengthwise through the stem. Quarter any very large sprouts so they are roughly the same size.
- In a large bowl, combine the halved Brussels sprouts with olive oil, salt, and pepper. Toss well with your hands to coat every cut side.
- Spread the sprouts in a single layer on the prepared baking sheet, cut-side down. Do not overcrowd; use two pans if needed.
- Roast for 15 minutes without touching. You should see browning on the cut sides.
- While the sprouts roast, cook the bacon in a medium skillet over medium heat until crispy but still a little chewy, about 5-7 minutes. Use a slotted spoon to transfer bacon to a paper towel-lined plate. Reserve about 1 tablespoon of bacon fat in the skillet.
- To the skillet with reserved bacon fat, add 3 tablespoons maple syrup, balsamic vinegar, minced garlic, and red pepper flakes (if using). Stir and simmer for about 1 minute until slightly thickened and fragrant. Remove from heat.
- After 15 minutes, remove the pan from the oven. Use tongs to flip each sprout so the cut side is facing up. Drizzle the maple-bacon glaze evenly over the sprouts, then sprinkle the cooked bacon pieces on top. Toss gently to coat.
- Return the pan to the oven and roast for another 10-15 minutes, until sprouts are tender when pierced with a fork and edges are deeply caramelized and crispy. Watch closely in the last 5 minutes to prevent burning.
- Remove from oven and immediately drizzle with the extra tablespoon of maple syrup (if using). Sprinkle with flaky sea salt. Let rest on the pan for 2-3 minutes before transferring to a serving platter.
Notes
Dry sprouts thoroughly to avoid steaming. Don’t skip the cut-side down step for deep caramelization. Start the bacon while sprouts do their first roast to multitask. For extra crispy sprouts, let them rest on the pan after roasting. If browning too quickly, reduce oven to 375°F and cover loosely with foil for last 10 minutes.
Nutrition
- Serving Size: 1 cup
- Calories: 245
- Sugar: 12
- Sodium: 420
- Fat: 16
- Saturated Fat: 4
- Carbohydrates: 20
- Fiber: 5
- Protein: 8
Keywords: crispy Brussels sprouts, maple bacon Brussels sprouts, roasted Brussels sprouts, holiday side dish, easy vegetable side


