I poured the cold foam over my iced coffee and watched it slowly sink into the dark liquid, leaving a trail of orange-tinted cream behind. My husband, who had been working in the other room, walked into the kitchen mid-pour and just stopped. “Wait,” he said, pointing at my mug. “Is that… pumpkin? On coffee?” I handed him a sip without saying a word. He took it, paused, and then asked the question I’d been waiting for: “How much does that cost at the coffee shop?”
Here’s the thing—I’d been burning through my coffee budget on pumpkin cold foam lattes for weeks. It was getting ridiculous, honestly. Four dollars here, five dollars there, and somehow I was still craving that light, frothy, pumpkin-spiced cloud on top of my morning brew. I knew cold foam was basically just milk that had been frothed, so I figured… why not try making it at home? I grabbed a can of pumpkin puree I had leftover from baking, poured some milk into a jar, and started shaking. The first attempt was a disaster—lumpy, separated, and honestly kind of sad-looking. But the second time? Something clicked.
I realized the trick was in how you combine the ingredients and the ratio you use. Too much pumpkin and it gets heavy. Too little and you can’t taste it at all. But when you get it right—when that silky, spiced foam sits on top of your coffee like a little autumn hat—it’s pure magic. And the best part? It only takes two ingredients and about thirty seconds to make. No fancy equipment, no expensive syrups, no barista skills required. Just you, your coffee, and a craving for something cozy.
This recipe stuck because it solved a real problem—my wallet was hurting, but my taste buds weren’t ready to give up pumpkin season. It’s the kind of kitchen hack that makes you feel like you’ve discovered a secret. And honestly? I think you’re going to love it.
Why You’ll Love This Recipe
Let me be real with you—I tested this recipe about seven times before I got it right. I tried different milks, different pumpkin amounts, different frothing methods. I even tried using pumpkin pie filling once (don’t do that, by the way, it’s way too sweet). What I landed on is the perfect balance of creamy, pumpkin-y, and coffee-compatible. Here’s why this version works:
- Only 2 Ingredients — You probably already have both of them in your kitchen right now. No special trips to the store needed.
- Takes 30 Seconds — I’m not exaggerating. From start to finish, you can have this cold foam ready before your coffee stops dripping.
- Saves You Money — A homemade pumpkin cold foam costs pennies compared to the coffee shop version. Your wallet will thank you.
- Completely Customizable — Want it sweeter? Add a touch of maple syrup. Prefer it dairy-free? Use oat milk. This recipe is flexible.
- Tastes Like Fall in a Cup — The pumpkin flavor is subtle but present, and it pairs perfectly with coffee without overwhelming it.
What makes this different from other cold foam recipes I’ve seen is the technique. Most people just dump pumpkin puree into milk and try to froth it, which results in a watery, separated mess. I figured out that you need to create a little bit of a slurry first—mixing the pumpkin with just a splash of milk before adding the rest. It sounds like an extra step, but it takes five seconds and makes all the difference in texture.
This isn’t just another coffee topper. It’s the kind of thing that makes you look forward to your morning routine. It’s comfort in a cup, made simpler than you’d ever expect.
What Ingredients You Will Need
This recipe uses two simple ingredients to create something that feels way more complicated than it actually is. The beauty of it is in the simplicity—no long ingredient lists, no obscure items you’ll use once and forget about.
- Milk (½ cup / 120 ml) — This is the base of your cold foam. I recommend using whole milk or 2% for the best texture, because the fat content helps create a stable, creamy foam. If you’re dairy-free, oat milk works really well—it froths up nicely and has a neutral flavor that lets the pumpkin shine. Avoid skim milk or almond milk, as they tend to produce a thinner, less stable foam that dissipates quickly.
- Pumpkin Puree (2 tablespoons / 30 g) — Make sure you’re using pure pumpkin puree, not pumpkin pie filling. The filling has added sugar and spices that can throw off the flavor and texture. I personally like Libby’s brand because it’s consistently thick and not watery, but any brand works as long as it’s 100% pumpkin. If you have homemade pumpkin puree, even better—just make sure it’s well-drained so it’s not too wet.
That’s it. Seriously. Two ingredients, and you’re on your way to the best homemade pumpkin cold foam you’ve ever had.
Now, if you want to get fancy, you can add a pinch of pumpkin pie spice or a tiny drizzle of maple syrup, but those are completely optional. The pumpkin puree itself has enough flavor to carry the foam, especially when you pair it with a good cup of coffee.
A quick note on milk selection: I’ve tested this with multiple milk types, and whole milk gives the richest, most luxurious foam. Oat milk is a close second, especially if you use a barista blend. If you’re using a milk frother, the type of milk matters less because the frother does most of the work. But if you’re using the jar-shaking method (more on that in a minute), whole milk is your best bet for achieving that thick, spoonable consistency.
Equipment Needed
One of the best things about this recipe is that you don’t need any special equipment. I’ve made this cold foam with three different methods, and they all work beautifully. Here’s what you might need:
- A Jar with a Tight-Fitting Lid — This is my go-to method. A mason jar or any glass jar with a lid works perfectly. Just make sure it’s clean and dry before you start shaking.
- A Milk Frother — If you have one of those handheld frothers, this is where it shines. It creates a super fine, velvety foam in about 20 seconds. I got mine for under ten dollars on Amazon, and it’s one of my most-used kitchen tools.
- A French Press — Believe it or not, you can use a French press to make cold foam. Just pour the milk and pumpkin into the press and pump the plunger up and down for about 30 seconds. It works surprisingly well.
- An Electric Mixer or Immersion Blender — If you’re making a larger batch, an immersion blender or a hand mixer with a whisk attachment can whip up the foam in no time. Just be careful not to over-whip, or you’ll end up with butter.
I personally use the jar method most of the time because it requires zero cleanup—I just shake, pour, and rinse the jar. But if I’m feeling fancy or making coffee for guests, I’ll pull out the frother for that extra-luxurious texture.
Preparation Method
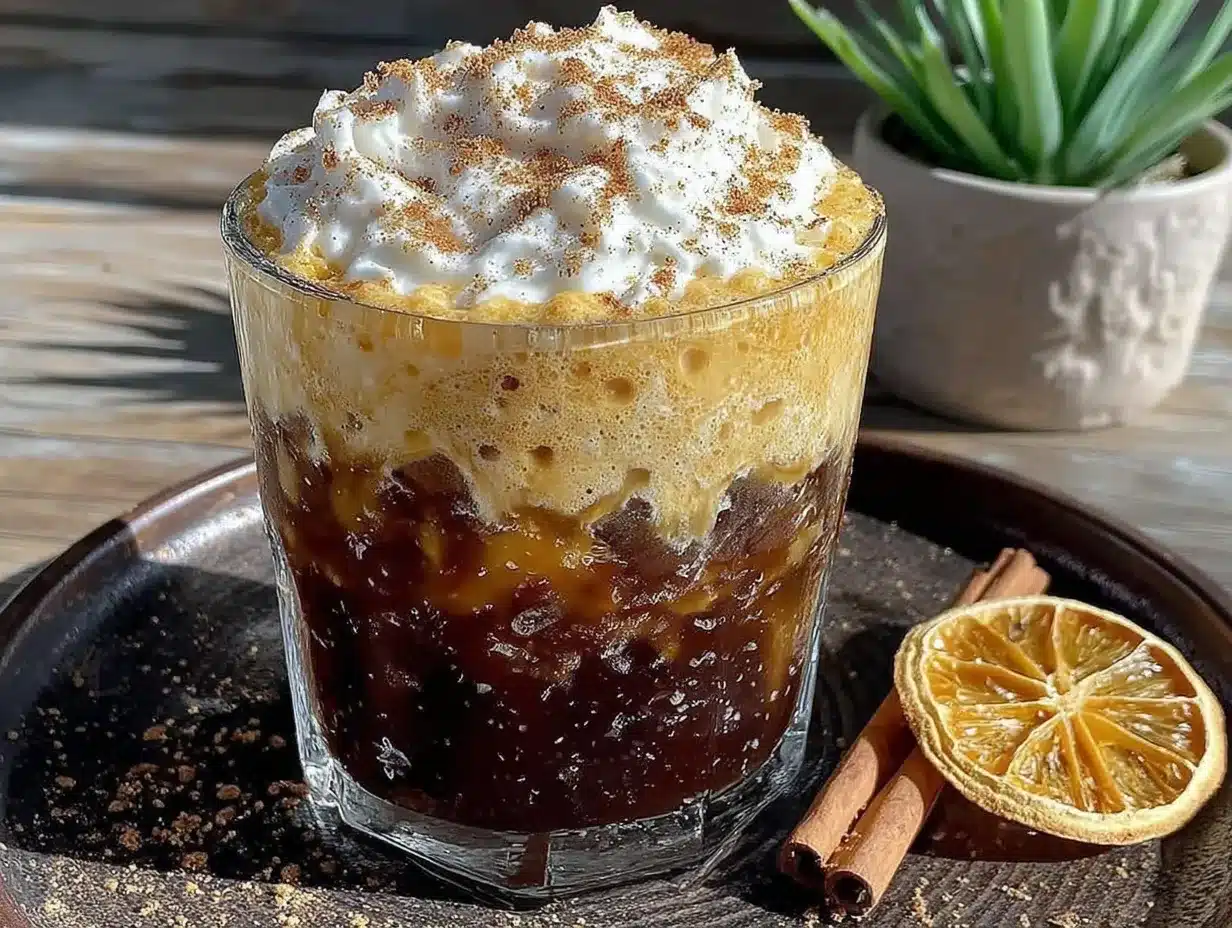
Making this pumpkin cold foam is almost embarrassingly easy. Here’s how to do it, step by step.
- Start with your milk. Measure out ½ cup (120 ml) of cold milk. The colder the milk, the better the foam will hold, so use it straight from the fridge. Pour it into your jar, frother cup, or French press.
- Add the pumpkin puree. Scoop 2 tablespoons (30 g) of pumpkin puree into the milk. Don’t worry if it looks like it’s just floating there—we’re going to fix that.
- Create a slurry. Here’s the trick that changed everything for me: use a small spoon or fork to stir the pumpkin and just a little bit of the milk together in the bottom of the container until it forms a smooth paste. This breaks up the pumpkin and prevents lumps. It takes about 10 seconds, and it makes a huge difference in the final texture.
- Combine everything. Once the slurry is smooth, pour the rest of the milk over it and give it a quick stir to combine. At this point, the mixture should look like slightly orange-tinted milk with no visible chunks of pumpkin.
- Shake or froth. If you’re using a jar, screw the lid on tightly and shake vigorously for about 30 to 45 seconds. You’ll hear the sound change as the milk thickens—it goes from sloshing to a quieter, creamier sound. If you’re using a frother, submerge the whisk and turn it on, moving it gently up and down for about 20 seconds. For a French press, pump the plunger up and down for about 30 seconds.
- Check the consistency. The foam should be thick enough to hold its shape when you spoon it, but still pourable. If it’s too thin, shake or froth for another 10 to 15 seconds. If it’s too thick, add a splash more milk and gently stir.
- Pour over your coffee. Fill a glass with ice and pour your coffee of choice over it—I like using a strong cold brew or a double shot of espresso. Then, slowly pour the pumpkin cold foam over the back of a spoon onto the top of the coffee. This helps it float instead of sinking.
- Optional: add a finishing touch. If you want to get extra fancy, sprinkle a tiny pinch of pumpkin pie spice or cinnamon on top. It makes the presentation look like something from a coffee shop menu.
A few things to keep in mind as you go: the foam will start to settle after a minute or two, so drink your coffee relatively soon after making it. Also, if you’re using a jar, make sure the lid is really tight before you start shaking—I learned this the hard way when I ended up with pumpkin milk all over my kitchen counter. Not my finest moment.
The texture should be light and airy, like a cloud that’s just thick enough to sit on top of your coffee. When you take a sip, you should get a mouthful of creamy, pumpkin-spiced foam before the coffee comes through. It’s the kind of experience that makes you want to sit down and savor every sip.
Cooking Tips & Techniques
I’ve made this recipe enough times to know exactly what can go wrong and how to fix it. Here are some tips I’ve picked up along the way.
Use cold milk. This is non-negotiable. Warm milk won’t foam properly, and the foam won’t hold its shape. Keep your milk in the fridge until you’re ready to use it. If you forget to chill it, pop it in the freezer for about 10 minutes before you start.
Don’t overdo the pumpkin. I know it’s tempting to add extra pumpkin because you want that flavor to really come through, but trust me on this—too much pumpkin makes the foam heavy and watery. Two tablespoons is the sweet spot. If you want more pumpkin flavor, add a pinch of pumpkin pie spice instead.
Strain your pumpkin puree if it’s watery. Sometimes canned pumpkin puree can be a bit thin, especially if it’s been sitting on the shelf for a while. If you open your can and see liquid pooling on top, spoon the puree onto a paper towel and gently pat it dry before using it. This removes excess moisture and helps the foam stay thick.
Shake with confidence. When you’re using the jar method, don’t be shy—really go for it. The more vigorously you shake, the more air gets incorporated, and the thicker your foam will be. I usually shake for about 30 seconds, rest for 5 seconds, and then shake for another 15 seconds. It’s a small thing, but it makes a difference.
Pour slowly. When you’re adding the foam to your coffee, pour it over the back of a spoon held just above the surface of the coffee. This gentle pouring technique helps the foam stay on top instead of sinking and mixing in. It takes a little practice, but once you get the hang of it, you’ll feel like a professional barista.
One mistake I made early on was using warm coffee. The heat from the coffee can cause the cold foam to start melting immediately, so make sure your coffee is either cold or at room temperature before you add the foam. If you’re making a hot coffee version, let it cool for a minute or two first.
Variations & Adaptations
This recipe is incredibly versatile, and I’ve tried a few different versions depending on what I’m in the mood for. Here are some of my favorites.
Maple Pumpkin Cold Foam. Add 1 teaspoon of maple syrup to the milk and pumpkin mixture before frothing. The maple flavor pairs beautifully with the pumpkin and adds just the right amount of sweetness. This is my personal go-to when I want something a little more indulgent.
Spiced Pumpkin Cold Foam. Add ¼ teaspoon of pumpkin pie spice to the milk before frothing. This gives the foam an extra layer of warmth and complexity, and it makes your kitchen smell incredible. I like to use this version when I’m making coffee for guests—it feels more special.
Dairy-Free Pumpkin Cold Foam. Use oat milk or coconut milk instead of dairy milk. Oat milk froths the best out of all the non-dairy options, and it has a neutral flavor that lets the pumpkin shine. Coconut milk adds a slight tropical note, which is actually pretty tasty if you’re into that.
Vanilla Pumpkin Cold Foam. Add ¼ teaspoon of vanilla extract to the milk before frothing. The vanilla rounds out the pumpkin flavor and adds a subtle sweetness without any extra sugar. This is a great option if you’re trying to cut back on added sweeteners.
Protein-Packed Pumpkin Cold Foam. Add a scoop of vanilla or unflavored protein powder to the milk and pumpkin mixture. You’ll need to shake or blend it a little longer to make sure the powder is fully incorporated, but it’s a great way to add some extra nutrition to your morning coffee.
I’ve also tried this with different types of milk—almond milk, cashew milk, even soy milk. Almond milk tends to be too thin and watery, while soy milk works okay but has a slightly beany flavor that competes with the pumpkin. Oat milk is really the best non-dairy option, hands down.
Serving & Storage Suggestions
This pumpkin cold foam is best enjoyed immediately after making it, while the foam is still light and airy. It starts to settle after about 5 minutes, so I recommend drinking your coffee relatively quickly after adding the foam.
For serving, I like to use a clear glass so you can see the beautiful layers—dark coffee on the bottom, creamy orange foam on top. It’s almost too pretty to drink. Almost.
If you’re serving this for a brunch or gathering, you can make the foam in advance and keep it in the fridge for up to 2 hours. Just give it a quick shake or stir before pouring it over the coffee to re-incorporate any separation. I wouldn’t recommend making it more than 2 hours ahead, though, because the foam will lose its structure over time.
As for storage, you can keep any leftover foam in a sealed jar in the refrigerator for up to 24 hours. When you’re ready to use it, give it a good shake for about 15 seconds to re-froth it. The texture won’t be quite as good as freshly made foam, but it’s still delicious.
I don’t recommend freezing this foam—the texture becomes grainy and watery when thawed, and it just doesn’t work. If you want to meal prep, I suggest making the pumpkin-milk mixture (without frothing) and storing it in the fridge, then frothing it fresh when you’re ready to use it.
This foam pairs beautifully with cold brew, iced coffee, or even iced lattes. If you’re feeling adventurous, try it on top of a pumpkin spice latte for double the pumpkin action. It’s also surprisingly good on hot coffee, though the foam will melt faster. For a fun twist, try it on top of a pumpkin cream cheese swirl muffin for the ultimate fall breakfast combo.
Nutritional Information & Benefits
One serving of this pumpkin cold foam (made with whole milk and no added sweetener) contains approximately:
- Calories: 95
- Fat: 5g
- Carbohydrates: 9g
- Protein: 4g
- Fiber: 1g
- Sugar: 8g (naturally occurring from milk and pumpkin)
Pumpkin puree is packed with vitamin A, which is great for eye health and immune function. It also contains fiber, which helps with digestion and keeps you feeling full. Milk provides calcium and vitamin D for bone health, plus protein to help stabilize your blood sugar.
If you’re watching your sugar intake, you can skip any added sweeteners and let the natural sweetness of the pumpkin and milk carry the flavor. The pumpkin itself has a subtle sweetness that works beautifully with coffee without needing extra sugar.
This recipe is naturally vegetarian and can easily be made dairy-free or vegan by using oat milk or coconut milk. It’s also gluten-free, so it works for anyone with celiac disease or gluten sensitivity.
One thing I love about this recipe is that it feels indulgent without actually being indulgent. It’s a small treat that adds a lot of joy to your morning without derailing your healthy habits.
Conclusion
This easy 2-ingredient pumpkin cold foam has become a staple in my kitchen, and I have a feeling it’s going to become one in yours too. It’s the kind of recipe that makes you wonder why you ever spent money at the coffee shop in the first place. The flavor is spot-on, the texture is luxurious, and the process is so simple that you’ll find yourself making it on autopilot.
I love this recipe because it proves that you don’t need complicated techniques or fancy ingredients to create something special. Sometimes the best things in life—and in the kitchen—are the simplest. A good cup of coffee, a touch of pumpkin, and a few seconds of shaking is all it takes to turn an ordinary morning into something cozy and memorable.
If you try this recipe, I’d love to hear how it goes. Did you add any extra spices? Did you try it with a different type of milk? Drop a comment below and let me know—your feedback might help someone else discover their new favorite way to make coffee. And if you’re looking for more fall-inspired recipes, check out my rustic sourdough pumpkin focaccia or these brown butter pumpkin chocolate chip blondies for more cozy autumn baking.
Happy sipping, friends. Here’s to simple pleasures and really good coffee.
Frequently Asked Questions
Can I use pumpkin pie filling instead of pumpkin puree?
I wouldn’t recommend it. Pumpkin pie filling has added sugar, spices, and sometimes thickeners that can throw off the texture and flavor of the cold foam. Stick with 100% pure pumpkin puree for the best results. If you want extra spice, add a pinch of pumpkin pie spice separately.
Why is my cold foam not getting thick?
There are a few possible reasons. Your milk might not be cold enough—make sure it’s straight from the fridge. You might also be using a milk with low fat content, like skim milk, which doesn’t foam as well. And finally, make sure you’re shaking or frothing for long enough—at least 30 seconds of vigorous shaking should do the trick.
Can I make this without a frother or jar?
Absolutely. You can use a French press, an immersion blender, or even a whisk if you’re patient enough. The key is to incorporate as much air as possible into the milk. If you’re using a whisk, expect to whisk for about 2 to 3 minutes to get a good foam. It’s a workout, but it works.
How much does this recipe cost compared to a coffee shop version?
This homemade version costs about 15 to 20 cents per serving, depending on the type of milk you use. A coffee shop pumpkin cold foam latte can cost anywhere from $4 to $6. So you’re saving about 95% by making it at home. Over the course of a month, that adds up to serious savings.
Can I use this foam on hot coffee?
Yes, but it won’t stay foamy as long as it does on cold coffee. The heat from the hot coffee will cause the foam to start melting almost immediately. If you want to try it on hot coffee, let your coffee cool for a minute or two first, and pour the foam on gently. It’s still delicious, just less dramatic.
Pin This Recipe!
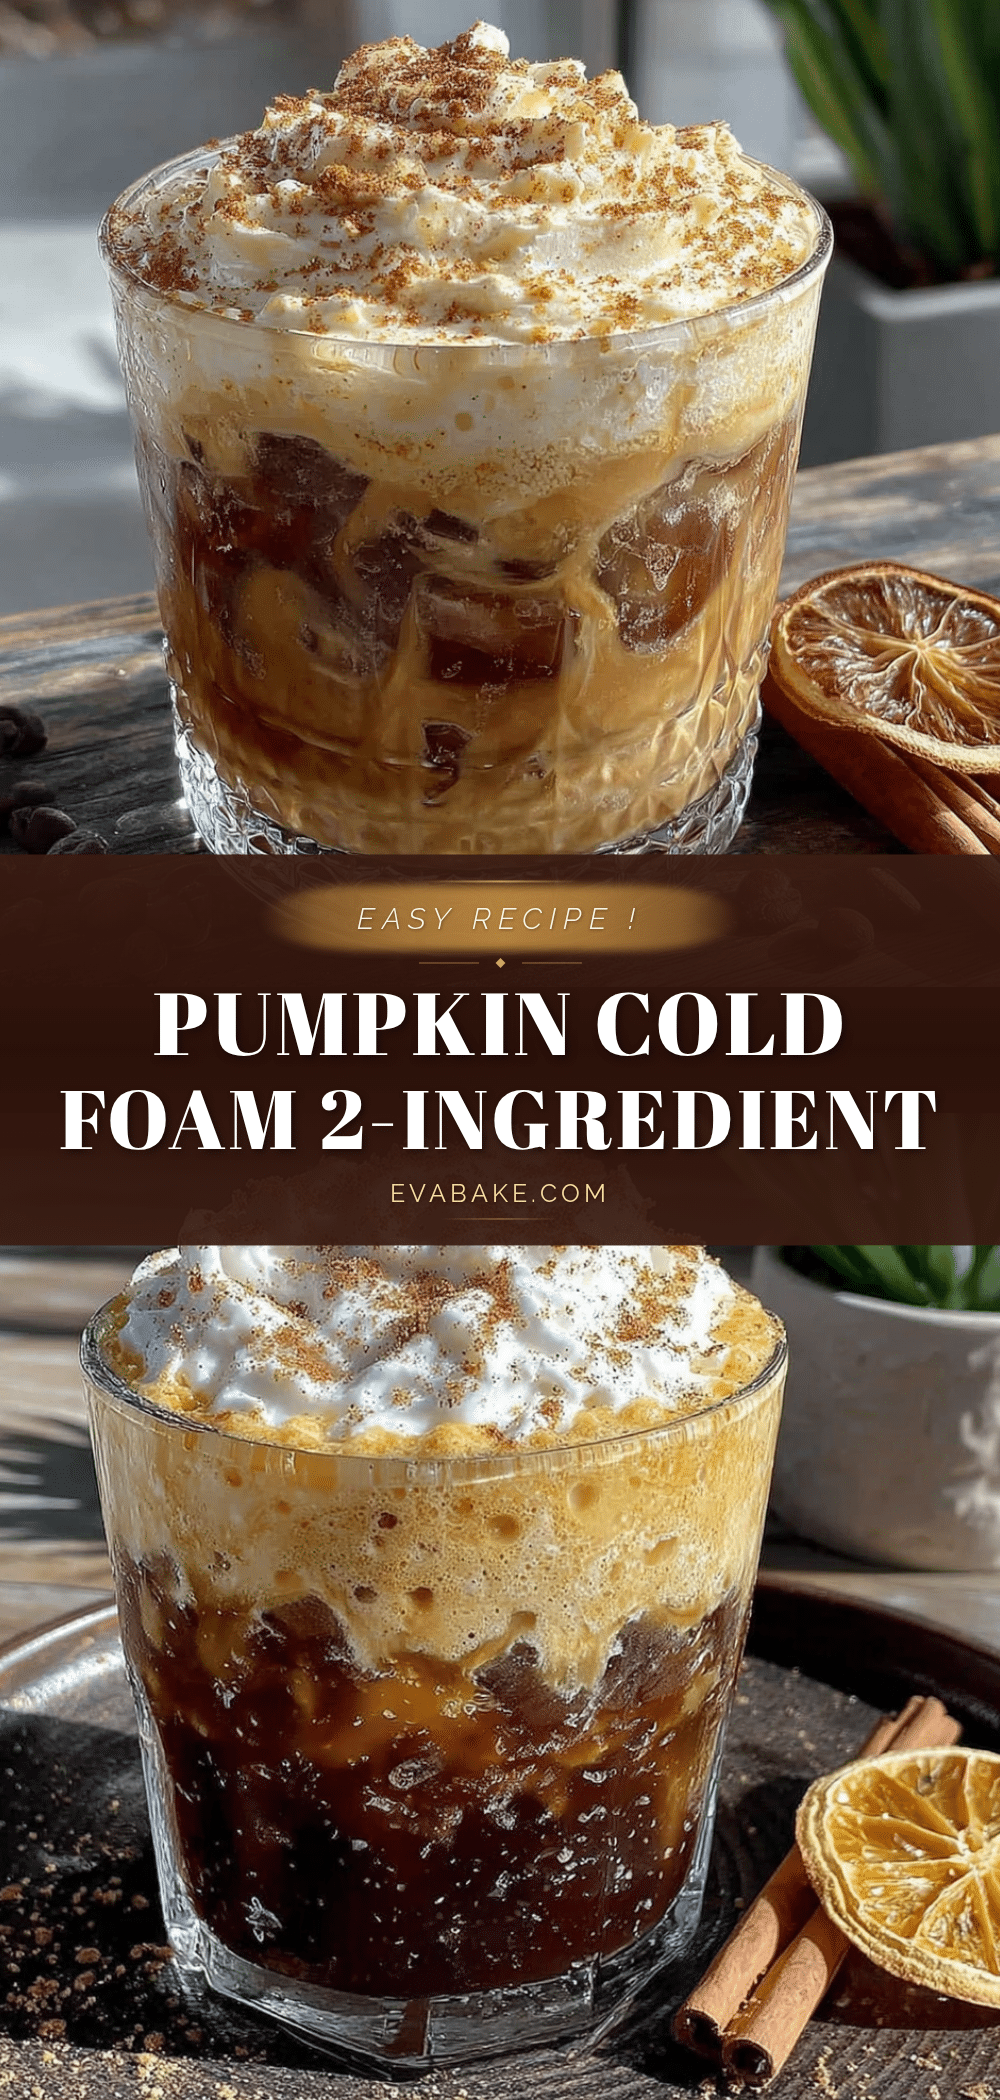
Easy 2-Ingredient Pumpkin Cold Foam: The Best Homemade Fall Coffee Topper
This easy 2-ingredient pumpkin cold foam is a quick, budget-friendly way to enjoy a fall coffee shop favorite at home. With just milk and pumpkin puree, you can create a creamy, spiced foam in 30 seconds.
- Prep Time: 5 minutes
- Cook Time: 0 minutes
- Total Time: 5 minutes
- Yield: 1 serving 1x
- Category: Beverage
- Cuisine: American
Ingredients
- ½ cup (120 ml) milk (whole milk or 2% recommended; oat milk for dairy-free)
- 2 tablespoons (30 g) pumpkin puree (100% pure, not pumpkin pie filling)
Instructions
- Measure out ½ cup (120 ml) of cold milk straight from the fridge.
- Add 2 tablespoons (30 g) of pumpkin puree to the milk.
- Stir the pumpkin and a splash of milk together to form a smooth slurry (about 10 seconds).
- Pour the remaining milk over the slurry and stir to combine.
- Shake vigorously in a jar with a tight lid for 30-45 seconds, or froth with a milk frother for 20 seconds, or use a French press (pump plunger 30 seconds).
- Check consistency: foam should be thick but pourable. Adjust if needed.
- Fill a glass with ice and add coffee (cold brew or espresso).
- Slowly pour the cold foam over the back of a spoon onto the coffee to keep it floating.
- Optional: sprinkle with pumpkin pie spice or cinnamon.
Notes
Use cold milk for best foam. Do not overdo pumpkin (2 tbsp is ideal). Strain watery pumpkin puree with a paper towel. Pour foam over back of spoon to keep it floating. Best enjoyed immediately; foam settles after 5 minutes. Can be stored in fridge for up to 24 hours but re-froth before use.
Nutrition
- Serving Size: 1 serving
- Calories: 95
- Sugar: 8
- Sodium: 60
- Fat: 5
- Saturated Fat: 3
- Carbohydrates: 9
- Fiber: 1
- Protein: 4
Keywords: pumpkin cold foam, 2-ingredient pumpkin cold foam, homemade pumpkin cold foam, fall coffee topper, easy pumpkin coffee


