“Mom, can you make the swirl sandwiches again?” My seven-year-old said this to me on a Tuesday afternoon, right after I’d peeled her off the kitchen floor where she’d been dramatically melting down over a crustless sandwich. I’d made these turkey and cheese pinwheel roll-ups once, a few weeks back, for a playdate, and apparently, they’d achieved legendary status in her little world. That was it. The recipe wasn’t born from a fancy cookbook or a celebrity chef’s Instagram—it came straight from a desperate need to get some protein into a kid who suddenly decided bread was the enemy. I rolled a tortilla, slapped on some turkey and cheese, and rolled it up tight. It was almost an accident, honestly. But watching her eat three of them without a single complaint? That felt like winning the lottery. These roll-ups are my secret weapon for lunchboxes, after-school snacks, and even lazy lunches for myself. They’re the thing I make when I need a win, and they never let me down.
There’s something about the spiral shape that makes everything more fun, isn’t there? It’s like a little food puzzle. And the best part? You can make them in under ten minutes. No cooking, no complicated steps, just a quick assembly job. I’ve tried a million lunchbox ideas over the years, from mini chicken quesadillas to bento boxes, but these pinwheels always come back into rotation. They’re the reliable friend who shows up when you need them. They’re not fancy, they’re not trying to be a gourmet meal—they’re just good, honest food that kids and adults actually want to eat. And honestly, that’s the whole point.
Why You’ll Love This Recipe
Let me tell you why these little spirals have become a staple in my house, and why they’ll probably become one in yours too. I’ve tested this recipe about a dozen times—with different tortillas, different cheeses, different fillings. I’ve even messed one up by over-stuffing it, which, spoiler alert, makes a giant mess. So trust me when I say this version is the one that works every single time.
- Quick & Easy : These come together in under 10 minutes. Seriously. You can make a batch while your coffee is brewing or while you’re waiting for the school bus. No cooking, no baking, just rolling and slicing.
- Simple Ingredients : You probably have everything in your fridge right now. Tortillas, deli turkey, cheese, and a little spread. That’s it. No fancy grocery trips needed.
- Perfect for Lunchboxes : They hold up beautifully in a lunchbox. No sogginess, no falling apart. They’re the lunchbox hero you didn’t know you needed.
- Crowd-Pleaser : I’ve served these at playdates, birthday parties, and even a casual adult gathering. They disappear. Every. Single. Time. Kids love the spiral shape, and adults love the simple, satisfying flavor.
- Unbelievably Delicious : There’s something about the combination of creamy spread, savory turkey, and melty cheese wrapped in a soft tortilla that just works. It’s comfort food in a bite-sized package.
What makes this recipe different from all the other pinwheel recipes out there? It’s the little things. I use a specific technique for rolling that keeps everything tight and prevents the dreaded blowout. I also have a trick for slicing that gives you clean, perfect spirals every time. This isn’t just another version—it’s the version I’ve perfected through trial and error so you don’t have to make the same mistakes I did.
This recipe is the kind that makes you close your eyes after the first bite. It’s simple, yes, but it’s also deeply satisfying. It’s the lunchbox win that makes you feel like a superhero parent, even on the days when you’re running on three hours of sleep and cold coffee. It’s comfort food reimagined—faster, easier, but with the same soul-soothing satisfaction.
What Ingredients You Will Need
This recipe uses simple, everyday ingredients to deliver big flavor without any fuss. Most of these are pantry staples in my house, and I bet they are in yours too. Let’s break down what you’ll need and why each one matters.
- Large flour tortillas (10-inch) : These are your base. I prefer the burrito-sized ones because they give you more surface area for filling and make for nice, chunky pinwheels. Look for ones that are soft and pliable—stiff tortillas will crack when you roll them. I usually go for Mission or Guerrero brands, but any soft flour tortilla works. You can also use spinach or tomato-flavored tortillas for a fun color twist.
- Deli turkey slices (about 8-10 slices per roll) : Go for good quality deli turkey here. I like oven-roasted or honey-roasted turkey for a little extra flavor. Avoid the super thin shaved turkey—it’s too delicate and will tear when you roll. Look for slices that are sturdy but not too thick. My personal favorite is Boar’s Head, but any deli counter turkey will do. You can also use smoked turkey for a different flavor profile.
- Cream cheese (4 oz, softened) : This is the glue that holds everything together. It acts as a spreadable barrier that prevents the tortilla from getting soggy and helps the pinwheels stay rolled. Make sure it’s softened to room temperature so it spreads easily. I use full-fat cream cheese for the best texture, but Neufchâtel (reduced-fat) works well too. If you’re dairy-free, there are some decent plant-based cream cheeses out there—just make sure it’s a spreadable kind.
- Shredded cheddar cheese (1/2 cup) : This adds a nice sharpness and helps the pinwheels hold together. I use sharp cheddar for the most flavor, but mild cheddar works too. You can also use Colby Jack, Monterey Jack, or even a mix. For a little heat, try pepper jack. Shred your own cheese if you can—pre-shredded cheese has anti-caking agents that can make it less melty and creamy.
- Optional add-ins : This is where you can get creative. A few leaves of fresh spinach add color and nutrients. Thinly sliced bell peppers or cucumber add crunch. A smear of hummus instead of cream cheese is a great alternative. I’ve even added a thin layer of pesto for an Italian twist. The possibilities are endless.
When I’m making these for my kids’ lunchboxes, I keep it simple—just turkey, cream cheese, and cheddar. But when I’m making them for a party or a grown-up snack, I’ll add some fresh herbs or a little Dijon mustard to the cream cheese. It’s a small change that makes a big difference.
Equipment Needed
You don’t need much for this recipe, which is part of the beauty. Here’s what you’ll need:
- Cutting board : A large, flat surface for assembling and rolling. I prefer a wooden or plastic cutting board, but any clean surface works.
- Sharp knife : This is crucial. A dull knife will squish your pinwheels and make a mess. Use a sharp chef’s knife or a serrated bread knife for clean cuts. I learned this the hard way after ruining a batch with a dull butter knife—the pinwheels looked more like sad, squished blobs than beautiful spirals.
- Butter knife or offset spatula : For spreading the cream cheese evenly. An offset spatula gives you more control, but a regular butter knife works fine.
- Plastic wrap : Wrapping the rolled tortillas tightly before chilling helps them hold their shape. You can skip this if you’re serving them immediately, but for clean slices, it’s a must.
- Toothpicks (optional) : If you’re making these ahead of time or transporting them, toothpicks help keep them from unrolling. Just stick one through the center of each pinwheel.
If you don’t have a sharp knife, run your knife under hot water before slicing—it helps cut through the tortilla without squishing it. Also, a rainbow bento box is the perfect vessel for serving these, but any container with a tight lid works.
Preparation Method
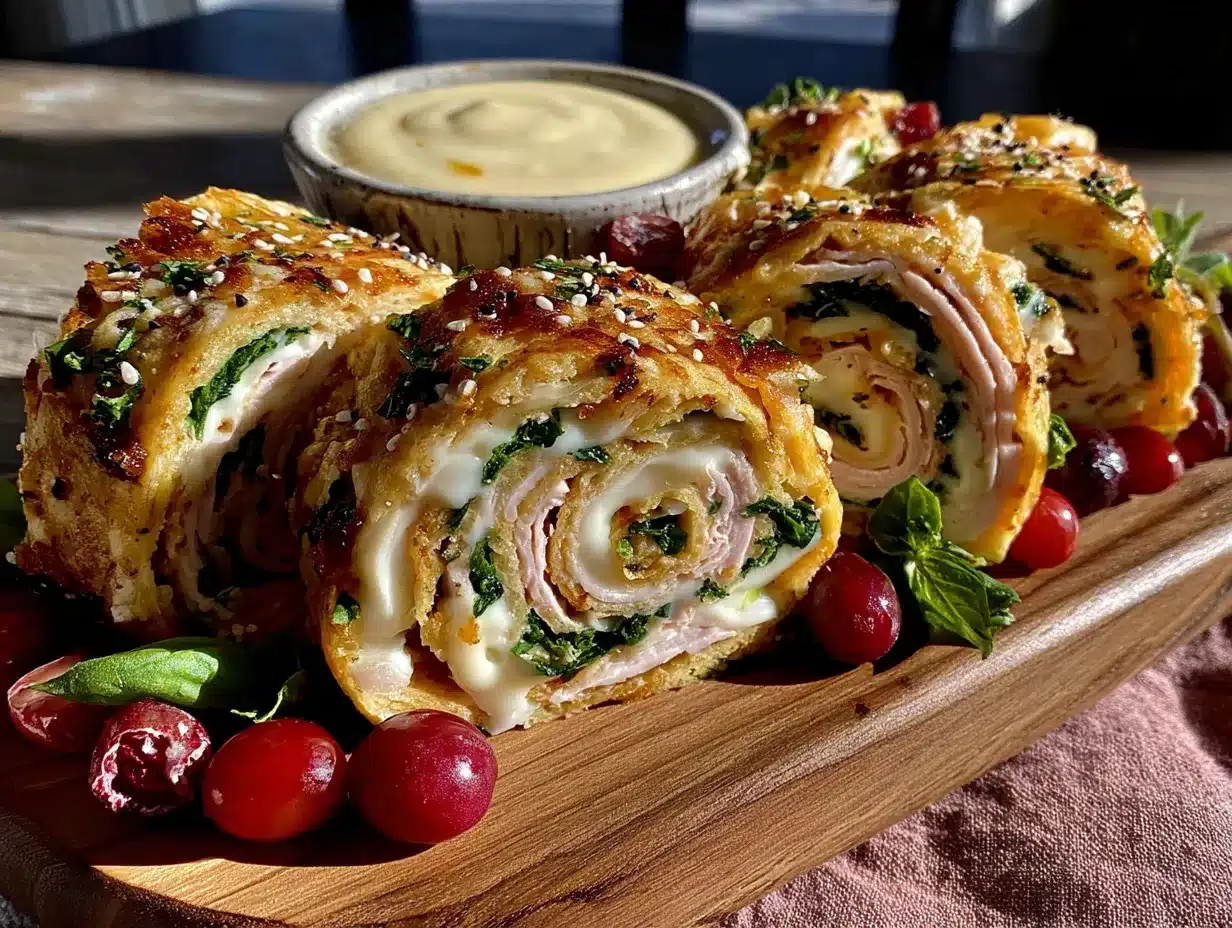
Alright, let’s get rolling! This is where the magic happens. Follow these steps, and you’ll have perfect pinwheels every time.
- Soften the cream cheese : Take your cream cheese out of the fridge about 30 minutes before you start. It should be soft enough that you can easily spread it with a knife. If you’re in a hurry, you can microwave it for 10-15 seconds, but be careful not to melt it.
- Lay out your tortilla : Place one tortilla flat on your cutting board. Make sure it’s at room temperature—cold tortillas are more likely to crack. If your tortillas are cold, warm them in the microwave for 10 seconds to make them pliable.
- Spread the cream cheese : Using a butter knife or offset spatula, spread a thin, even layer of cream cheese over the entire surface of the tortilla. Leave about a half-inch border around the edges—this helps the roll seal. Don’t go too thick on the cream cheese, or it will ooze out when you roll. You want just enough to act as glue.
- Layer the turkey : Place your turkey slices evenly over the cream cheese. Overlap them slightly so there are no gaps. I usually use about 8-10 slices per tortilla, depending on the size. Don’t pile them too high—two layers max. Too much filling makes it hard to roll and leads to messy pinwheels.
- Add the cheese : Sprinkle your shredded cheddar evenly over the turkey. Again, don’t go overboard. A thin, even layer is better than a thick clump. You want every bite to have a little cheese, not just the middle bites.
- Add any extras : If you’re adding spinach, bell peppers, or other veggies, lay them in a single layer over the cheese. Don’t pile them up—they’ll make the roll lumpy and hard to slice.
- Roll it up tight : Starting from one edge, roll the tortilla tightly, using your fingers to keep the filling in place. Roll like you’re rolling a sleeping bag—firm but not so tight that you squeeze the filling out. Tuck the edge under as you go to keep it tight. When you reach the end, press down gently to seal the edge.
- Wrap in plastic wrap : Tightly wrap the rolled tortilla in plastic wrap. This helps it hold its shape and makes slicing much easier. Twist the ends of the plastic wrap to tighten it. Pop it in the fridge for at least 15-20 minutes. This step is non-negotiable if you want clean slices. I’ve skipped it before, and I ended up with squished, messy pinwheels that looked like they’d been through a war.
- Slice with confidence : After chilling, unwrap the roll and place it on your cutting board. Using a sharp knife, slice the roll into 1-inch thick pieces. Use a gentle sawing motion—don’t press straight down, or you’ll squish them. Clean your knife between cuts for the cleanest slices.
- Arrange and serve : Place your pinwheels on a plate or in a lunchbox. If you’re packing them for later, arrange them in a single layer to prevent squishing. They’re ready to eat immediately or can be stored in the fridge for up to 3 days.
Here’s a pro tip I learned after a few messy attempts: if your pinwheels are falling apart, they probably weren’t chilled long enough. Give them another 10 minutes in the fridge, and they’ll hold together much better. Also, if you’re making a big batch, wrap each roll individually in plastic wrap before chilling—it makes them easier to handle.
Cooking Tips & Techniques
I’ve made these pinwheels more times than I can count, and I’ve definitely learned a few things along the way. Here are my best tips for perfect results every time.
The biggest mistake I see people make is over-stuffing. I get it—you want to pack in as much flavor as possible. But too much filling makes the tortilla impossible to roll, and everything squishes out the sides. Think of it like a burrito: you want a thin, even layer of filling, not a mountain. Less really is more here.
Temperature matters more than you think. Cold tortillas crack. Cold cream cheese doesn’t spread. Cold turkey tears. Make sure everything is at room temperature before you start. I take my cream cheese out of the fridge first, then my turkey, then my tortillas. By the time I’m ready to assemble, everything is perfect.
Chilling is not optional. I know, I know—you’re hungry and you want to eat them now. But trust me on this. The 15-20 minutes in the fridge makes the cream cheese firm up, which helps the roll hold its shape when you slice it. If you skip this step, you’ll end up with squished, messy pinwheels that don’t look nearly as appealing.
Use the right knife. A dull knife is your enemy here. It will squish the pinwheels and make the filling ooze out. Use a sharp chef’s knife or a serrated bread knife. If you’re using a serrated knife, use a gentle sawing motion. If you’re using a chef’s knife, make one clean cut—don’t saw back and forth.
Multitasking is your friend. While your rolled tortillas are chilling in the fridge, you can prep other lunchbox items or clean up your workspace. I like to make a batch of no-bake peanut butter energy balls at the same time—they also need a quick chill, so it’s a perfect pairing.
Here’s a tip I learned from a professional chef friend: if you want extra-clean slices, dip your knife in hot water and wipe it dry between each cut. The heat helps the knife glide through the tortilla without dragging the filling. It’s a small step that makes a big difference when you’re making pinwheels for a party.
Variations & Adaptations
One of the best things about this recipe is how adaptable it is. You can change up the flavors, make it work for different diets, or just use what you have on hand. Here are some of my favorite variations.
For a healthier twist : Use whole wheat or spinach tortillas, low-fat cream cheese, and low-sodium turkey. Add a handful of fresh spinach leaves for extra nutrients. You can also swap the cheddar for a reduced-fat version. I’ve made this version for my own lunch, and it’s just as satisfying as the original.
For a gluten-free option : Use gluten-free tortillas. They can be a bit more delicate, so handle them gently. I’ve had good luck with the almond flour tortillas from Siete Foods. Just be extra careful when rolling, and don’t over-stuff them.
For a vegetarian version : Skip the turkey and use roasted red peppers, cucumbers, shredded carrots, and a smear of hummus or pesto. The combination of crunchy veggies and creamy spread is absolutely delicious. I make this version for myself all the time when I want a light lunch.
For a flavor twist : Try different combinations. Use roast beef with horseradish cream cheese. Use ham and Swiss with Dijon mustard. Use salami and provolone with a little Italian dressing. The possibilities are endless. My personal favorite is turkey, brie, and a thin layer of cranberry sauce—it tastes like Thanksgiving in a bite.
For a kid-friendly version : Stick with the classic turkey and cheddar, but let them help with the assembly. Kids love spreading the cream cheese and sprinkling the cheese. It’s a great way to get them involved in making their own lunch. I’ve also used cookie cutters to cut the pinwheels into fun shapes—stars, hearts, dinosaurs. It’s a silly little thing, but my kids go crazy for it.
Serving & Storage Suggestions
These pinwheels are incredibly versatile when it comes to serving and storing. Here’s everything you need to know.
Serving temperature : These are best served cold or at room temperature. If you’ve chilled them, let them sit out for about 5-10 minutes before serving to take the chill off. They’re perfect straight from the fridge too, especially on a hot day.
Presentation ideas : Arrange the pinwheels on a platter with the cut sides facing up so everyone can see the beautiful spirals. For a lunchbox, pack them in a single layer with a small container of dip—ranch, honey mustard, or even a little hummus. They also look great on a charcuterie board alongside some summer grazing board elements like grapes and crackers.
What to serve with them : These pinwheels pair beautifully with fresh fruit, veggie sticks, a small salad, or a cup of soup. They’re also great as part of a bento box lunch with some cherry tomatoes, cheese cubes, and a handful of berries. For a party, serve them alongside other finger foods like crispy pickle chips or mini meatballs.
Storage instructions : Store leftover pinwheels in an airtight container in the refrigerator for up to 3 days. Place a paper towel at the bottom of the container to absorb any excess moisture. If you’re packing them for lunch, put them in a container with a tight-fitting lid to prevent them from drying out.
Freezer instructions : You can freeze these pinwheels! Roll them up, wrap tightly in plastic wrap, then place in a freezer bag. Freeze for up to 2 months. To thaw, transfer to the refrigerator overnight. Don’t slice them until they’re thawed—it’s easier to get clean cuts when they’re cold but not frozen solid.
How flavors develop : These pinwheels actually taste better after they’ve been sitting for a few hours. The flavors meld together, and the cream cheese sets up nicely. I often make them the night before I need them, and they’re always perfect the next day.
Nutritional Information & Benefits
Here’s a rough estimate of the nutritional content for one pinwheel (based on using standard ingredients and making about 6 pinwheels per tortilla roll):
- Calories : Approximately 120-150 calories per pinwheel
- Protein : 8-10 grams (thanks to the turkey and cheese)
- Carbohydrates : 10-12 grams (mostly from the tortilla)
- Fat : 6-8 grams (from the cream cheese and cheddar)
- Fiber : 1-2 grams
- Sodium : 300-400 mg (varies based on your turkey and cheese choices)
Health benefits of key ingredients : Turkey is a lean protein source that helps keep you full and satisfied. It’s also a good source of B vitamins and selenium. Cream cheese provides calcium and a little bit of protein. Cheddar cheese adds more calcium and protein, plus a good dose of vitamin A. If you add spinach, you’ll get iron, vitamin K, and antioxidants.
Dietary considerations : This recipe is naturally nut-free, making it a great option for school lunchboxes. It’s also low-carb if you use low-carb tortillas. For a gluten-free version, use gluten-free tortillas. For a dairy-free version, use dairy-free cream cheese and cheese alternatives, or skip the cheese entirely and use hummus as your spread.
Potential allergens : This recipe contains dairy (cream cheese, cheddar) and gluten (tortillas). If you’re serving these at a party or packing them for a school lunch, be sure to check for any allergies among your guests or classmates.
I love that these pinwheels are a balanced snack—they have protein, carbs, and fat, which means they’ll keep you full and energized. They’re not a health food, but they’re a smart choice for a satisfying, real-food snack that doesn’t require any cooking.
Conclusion
So there you have it—my tried-and-true recipe for easy turkey and cheese pinwheel lunchbox roll-ups. These little spirals have saved me on countless busy mornings, quiet afternoons, and even a few last-minute party prep sessions. They’re simple, they’re reliable, and they’re genuinely delicious. What more could you ask for from a recipe?
I hope you give these a try and make them your own. Add your favorite fillings, experiment with different cheeses, or get the kids involved in the rolling process. The beauty of this recipe is that it’s a starting point, not a rulebook. You can’t really mess it up—and even if you do, it’ll still taste great.
I’d love to hear how these turn out for you! Drop a comment below and let me know your favorite filling combinations. Do you add veggies? Do you use a different spread? Have you tried making them with a different type of meat? Share your tips and tricks—I’m always looking for new ideas to try. And if you’re looking for more lunchbox inspiration, check out my honey mustard chicken wrap recipe—it’s another lunchbox favorite in our house.
Happy rolling, friends! Here’s to lunches that actually get eaten and snacks that make everyone smile.
Frequently Asked Questions
Can I make these pinwheels ahead of time?
Absolutely! In fact, they taste better when made ahead. Roll them up, wrap tightly in plastic wrap, and refrigerate for up to 24 hours before slicing and serving. You can also freeze the whole rolls (unsliced) for up to 2 months.
How do I keep my pinwheels from getting soggy?
The cream cheese layer acts as a barrier that prevents the tortilla from getting soggy. Make sure you spread it evenly and all the way to the edges. Also, avoid using wet ingredients like sliced tomatoes or wet lettuce—pat any veggies dry before adding them.
Can I use a different type of tortilla?
Yes! You can use whole wheat, spinach, tomato, or gluten-free tortillas. Just make sure they’re soft and pliable. Corn tortillas are too small and fragile for this recipe, so stick with flour-based tortillas.
How many pinwheels does this recipe make?
One large (10-inch) tortilla will make about 6-8 pinwheels, depending on how thick you slice them. I usually plan on 3-4 pinwheels per person for a snack or light lunch, and 5-6 for a heartier meal.
Can I make these without cream cheese?
Yes! You can use hummus, pesto, flavored cream cheese, or even a thin layer of mayonnaise or mustard. The spread helps hold everything together, so don’t skip it entirely. I’ve used everything from baba ganoush to sun-dried tomato pesto, and they all work great.
Pin This Recipe!
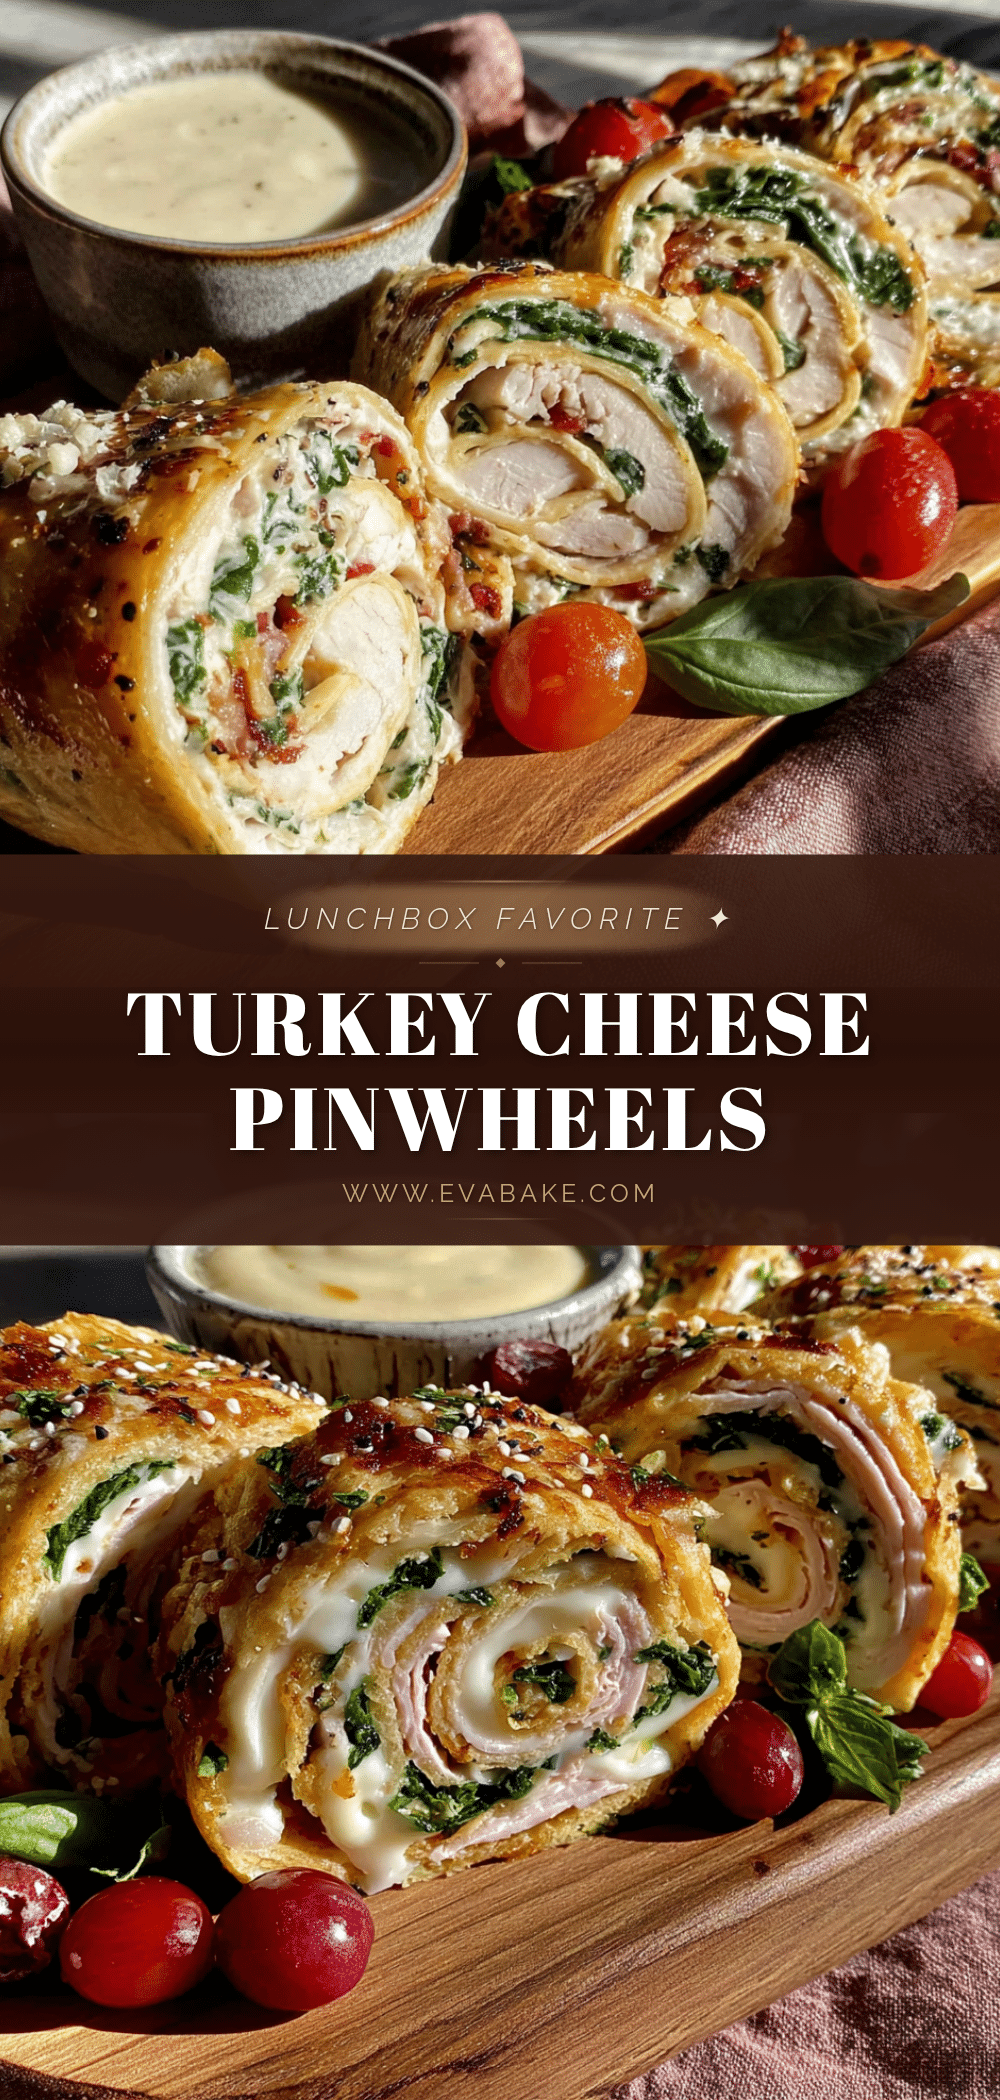
Easy Turkey & Cheese Pinwheel Lunchbox Roll-Ups

These turkey and cheese pinwheel roll-ups are a quick, no-cook lunchbox solution that kids and adults love. Made with simple ingredients like tortillas, deli turkey, cream cheese, and cheddar, they come together in under 10 minutes and are perfect for school lunches, snacks, or parties.
- Prep Time: 10 minutes
- Cook Time: 0 minutes
- Total Time: 30 minutes (includes chilling time)
- Yield: 24-32 pinwheels (4 servings of 6-8 pinwheels each) 1x
- Category: Snack
- Cuisine: American
Ingredients
- 4 large flour tortillas (10-inch)
- 32–40 slices deli turkey (about 8–10 slices per roll)
- 4 oz cream cheese, softened
- 1/2 cup shredded cheddar cheese
- Optional: fresh spinach leaves, thinly sliced bell peppers, cucumber, hummus, or pesto
Instructions
- Soften the cream cheese: Take cream cheese out of fridge 30 minutes before starting, or microwave for 10-15 seconds until spreadable.
- Lay out a tortilla flat on a cutting board. If cold, warm in microwave for 10 seconds.
- Spread a thin, even layer of cream cheese over the entire tortilla, leaving a half-inch border around the edges.
- Layer turkey slices evenly over the cream cheese, overlapping slightly. Use about 8-10 slices per tortilla, no more than two layers.
- Sprinkle shredded cheddar evenly over the turkey.
- Add any optional extras (spinach, bell peppers, etc.) in a single layer.
- Starting from one edge, roll the tortilla tightly, tucking the edge under as you go. Press gently to seal.
- Wrap the rolled tortilla tightly in plastic wrap, twisting the ends to tighten. Refrigerate for at least 15-20 minutes.
- After chilling, unwrap and place on cutting board. Using a sharp knife, slice into 1-inch thick pieces using a gentle sawing motion.
- Arrange pinwheels on a plate or in a lunchbox. Serve immediately or store in the fridge for up to 3 days.
Notes
Chilling is essential for clean slices. Over-stuffing leads to messy pinwheels. Use room temperature ingredients for best results. For extra-clean slices, dip knife in hot water and wipe dry between cuts. These taste even better after a few hours as flavors meld.
Nutrition
- Serving Size: 6-8 pinwheels
- Calories: 120150
- Sugar: 12
- Sodium: 300400
- Fat: 68
- Saturated Fat: 34
- Carbohydrates: 1012
- Fiber: 12
- Protein: 810
Keywords: turkey pinwheels, cheese pinwheels, lunchbox roll-ups, easy snack, no-cook recipe, kid-friendly lunch, turkey and cheese roll-ups


