Easy One-Pot Chili Mac for Game Day: The Ultimate Crowd-Pleasing Recipe
Three times in two weeks. That’s how many times I made this chili mac before I finally stopped tweaking the cheese-to-meat ratio and admitted it was done. The first time, I was just trying to use up half a box of elbow macaroni and a pound of ground beef that had been staring at me from the fridge. The second time, I wanted to see if it held up after sitting in a slow cooker on warm for three hours (it did, beautifully). By the third batch, I was standing over the pot at 10 p.m. with a spoon, trying to figure out why this particular combination of chili powder, sharp cheddar, and tomato felt so much better than any other version I’d ever made. It was the little things—letting the meat brown long enough to get those crispy bits on the bottom, using fire-roasted tomatoes instead of plain, and adding the pasta at just the right moment so it soaked up all that spicy, savory broth without turning into mush. This one-pot chili mac is the kind of recipe you make when you want to feed a crowd without breaking a sweat. It’s messy, it’s cheesy, and it’s exactly what game day calls for.
Why You’ll Love This Recipe
I’ve tested this recipe more times than I care to count, and every single time, it delivers. It’s not just another chili mac—it’s the one I reach for when I need something that works. Here’s why:
- One Pot, Zero Fuss: Everything cooks in a single pot, which means less cleanup and more time actually watching the game.
- Bold, Layered Flavor: The secret is browning the beef until it’s deeply caramelized and using fire-roasted tomatoes for a smoky kick.
- Perfect for a Crowd: This recipe scales up easily and stays creamy and delicious on the stovetop or in a slow cooker.
- Customizable Heat Level: You control the spice—mild for kids, extra hot for the adults who like to sweat through their snacks.
- Family-Approved: My kids devour this without complaint, and my husband has been known to eat the leftovers cold from the fridge at midnight.
This isn’t just another chili mac recipe. It’s the one that makes you close your eyes after the first bite because the combination of tender pasta, rich chili, and melted cheddar is exactly what comfort food should be. It’s the kind of meal that turns a regular Sunday into something worth celebrating.
What Ingredients You Will Need
This recipe uses simple, pantry-friendly ingredients to deliver big flavor without the fuss. Most of these are probably already in your kitchen, which is the whole point.
- Olive oil – Just a tablespoon for browning the meat and aromatics.
- Ground beef – I prefer 80/20 for the best balance of flavor and moisture. Ground turkey works too, but add a splash of oil to keep it from drying out.
- Yellow onion, diced – Adds sweetness and depth. White onion is fine in a pinch.
- Garlic cloves, minced – Fresh is best, but jarred minced garlic works if you’re in a rush.
- Chili powder – This is the backbone of the dish. I use a good-quality blend from the spice aisle. (I like McCormick or a local spice shop blend.)
- Ground cumin – Adds warmth and earthiness. Don’t skip it.
- Smoked paprika – This is my secret ingredient. It gives the chili mac a subtle smokiness that regular paprika just can’t match.
- Dried oregano – A little goes a long way. It adds a hint of herbal bitterness that balances the richness.
- Salt and black pepper – To taste. Season as you go, not just at the end.
- Fire-roasted diced tomatoes (14.5 oz can) – These are non-negotiable in my kitchen. They add a deeper, slightly charred flavor that regular canned tomatoes lack. If you can’t find them, use regular diced tomatoes and add a pinch of smoked paprika.
- Tomato paste (6 oz can) – Thickens the chili and concentrates the tomato flavor. I always buy the small cans and freeze leftover paste in tablespoon portions.
- Beef broth (4 cups) – Low-sodium is best so you can control the salt level. Chicken broth works in a pinch.
- Elbow macaroni (8 oz) – The classic choice. You can use any small pasta shape like shells, rotini, or ditalini. Just adjust the cooking time slightly.
- Sharp cheddar cheese, shredded (2 cups) – Use block cheese and shred it yourself. Pre-shredded cheese has anti-caking agents that prevent smooth melting.
- Monterey Jack cheese, shredded (1 cup) – Adds extra creaminess. You can use all cheddar if that’s what you have.
- Optional toppings: Sour cream, sliced green onions, fresh cilantro, pickled jalapeños, crushed tortilla chips, hot sauce.
Ingredient Tip: For the best texture, use a block of sharp cheddar and grate it yourself. It melts more evenly and doesn’t leave that grainy residue you sometimes get from bagged cheese.
Equipment Needed
You don’t need a lot of fancy gear for this recipe, which is part of its charm. Here’s what you’ll need:
- A large Dutch oven or heavy-bottomed pot (5-6 quart) – This is your workhorse. A good Dutch oven distributes heat evenly and prevents scorching. I use my trusty enameled cast iron pot, and it’s never let me down.
- A wooden spoon or silicone spatula – For stirring and scraping up those browned bits from the bottom of the pot.
- A chef’s knife and cutting board – For dicing onions and mincing garlic.
- Measuring cups and spoons – For accuracy, especially with the broth and spices.
- A box grater – For shredding cheese. A food processor works too if you’re making a double batch.
- A colander – You’ll need this if you decide to drain the beef (though I usually don’t).
Budget-Friendly Tip: If you don’t have a Dutch oven, a large stainless steel pot or even a deep nonstick skillet will work. Just keep an eye on the heat and stir more frequently to prevent sticking.
Preparation Method
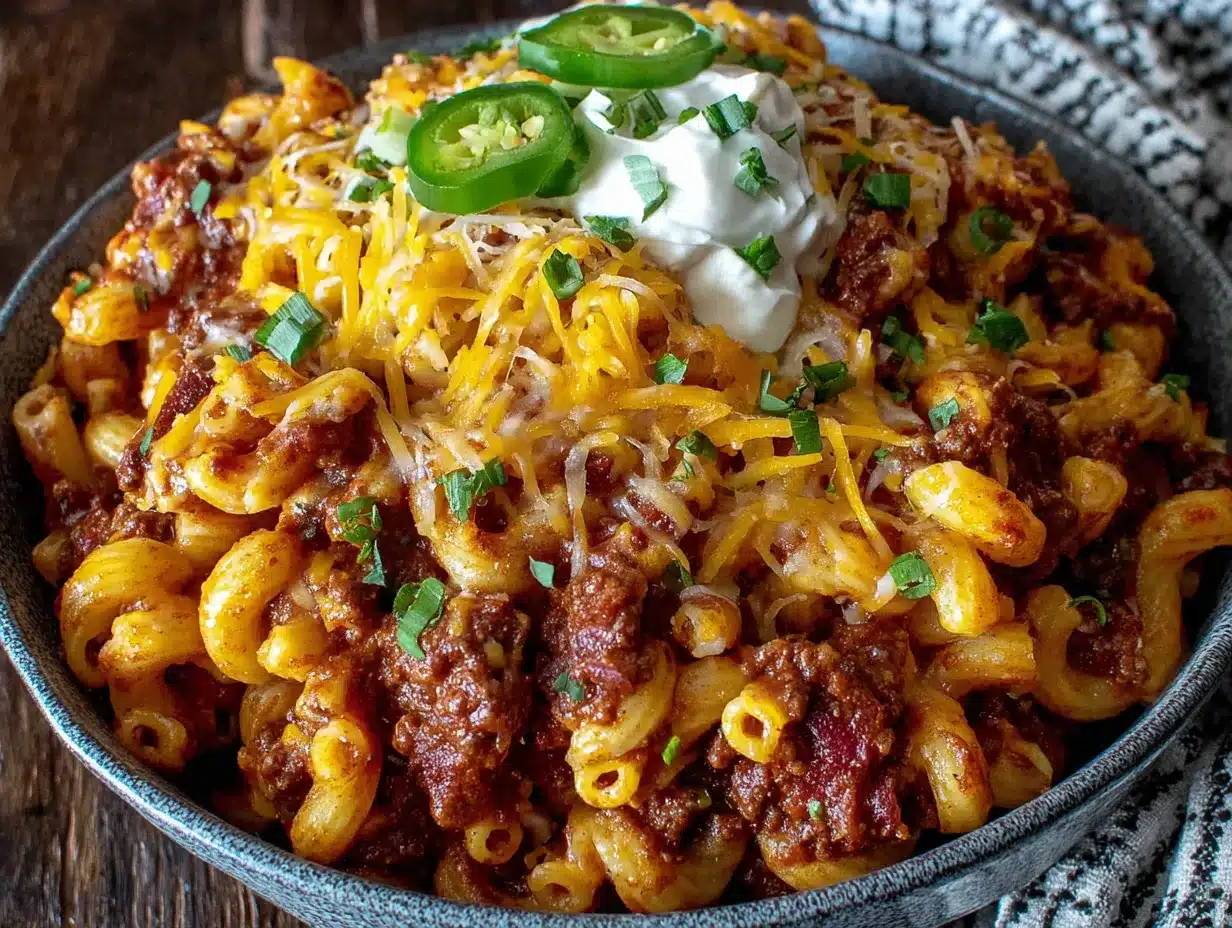
Let’s walk through this step by step. I’ll include all the little details I’ve learned from making this dish over and over again.
- Brown the beef (5-7 minutes): Heat 1 tablespoon of olive oil in your large pot over medium-high heat. Add 1 pound of ground beef and cook, breaking it up with a wooden spoon, until it’s deeply browned and crispy in spots. Don’t rush this step—the browned bits on the bottom of the pot are pure flavor. If there’s a lot of excess fat, spoon most of it out, leaving about a tablespoon behind. (I usually leave it all because fat equals flavor, but you do you.)
- Sauté the aromatics (3 minutes): Reduce the heat to medium. Add the diced onion and cook for 2-3 minutes, stirring occasionally, until it softens and turns translucent. Add the minced garlic and cook for another 30 seconds until fragrant. Be careful not to burn the garlic—it turns bitter fast.
- Bloom the spices (1 minute): Sprinkle in 3 tablespoons of chili powder, 1 tablespoon of ground cumin, 1 teaspoon of smoked paprika, and 1 teaspoon of dried oregano. Stir constantly for about 30-60 seconds. This toasts the spices and wakes up their flavors. Your kitchen will smell incredible at this point.
- Build the chili base (5 minutes): Add the can of fire-roasted diced tomatoes (with their juices) and the 6-ounce can of tomato paste. Stir everything together, scraping up any browned bits from the bottom of the pot. Let it cook for 2-3 minutes, stirring often, until the tomato paste darkens slightly and the mixture thickens. This step concentrates the tomato flavor and removes any raw taste.
- Add the broth and pasta (12-15 minutes): Pour in 4 cups of beef broth and stir to combine. Bring the mixture to a boil, then add 8 ounces of elbow macaroni. Reduce the heat to a steady simmer and cook, stirring occasionally, until the pasta is tender and has absorbed most of the liquid. This usually takes about 10-12 minutes, but start checking at 8 minutes. The sauce should be thick and clingy, not soupy. If it looks too dry, add a splash more broth or water.
- Finish with cheese (2 minutes): Remove the pot from the heat. Add 2 cups of shredded sharp cheddar and 1 cup of shredded Monterey Jack. Stir vigorously until the cheese is completely melted and the chili mac is creamy and luscious. Taste and adjust salt and pepper—you’ll likely need a good pinch of salt at this point.
- Rest and serve (5 minutes): Let the chili mac sit for 5 minutes before serving. This allows the flavors to meld and the sauce to thicken slightly. Serve hot with your favorite toppings.
Sensory Cue: When the cheese is fully melted, the chili mac should look glossy and stretchy when you lift the spoon. If it looks greasy or separated, you either used pre-shredded cheese or the heat was too high.
Cooking Tips & Techniques
I’ve made my fair share of mistakes with one-pot pasta dishes, and I’m sharing them so you don’t have to. Here are the things I wish someone had told me:
- Don’t overcook the pasta: The pasta will continue to cook even after you remove the pot from the heat, especially if you’re stirring in hot cheese. Cook it until it’s just al dente—firm to the bite—and it will finish cooking perfectly in the residual heat.
- Brown the beef properly: This is the single most important step. If you crowd the pan or stir too often, the beef will steam instead of brown, and you’ll miss out on all that deep, savory flavor. Let it sit undisturbed for a minute or two before breaking it up.
- Use a heavy-bottomed pot: Thin pots create hot spots that can scorch the bottom of your chili mac. A heavy Dutch oven or enameled cast iron pot distributes heat evenly and prevents burning.
- Adjust the liquid as you go: Different brands of broth and pasta absorb liquid differently. If the chili mac looks too thick before the pasta is done, add a splash of broth or water. If it looks too soupy, let it simmer uncovered for a few extra minutes.
- Make it ahead: This chili mac actually tastes better the next day. The flavors meld and deepen overnight. If you’re making it for game day, consider cooking it a day ahead and reheating it gently on the stovetop with a splash of broth.
Personal Failure: The first time I made this, I added all the cheese at once while the pot was still on high heat. The cheese seized up and turned into a greasy, clumpy mess. Now I always remove the pot from the heat before stirring in the cheese, and I add it in handfuls, not all at once.
Variations & Adaptations
This recipe is endlessly adaptable, which is one of the reasons I keep coming back to it. Here are a few ways to make it your own:
- Spicy Version: Add 1-2 finely diced jalapeños with the onions, or stir in 1-2 tablespoons of chipotle peppers in adobo sauce (minced) along with the tomatoes. Top with pickled jalapeños and hot sauce for extra heat.
- Vegetarian Chili Mac: Swap the ground beef for 1½ cups of cooked black beans, kidney beans, or lentils. Use vegetable broth instead of beef broth. The texture will be slightly different, but the flavor is still incredible.
- Smoky Bacon Version: Cook 4-5 slices of bacon in the pot before browning the beef. Remove the bacon, crumble it, and stir it back in at the end. The rendered bacon fat adds an extra layer of smoky richness.
- Cheese Swap: Use pepper jack for a spicy kick, or a mix of Gouda and cheddar for a smoky, nutty flavor. Avoid using only mozzarella—it’s too mild and can get stringy.
- Slow Cooker Adaptation: Brown the beef and sauté the aromatics on the stovetop, then transfer everything except the pasta and cheese to a slow cooker. Cook on low for 4-6 hours. Stir in the pasta during the last 30 minutes (cook it separately first), then add the cheese before serving.
My Personal Variation: I once made this with ground lamb instead of beef, added a teaspoon of cinnamon to the spice blend, and topped it with crumbled feta and fresh mint. It was weirdly amazing—like chili mac meets Greek moussaka. I haven’t repeated it, but I think about it more often than I’d like to admit.
Serving & Storage Suggestions
This chili mac is at its best when it’s hot, cheesy, and served straight from the pot. But it also travels well and reheats beautifully.
- Serving Temperature: Serve immediately after the 5-minute rest. The cheese should be molten and stretchy. If it cools down too much, the sauce will thicken and become pasty.
- Toppings Bar: Set up a small toppings bar with sour cream, sliced green onions, fresh cilantro, pickled jalapeños, crushed tortilla chips, and hot sauce. Let everyone customize their own bowl—it’s half the fun.
- What to Serve With It: A simple side salad with a tangy vinaigrette cuts through the richness beautifully. I also love serving it with sheet pan nachos for an epic game day spread. For a drink, a cold beer or a tall glass of iced tea is perfect.
- Storage: Leftovers keep in an airtight container in the refrigerator for up to 4 days. The pasta will absorb more liquid as it sits, so the texture will be thicker and less saucy. That’s normal—just add a splash of broth or water when reheating.
- Reheating: Reheat individual portions in the microwave for 1-2 minutes, stirring halfway through. For larger batches, reheat on the stovetop over medium-low heat, adding a splash of broth or water to loosen the sauce. Stir frequently to prevent scorching.
- Freezing: This chili mac freezes surprisingly well. Let it cool completely, then transfer it to a freezer-safe container. Freeze for up to 3 months. Thaw overnight in the refrigerator and reheat on the stovetop. The texture won’t be quite as creamy as fresh, but it’s still delicious.
Flavor Development Note: The flavors deepen and meld beautifully overnight. If you can, make this a day ahead and reheat it gently. It’s one of those rare dishes that’s even better on day two.
Nutritional Information & Benefits
This chili mac is comfort food through and through, but it also packs some surprising nutritional benefits. Here’s a rough estimate per serving (based on 6 servings, without toppings):
- Calories: ~520
- Protein: 32g
- Fat: 24g
- Carbohydrates: 42g
- Fiber: 5g
- Iron: 25% of the Daily Value
Health Highlights: The ground beef provides high-quality protein and iron, which is essential for energy and oxygen transport. The tomatoes are rich in lycopene, a powerful antioxidant that’s been linked to heart health. The beans (if you add them) add fiber and plant-based protein. And the cheese? Well, it’s a good source of calcium, and life is too short to skip the cheese.
Dietary Considerations: This recipe is naturally gluten-free if you use gluten-free pasta (like chickpea or brown rice pasta). It’s also nut-free and egg-free. For a lower-carb version, swap the pasta for cauliflower florets or zucchini noodles—just add them in the last 5 minutes of cooking so they don’t turn to mush.
Personal Wellness Perspective: I’m not a nutritionist, but I believe in balance. This chili mac is a hearty, satisfying meal that fills you up without weighing you down. It’s the kind of food that makes you feel good—not just because it tastes amazing, but because it’s made with real, recognizable ingredients.
Conclusion
This easy one-pot chili mac is the recipe I turn to when I need something that works. It’s forgiving, it’s flexible, and it never fails to make people happy. Whether you’re feeding a crowd on game day or just looking for a cozy weeknight dinner, this dish delivers every single time.
I love this recipe because it reminds me that the best food doesn’t have to be complicated. It’s just good ingredients, cooked with care, and shared with people you love. So go ahead—make a mess, pile on the toppings, and enjoy every last bite. And if you come up with your own twist on this chili mac, I’d love to hear about it. Drop a comment below and tell me how it went. Happy cooking!
Frequently Asked Questions
Can I use ground turkey or chicken instead of beef?
Absolutely. Ground turkey or chicken works perfectly. Just add a tablespoon of olive oil to keep it from drying out, and make sure to brown it well for maximum flavor.
Can I make this in a slow cooker?
Yes! Brown the beef and sauté the aromatics on the stovetop first, then transfer everything except the pasta and cheese to a slow cooker. Cook on low for 4-6 hours. Cook the pasta separately and stir it in during the last 30 minutes, then add the cheese before serving.
How do I prevent the pasta from getting mushy?
Cook the pasta until it’s just al dente—firm to the bite. It will continue to cook in the residual heat, especially after you stir in the hot cheese. If you’re making it ahead, undercook the pasta by a minute or two.
Can I freeze leftovers?
Yes, this chili mac freezes well. Let it cool completely, then transfer to a freezer-safe container. Freeze for up to 3 months. Thaw overnight in the refrigerator and reheat gently on the stovetop with a splash of broth.
What’s the best cheese for this recipe?
Sharp cheddar is the classic choice for its bold flavor and excellent melting properties. I like to mix it with Monterey Jack for extra creaminess. Avoid pre-shredded cheese—it contains anti-caking agents that prevent smooth melting.
Pin This Recipe!
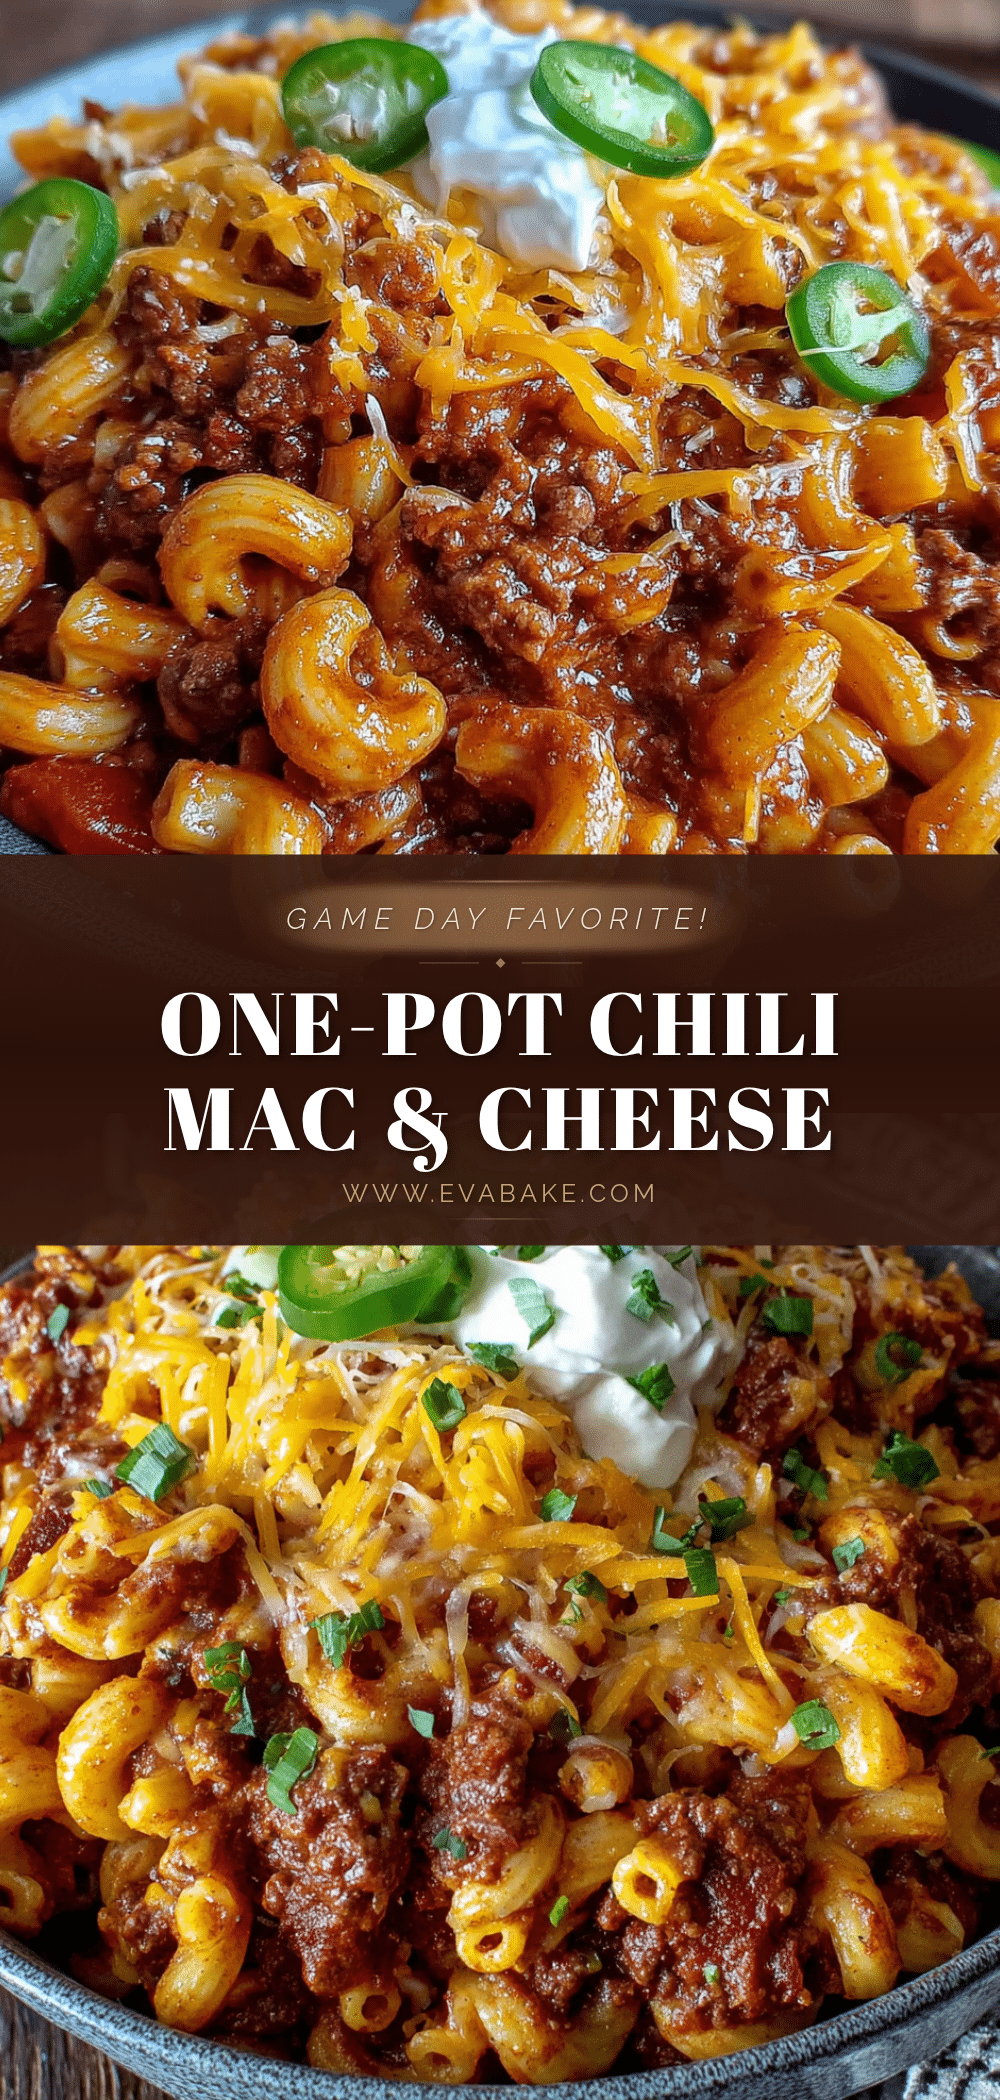
Easy One-Pot Chili Mac: Best Game Day Recipe

This easy one-pot chili mac is the ultimate crowd-pleasing recipe for game day. It’s a cheesy, comforting one-pot meal with bold, layered flavor that comes together in under an hour.
- Prep Time: 15 minutes
- Cook Time: 30 minutes
- Total Time: 45 minutes
- Yield: 6 servings 1x
- Category: Main Course
- Cuisine: American
Ingredients
- 1 tablespoon olive oil
- 1 pound ground beef (80/20 recommended)
- 1 yellow onion, diced
- 3 garlic cloves, minced
- 3 tablespoons chili powder
- 1 tablespoon ground cumin
- 1 teaspoon smoked paprika
- 1 teaspoon dried oregano
- Salt and black pepper to taste
- 1 (14.5 oz) can fire-roasted diced tomatoes
- 1 (6 oz) can tomato paste
- 4 cups low-sodium beef broth
- 8 oz elbow macaroni
- 2 cups sharp cheddar cheese, shredded
- 1 cup Monterey Jack cheese, shredded
- Optional toppings: sour cream, sliced green onions, fresh cilantro, pickled jalapeños, crushed tortilla chips, hot sauce
Instructions
- Heat 1 tablespoon of olive oil in a large Dutch oven or heavy-bottomed pot over medium-high heat. Add 1 pound of ground beef and cook, breaking it up with a wooden spoon, until deeply browned and crispy in spots, about 5-7 minutes. Spoon out excess fat if desired, leaving about 1 tablespoon.
- Reduce heat to medium. Add the diced onion and cook for 2-3 minutes until softened and translucent. Add the minced garlic and cook for 30 seconds until fragrant.
- Sprinkle in 3 tablespoons chili powder, 1 tablespoon ground cumin, 1 teaspoon smoked paprika, and 1 teaspoon dried oregano. Stir constantly for 30-60 seconds to toast the spices.
- Add the can of fire-roasted diced tomatoes (with juices) and the 6-ounce can of tomato paste. Stir, scraping up any browned bits from the bottom. Cook for 2-3 minutes until the tomato paste darkens and the mixture thickens.
- Pour in 4 cups of beef broth and stir to combine. Bring to a boil, then add 8 ounces of elbow macaroni. Reduce heat to a steady simmer and cook, stirring occasionally, until pasta is tender and has absorbed most of the liquid, about 10-12 minutes. Start checking at 8 minutes.
- Remove the pot from the heat. Add 2 cups shredded sharp cheddar and 1 cup shredded Monterey Jack. Stir vigorously until cheese is completely melted and the chili mac is creamy. Season with salt and pepper to taste.
- Let the chili mac rest for 5 minutes before serving. Serve hot with desired toppings.
Notes
For best results, use block cheese and shred it yourself—pre-shredded cheese has anti-caking agents that prevent smooth melting. Brown the beef properly for maximum flavor. The chili mac tastes even better the next day as flavors meld. To prevent cheese from seizing, remove pot from heat before adding cheese. For slow cooker adaptation: brown beef and sauté aromatics on stovetop, then transfer everything except pasta and cheese to slow cooker. Cook on low for 4-6 hours. Cook pasta separately and stir in during last 30 minutes, then add cheese before serving.
Nutrition
- Serving Size: 1 serving (about 1.5
- Calories: 520
- Sugar: 8
- Sodium: 780
- Fat: 24
- Saturated Fat: 12
- Carbohydrates: 42
- Fiber: 5
- Protein: 32
Keywords: chili mac, one-pot chili mac, game day recipe, easy chili mac, one-pot pasta, ground beef recipe, comfort food


