My starter, Edgar, had been sitting in the fridge for three weeks without a single feeding. I kept walking past the jar, feeling a little guilty, telling myself I’d get to it tomorrow. And then a friend mentioned she had been making pumpkin sourdough, and I honest-to-goodness wrinkled my nose. Pumpkin in bread that isn’t a muffin or a pie just sounded… gimmicky. I thought it would turn the crumb into a dense, wet mess or, worse, taste like a candle.
But I had a half-can of pumpkin puree left over from a batch of cozy pumpkin cream cheese swirl muffins, and I figured if I was going to waste flour, it might as well be on an experiment that could prove me wrong. So I fed Edgar. I mixed the dough. I waited. And when I pulled that deep orange loaf out of the oven, I just stood there holding the hot Dutch oven, staring at the crackled, golden-brown crust. It smelled like a bakery that had been decorated for October.
The first slice changed my mind completely. The crumb was soft, almost velvety, with that signature sourdough tang playing against a subtle, earthy sweetness. It was toastable. It was dippable in soup. It was the kind of bread that makes you believe in kitchen alchemy again. That loaf taught me that sometimes the best recipes come from a place of skepticism—and a forgotten jar of starter in the back of the fridge.
Why You’ll Love This Recipe
This is not your typical complicated artisan bread that requires a degree in fermentation science. This is a lazy baker’s dream, and I mean that as the highest compliment. You don’t knead anything. You barely even have to think about it. The dough does all the work while you go about your day.
- No Kneading Required: The stretch-and-fold method replaces all that arm work. You literally fold the dough over itself four times during the bulk fermentation, and that is it.
- Simple Pantry Ingredients: Flour, water, salt, starter, and pumpkin puree. You probably have everything except maybe the pumpkin, and that is just a can away.
- Perfect for Fall Baking: The pumpkin adds a gorgeous color and a tender crumb that makes this bread ideal for everything from breakfast toast to a side for a warm bowl of soup.
- Great for Sourdough Beginners: The added moisture from the pumpkin makes the dough more forgiving and less sticky than a standard sourdough loaf. It is harder to mess up.
- Deeply Satisfying Flavor: You get that classic sourdough tang, but it is rounded out by the mellow sweetness of the pumpkin. It is complex without being weird.
Honestly, this recipe is the one that made me stop gatekeeping my starter. It is so approachable that I have made it with friends who had never touched a sourdough loaf in their lives, and they walked away feeling like professional bakers. That feeling of pulling a beautiful, homemade loaf out of the oven? It never gets old.
What Ingredients You Will Need
This recipe relies on a handful of humble ingredients that come together to create something genuinely special. The pumpkin does double duty here—it adds moisture and a subtle sweetness that plays beautifully with the tang of the sourdough.
- Bread Flour (400g): I prefer King Arthur or Bob’s Red Mill for their consistent protein content, which helps build a strong gluten network. You can use all-purpose flour, but the crumb will be slightly less chewy and more tender.
- Pumpkin Puree (150g): Make sure you grab pure pumpkin puree, not pumpkin pie filling. The pie filling has added sugar and spices that will throw off the fermentation and the flavor. Libby’s is a solid, reliable choice.
- Active Sourdough Starter (100g): Your starter should be bubbly, doubled in size, and pass the float test (a small dollop dropped in water floats). A hungry, sluggish starter will give you a dense loaf.
- Filtered Water (200g, room temperature): Chlorinated tap water can kill the good bacteria in your starter. I just let my tap water sit out for an hour or use a Brita filter.
- Fine Sea Salt (8g): Don’t skip this. Salt controls fermentation and is crucial for flavor. I use Redmond or Morton’s fine sea salt.
- Optional Mix-Ins: A handful of toasted pepitas (pumpkin seeds) or a teaspoon of pumpkin pie spice can be folded in during the final shaping. I sometimes add a few tablespoons of dried cranberries for a sweet-tart pop.
That is it. Seven ingredients, most of which you probably already have if you keep a sourdough starter. The simplicity is the whole point.
Equipment Needed
You do not need a fancy kitchen to pull this off. Here is what you will need:
- Large Mixing Bowl: A standard stainless steel or glass bowl works perfectly. Nothing fancy.
- Dutch Oven (5-6 quart): This is the secret to that gorgeous, crackly crust. The pot traps steam, which mimics a professional bread oven. If you don’t have one, you can use a heavy baking sheet with a deep metal pan inverted over the loaf, but the Dutch oven is really the way to go.
- Bench Scraper: A cheap plastic or metal scraper makes handling the sticky dough so much easier. I have a red plastic one that cost me three dollars, and I have used it for years.
- Kitchen Scale: I cannot stress this enough. Measuring flour by volume is wildly inconsistent. A scale ensures your hydration is exactly right every single time.
- Banneton or Proofing Basket: You can use a colander lined with a floured kitchen towel. I used a colander for my first six months of sourdough baking before I bought a proper banneton.
- Parchment Paper: For easy transfer into the hot Dutch oven. Nobody wants to burn their fingers.
If you are just starting out, do not feel pressured to buy everything at once. A bowl, a towel, and a pot are really all you need. The rest is just convenience.
Preparation Method
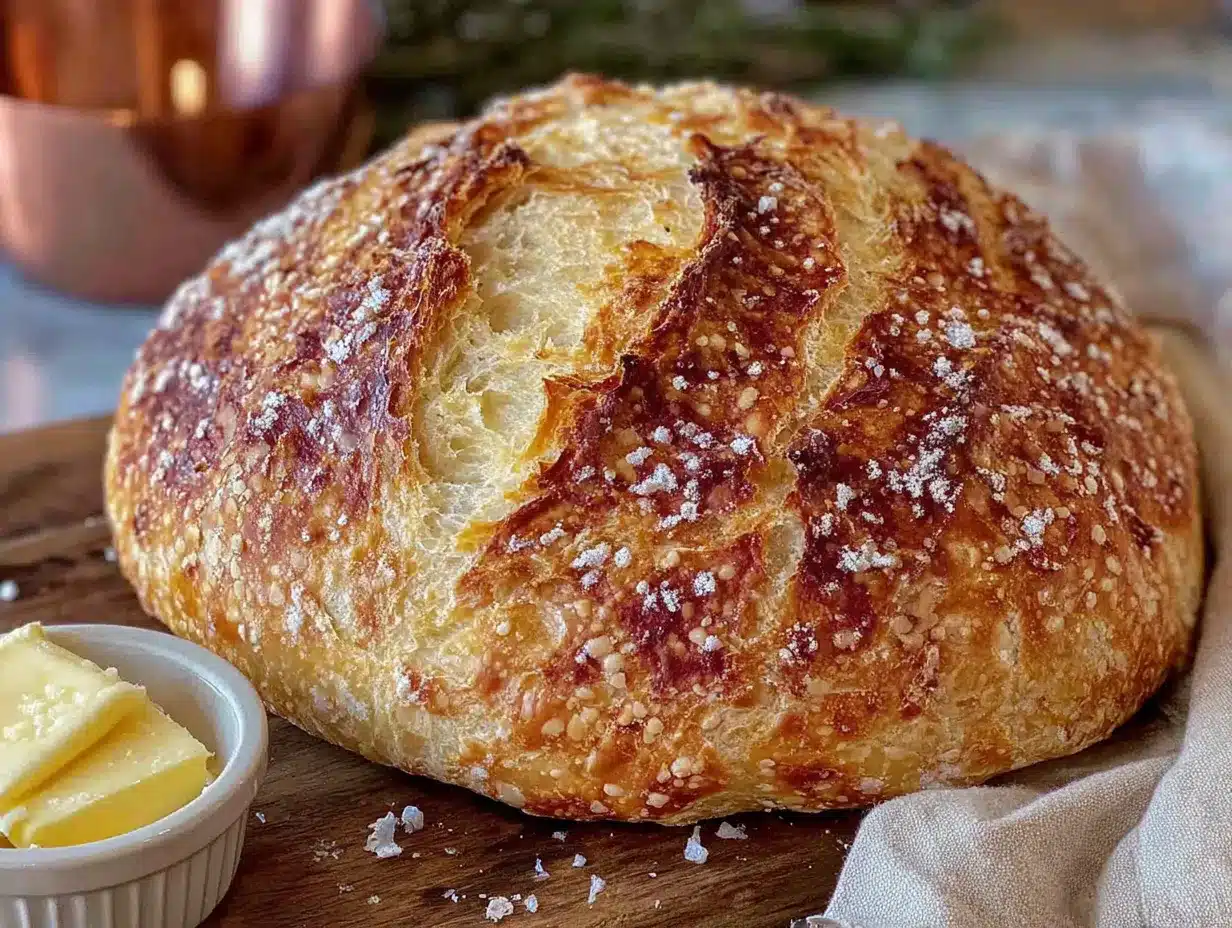
This is the part that intimidated me for so long, but I promise it is simpler than it looks. The timeline is long, but the active work is maybe fifteen minutes total. You are just waiting for the dough to do its thing.
- Feed Your Starter (8-12 hours before mixing): About 8-12 hours before you plan to mix the dough, feed your starter with equal parts flour and water. You want it to be very active and bubbly.
- Mix the Dough (10:00 AM): In a large bowl, combine 400g bread flour and 8g fine sea salt. Whisk them together. In a separate small bowl or liquid measuring cup, whisk together 150g pumpkin puree, 200g room temperature water, and 100g active sourdough starter until it is mostly smooth. Pour the wet mixture into the dry ingredients. Use a rubber spatula or your hand to mix until no dry bits of flour remain. The dough will be shaggy and a little sticky. That is normal. Cover the bowl with a damp towel or plastic wrap and let it rest for 30 minutes (this is called the autolyse).
- Stretch and Folds (10:30 AM – 12:30 PM): Over the next 2-3 hours, you will perform 4 sets of stretch and folds, spaced 30 minutes apart. To do this, wet your hand slightly (to prevent sticking). Grab one side of the dough, stretch it up as far as it will go without tearing, and fold it over the top of the dough. Rotate the bowl a quarter turn and repeat. Do this four times total (one full rotation). This is how we build strength without kneading. After the fourth set, the dough should feel smoother and more elastic.
- Bulk Fermentation (12:30 PM – 4:30 PM or 5:30 PM): Cover the bowl and let it sit at room temperature (around 70-75°F) for 4-6 hours. The dough should roughly double in size, have a domed top, and look slightly puffy. It should jiggle when you gently shake the bowl. If it is cold in your house, this will take longer. Be patient.
- Pre-Shape (4:30 PM): Lightly flour your work surface. Gently turn the dough out onto the floured surface. Try to deflate it as little as possible. Using your bench scraper, shape the dough into a loose round by tucking the edges under itself. Let it rest, uncovered, for 20-30 minutes. This bench rest relaxes the gluten and makes final shaping easier.
- Final Shape (5:00 PM): Flour your hands and the surface. Flip the dough over so the smooth side is down. Gently stretch the dough into a rectangle. Fold the top third down to the center, then the bottom third up over that (like folding a letter). Then, roll the dough from top to bottom, sealing the seam with the heel of your hand. Place the loaf seam-side up into a well-floured banneton or lined colander.
- Cold Proof (5:30 PM – Next Morning, 8:00 AM): Cover the banneton with a plastic bag or a damp towel and place it in the refrigerator. Let it cold proof for 12-18 hours. This slow fermentation develops incredible flavor and makes the dough easier to score.
- Bake (8:00 AM next day): Place your Dutch oven in the oven and preheat it to 500°F (260°C) for at least 30 minutes. When the oven is ready, carefully remove the hot Dutch oven. Flip the dough out onto a piece of parchment paper. Score the top with a sharp knife or lame (a deep slash about ½ inch deep). Carefully lower the parchment with the dough into the hot Dutch oven. Put the lid on and bake for 25 minutes. Remove the lid and bake for another 20-25 minutes, until the crust is a deep, rich amber color and the internal temperature reaches 205-210°F.
- Cool Completely (non-negotiable): Transfer the loaf to a wire rack and let it cool for at least 2 hours before slicing. I know it is torture. The bread is still cooking internally, and cutting it too early will give you a gummy, sad crumb. Trust me, I have made that mistake more times than I can count.
Cooking Tips & Techniques
I have made this recipe about a dozen times now, and I have made every mistake in the book so you do not have to.
- Watch Your Hydration: Pumpkin puree contains a lot of water. If your dough feels extremely sticky and slack, do not panic. You can add a tablespoon of flour at a time during the first stretch and fold to tighten it up. The dough should be tacky but not gluey.
- Don’t Skip the Cold Proof: I once tried to rush this and bake the same day. The loaf was flat, the crumb was dense, and the flavor was one-dimensional. The cold proof is not optional—it is where the magic happens.
- Score with Confidence: A shallow score will just heal shut in the oven. You want a clean, decisive slash about ½ inch deep. Hold the blade at a 45-degree angle for a nice “ear” (that crispy flap of crust that looks so impressive).
- Steam is Your Friend: The Dutch oven creates steam, which keeps the crust soft during the first part of baking, allowing the bread to rise fully. If you are not using a Dutch oven, you can place a baking dish with hot water on the bottom rack of the oven and spray the loaf with water right before baking.
- Listen for the Hollow Sound: When you tap the bottom of a fully baked loaf, it should sound hollow. That is your cue that the interior is cooked through.
Variations & Adaptations
This recipe is a fantastic base for experimentation. Here are a few ways I have played with it:
- Pumpkin Spice Loaf: Add 2 teaspoons of pumpkin pie spice to the flour mixture. It makes the bread taste like autumn in a slice. I made this version and served it with honey butter for a brunch, and it disappeared in minutes.
- Savory Pumpkin & Herb: Omit any sweet spices and add 1 tablespoon of fresh chopped rosemary and ½ teaspoon of cracked black pepper to the dough. The earthy rosemary pairs beautifully with the pumpkin and the sourdough tang. This is my go-to for serving alongside a hearty creamy crockpot butternut squash and gruyere soup.
- Whole Wheat Version: Substitute 100g of the bread flour with whole wheat flour. The loaf will be denser and have a nuttier flavor. You might need to add an extra tablespoon of water, as whole wheat flour is more thirsty.
- Seed-Crusted Loaf: Before the final proof, brush the top of the shaped loaf with a little water and roll it in a mixture of pepitas, sesame seeds, and flax seeds. It adds a wonderful crunch.
- Gluten-Free Adaptation: I have not personally tested this, but a friend with celiac disease had success using a high-quality gluten-free bread flour blend (like Cup4Cup) and adding 1 teaspoon of xanthan gum. The texture was more cake-like, but the flavor was still great.
Serving & Storage Suggestions
This bread is a chameleon. It works for breakfast, lunch, dinner, and snack time.
- Serving Temperature: Serve it at room temperature or toasted. Toasting really brings out the pumpkin flavor and gives the crust an extra-crunchy texture.
- What to Eat With It: Slather it with salted butter and honey for a simple breakfast. Use it for grilled cheese sandwiches (the tangy bread with sharp cheddar is incredible). Dip it in a bowl of wholesome slow cooker white bean chicken and kale Tuscan soup for a deeply satisfying dinner.
- Storage: Store the cooled loaf cut-side down on a wooden cutting board, wrapped in a clean kitchen towel, at room temperature for up to 3 days. Do not store it in plastic, as that will make the crust soggy.
- Freezing: This bread freezes beautifully. Slice the entire loaf, place the slices in a freezer-safe bag, and freeze for up to 3 months. Toast slices directly from frozen.
- Flavor Development: Honestly, this bread tastes even better on day two. The flavors meld and mellow out. I often bake it a day ahead of when I plan to serve it.
Nutritional Information & Benefits
This is a wholesome bread, but it is still bread. Enjoy it as part of a balanced diet.
- Estimated Per Slice (1/12 of loaf): Calories: 180, Fat: 1g, Carbs: 37g, Fiber: 2g, Protein: 6g.
- Pumpkin Power: Pumpkin is packed with Vitamin A (beta-carotene) and fiber. It adds moisture without a ton of fat, which is a win for the texture.
- Sourdough Benefits: The fermentation process breaks down some of the gluten and phytic acid in the flour, making the nutrients more bioavailable. Some people with mild gluten sensitivities find sourdough easier to digest than regular bread.
- Dietary Notes: This recipe is vegan (no butter, eggs, or milk). It is low in added sugar (only the natural sugars from the pumpkin).
- Potential Allergens: Contains wheat (gluten).
I love knowing that the bread I am feeding my family has a little extra nutritional oomph from the pumpkin. It is a small, simple swap that makes a real difference.
Conclusion
This Easy No-Knead Pumpkin Sourdough Bread is proof that you do not need to be a professional baker to make something beautiful and delicious. It is forgiving, it is forgiving, and it delivers that deep, soul-warming satisfaction of pulling a gorgeous loaf out of your own oven. The color alone is enough to make you smile.
I really hope you give this one a try, especially if you have been intimidated by sourdough or skeptical of pumpkin in bread (I see you). Let the dough do the work. Let the cold proof do the flavor building. And then, when you take that first bite of warm, tangy, pumpkin-spiked bread, you will understand why this has become my fall baking ritual.
Have you made this loaf? Did you add any fun mix-ins? I would love to hear about your version in the comments below. And if you share a photo on social media, tag me—I want to see your beautiful orange loaves!
Frequently Asked Questions
Can I use canned pumpkin pie filling instead of pure pumpkin puree?
No, I would not recommend it. Pumpkin pie filling has added sugar and spices that will interfere with the fermentation of the sourdough starter and throw off the balance of the recipe. Stick with 100% pure pumpkin puree.
My dough is very sticky. What did I do wrong?
It is likely not a problem with your technique. Pumpkin puree has a high water content, so the dough will be tackier than a standard sourdough loaf. You can add a tablespoon of flour during the first stretch and fold if it feels unmanageable, but a little stickiness is normal. Wet your hands slightly to make handling easier.
Can I bake this without a Dutch oven?
Yes, you can. Place a baking sheet on the bottom rack of your oven and preheat it. When you are ready to bake, carefully pour a cup of hot water into the baking sheet to create steam. Bake the loaf on the middle rack for the first 20 minutes with the steam, then remove the water and continue baking until the crust is golden brown.
Why did my loaf not rise much?
This is usually a sign that your starter was not active enough. Make sure you feed your starter 8-12 hours before mixing, and that it is bubbly and doubled in size before you use it. It could also mean your bulk fermentation time was too short. Give it more time next time—look for the dough to be puffy and jiggly.
How long does this bread stay fresh?
Stored properly at room temperature, this bread will stay fresh for 3-4 days. The crust will soften over time, but the interior crumb will remain tender. For longer storage, slice and freeze the bread for up to 3 months. Toast directly from frozen.
Pin This Recipe!
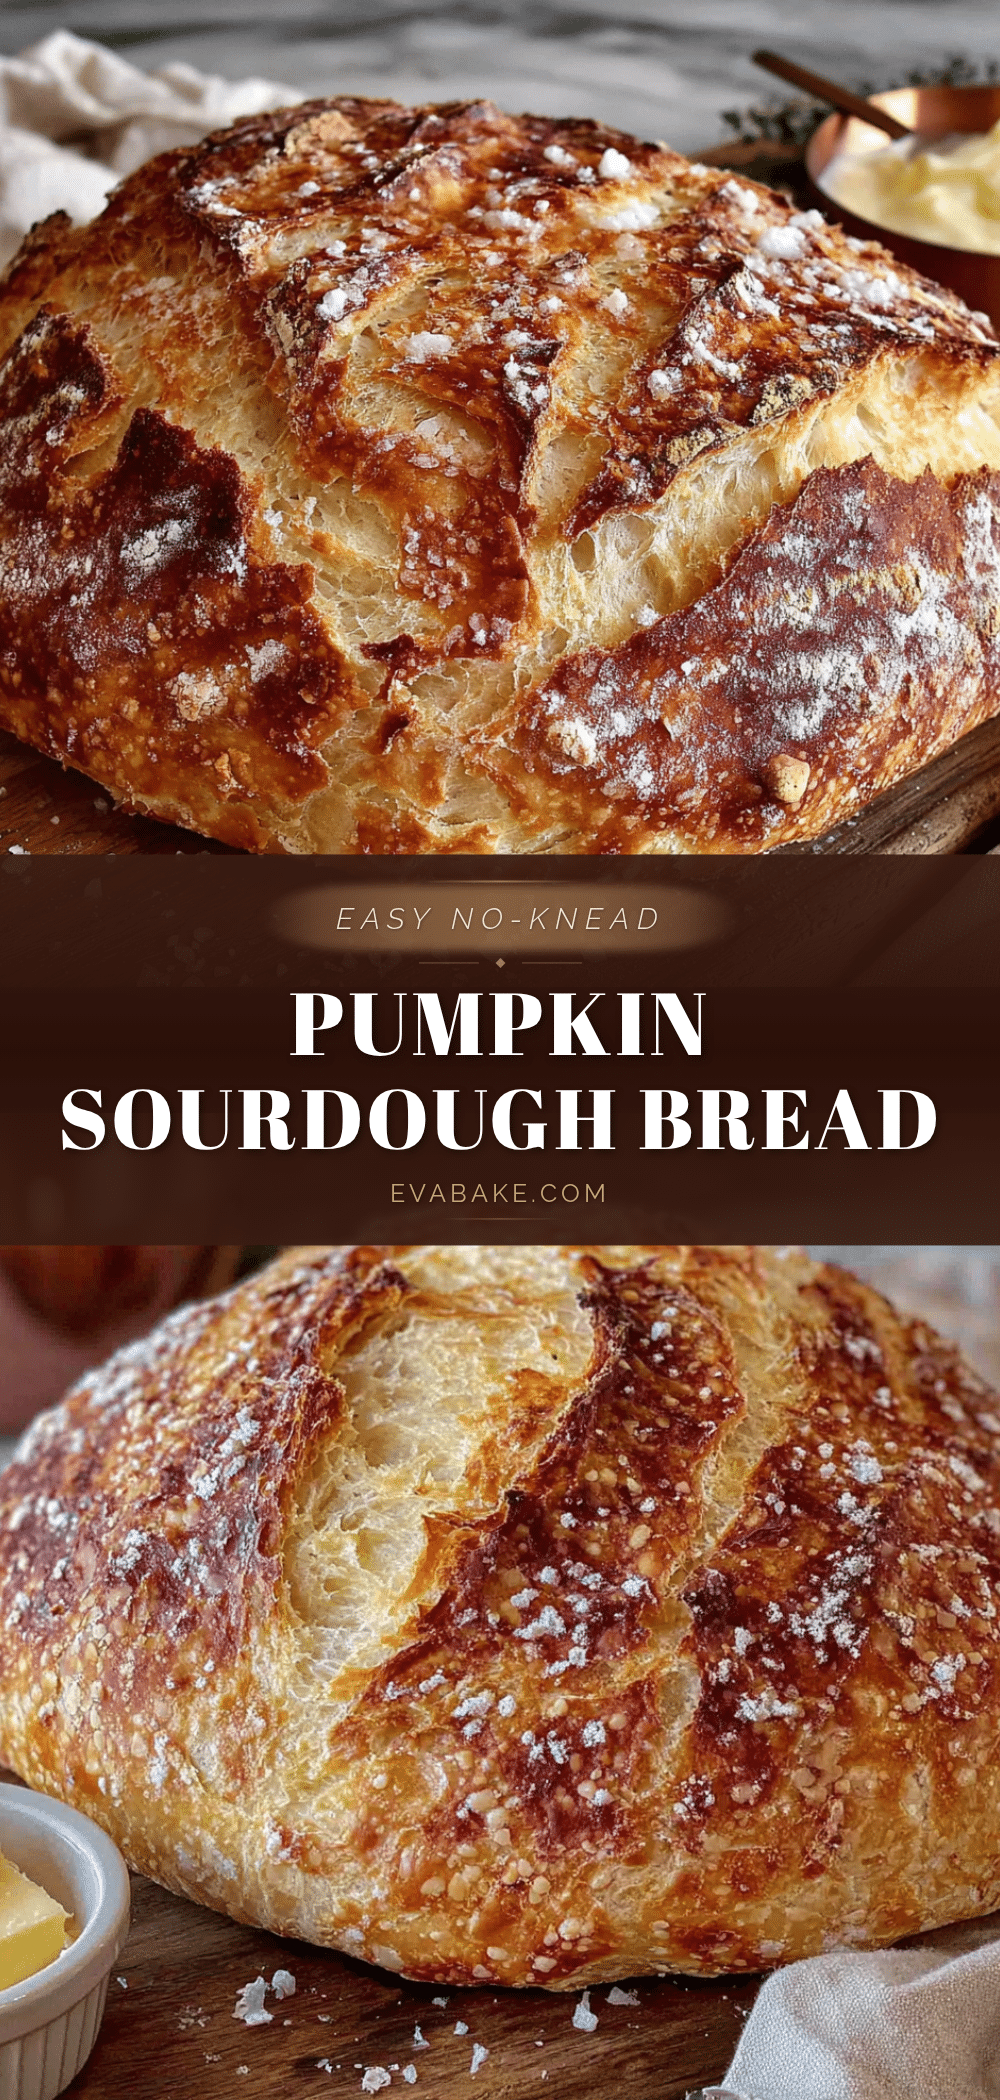
Easy No-Knead Pumpkin Sourdough Bread: Perfect Fall Recipe

This no-knead pumpkin sourdough bread is a lazy baker’s dream, requiring minimal active effort for a deeply satisfying, tangy, and tender loaf with a gorgeous orange crumb. It’s perfect for fall baking and great for sourdough beginners.
- Prep Time: 15 minutes
- Cook Time: 45 minutes
- Total Time: 14-20 hours (includes bulk fermentation and cold proof)
- Yield: 12 servings 1x
- Category: Bread
- Cuisine: American
Ingredients
- 400g bread flour (about 3 1/3 cups)
- 150g pumpkin puree (about 2/3 cup, not pumpkin pie filling)
- 100g active sourdough starter (about 1/2 cup, bubbly and doubled)
- 200g filtered water, room temperature (about 3/4 cup + 2 tablespoons)
- 8g fine sea salt (about 1 1/4 teaspoons)
- Optional: handful of toasted pepitas, 1 teaspoon pumpkin pie spice, or dried cranberries
Instructions
- Feed your starter 8-12 hours before mixing; it should be very active and bubbly.
- In a large bowl, whisk together 400g bread flour and 8g fine sea salt.
- In a separate bowl, whisk together 150g pumpkin puree, 200g room temperature water, and 100g active sourdough starter until mostly smooth.
- Pour the wet mixture into the dry ingredients and mix until no dry bits remain. The dough will be shaggy and sticky. Cover and let rest for 30 minutes (autolyse).
- Perform 4 sets of stretch and folds, spaced 30 minutes apart. Wet your hand slightly, stretch one side of the dough up, and fold it over the top. Rotate the bowl a quarter turn and repeat for a total of 4 stretches per set.
- Cover the bowl and let it bulk ferment at room temperature (70-75°F) for 4-6 hours, until the dough has roughly doubled in size, is domed, and jiggles when shaken.
- Lightly flour a work surface and gently turn out the dough. Shape into a loose round, tucking edges under. Let rest uncovered for 20-30 minutes.
- Flip the dough smooth-side down, gently stretch into a rectangle, fold top third down and bottom third up (like a letter), then roll from top to bottom, sealing the seam. Place seam-side up in a well-floured banneton or lined colander.
- Cover and cold proof in the refrigerator for 12-18 hours.
- Place a Dutch oven in the oven and preheat to 500°F (260°C) for at least 30 minutes.
- Carefully remove the hot Dutch oven. Flip the dough onto parchment paper, score the top with a deep slash (about 1/2 inch deep), and lower it into the pot. Cover and bake for 25 minutes.
- Remove the lid and bake for another 20-25 minutes, until the crust is deep amber and internal temperature reaches 205-210°F.
- Transfer to a wire rack and cool completely for at least 2 hours before slicing.
Notes
The dough will be stickier than standard sourdough due to pumpkin’s water content; add a tablespoon of flour during the first stretch and fold if needed. Do not skip the cold proof—it develops flavor and makes scoring easier. Cool completely to avoid a gummy crumb. Store cut-side down on a cutting board wrapped in a towel at room temperature for up to 3 days, or slice and freeze for up to 3 months.
Nutrition
- Serving Size: 1 slice (1/12 of loa
- Calories: 180
- Sugar: 2
- Sodium: 180
- Fat: 1
- Carbohydrates: 37
- Fiber: 2
- Protein: 6
Keywords: pumpkin sourdough, no-knead bread, fall baking, artisan bread, sourdough bread, pumpkin bread, easy sourdough


