Third time in seven days, and I finally stopped adding extra lemon zest to the topping. That was the week I learned that a truly great apple crisp doesn’t need brightening—it needs butter, patience, and a crumble that refuses to stay in neat little clumps. I kept pulling the baking dish out of the oven, staring at the bubbling fruit, and thinking, “No, that’s not it yet.” The apples were fine. The topping was fine. But fine wasn’t what I was after.
What I wanted was the kind of dessert where the first bite makes you forget you were cold. Where the oats toast just enough to smell like a bakery, and the apples turn into something between jam and tender slices. That took four tries. And honestly, I’m not sorry about a single one.
This Cozy Classic Apple Crisp with Buttery Oat Crumble is the version I kept circling back to—the one where I stopped second-guessing and just let the butter do its job. It’s simple in the best way. No fussy lattice, no rolling pin required. Just fruit, a crumble that actually crumbles, and that quiet satisfaction of pulling something warm out of the oven on a chilly evening.
You don’t need a special occasion for this one. You just need apples and a little faith in butter.
Why You’ll Love This Recipe
I’ve tested this apple crisp more times than I care to admit, and here’s what I know for sure: it works every single time. The topping stays crisp without turning into a sandy mess, and the apples cook down into that perfect soft-but-not-mushy texture that makes you go back for seconds.
- Quick & Easy: From counter to oven in about 20 minutes. No pie crust wrestling, no complicated steps.
- Simple Ingredients: You probably have most of this in your pantry right now. Apples, oats, flour, butter, sugar—that’s it.
- Perfect for Fall Gatherings: Bring this to a Friendsgiving, a Sunday dinner, or a quiet night in. It fits everywhere.
- Crowd-Pleaser: I’ve served this to kids, grandparents, and picky eaters. The dish comes back empty every time.
- Unbelievably Delicious: The buttery oat topping gets golden and crunchy, while the apples turn into this luscious, cinnamon-kissed filling. It’s comfort food at its finest.
What makes this recipe different? It’s the ratio. I spent weeks tweaking the butter-to-oat-to-flour balance until the crumble held together in craggy bits instead of turning into a solid sheet. The apples get a light toss with a touch of cornstarch so the juices thicken naturally—no gelatin, no weird additives. This isn’t just another apple crisp. It’s the one I’d make for someone I wanted to impress without breaking a sweat.
What Ingredients You Will Need
This recipe uses straightforward, wholesome ingredients that work together to create something greater than the sum of their parts. Most of these are pantry staples, which makes this dessert perfect for spontaneous baking moods.
For the Apple Filling
- 6 cups apples, peeled, cored, and sliced (about 4-5 medium apples; I recommend Honeycrisp, Granny Smith, or a mix of both for balanced sweetness and tartness)
- 1/3 cup granulated sugar (adjust based on apple sweetness; use 1/4 cup if your apples are very sweet)
- 1 tablespoon lemon juice (fresh squeezed is best, bottled works in a pinch)
- 1 teaspoon ground cinnamon (I prefer Saigon cinnamon for its warm, bold flavor)
- 1/4 teaspoon ground nutmeg (freshly grated if you have it, pre-ground is fine)
- 1 tablespoon cornstarch (helps thicken the juices without making the filling gloopy)
- Pinch of salt (don’t skip this—it balances the sweetness)
For the Buttery Oat Crumble Topping
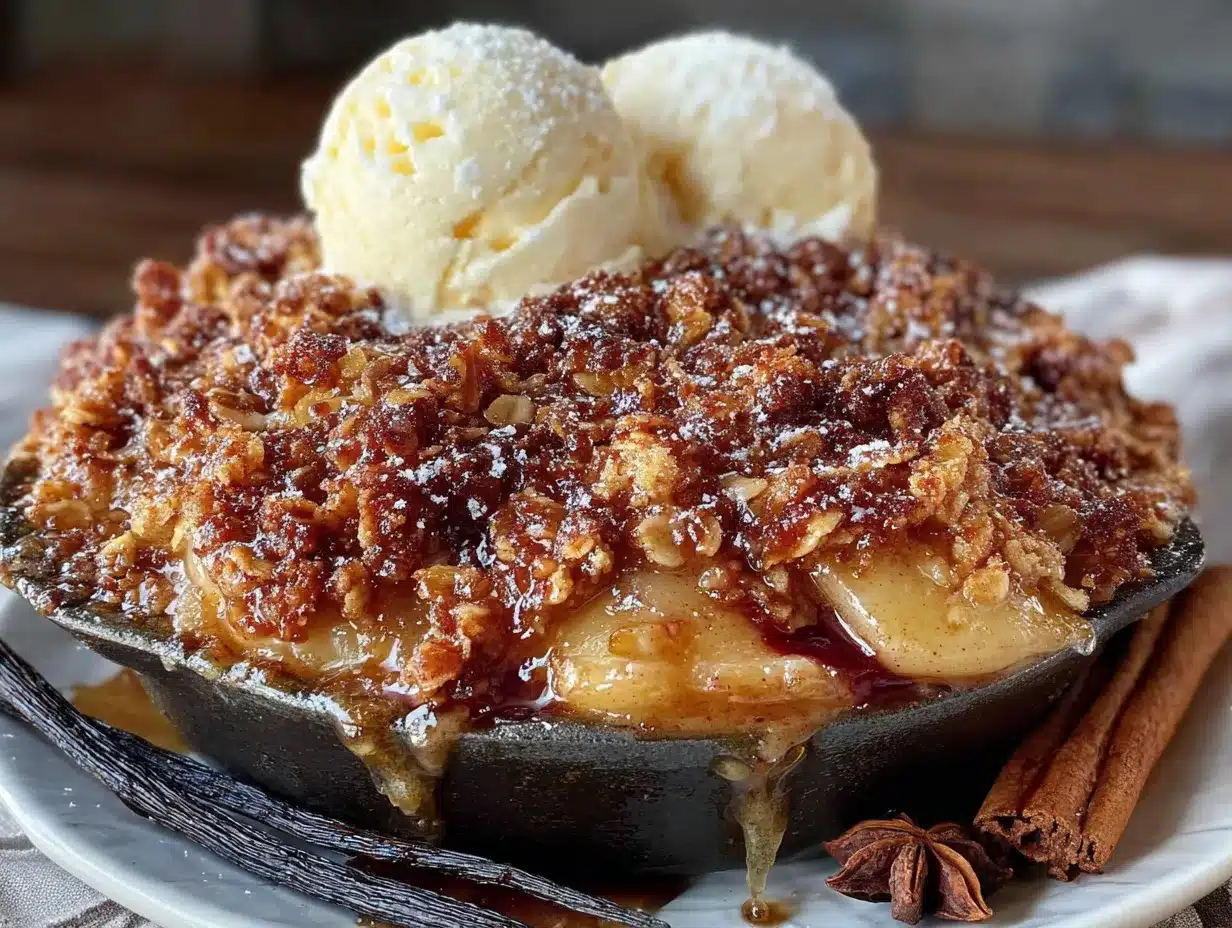
- 1 cup old-fashioned rolled oats (not quick oats; they get mushy. I use Bob’s Red Mill for consistent texture)
- 3/4 cup all-purpose flour (spooned and leveled; use gluten-free 1:1 blend if needed)
- 1/2 cup packed light brown sugar (dark brown works too, for deeper molasses flavor)
- 1/4 cup granulated sugar (adds a bit of crunch to the topping)
- 1/2 teaspoon ground cinnamon
- 1/4 teaspoon salt
- 1/2 cup unsalted butter, cold and cut into small cubes (this is non-negotiable for that perfect crumbly texture)
- 1/2 cup chopped pecans or walnuts (optional) (adds wonderful crunch; I use pecans when I’m feeling fancy)
Ingredient Selection Tips: For the best texture, use a mix of firm apples. Honeycrisp holds its shape beautifully, while Granny Smith breaks down slightly, creating that jammy layer at the bottom. If you only have one type, go with Honeycrisp—they’re reliable and widely available. For the butter, I always use unsalted so I can control the salt level. Kerrygold is my go-to for its rich flavor, but any quality unsalted butter works.
Equipment Needed
You don’t need a fancy kitchen to make this apple crisp. Here’s what you’ll need:
- 8×8-inch or 9×9-inch baking dish (a 2-quart dish works too; I use a ceramic one for even heat distribution)
- Large mixing bowl (for the apples)
- Medium mixing bowl (for the crumble)
- Sharp knife and cutting board (for prepping apples)
- Vegetable peeler (a Y-peeler makes quick work of apple skins)
- Measuring cups and spoons
- Pastry cutter or two forks (for cutting butter into the dry ingredients; clean hands work too)
- Rubber spatula (for folding everything together)
Alternative Suggestions: No pastry cutter? Use your fingertips to rub the butter into the flour mixture—just work quickly so the butter stays cold. If you don’t have an 8×8 dish, a 9-inch pie plate works perfectly. A glass dish lets you see the bubbling juices, which is helpful for judging doneness.
Personal Note: I’ve made this in a cast iron skillet before, and it came out beautifully. The edges got extra crispy, and the presentation was stunning. Just make sure your skillet is well-seasoned so the apples don’t stick.
Preparation Method
Let’s get baking. This recipe comes together quickly, so have everything prepped before you start.
- Preheat your oven to 350°F (175°C). Position a rack in the center of the oven. While it heats, prepare your baking dish by lightly greasing it with butter or non-stick spray.
- Prepare the apples. Peel, core, and slice your apples into 1/4-inch thick slices. Try to keep them uniform so they cook evenly. You should have about 6 cups of sliced apples. (Pro tip: slice one apple, then measure to see if you’re on track. I’ve ended up with 8 cups before and had to adjust the filling.)
- Make the filling. In a large bowl, combine the sliced apples, granulated sugar, lemon juice, cinnamon, nutmeg, cornstarch, and a pinch of salt. Toss gently with a rubber spatula until every slice is coated. Let it sit for 5 minutes while you make the topping—this helps the apples release their juices.
- Make the crumble topping. In a medium bowl, whisk together the oats, flour, brown sugar, granulated sugar, cinnamon, and salt. Add the cold, cubed butter. Use a pastry cutter, two forks, or your fingertips to cut the butter into the dry ingredients until the mixture resembles coarse meal with some pea-sized butter pieces remaining. If using nuts, fold them in now. (Don’t overwork it—you want those little butter chunks for a flaky, crispy topping.)
- Assemble the crisp. Transfer the apple mixture to your prepared baking dish, spreading it into an even layer. Sprinkle the crumble topping evenly over the apples, covering them completely. Don’t press it down—let it sit loosely for maximum crunch.
- Bake. Place the dish on a baking sheet to catch any drips (trust me on this). Bake for 40-45 minutes, or until the topping is golden brown and the juices are bubbling around the edges. If the topping is browning too quickly after 30 minutes, tent loosely with foil.
- Cool slightly before serving. Let the crisp rest for at least 10-15 minutes. This allows the juices to thicken and the topping to set. Serve warm with vanilla ice cream, whipped cream, or a drizzle of heavy cream.
Visual Cue: You’ll know it’s done when the filling is bubbly and thick, and the topping is a deep golden brown. If you see clear liquid pooling at the edges, it needs a few more minutes. The perfect crisp has thick, syrupy juices that cling to the apples.
Cooking Tips & Techniques
After making this apple crisp more times than I can count, I’ve picked up a few tricks that make a real difference.
Keep your butter cold. This is the single most important tip for a crumbly topping. If the butter softens before it hits the oven, you’ll end up with a dense, greasy layer instead of those beautiful craggy bits. Pop your cubed butter in the freezer for 5 minutes before cutting it into the dry ingredients.
Don’t skip the cornstarch. I learned this the hard way. Without it, your apple crisp will be swimming in thin, watery juice. Cornstarch thickens the liquid as it bakes, creating that luscious, almost jammy consistency that makes this dessert so satisfying.
Use a mix of apple varieties. I’ve tested this with all Granny Smith and all Honeycrisp. The all-Granny version was too tart, and the all-Honeycrisp was almost cloyingly sweet. A 50/50 mix gives you the perfect balance of tartness and sweetness, plus a better texture since the two types break down at different rates.
Let it rest. I know it’s tempting to dig in right away, but waiting 10-15 minutes makes a huge difference. The filling sets up, the topping stays crisp, and you won’t burn your mouth. Plus, the flavors meld together beautifully during that short rest.
My biggest failure: The first time I made this, I used quick oats because that’s what I had. The topping turned into a sad, mushy paste. Never again. Stick with old-fashioned rolled oats—they hold their texture and toast beautifully.
Variations & Adaptations
This recipe is wonderfully flexible. Here are some ways to make it your own:
Dietary Adaptations
- Gluten-Free: Substitute the all-purpose flour with a 1:1 gluten-free baking blend. The topping will be slightly more delicate, but still delicious.
- Dairy-Free: Use cold, solid coconut oil or vegan butter instead of regular butter. The texture won’t be identical, but it’s still very good.
- Lower Sugar: Reduce the granulated sugar in the filling to 1/4 cup and use only 1/3 cup brown sugar in the topping. The apples provide plenty of natural sweetness.
Flavor Variations
- Apple Pear Crisp: Replace half the apples with firm, ripe pears (like Bosc or Anjou). Add 1/2 teaspoon of ground ginger to the filling for a warming twist.
- Caramel Apple Crisp: Drizzle 1/4 cup of store-bought or homemade caramel sauce over the apples before adding the topping. It gets all gooey and amazing.
- Berry Apple Crisp: Toss 1 cup of fresh or frozen cranberries or blueberries into the apple mixture. The berries burst during baking, adding pockets of tartness.
Method Variations
- Slow Cooker: Layer the apples and topping in a slow cooker, then cook on low for 3-4 hours or high for 1.5-2 hours. The topping won’t get as crispy, but the filling is incredibly tender.
- Individual Ramekins: Divide the mixture among 4-6 ramekins and bake for 20-25 minutes. Perfect for portion control or dinner parties.
Personal Variation: I once added a handful of fresh cranberries and a splash of bourbon to the filling. It was a hit at Thanksgiving and has become my go-to holiday version.
Serving & Storage Suggestions
Serving: This apple crisp is best served warm, about 10-15 minutes after it comes out of the oven. A scoop of vanilla bean ice cream is the classic pairing, but I also love it with a dollop of lightly sweetened whipped cream or a drizzle of cold heavy cream. For a grown-up twist, serve it with a side of warm caramel sauce and a sprinkle of flaky sea salt.
Storage: Cover the baking dish tightly with foil or plastic wrap and store in the refrigerator for up to 4 days. The topping will soften over time, but the flavor only gets better. To reheat, place individual portions in the microwave for 30-45 seconds, or warm the entire dish in a 300°F oven for 10-15 minutes.
Freezing: You can freeze the unbaked crisp for up to 3 months. Assemble the crisp in a freezer-safe dish, wrap tightly in plastic wrap and foil, and freeze. Bake directly from frozen, adding 15-20 minutes to the baking time. Alternatively, freeze the baked and cooled crisp for up to 3 months. Thaw overnight in the refrigerator and reheat in the oven.
Flavor Development: Honestly, this crisp tastes even better the next day. The apples continue to soak up the juices, and the spices mellow into something deeper and more complex. If you can resist eating it all in one sitting, you’re in for a treat.
Nutritional Information & Benefits
Here’s an approximate nutritional breakdown per serving (based on 8 servings):
- Calories: 320
- Fat: 14g
- Carbohydrates: 48g
- Fiber: 4g
- Protein: 3g
- Sugar: 30g
Health Benefits: Apples are packed with fiber and vitamin C, and the oats in the topping provide soluble fiber that supports heart health. The cinnamon not only adds flavor but also has anti-inflammatory properties. While this is definitely a treat, it’s made with whole-food ingredients that offer more nutritional value than a boxed mix or store-bought dessert.
Dietary Considerations: This recipe can be easily adapted for gluten-free or dairy-free diets (see variations above). It contains nuts only if you add them. For a lower-sugar option, reduce the sugar in both the filling and topping by about one-third—the apples will still shine.
Personal Perspective: I love that this dessert feels indulgent without being overly heavy. It’s the kind of thing you can enjoy after a hearty meal without feeling like you need a nap. Plus, it’s made from real, recognizable ingredients—no preservatives or artificial flavors.
Conclusion
This Cozy Classic Apple Crisp with Buttery Oat Crumble is the dessert I turn to when I want something that feels like home. It’s warm, comforting, and deceptively simple—the kind of recipe that makes you look like a pro without any of the stress. Whether you’re serving it at a holiday gathering or just treating yourself on a quiet Tuesday night, it delivers every single time.
I’d love to hear how it turns out for you. Did you try any of the variations? Maybe you added a splash of bourbon or swapped in pears? Drop a comment below and let me know—I read every single one. And if you share a photo on Pinterest, tag me so I can see your beautiful creation. Happy baking, friends!
Frequently Asked Questions
Can I use quick oats instead of old-fashioned oats?
I don’t recommend it. Quick oats are more finely processed and will absorb too much moisture, resulting in a soggy, mushy topping. Old-fashioned rolled oats hold their shape and toast beautifully, giving you that perfect crunchy texture.
Do I need to peel the apples?
Yes, for this recipe. The peels won’t soften enough during baking and will create a tough, chewy texture in the filling. Peeling the apples ensures a smooth, tender result that melts in your mouth.
Can I make this ahead of time?
Absolutely. You can assemble the crisp up to 24 hours in advance, cover it, and refrigerate. When you’re ready to bake, add about 10 minutes to the baking time since you’re starting from cold. The flavor actually improves as the apples and spices mingle.
Why is my topping not crispy?
This usually happens for one of three reasons: the butter was too warm when you mixed it in, you used quick oats instead of old-fashioned, or you covered the crisp while it was still warm, trapping steam. Next time, make sure your butter is cold and let the crisp cool uncovered.
What’s the best apple for apple crisp?
A mix of Honeycrisp and Granny Smith is my favorite. Honeycrisp adds sweetness and holds its shape, while Granny Smith provides tartness and breaks down slightly, creating a jammy layer. If you only have one type, go with Honeycrisp—they’re reliable and widely available.
Pin This Recipe!
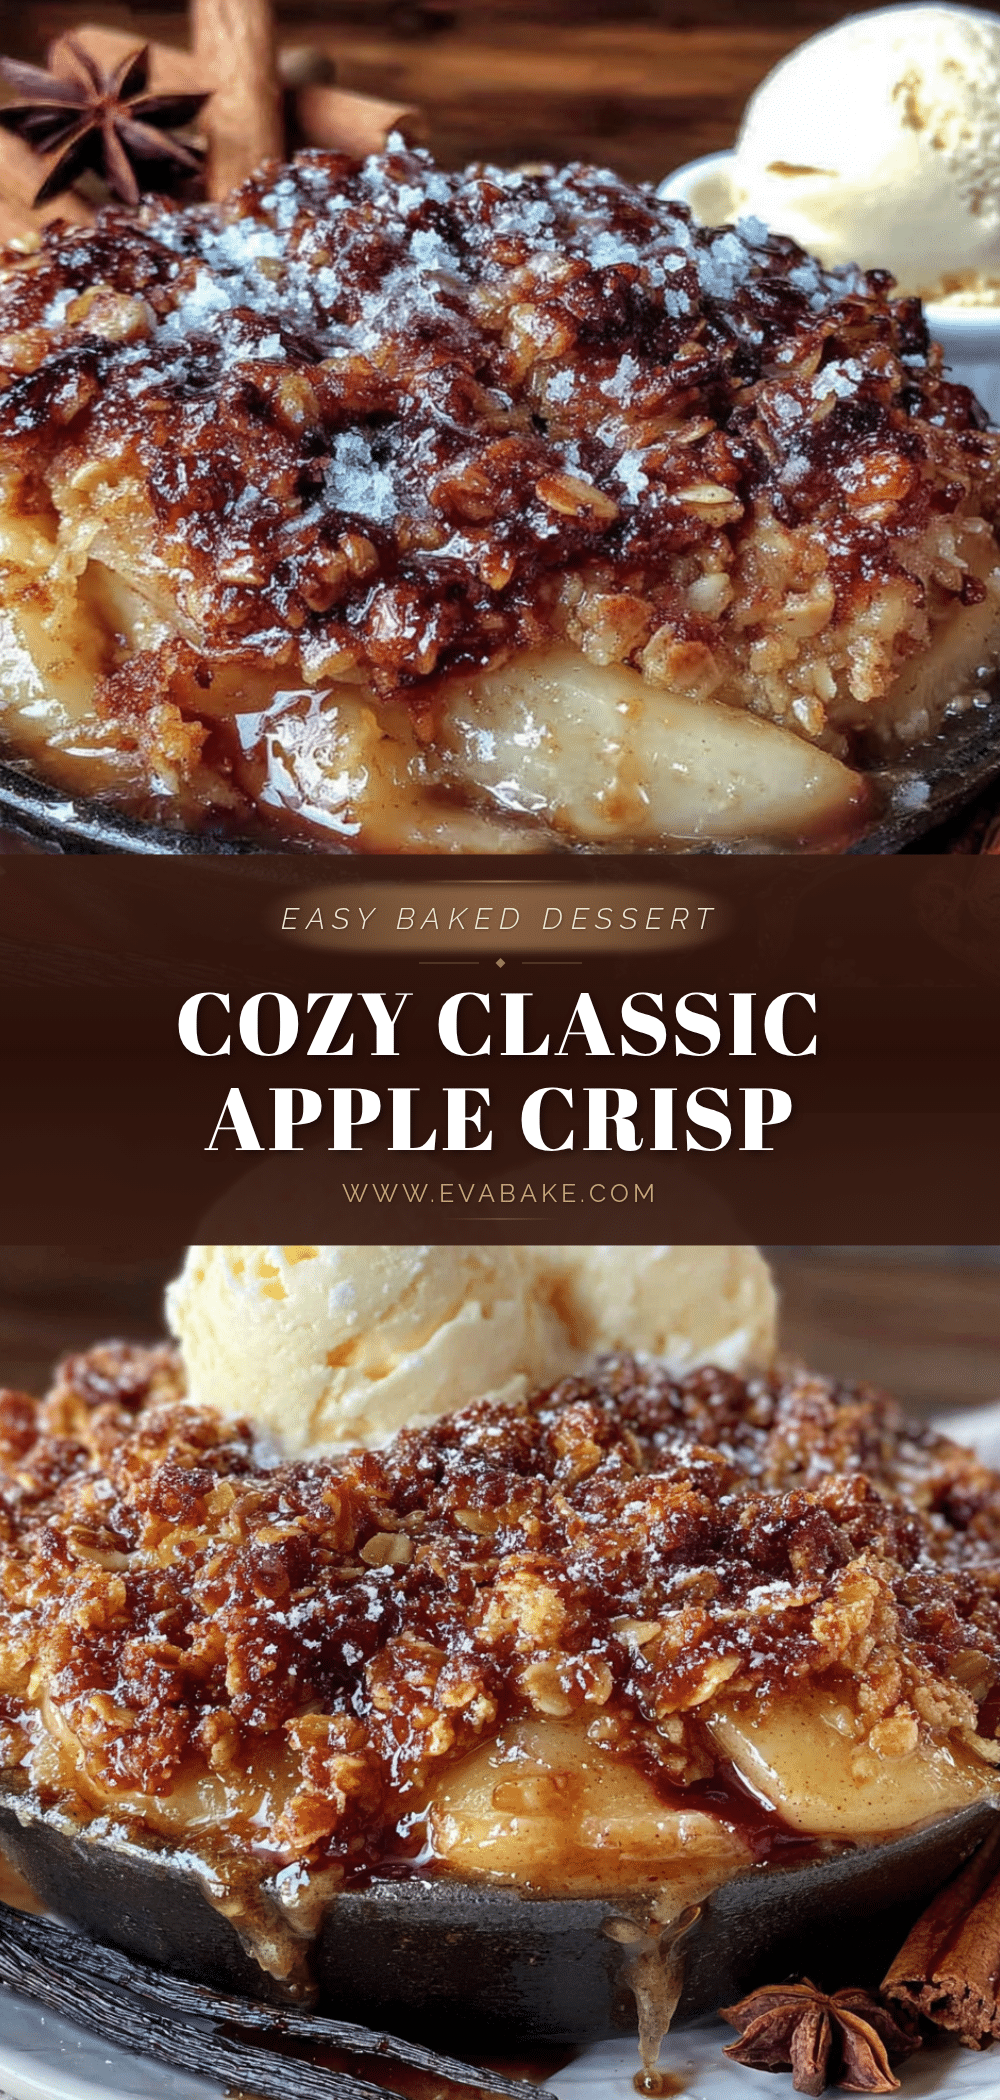
Cozy Classic Apple Crisp with Buttery Oat Crumble

This Cozy Classic Apple Crisp features a buttery oat crumble topping over tender, cinnamon-kissed apples. It’s a simple, comforting dessert that comes together in about 20 minutes of prep and bakes to golden perfection.
- Prep Time: 20 minutes
- Cook Time: 40-45 minutes
- Total Time: 1 hour 5 minutes
- Yield: 8 servings 1x
- Category: Dessert
- Cuisine: American
Ingredients
- 6 cups apples, peeled, cored, and sliced (about 4–5 medium apples; Honeycrisp, Granny Smith, or a mix)
- 1/3 cup granulated sugar (adjust based on apple sweetness)
- 1 tablespoon lemon juice (fresh squeezed preferred)
- 1 teaspoon ground cinnamon (Saigon cinnamon recommended)
- 1/4 teaspoon ground nutmeg (freshly grated or pre-ground)
- 1 tablespoon cornstarch
- Pinch of salt
- 1 cup old-fashioned rolled oats (not quick oats)
- 3/4 cup all-purpose flour (spooned and leveled; gluten-free 1:1 blend if needed)
- 1/2 cup packed light brown sugar (dark brown works too)
- 1/4 cup granulated sugar
- 1/2 teaspoon ground cinnamon
- 1/4 teaspoon salt
- 1/2 cup unsalted butter, cold and cut into small cubes
- 1/2 cup chopped pecans or walnuts (optional)
Instructions
- Preheat your oven to 350°F (175°C). Position a rack in the center of the oven. Lightly grease an 8×8-inch or 9×9-inch baking dish with butter or non-stick spray.
- Peel, core, and slice apples into 1/4-inch thick slices. You should have about 6 cups of sliced apples.
- In a large bowl, combine sliced apples, 1/3 cup granulated sugar, lemon juice, 1 teaspoon cinnamon, nutmeg, cornstarch, and a pinch of salt. Toss gently until every slice is coated. Let sit for 5 minutes.
- In a medium bowl, whisk together oats, flour, brown sugar, 1/4 cup granulated sugar, 1/2 teaspoon cinnamon, and 1/4 teaspoon salt. Add cold, cubed butter. Use a pastry cutter, two forks, or your fingertips to cut the butter into the dry ingredients until the mixture resembles coarse meal with some pea-sized butter pieces remaining. If using nuts, fold them in now.
- Transfer the apple mixture to the prepared baking dish, spreading it into an even layer. Sprinkle the crumble topping evenly over the apples, covering them completely. Do not press it down.
- Place the dish on a baking sheet to catch drips. Bake for 40-45 minutes, or until the topping is golden brown and the juices are bubbling around the edges. If the topping is browning too quickly after 30 minutes, tent loosely with foil.
- Let the crisp rest for at least 10-15 minutes before serving. Serve warm with vanilla ice cream, whipped cream, or a drizzle of heavy cream.
Notes
Keep butter cold for a crumbly topping. Do not skip the cornstarch—it thickens the juices. Use a mix of apple varieties (Honeycrisp and Granny Smith) for best texture and flavor. Let the crisp rest 10-15 minutes before serving to allow the filling to set. For gluten-free, use a 1:1 gluten-free baking blend. For dairy-free, use cold solid coconut oil or vegan butter.
Nutrition
- Serving Size: 1 serving (1/8 of re
- Calories: 320
- Sugar: 30
- Sodium: 180
- Fat: 14
- Saturated Fat: 8
- Carbohydrates: 48
- Fiber: 4
- Protein: 3
Keywords: apple crisp, apple dessert, fall dessert, oat crumble, easy apple crisp, comfort food, homemade apple crisp


