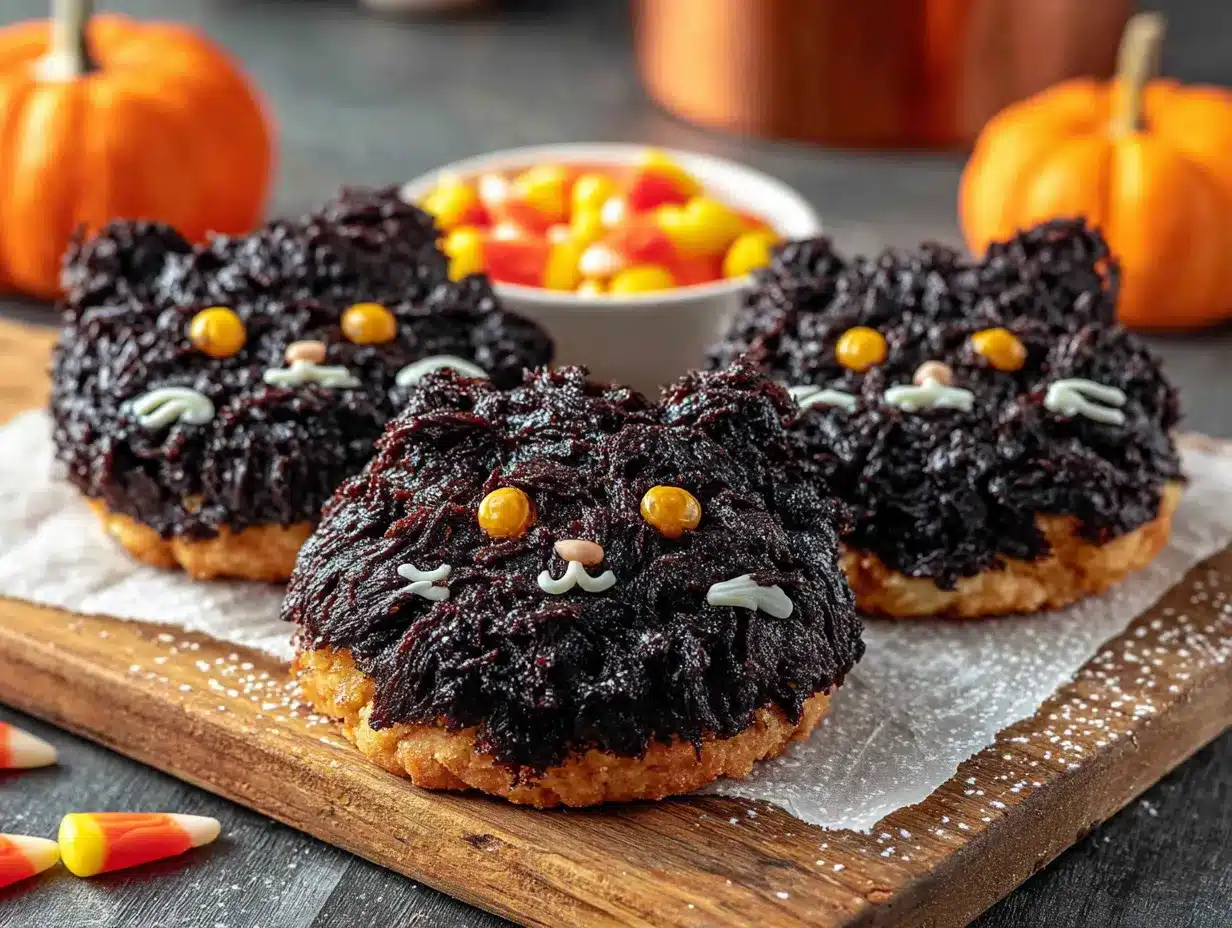
The way the black icing catches the kitchen light—that glossy, just-set sheen—still makes me smile. It was a rainy Tuesday in late September, my fourth grader had a half-day, and we were both restless. I pulled out the sugar cookie dough I’d been saving, not for anything fancy, just for the quiet rhythm of rolling and cutting. I found a tiny cat-shaped cookie cutter buried at the back of the drawer, and that was it. One batch turned into a whole little mischief of black cats, each one a bit sassier than the last. I honestly didn’t plan for them to become my favorite Halloween tradition, but here we are. They’re just so full of personality—and they taste like the best kind of buttery, soft sugar cookie you remember from childhood.
Why You’ll Love This Recipe
These adorable black cat Halloween sugar cookies aren’t just cute—they’re genuinely foolproof. I’ve tested this dough more times than I can count to make sure it holds its shape, doesn’t spread into a blob, and stays soft in the center. That’s the sweet spot, honestly.
- No Spread, Perfect Shape: This dough is built to hold those cat ears and tails. You won’t end up with a puddle of a cat.
- Simple Ingredients: You probably have everything in your pantry right now. No specialty flours or hard-to-find extracts.
- Perfect for Halloween Parties: They’re a total crowd-pleaser. Kids adore them, and adults sneak them when no one is looking.
- Fun to Decorate: This is the best part. You can give each cat a different expression—grumpy, surprised, sleepy. It’s like a tiny baking personality test.
- Make-Ahead Friendly: The dough freezes beautifully, so you can prep now and bake later when the Halloween craziness hits.
What makes these different from every other sugar cookie recipe? It’s the texture. They’re not too cakey and not too crispy. They have that slight chew on the inside with a barely-there crunch on the edge. I spent a whole weekend tweaking the butter-to-flour ratio to get it just right. Let’s face it, a sad, dry sugar cookie is a tragedy, especially when you’ve spent time decorating it.
These cookies are the kind that make you close your eyes after the first bite. It’s comfort food reimagined for the spooky season—familiar, but with a little bit of mischief. Perfect for a Halloween bake sale, a classroom treat, or just a cozy afternoon project with someone you love.
What Ingredients You Will Need
This recipe uses simple, wholesome ingredients to deliver that perfect sugar cookie texture and bold black color. Most of these are pantry staples, which makes it super easy to whip up a batch on a whim.
For the Sugar Cookie Dough
- Unsalted butter, softened: 1 cup (2 sticks / 226g). I always use unsalted so I can control the salt level. Let it sit out for at least 30 minutes—it should be soft but not melty.
- Granulated sugar: 1 cup (200g). Standard white sugar gives the cookies that classic sweetness and helps them spread just the right amount.
- Large egg: 1, room temperature. A cold egg can seize the butter, so just let it sit on the counter for a bit.
- Vanilla extract: 2 teaspoons. Pure vanilla makes a difference, but imitation works fine too. I like Nielsen-Massey for the depth of flavor.
- All-purpose flour: 2 ½ cups (312g). Spoon and level it into your measuring cup—don’t scoop directly or you’ll pack in too much flour and get dry cookies.
- Baking powder: 1 teaspoon. This gives them a tiny lift without making them puffy.
- Salt: ½ teaspoon. Balances the sweetness and enhances the vanilla.
For the Black Royal Icing
- Powdered sugar: 3 cups (360g), sifted. Sifting is key here to avoid lumpy icing.
- Meringue powder: 2 tablespoons. This gives the icing that hard, glossy finish that’s perfect for stacking cookies. You can find it in the baking aisle or online.
- Water: 4-6 tablespoons. Add slowly—you want a consistency that flows like honey but holds a slight ribbon on the surface.
- Black gel food coloring: 1-2 teaspoons. Gel is non-negotiable here. Liquid coloring will thin out your icing and give you a muddy gray instead of a true black. I use the Americolor Super Black—it’s the only one that gives a deep, true black without needing a whole bottle.
- Orange gel food coloring: For the eyes and noses (just a tiny drop).
- White sanding sugar or edible glitter: Optional, for a little spooky sparkle on the eyes.
Equipment Needed
You don’t need a ton of fancy gear for these cookies, which is part of the appeal. Here’s what I use:
- Cat-shaped cookie cutter: I found a set of three different sizes online, but a simple 3-inch cat cutter is perfect. Check craft stores or Amazon.
- Baking sheets: Two standard half-sheet pans. I prefer the light-colored ones—dark pans can cause the bottoms to brown too fast.
- Parchment paper or silicone baking mats: Parchment is my go-to for easy cleanup and even baking.
- Rolling pin: I have a French rolling pin (no handles), but any rolling pin works. Use ¼-inch thick guide rings if you have them—they’re a game-changer for even cookies.
- Stand mixer or hand mixer: A stand mixer makes creaming the butter and sugar effortless, but a hand mixer and a big bowl will do the job just fine.
- Piping bags or squeeze bottles: For the royal icing. I actually prefer squeeze bottles for flooding—less mess. Wilton makes great disposable piping bags.
- Small round piping tip (#2 or #3): For outlining the cats before flooding with icing.
- Toothpicks: Essential for popping air bubbles and spreading icing into tight corners (like those little ears).
Preparation Method
Step 1: Make the Dough
In the bowl of your stand mixer fitted with the paddle attachment, beat the softened butter and granulated sugar together on medium speed until light and fluffy—about 2 to 3 minutes. You want it to look pale and almost creamy. Scrape down the sides of the bowl with a spatula. Add the egg and vanilla extract, then beat again until fully combined. The mixture might look a little curdled for a second—that’s totally fine.
In a separate bowl, whisk together the all-purpose flour, baking powder, and salt. With the mixer on low speed, gradually add the dry ingredients to the wet mixture. Mix just until the dough comes together. You’ll see it pull away from the sides of the bowl. Don’t overmix, or the cookies will be tough. The dough will be soft but not sticky. If it feels too sticky to handle, wrap it in plastic and chill it for 15 minutes.
Step 2: Chill the Dough
Divide the dough in half, flatten each half into a disc, and wrap tightly in plastic wrap. Refrigerate for at least 1 hour, or up to 2 days. Chilling is non-negotiable—it firms up the butter so the cookies don’t spread into shapeless blobs in the oven. I once skipped this step in a hurry, and my cats looked more like abstract blobs. Trust me on this one.
Step 3: Roll and Cut
Preheat your oven to 350°F (175°C). Line your baking sheets with parchment paper. On a lightly floured surface, roll one disc of dough to about ¼-inch thickness. If the dough cracks at the edges, let it sit for 2 minutes to warm up slightly. Use your cat-shaped cookie cutter to cut out as many cats as you can. Re-roll the scraps once—after that, the dough gets tough. Place the cookies about 1 inch apart on the prepared baking sheets.
Step 4: Bake
Bake for 8-10 minutes, or until the edges are just barely golden. The centers will still look soft and pale—that’s exactly what you want. Let the cookies cool on the baking sheet for 5 minutes before transferring them to a wire rack to cool completely. They need to be 100% cool before you even think about icing them, or the royal icing will slide right off.
Step 5: Make the Royal Icing
In the bowl of your stand mixer (or a large bowl with a hand mixer), combine the sifted powdered sugar and meringue powder. Add 4 tablespoons of water and beat on low speed until combined. Increase the speed to medium-high and beat for about 4-5 minutes, until the icing is thick, glossy, and forms stiff peaks. Add the black gel food coloring—start with 1 teaspoon—and beat until the color is uniform. It will look like a dark gray at first. Let it sit for 10 minutes; the color will deepen as it oxidizes. If it’s still not black enough, add another ½ teaspoon. Add water, a teaspoon at a time, until the icing reaches a “flood” consistency—it should flow like honey and a ribbon dropped back into the bowl disappear in about 10 seconds.
Step 6: Decorate the Cats
Transfer a portion of the black icing to a piping bag fitted with a #2 tip. Outline each cat cookie, then immediately flood the inside with the same icing using the piping bag or a squeeze bottle. Use a toothpick to guide the icing into the ears and tail. Tap the baking sheet gently on the counter to release air bubbles. Let the icing set for 30 minutes. Then, using a tiny bit of white or orange royal icing (just a drop of gel coloring mixed into a tablespoon of the black icing), pipe on two tiny eyes and a nose. Add a sprinkle of white sanding sugar on the eyes for a little glow. Let the cookies set for at least 2 hours, or overnight for the best results.
Cooking Tips & Techniques
Getting that deep, true black color is the biggest hurdle with these cookies. I learned this the hard way after making a batch of gray cats that looked more like sad storm clouds. The trick is patience. Gel food coloring deepens in color as it sits. So mix your icing, let it rest for 10-15 minutes, and check the color again before adding more. You can also add a tiny drop of purple or blue gel coloring to neutralize any brownish undertones—it’s a pro baker’s secret.
Another common mistake is overbaking. Sugar cookies go from perfect to overdone in about 30 seconds. Pull them out when the edges are just barely golden. The centers will look underdone, but they’ll set as they cool. If you wait until the whole cookie is golden, you’ll have crunchy cats, not soft, chewy ones.
For the most consistent thickness, I highly recommend using rolling pin guide rings. They’re cheap and ensure every cookie bakes evenly. If you don’t have them, just roll the dough as evenly as you can by hand and check the thickness with your fingers.
Lastly, don’t rush the chilling step. If you’re in a time crunch, you can pop the dough discs in the freezer for 20 minutes instead of the fridge for an hour. But never skip it entirely—I did that once, and my cats spread so much they looked like they were melting into the baking sheet.
Variations & Adaptations
These cookies are super flexible. Here are a few ways I’ve switched them up:
- Gluten-Free Version: Swap the all-purpose flour with a 1:1 gluten-free baking flour blend. I’ve used Bob’s Red Mill with great results. Add an extra tablespoon of butter to compensate for the dryness of gluten-free flours.
- Vegan Option: Use vegan butter (like Earth Balance) and a flax egg (1 tablespoon ground flaxseed mixed with 3 tablespoons water, let sit for 5 minutes). The texture will be slightly more tender, but still delicious.
- Spooky Spider Web Cats: After flooding the cat with black icing, use a toothpick to drag white royal icing from the center outward to create a tiny spider web on the cat’s belly. It’s such a fun detail.
- Pumpkin Spice Twist: Add 1 teaspoon of pumpkin pie spice to the flour mixture. It gives the cookies a warm, fall flavor that pairs beautifully with the black icing. I did this for a Halloween party last year, and they disappeared in minutes.
- Chocolate Cats: Replace ¼ cup of the all-purpose flour with ¼ cup of unsweetened cocoa powder. You’ll get a chocolate cookie base that looks amazing with the black icing—almost like a shadow cat.
Serving & Storage Suggestions
These cookies are best served at room temperature. I like to arrange them on a black or orange platter for Halloween parties—they look so striking against a bright background. They pair wonderfully with a warm cup of spiced apple cider or a creamy pumpkin latte. For a savory balance, you could set them out alongside a savory mummy jalapeño popper hot dog spread for a fun Halloween appetizer dinner.
To store, place the fully set and decorated cookies in an airtight container at room temperature. They’ll stay fresh for up to 1 week. Layer them between sheets of parchment paper to prevent the icing from sticking. Do not refrigerate—the moisture in the fridge can make the royal icing tacky and soft.
You can also freeze the undecorated baked cookies for up to 3 months. Just wrap them tightly in plastic wrap and then foil. When you’re ready to decorate, thaw them at room temperature and ice as directed. The flavors actually get a little better after freezing—the vanilla deepens.
If you’re making these for a party, I recommend baking the cookies up to a week in advance and decorating them 1-2 days before. The royal icing needs a full 24 hours to harden completely, so they’ll be perfect for stacking or packaging as gifts.
Nutritional Information & Benefits
Let’s be honest—these are a treat, not a health food. But here’s the estimated breakdown per cookie (based on a 3-inch cat with icing):
| Nutrient | Amount per Cookie |
|---|---|
| Calories | 145 |
| Fat | 6g |
| Saturated Fat | 3.5g |
| Carbohydrates | 22g |
| Sugar | 14g |
| Protein | 1.5g |
On the bright side, this recipe uses real butter and vanilla, so you’re avoiding the artificial flavors and preservatives in store-bought cookies. The egg provides a little protein, and making them at home means you control exactly what goes in. I love that I can use high-quality ingredients and skip the shortening and hydrogenated oils. Plus, the act of baking them together is a wonderful way to connect with family. That counts for something, doesn’t it?
Conclusion
These adorable black cat Halloween sugar cookies are more than just a cute dessert—they’re a little project that brings a lot of joy. The dough is forgiving, the decorating is endlessly creative, and the result is a batch of cookies that feel special without being fussy. I love how each cat ends up with its own personality, and I honestly look forward to making them every October.
I hope you give them a try and make them your own. Add a little extra sparkle, give your cats googly eyes, or turn them into a whole Halloween cookie platter alongside a black velvet spider web cheesecake for the ultimate spooky spread. Whatever you do, I’d love to hear about it. Drop a comment below and tell me how your cats turned out—or share a photo on social media and tag me. Happy baking, and may your cookies be perfectly spooky!
Frequently Asked Questions
Can I use a different cookie cutter shape for this recipe?
Absolutely! This dough works beautifully with any shape. Just adjust the baking time slightly if the cutter is much larger or smaller than 3 inches.
Why did my royal icing turn out gray instead of black?
This usually happens when you don’t use enough gel food coloring or you use liquid coloring. Gel is concentrated and gives a true black. Let the icing rest for 10 minutes after mixing—the color deepens as it sits.
Can I freeze the decorated cookies?
I don’t recommend freezing cookies once they’re decorated with royal icing. The icing can crack or become sticky from condensation when thawing. Freeze the undecorated cookies instead.
How do I prevent the cookies from spreading in the oven?
Chill the dough for at least 1 hour before rolling and cutting. Also, make sure your butter is softened but not too warm, and don’t overmix the dough.
Can I use a substitute for meringue powder?
Yes! You can use 2 tablespoons of pasteurized egg white powder instead, or omit it entirely and use a recipe for royal icing with fresh egg whites. Just note that fresh egg white icing needs to be used within a few days and should not be left out for long periods.
If you enjoyed these cookies, you might also love making a batch of tender brown butter pumpkin chocolate chip blondies for another cozy fall treat. Happy Halloween!
Pin This Recipe!
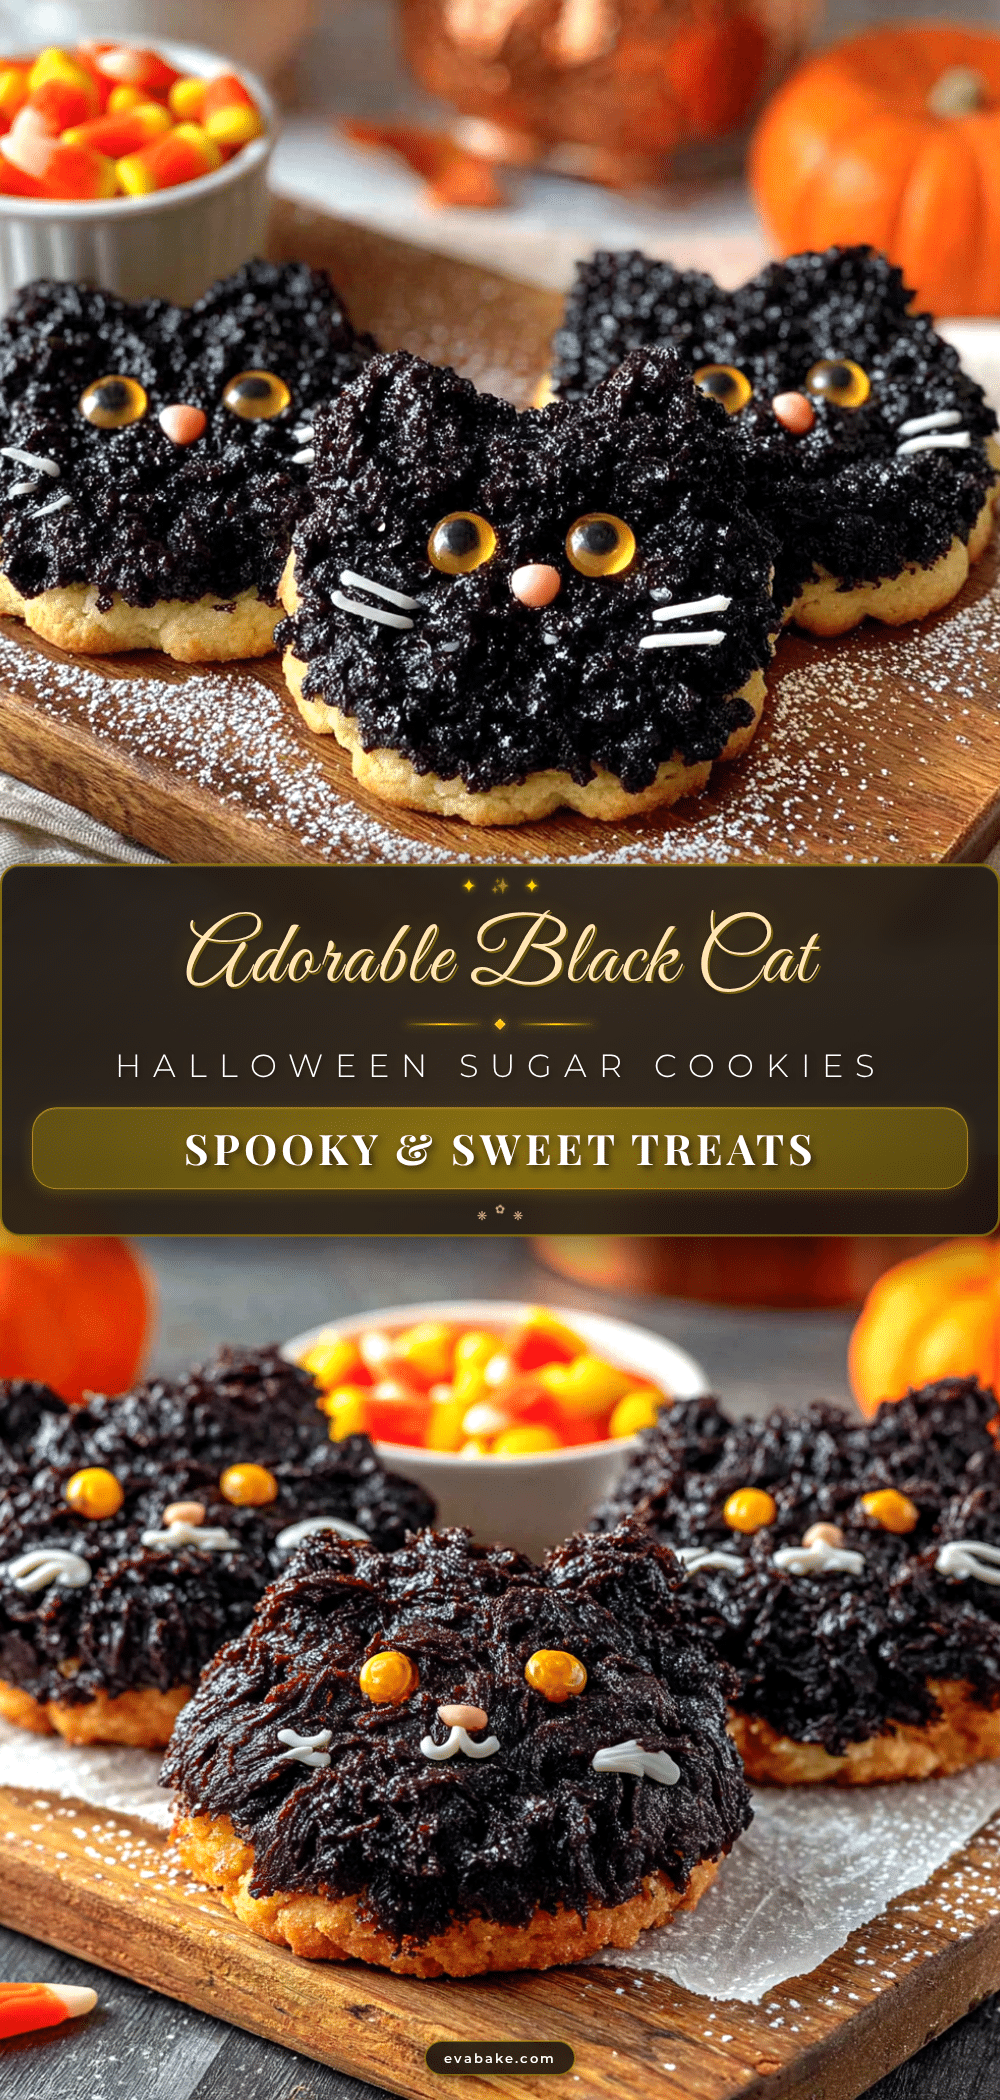
Adorable Black Cat Halloween Sugar Cookies: Easy Recipe

These adorable black cat Halloween sugar cookies are foolproof, hold their shape perfectly, and stay soft in the center. They’re a fun, creative project that yields a batch of personality-filled cookies perfect for Halloween parties or cozy afternoons.
- Prep Time: 30 minutes
- Cook Time: 10 minutes
- Total Time: 1 hour 40 minutes (includes 1 hour chilling and 30 minutes icing setting)
- Yield: 24 servings 1x
- Category: Dessert
- Cuisine: American
Ingredients
- 1 cup (2 sticks / 226g) unsalted butter, softened
- 1 cup (200g) granulated sugar
- 1 large egg, room temperature
- 2 teaspoons vanilla extract
- 2 ½ cups (312g) all-purpose flour
- 1 teaspoon baking powder
- ½ teaspoon salt
- 3 cups (360g) powdered sugar, sifted
- 2 tablespoons meringue powder
- 4–6 tablespoons water
- 1–2 teaspoons black gel food coloring
- Orange gel food coloring (for eyes and noses)
- White sanding sugar or edible glitter (optional)
Instructions
- Make the Dough: In a stand mixer with paddle attachment, beat softened butter and granulated sugar on medium speed until light and fluffy (2-3 minutes). Scrape down sides. Add egg and vanilla extract; beat until combined. In a separate bowl, whisk together flour, baking powder, and salt. With mixer on low, gradually add dry ingredients to wet mixture. Mix just until dough comes together. Do not overmix.
- Chill the Dough: Divide dough in half, flatten into discs, wrap tightly in plastic wrap. Refrigerate for at least 1 hour, or up to 2 days.
- Roll and Cut: Preheat oven to 350°F (175°C). Line baking sheets with parchment paper. On a lightly floured surface, roll one disc of dough to ¼-inch thickness. Use cat-shaped cookie cutter to cut out cookies. Place 1 inch apart on prepared baking sheets.
- Bake: Bake for 8-10 minutes, until edges are just barely golden. Centers will still look soft. Cool on baking sheet for 5 minutes, then transfer to wire rack to cool completely.
- Make Royal Icing: In a stand mixer bowl, combine sifted powdered sugar and meringue powder. Add 4 tablespoons water; beat on low until combined. Increase to medium-high and beat 4-5 minutes until thick, glossy, and forms stiff peaks. Add black gel food coloring (start with 1 teaspoon); beat until uniform. Let sit 10 minutes for color to deepen. Add water, 1 teaspoon at a time, until icing reaches ‘flood’ consistency (flows like honey, ribbon disappears in about 10 seconds).
- Decorate the Cats: Transfer some black icing to a piping bag with #2 tip. Outline each cat cookie, then immediately flood inside with same icing. Use toothpick to guide icing into ears and tail. Tap baking sheet gently to release air bubbles. Let set 30 minutes. Using tiny bit of white or orange royal icing, pipe two tiny eyes and a nose. Add white sanding sugar on eyes if desired. Let cookies set at least 2 hours, or overnight.
Notes
For deep black color, use gel food coloring and let icing rest 10-15 minutes. Add a tiny drop of purple or blue gel to neutralize brown undertones. Do not overbake; cookies are done when edges are just barely golden. Chilling dough is essential to prevent spreading. For gluten-free, use 1:1 gluten-free flour blend and add 1 tablespoon extra butter. For vegan, use vegan butter and flax egg.
Nutrition
- Serving Size: 1 cookie (3-inch cat
- Calories: 145
- Sugar: 14
- Fat: 6
- Saturated Fat: 3.5
- Carbohydrates: 22
- Protein: 1.5
Keywords: Halloween cookies, black cat cookies, sugar cookies, royal icing cookies, Halloween baking, easy sugar cookies, decorated cookies