“Mom, can we please make the hot dogs that look like little ghosts?” My six-year-old was practically bouncing off the kitchen counter, having just seen a photo on my phone that a friend had texted me. I hadn’t even thought about Halloween party food yet, honestly. It was mid-October, I was still recovering from the chaos of back-to-school season, and my brain was firmly stuck in “what’s for dinner tonight” mode. But that question—that specific, excited, slightly impatient question—changed my whole plan for the week.
I pulled up the picture and squinted. It wasn’t ghosts. It was mummies. Little hot dogs wrapped in strips of dough with tiny mustard eyes peeking out. And I’ll admit it—I laughed out loud. They were so simple. Almost too simple. But something about them felt perfect. Not fancy, not fussy, just exactly the kind of thing you make when you want to surprise your kids or show up to a Halloween party with something that actually gets eaten. Not just admired and left on the plate.
So I grabbed a pack of crescent rolls and a bag of hot dogs from the fridge, and we got to work. What came out of the oven was ridiculous in the best way. Crispy, salty, a little bit silly looking, and completely gone within ten minutes. That’s when I knew these Easy Mummy Hot Dog Bites were going to become a yearly tradition. They’re the kind of recipe that doesn’t try too hard, and that’s exactly what makes them unforgettable.
Why You’ll Love This Recipe
Let me tell you why these mummy hot dog bites are about to become your go-to Halloween appetizer. I’ve tested this recipe about six times now (yes, my family has been very patient), and I’ve nailed down every little detail so you don’t have to guess.
- Super Quick & Easy: From start to finish, you’re looking at about 20 minutes. Seriously. That’s faster than ordering pizza and way more fun.
- Simple Ingredients: You probably already have everything you need. Crescent dough, hot dogs, and a little mustard. That’s it. No fancy grocery store trips required.
- Perfect for Halloween Parties: These little guys are the star of any spooky spread. Kids love them, adults sneak them, and they disappear faster than candy from a bowl.
- Crowd-Pleaser: I’ve brought these to three different gatherings now, and every single time someone asks for the recipe. Even picky eaters can’t resist.
- Unbelievably Delicious: The combination of flaky, buttery dough wrapped around a juicy hot dog is pure comfort food. Add those tiny mustard eyes, and you’ve got something that tastes as good as it looks.
What makes this recipe different from all the other versions out there? It’s the little things. I figured out the perfect dough-to-hot-dog ratio so the mummies don’t look bald or overstuffed. I also discovered that using crescent dough sheets instead of perforated crescent rolls gives you cleaner, more even strips. And the baking time? I’ve tested it at different temperatures to get that golden-brown finish without burning the tips. This isn’t just another Halloween snack—it’s the one you’ll come back to year after year.
Honestly, these mummy hot dog bites are the kind of recipe that makes you feel like a kitchen hero without actually doing much work. They’re perfect for those nights when you want to do something special but don’t have the energy for a complicated project. And let’s face it, isn’t that most of us during the Halloween season?
What Ingredients You Will Need
This recipe uses simple, everyday ingredients to create something that feels special. I love that I can whip these up without a trip to the store, and you probably can too.
- Hot Dogs (8-10): Use your favorite brand. I personally like beef hot dogs for their richer flavor, but turkey or chicken hot dogs work great too. Just make sure they’re standard-sized, not the jumbo ones, so the dough wraps around them nicely.
- Refrigerated Crescent Roll Dough (1 can, 8 oz): This is the shortcut that makes the recipe so quick. I recommend using the crescent dough sheets (the kind without perforations) if you can find them. They make cutting even strips much easier. Pillsbury is my go-to, but store brands work just as well.
- Yellow Mustard (for the eyes): You’ll need about a teaspoon total. The yellow color really pops against the golden dough and gives the mummies that classic spooky look. You can also use Dijon or honey mustard for a slightly different flavor.
- Egg Wash (1 egg + 1 tablespoon water): This is optional but highly recommended. Brushing the dough with egg wash before baking gives the mummies a beautiful golden-brown sheen. If you’re out of eggs, a little milk or cream works too.
- Optional Toppings: Sesame seeds, poppy seeds, or everything bagel seasoning can add extra texture and flavor. I sometimes sprinkle a little flaky sea salt on top for that perfect salty bite.
When it comes to ingredient selection, here’s a tip I learned the hard way: don’t use the cheap, thin hot dogs. They tend to split and curl up during baking, which makes the mummies look a little… deformed. Stick with regular or all-beef hot dogs for the best shape. Also, if you’re using crescent rolls with perforations, just press the seams together before cutting. It takes an extra 10 seconds and makes a huge difference.
For those with dietary restrictions, there are plenty of options. Use gluten-free crescent dough (I’ve tested the brand from the freezer section, and it works beautifully) or swap in vegan hot dogs and dairy-free crescent dough for a plant-based version. Just keep an eye on the baking time, as alternative doughs can brown faster.
Equipment Needed
You don’t need any fancy kitchen gadgets for this recipe, which is part of the beauty. Here’s what you’ll need:
- Baking Sheet: A standard half-sheet pan works perfectly. Line it with parchment paper for easy cleanup.
- Sharp Knife or Pizza Cutter: For cutting the crescent dough into even strips. A pizza cutter makes the job much faster and cleaner.
- Small Pastry Brush: For applying the egg wash. If you don’t have one, a paper towel works in a pinch.
- Toothpicks: For dotting the mustard eyes onto the mummies. You can also use a squeeze bottle or even a plastic bag with a tiny corner snipped off.
- Cooling Rack: Optional, but it helps the mummies stay crispy instead of getting soggy on the bottom.
I’ve made these with just a butter knife and my fingers before, and they still turned out great. The pizza cutter is a nice-to-have, not a must. And if you’re like me and hate washing extra dishes, you can skip the pastry brush and just use a silicone spatula to spread the egg wash. Works like a charm.
Preparation Method
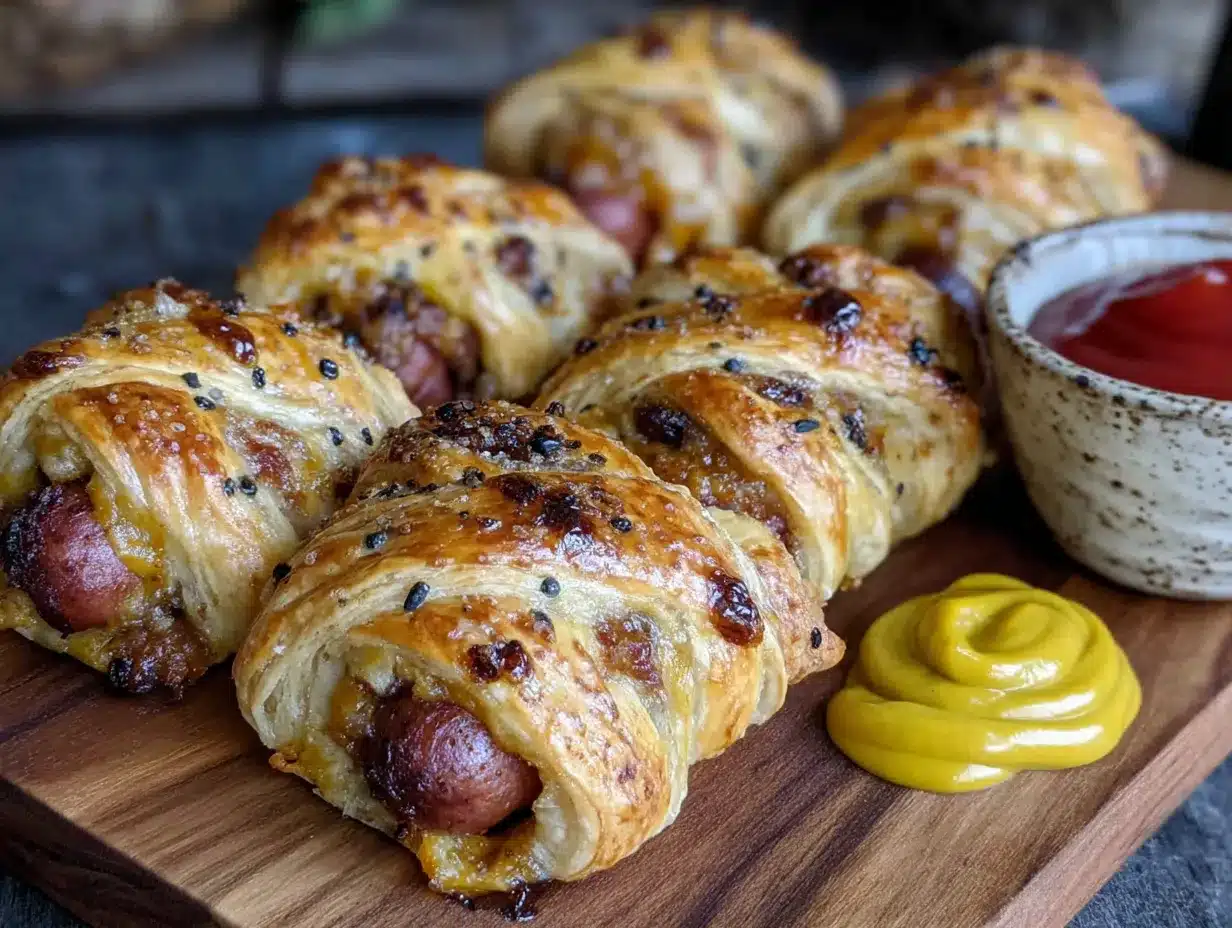
Alright, let’s get to the fun part. Here’s how to make these adorable mummy hot dog bites step by step.
- Preheat your oven to 375°F (190°C). Line a baking sheet with parchment paper or a silicone baking mat. This prevents sticking and makes cleanup a breeze.
- Prepare the hot dogs. Pat them dry with a paper towel. This helps the dough stick better. If your hot dogs are particularly long, you can cut them in half crosswise for smaller, more bite-sized mummies.
- Unroll the crescent dough. If you’re using perforated crescent rolls, press the seams together to create a solid sheet. If you’re using crescent dough sheets, you’re already good to go.
- Cut the dough into strips. Use a sharp knife or pizza cutter to slice the dough into thin strips, about 1/4 to 1/2 inch wide. You want them thin enough to wrap around the hot dog multiple times but thick enough that they don’t tear. Aim for about 8-10 strips per hot dog.
- Wrap the mummies. Take one hot dog and start wrapping a dough strip around it, starting at one end and working your way to the other. Leave a small gap near the top for the mummy’s face. Don’t wrap too tightly—the dough needs room to expand as it bakes. Overlap the strips slightly so there are no gaps.
- Place on the baking sheet. Arrange the wrapped hot dogs on the prepared baking sheet, leaving about an inch of space between each one. They won’t spread much, so you can fit quite a few on one sheet.
- Brush with egg wash. In a small bowl, whisk together one egg and one tablespoon of water. Using a pastry brush, lightly coat each mummy with the egg wash. This gives them that gorgeous golden-brown color.
- Bake for 10-12 minutes. Keep an eye on them, especially toward the end. You want the dough to be golden brown and puffed up. The hot dogs should be heated through and slightly sizzling.
- Let them cool slightly. Remove the baking sheet from the oven and let the mummies cool for 2-3 minutes on the sheet. This allows the dough to set and makes them easier to handle.
- Add the eyes. Using a toothpick, dot two small dots of yellow mustard near the top of each mummy to create the eyes. You can make them look scared, angry, or just confused—it’s all part of the fun.
A few things to watch out for: If the dough strips are too long, they can get a little messy. I like to cut them to about 4-5 inches each. Also, if you’re using turkey or chicken hot dogs, they tend to cook faster, so check them at the 8-minute mark. And here’s a pro tip I learned after my first batch came out looking like sad, deflated ghosts—don’t over-wrap the hot dogs. Two or three passes with the dough strip is plenty. You want to see glimpses of the hot dog peeking through so it still looks like a mummy.
The sensory cues are important here. When the mummies are done, the kitchen will smell like buttery crescent rolls and warm hot dogs—basically the smell of childhood nostalgia. The dough should be puffed and golden, and the hot dogs should look plump and juicy. If you tap the dough gently, it should feel firm and slightly crisp.
Cooking Tips & Techniques
Over the course of testing this recipe, I’ve made plenty of mistakes so you don’t have to. Here are the tips that make the biggest difference.
Don’t overwork the dough. Crescent dough is delicate, and if you handle it too much, it can become tough. When you’re cutting the strips, use a light touch. If the dough starts to stick to your knife, dust it with a little flour. And if the strips tear, don’t panic—just press them back together. They’ll still bake up just fine.
Space out the mummies on the baking sheet. I learned this one the hard way. If the mummies are too close together, the dough can stick and tear when you try to separate them after baking. Give them at least an inch of breathing room.
Use the egg wash. I know it’s an extra step, but it makes a huge difference. Without it, the dough comes out pale and matte. With it, you get that beautiful golden sheen that makes the mummies look bakery-quality. If you’re out of eggs, brush the dough with milk or melted butter instead.
Let the mummies cool before adding the eyes. If you try to dot the mustard on while the mummies are still hot, the mustard will melt and run down the sides. Trust me, I’ve made that mistake. Give them a few minutes to cool, and the mustard will stay put.
Make-ahead tip: You can assemble the mummies up to a day in advance. Just wrap the hot dogs, place them on the baking sheet, cover with plastic wrap, and refrigerate. When you’re ready to bake, add the egg wash and pop them in the oven. You might need to add a minute or two to the baking time since they’re starting from cold.
One of my favorite tips for consistency is to use a ruler. Seriously. I measure the dough strips to make sure they’re all the same width. It sounds a little obsessive, but it means every mummy bakes evenly and looks uniform. Your guests will notice, even if they don’t know why.
Variations & Adaptations
Once you’ve mastered the basic recipe, the possibilities are endless. Here are some of my favorite variations.
Spicy Mummy Bites: Use spicy Italian sausages or chorizo instead of hot dogs. Wrap them the same way, and serve with a side of sriracha mayo for dipping. The heat pairs surprisingly well with the buttery dough.
Cheesy Mummies: Before wrapping the hot dogs, cut a slit lengthwise down the center and stuff it with a strip of cheddar or mozzarella cheese. The cheese will melt and ooze out a little during baking, which makes the mummies look even more deliciously creepy.
Vegetarian Mummies: Swap the hot dogs for vegetarian sausages or even carrot sticks (blanched first so they’re tender). The dough wraps around them the same way, and they’re just as fun to eat. My vegetarian friend couldn’t stop raving about these.
Breakfast Mummies: Use breakfast sausages instead of hot dogs and serve them with maple syrup for dipping. They’re perfect for a Halloween morning surprise or a fun brunch spread. I made these for a Halloween playdate, and the kids went wild.
Mini Mummies: Cut the hot dogs into thirds instead of halves, and use smaller strips of dough. These bite-sized versions are perfect for little hands or for serving as appetizers at a party. They also bake a minute or two faster, so keep an eye on them.
I’ve personally tried the cheesy mummy variation, and it’s my absolute favorite. The melted cheese adds this gooey, indulgent element that takes the recipe to a whole new level. Just be careful when you bite into them—the cheese is hot!
Serving & Storage Suggestions
These mummy hot dog bites are best served warm, right out of the oven. The dough is at its flakiest and the hot dogs are at their juiciest. I like to arrange them on a platter with a small bowl of ketchup or mustard for dipping. If you’re feeling fancy, you can also serve them with honey mustard or barbecue sauce.
For a complete Halloween spread, pair these mummies with some other spooky snacks. A black velvet spider web cheesecake makes a stunning dessert centerpiece, and the contrast between the savory mummies and the rich, creamy cheesecake is just perfect. If you’re looking for another savory option, these savory mummy jalapeño popper hot dogs are another crescent dough creation that always gets rave reviews. And for a fun, shareable appetizer, try the crispy jalapeño popper crescent ring—it’s perfect for feeding a crowd.
If you have leftovers (which, honestly, is rare), store them in an airtight container in the refrigerator for up to three days. To reheat, pop them in a 350°F oven for about 5 minutes, or until the dough is crispy again. The microwave works in a pinch, but the dough will be softer and less flaky.
These mummies can also be frozen. Assemble them completely (without the egg wash), place them on a baking sheet, and freeze until solid. Then transfer them to a freezer bag. When you’re ready to bake, add the egg wash and bake straight from frozen, adding a few extra minutes to the baking time. They’re a lifesaver for last-minute Halloween parties.
One thing I love about these mummies is that the flavors actually get better after a day in the fridge. The dough absorbs a little of the hot dog’s smoky flavor, and everything melds together beautifully. Just don’t skip the reheating step—cold crescent dough isn’t nearly as good.
Nutritional Information & Benefits
Let’s be real—these mummy hot dog bites are a treat, not a health food. But that doesn’t mean they can’t fit into a balanced diet. Here’s the estimated nutritional breakdown for one mummy (based on using standard hot dogs and crescent dough):
- Calories: 180-200
- Protein: 7-8 grams
- Fat: 12-14 grams
- Carbohydrates: 12-14 grams
- Fiber: 0-1 gram
- Sugar: 2-3 grams
The hot dogs provide a decent amount of protein, which helps keep you full and satisfied. The crescent dough offers quick energy from carbohydrates, perfect for fueling a night of trick-or-treating or party hopping. And the mustard adds a tiny amount of turmeric, which has anti-inflammatory properties.
If you’re looking to make these a little healthier, use turkey or chicken hot dogs, which are lower in fat and calories. You can also find reduced-fat crescent dough or even use whole wheat dough for extra fiber. For a gluten-free option, use gluten-free crescent dough and check that your hot dogs are gluten-free as well.
As with any treat, moderation is key. I usually recommend serving two to three mummies per person as part of a larger spread. They’re satisfying without being overly indulgent, and they leave room for all the other Halloween goodies.
Conclusion
These Easy Mummy Hot Dog Bites are proof that the best recipes don’t have to be complicated. They’re fun, they’re fast, and they bring a smile to everyone’s face. Whether you’re making them for a Halloween party, a classroom celebration, or just a silly weeknight dinner, they deliver exactly what you want—deliciousness with a side of spooky charm.
I love that this recipe lets me be creative without stressing out. The mummies never look exactly the same, and that’s part of the fun. Some come out looking scared, some look grumpy, and some look like they’re ready to party. It’s a little different every time, and that keeps things interesting.
So go ahead and give these a try. Customize them however you like—add cheese, spice them up, or keep them classic. And when you make them, I’d love to hear about it. Drop a comment below and tell me how your mummies turned out. Did your kids love them? Did they disappear at the party? Share your photos and tag me on social media. I can’t wait to see your spooky creations!
Happy Halloween, and happy snacking!
Frequently Asked Questions
Can I use puff pastry instead of crescent dough?
Absolutely! Puff pastry gives the mummies a flakier, more buttery texture. Just roll it out slightly thinner than usual before cutting into strips. The baking time might be a minute or two longer, so keep an eye on them.
How do I prevent the dough from unraveling during baking?
Make sure you’re wrapping the dough strips snugly but not too tight. Overlap the strips slightly, and tuck the end of the last strip under the mummy. The egg wash also helps seal the dough in place as it bakes.
Can I make these ahead of time for a party?
Yes! You can assemble the mummies up to 24 hours in advance and keep them covered in the refrigerator. Add the egg wash just before baking. You can also freeze them unbaked for up to a month.
What can I use instead of mustard for the eyes?
If you’re not a fan of mustard, try using ketchup, sriracha, or even small dots of cream cheese. For a sweeter option, use melted chocolate or frosting. The key is to use something that contrasts in color so the eyes stand out.
How do I keep the mummies from getting soggy?
Make sure your hot dogs are patted dry before wrapping. Also, don’t overcrowd the baking sheet, as steam can get trapped and make the dough soggy. If you’re storing leftovers, reheat them in the oven instead of the microwave to restore crispiness.
Pin This Recipe!
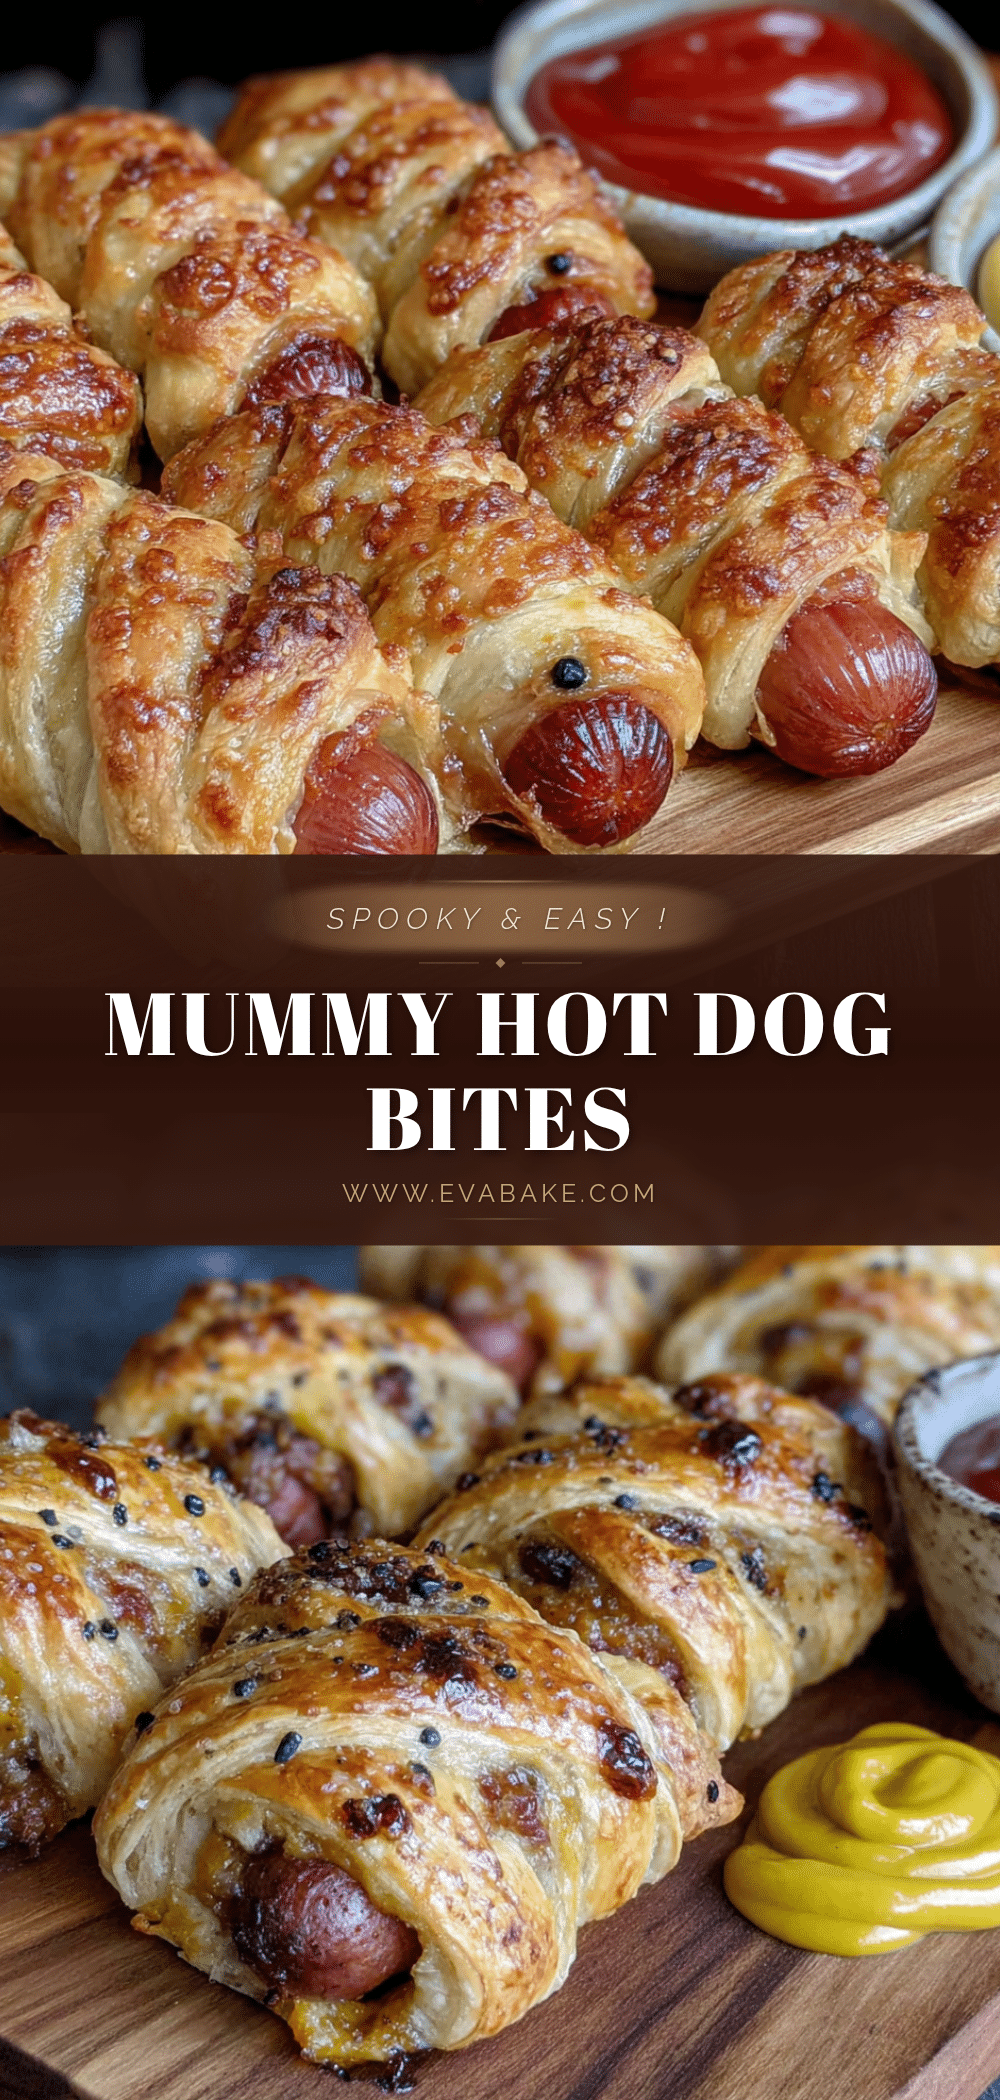
Perfect Mummy Hot Dog Bites: Easy Halloween Appetizer

These easy mummy hot dog bites are a fun and delicious Halloween appetizer made with crescent dough wrapped around hot dogs, baked until golden, and finished with mustard eyes. They’re quick, kid-friendly, and perfect for parties.
- Prep Time: 10 minutes
- Cook Time: 12 minutes
- Total Time: 22 minutes
- Yield: 8-10 servings (1 mummy per serving) 1x
- Category: Appetizer
- Cuisine: American
Ingredients
- 8–10 hot dogs (standard-sized, not jumbo)
- 1 can (8 oz) refrigerated crescent roll dough (preferably sheets without perforations)
- 1 teaspoon yellow mustard (for eyes)
- 1 large egg (for egg wash)
- 1 tablespoon water (for egg wash)
- Optional: sesame seeds, poppy seeds, everything bagel seasoning, or flaky sea salt
Instructions
- Preheat oven to 375°F (190°C). Line a baking sheet with parchment paper or a silicone baking mat.
- Pat hot dogs dry with a paper towel. If desired, cut hot dogs in half crosswise for smaller mummies.
- Unroll crescent dough. If using perforated rolls, press seams together to form a solid sheet.
- Using a sharp knife or pizza cutter, cut dough into thin strips about 1/4 to 1/2 inch wide. Aim for 8-10 strips per hot dog, each about 4-5 inches long.
- Wrap one dough strip around each hot dog, starting at one end and working to the other, leaving a small gap near the top for the face. Overlap strips slightly and do not wrap too tightly.
- Place wrapped hot dogs on prepared baking sheet, spacing about 1 inch apart.
- In a small bowl, whisk together egg and water. Brush each mummy lightly with egg wash.
- Bake for 10-12 minutes, until dough is golden brown and puffed, and hot dogs are heated through.
- Remove from oven and let cool on baking sheet for 2-3 minutes.
- Using a toothpick, dot two small dots of yellow mustard near the top of each mummy for eyes.
Notes
For best results, use crescent dough sheets (without perforations) for cleaner strips. Pat hot dogs dry to help dough stick. Don’t over-wrap; 2-3 passes with dough strip is enough. Let mummies cool slightly before adding mustard eyes to prevent melting. Can be assembled up to 24 hours in advance and refrigerated; add egg wash just before baking. To freeze, assemble without egg wash, freeze solid, then bake from frozen with egg wash, adding a few extra minutes.
Nutrition
- Serving Size: 1 mummy
- Calories: 190
- Sugar: 2.5
- Sodium: 480
- Fat: 13
- Saturated Fat: 4.5
- Carbohydrates: 13
- Protein: 7.5
Keywords: Halloween appetizer, mummy hot dogs, crescent dough hot dogs, easy Halloween recipe, kid-friendly Halloween snack