I was standing in the checkout line at the craft store last October, clutching a bag of googly eyes that were way too small for any actual crafting project, when a woman behind me asked if I was making monsters. I laughed and said something about Halloween baking, but honestly? I had no idea what I was going to do with them. I just knew I needed them. That bag of eyes sat on my counter for three days while I stared at it, waiting for inspiration to strike. And then, on a rainy Tuesday afternoon when the power flickered twice and I was already covered in melted chocolate from a failed batch of truffles, it hit me — pretzels. Crunchy, salty, buttery pretzels, swimming in caramel and chocolate, with those ridiculous little eyes staring up at me. I made a mess of my stovetop, burned my finger on a piece of hot caramel, and ate way more broken pretzel pieces than I care to admit. But when I pulled that tray out of the fridge and saw those faces staring back at me, I knew I had stumbled onto something special. Maybe you’ve been there — standing in a store aisle, buying something you don’t need because it sparks a feeling you can’t quite name. This bark is that feeling, made edible.
This Spooky Crunchy Halloween Pretzel Bark with Candy Eyes is the kind of recipe that makes you feel like a kitchen wizard without any of the stress. It’s salty, sweet, crunchy, and just a little bit creepy in the most delightful way. The combination of buttery pretzels, rich caramel, smooth chocolate, and those wiggly candy eyes creates a treat that disappears faster than a ghost at dawn. I’ve been making this every October since that rainy afternoon, and it never fails to get the exact reaction I’m chasing — that little gasp, the laugh, the immediate grab for another piece.
Why You’ll Love This Recipe
Let me tell you why this recipe has earned a permanent spot in my Halloween rotation. I’ve tested it more times than I can count, tweaked the caramel-to-chocolate ratio, tried different pretzel shapes, and even experimented with white chocolate versions. This version is the one I keep coming back to, and here’s why it works:
- Quick & Easy: From start to finish, this comes together in about 30 minutes of active time. The hardest part is waiting for it to set in the fridge. Perfect for those last-minute Halloween party invites or when the kids announce they need treats for school tomorrow.
- Simple Ingredients: You probably already have most of these in your pantry. Pretzels, butter, brown sugar, chocolate chips, and candy eyes. No weird specialty items or expensive baking ingredients required.
- Perfect for Halloween: This is the ultimate spooky season treat. It works for classroom parties, office gatherings, Halloween movie nights, or just making your kitchen feel festive. The candy eyes make it instantly recognizable as something special.
- Crowd-Pleaser: I’ve watched people who swear they don’t like sweet-and-salty combos go back for thirds. Kids love the creepy faces, adults love the flavor, and everyone loves how easy it is to grab a piece and keep mingling.
- Unbelievably Delicious: The texture is what gets me every time. That initial snap of chocolate, the chewy caramel layer, and then the crunchy, salty pretzel underneath. It’s a symphony of textures that somehow works perfectly together.
What makes this recipe different from all the other Halloween bark recipes out there? It’s the caramel. Most versions just melt chocolate over pretzels and call it done. But that extra layer of homemade caramel — it changes everything. It adds depth, chewiness, and a richness that store-bought caramel just can’t match. Plus, the candy eyes aren’t just decoration; they become part of the experience. Every piece has a personality. You’ll find yourself picking out the ones with the funniest expressions first.
This recipe is the one that makes people close their eyes after the first bite. It’s Halloween comfort food — nostalgic, playful, and deeply satisfying. Whether you’re making it for a spooky party or just to brighten up a gloomy October afternoon, this bark delivers every single time.
What Ingredients You Will Need
This recipe uses simple, wholesome ingredients that work together to create something truly magical. Most of these are pantry staples, which makes this perfect for spontaneous baking sessions when the Halloween spirit strikes unexpectedly.
For the Pretzel Base:
- 4 cups mini pretzel twists — I prefer the traditional mini twists because they create nice flat surfaces for the toppings to adhere to. Snyder’s of Hanover are my go-to brand; they’re sturdy enough to hold up to the caramel without getting soggy. If you can only find regular-sized pretzels, just break them into smaller pieces.
- 1 cup salted butter — This is important. The salt in the butter balances the sweetness of the caramel and chocolate. I use Land O’Lakes because it has a consistent butterfat content that gives reliable results every time. Make sure it’s real butter, not margarine or spread.
- 1 cup packed light brown sugar — Light brown sugar gives the caramel a gentle molasses flavor without being too heavy. Dark brown sugar works too, but it will make the caramel darker and slightly more intense. Pack it firmly when measuring for accuracy.
- 1/4 cup light corn syrup — This prevents the caramel from crystallizing and keeps it smooth and glossy. If you’re avoiding corn syrup, you can substitute with honey or agave nectar, but the texture will be slightly different — a bit softer and less firm when set.
- 1 teaspoon vanilla extract — Pure vanilla extract adds warmth and depth to the caramel. Imitation vanilla works in a pinch, but the flavor won’t be as rich. I always reach for Nielsen-Massey when I want the best results.
- 1/4 teaspoon baking soda — This might seem strange, but adding baking soda to the caramel helps create tiny air bubbles that make the caramel lighter and less likely to crack when you cut into it. Don’t skip this!
For the Chocolate Layer:
- 2 cups semi-sweet chocolate chips — Semi-sweet is the sweet spot here. It’s not too sweet that it overpowers the caramel, and not too bitter that it fights with the pretzels. Ghirardelli chips melt beautifully and have a nice snap when set. If you prefer milk chocolate, go ahead and swap — just know the final result will be sweeter overall.
- 1 tablespoon coconut oil or vegetable shortening — This helps thin the chocolate for easier spreading and gives it a beautiful shine. Coconut oil adds a subtle flavor that actually complements the caramel nicely. Vegetable shortening is flavorless if you prefer that.
For the Decoration:
- 1/2 cup candy eyes — These are the star of the show! You can find them at craft stores, baking supply shops, or online. They come in different sizes — I like using a mix of small and medium eyes for variety. Wilton makes reliable ones that hold up well on the chocolate without bleeding color.
- Optional: 1/4 cup white chocolate chips for drizzling — This is completely optional, but a white chocolate drizzle adds another layer of visual interest and makes the candy eyes pop even more. If you’re feeling extra festive, you can also add orange or purple sprinkles.
- Optional: Flaky sea salt for finishing — A light sprinkle of flaky sea salt right before the chocolate sets takes this to another level. Maldon salt is my favorite for this — those delicate crystals add just the right amount of crunch and saltiness.
Substitution Notes: For a dairy-free version, use vegan butter and dairy-free chocolate chips. The caramel recipe works with plant-based butter, though the texture might be slightly softer. For a gluten-free option, simply use gluten-free pretzels — they work perfectly with the same method. Just check that your candy eyes are also gluten-free, as some brands use wheat flour in production.
Equipment Needed
You don’t need a fancy kitchen to make this recipe work. Here’s what you’ll need:
- Baking sheet — A standard half-sheet pan (13×18 inches) works perfectly. Line it with parchment paper or a silicone baking mat for easy release. I’ve learned the hard way that wax paper doesn’t work here — it melts and sticks to the caramel.
- Medium saucepan — For making the caramel. A heavy-bottomed saucepan distributes heat evenly and prevents scorching. I use a 2-quart stainless steel pot from Cuisinart that has served me well for years.
- Rubber spatula — For stirring the caramel and spreading the chocolate. A heat-resistant silicone spatula is ideal because it won’t melt if it touches the hot pan.
- Microwave-safe bowl — For melting the chocolate. Glass or ceramic works best. If you don’t have a microwave, you can use a double boiler setup with a heatproof bowl over simmering water.
- Parchment paper — Essential for lining the baking sheet. It prevents sticking and makes cleanup a breeze. Reynolds brand is reliable and widely available.
- Sharp knife — For cutting the bark into pieces once it’s set. A long chef’s knife works well, but a serrated knife can help if the bark is particularly thick.
- Refrigerator space — You’ll need room in your fridge for the baking sheet to sit flat while the bark sets. Clear a shelf beforehand to avoid any last-minute scrambling.
A note on budget-friendly options: If you don’t have a silicone baking mat, parchment paper works just as well. Don’t run out and buy a fancy saucepan — any medium pot with a heavy bottom will do. The most important piece of equipment is patience while it sets in the fridge.
Preparation Method
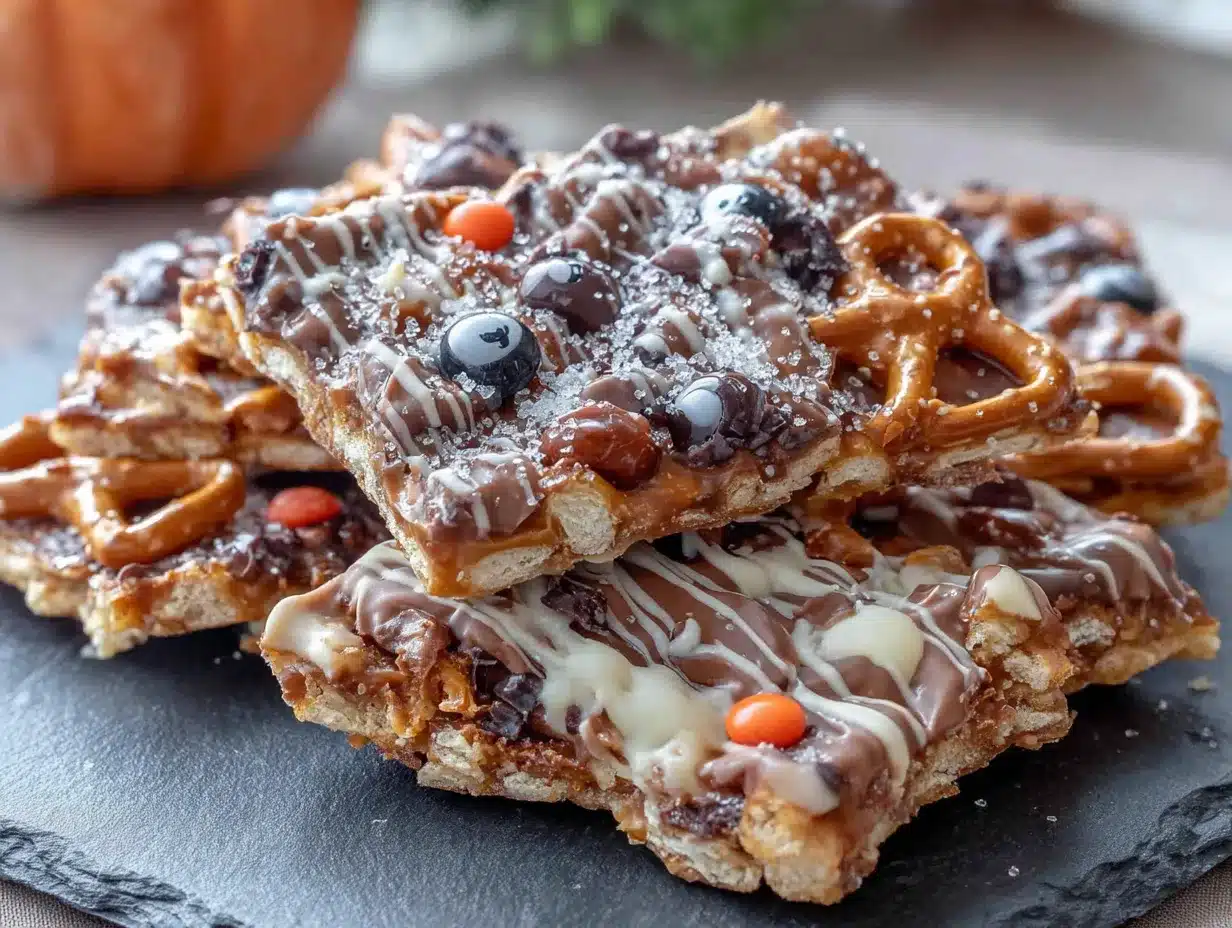
Let me walk you through this step by step. I’ve made this recipe so many times that I could do it in my sleep, but I remember how intimidating the caramel-making process felt the first time. Trust me — if I can do it without burning my kitchen down, you can too.
Step 1: Prepare the Base
Preheat your oven to 350°F (175°C). Line your baking sheet with parchment paper, leaving some overhang on the sides — this will help you lift the bark out later. Spread the mini pretzel twists in a single layer across the baking sheet. Don’t worry if they overlap a little, but try to keep it mostly even. Pop the baking sheet in the oven for about 5 minutes, just until the pretzels are warm and slightly toasted. You’ll smell them — that toasty, buttery aroma is your cue. Set them aside while you make the caramel.
Step 2: Make the Caramel
In your medium saucepan, combine the butter, brown sugar, and corn syrup over medium heat. Stir constantly with your rubber spatula until the butter is melted and everything is combined. This takes about 2-3 minutes. Once it comes to a gentle boil — you’ll see bubbles breaking the surface — stop stirring and let it cook for exactly 4 minutes. Set a timer! I’ve gotten distracted and let it go too long, and the caramel turned into hard candy. Not ideal. After 4 minutes, remove the pan from heat and stir in the vanilla extract and baking soda. The mixture will bubble up and foam — that’s the baking soda doing its job. It will smell incredible, like butter and brown sugar and warmth.
Step 3: Pour the Caramel
Working quickly but carefully, pour the hot caramel evenly over the warm pretzels. Use your spatula to spread it out, making sure every pretzel gets coated. Don’t worry if it looks messy — that’s part of the charm. The caramel will be very hot, so keep little hands away from the pan. Let the caramel-covered pretzels cool for about 5 minutes at room temperature. You want it to set slightly but still be tacky to the touch.
Step 4: Melt the Chocolate
While the caramel is cooling, place your chocolate chips and coconut oil in a microwave-safe bowl. Microwave in 30-second intervals, stirring well after each interval, until the chocolate is completely smooth and glossy. This usually takes about 1-2 minutes total. Be careful not to overheat the chocolate — it will seize up and become grainy if it gets too hot. If you prefer the double boiler method, fill a small pot with an inch of water, bring it to a simmer, and place your bowl of chocolate on top. Stir until melted and smooth.
Step 5: Spread the Chocolate
Pour the melted chocolate over the caramel layer. Use your spatula to spread it evenly, covering the caramel completely. Work quickly while the chocolate is still warm and fluid. The chocolate layer should be about 1/4 inch thick — enough to cover everything but not so thick that it overpowers the pretzels.
Step 6: Add the Candy Eyes
Here’s the fun part. While the chocolate is still wet, press the candy eyes into the surface. I like to place them in clusters — some looking up, some looking sideways, some staring straight ahead. Give each eye a gentle press to make sure it sticks. Don’t worry about being perfect; the slightly uneven placement gives the bark character. If you’re using white chocolate for drizzling, melt it now using the same method and drizzle it over the top before adding the eyes. Add the flaky sea salt now too, if you’re using it.
Step 7: Set the Bark
Place the baking sheet in the refrigerator and let it set for at least 2 hours, or until the chocolate is completely firm. I usually let it go overnight — the longer it sets, the cleaner the cuts will be. Don’t rush this step. If you try to cut it too soon, the chocolate will smear and the caramel will ooze. Patience pays off here.
Step 8: Cut and Serve
Once the bark is completely set, remove it from the refrigerator. Use the parchment paper overhang to lift the bark out of the baking sheet and onto a cutting board. Use a sharp knife to cut it into irregular pieces — some big, some small, all with their own unique personality. The bark will break naturally along the pretzel lines, so don’t worry about perfect squares. Store in an airtight container in the refrigerator until ready to serve.
Cooking Tips & Techniques
I’ve made every mistake in the book with this recipe, so let me save you some trouble. First, don’t skip toasting the pretzels. That extra 5 minutes in the oven makes them sturdier and prevents them from getting soggy under the caramel. I learned this the hard way when I made a batch with untoasted pretzels and ended up with a sad, chewy mess.
The caramel is the trickiest part. Here’s what I’ve learned: use a heavy-bottomed pan and don’t walk away while it’s boiling. I know it’s tempting to start cleaning up or check your phone, but caramel can go from perfect to burnt in seconds. Also, don’t stir it once it starts boiling — that can cause crystallization, which makes the caramel grainy. Trust the 4-minute timer.
If your chocolate seizes up (turns thick and grainy), don’t panic. You can sometimes save it by stirring in a teaspoon of coconut oil or vegetable shortening. If that doesn’t work, start over with fresh chocolate. It’s frustrating, but it happens to everyone at least once. I once tried to salvage seized chocolate by adding milk — don’t do that. It turned into a chocolate soup that never set properly.
For the candy eyes, press them in gently but firmly. If you just drop them on top, they’ll fall off when you cut the bark. I usually do a quick press with my fingertip for each eye. The chocolate should be warm enough to hold them in place but not so warm that they start to melt. If your chocolate is too hot, let it cool for a minute or two before adding the eyes.
Timing tip: Make this the day before you need it. The bark actually gets better after sitting overnight in the fridge — the flavors meld together, and the texture becomes perfectly balanced. Plus, it’s one less thing to worry about on the day of your party.
Variations & Adaptations
This recipe is endlessly adaptable, and I’ve tried quite a few variations over the years. Here are some of my favorites:
White Chocolate Pumpkin Spice Bark: Swap the semi-sweet chocolate for white chocolate chips and add 1 teaspoon of pumpkin pie spice to the melted chocolate. The white chocolate gives the bark a ghostly, pale appearance that’s perfect for Halloween. Top with orange sprinkles and candy eyes for a festive look. I made this for a pumpkin carving party last year and it was gone before the jack-o-lanterns were finished.
Dark Chocolate Peppermint Bark: Use dark chocolate (70% cacao or higher) and add 1/2 teaspoon of peppermint extract to the melted chocolate. Crush some candy canes and sprinkle them over the top along with the candy eyes. This version is less sweet and has a refreshing minty kick that cuts through the richness. It’s perfect for those who find the original too sweet.
Nutty Pretzel Bark: Before pouring the caramel, sprinkle 1/2 cup of chopped pecans or almonds over the pretzels. The nuts add extra crunch and a toasty flavor that pairs beautifully with the caramel. I’ve also tried it with salted peanuts, and it gives the bark a lovely peanut butter-like quality without actually using peanut butter.
Vegan Version: Use vegan butter (I like Earth Balance) and dairy-free chocolate chips. The caramel recipe works with vegan butter, though it might be slightly softer. Make sure your candy eyes are vegan-friendly — some contain beeswax or other animal-derived ingredients. I tested this for a friend with dairy allergies and it turned out beautifully.
Spicy Mexican Chocolate Bark: Add 1/2 teaspoon of cinnamon and a pinch of cayenne pepper to the melted chocolate. The warmth of the spices complements the sweetness of the caramel and creates a complex, adult-friendly version. Sprinkle with a little extra cinnamon before the chocolate sets. This one always surprises people in the best way.
Serving & Storage Suggestions
This bark is best served cold or at cool room temperature. If it gets too warm, the chocolate will soften and the caramel might start to ooze. I like to arrange the pieces on a platter in a single layer, with the candy eyes facing up so everyone can see the funny faces. For Halloween parties, I sometimes arrange them on a black platter with fake spider webs — it makes the eyes really pop.
For storage, keep the bark in an airtight container in the refrigerator. It will stay fresh for up to 2 weeks, though I doubt it will last that long. Layer the pieces between sheets of parchment paper to prevent them from sticking together. If you’re stacking them, be gentle — the bark can break if you’re too rough.
You can also freeze this bark for up to 3 months. Place the pieces in a single layer on a baking sheet and freeze until solid, then transfer to a freezer-safe bag or container. Thaw in the refrigerator overnight before serving. The texture holds up surprisingly well — the caramel doesn’t get grainy and the pretzels stay crunchy.
One thing I’ve noticed: the flavors actually improve after a day or two in the fridge. The caramel absorbs some of the chocolate flavor, and the salt from the pretzels mellows out. So don’t be afraid to make this well in advance. It’s actually better that way.
This bark also makes fantastic gifts. Pack pieces in cellophane bags tied with orange or black ribbon, or arrange them in a festive tin. I’ve given these as hostess gifts, teacher gifts, and Halloween party favors, and they’re always a hit. Just include a note that they need to be refrigerated.
Nutritional Information & Benefits
Let’s be real — this is a treat, not a health food. But there are some redeeming qualities worth mentioning. Each serving (about 2-3 pieces) contains approximately 280-320 calories, depending on how generous you are with the chocolate. Here’s the breakdown per serving:
- Calories: 300
- Total Fat: 18g
- Saturated Fat: 11g
- Carbohydrates: 35g
- Sugar: 22g
- Protein: 3g
- Sodium: 280mg
- Fiber: 1g
The pretzels provide a small amount of iron and B vitamins, while the dark chocolate (if you use it) contains antioxidants called flavonoids that support heart health. The butter and brown sugar? Well, they provide happiness, which I firmly believe has its own health benefits.
For those with dietary restrictions: this recipe contains dairy, gluten, and soy (from the chocolate chips). The candy eyes may contain wheat or corn — check the label if you have sensitivities. I’ve provided vegan and gluten-free variations above if you need them.
My personal philosophy? Life is too short to skip dessert. This bark is meant to be enjoyed in moderation, shared with people you love, and savored with a big glass of cold milk. It’s Halloween — indulge a little.
Conclusion
This Spooky Crunchy Halloween Pretzel Bark with Candy Eyes is more than just a recipe — it’s an experience. It’s the crunch of pretzels, the richness of caramel, the smoothness of chocolate, and the silly, joyful faces staring back at you. It’s the recipe that makes people smile before they even take a bite. And honestly? That’s exactly what Halloween should be about.
I hope you’ll make this your own. Add your favorite toppings, experiment with different chocolates, arrange the eyes in funny patterns. This recipe is forgiving and flexible, just like the best holiday traditions. Whether you’re making it for a party, a classroom, or just because you need a little spooky sweetness in your life, this bark delivers every single time.
If you try this recipe, I’d love to hear about it. Leave a comment below and tell me how your bark turned out — did you use different candy eyes? Add extra toppings? Make a mess of your kitchen? Share your photos, your stories, and your variations. That’s what makes this community so special. Happy Halloween, and happy snacking!
Frequently Asked Questions
Can I use store-bought caramel instead of making homemade?
You can, but I don’t recommend it. Store-bought caramel sauce is too thin and won’t set properly. If you’re short on time, try using soft caramel candies melted with a tablespoon of heavy cream. It’s not quite the same, but it works in a pinch.
How do I keep the candy eyes from falling off?
Press them gently but firmly into the chocolate while it’s still warm and wet. Make sure the chocolate isn’t too thick — if it’s already starting to set, the eyes won’t stick. Work in small sections if needed, adding eyes immediately after spreading the chocolate.
Can I make this without a microwave?
Absolutely. Melt the chocolate using a double boiler — just place a heatproof bowl over a pot of simmering water and stir until smooth. The caramel is made on the stovetop anyway, so you’re already using that method.
How far in advance can I make this?
You can make this up to 2 weeks ahead and store it in the refrigerator. It also freezes well for up to 3 months. The flavors actually improve after a day or two, so feel free to make it well in advance of your Halloween celebrations.
Can I use different types of pretzels?
Yes! Mini pretzel twists work best because they create flat surfaces, but you can use pretzel sticks, pretzel snaps, or even broken pieces of large pretzels. Just keep the total amount to about 4 cups. Avoid flavored pretzels like honey mustard — the flavors don’t pair well with the sweet caramel and chocolate.
Pin This Recipe!
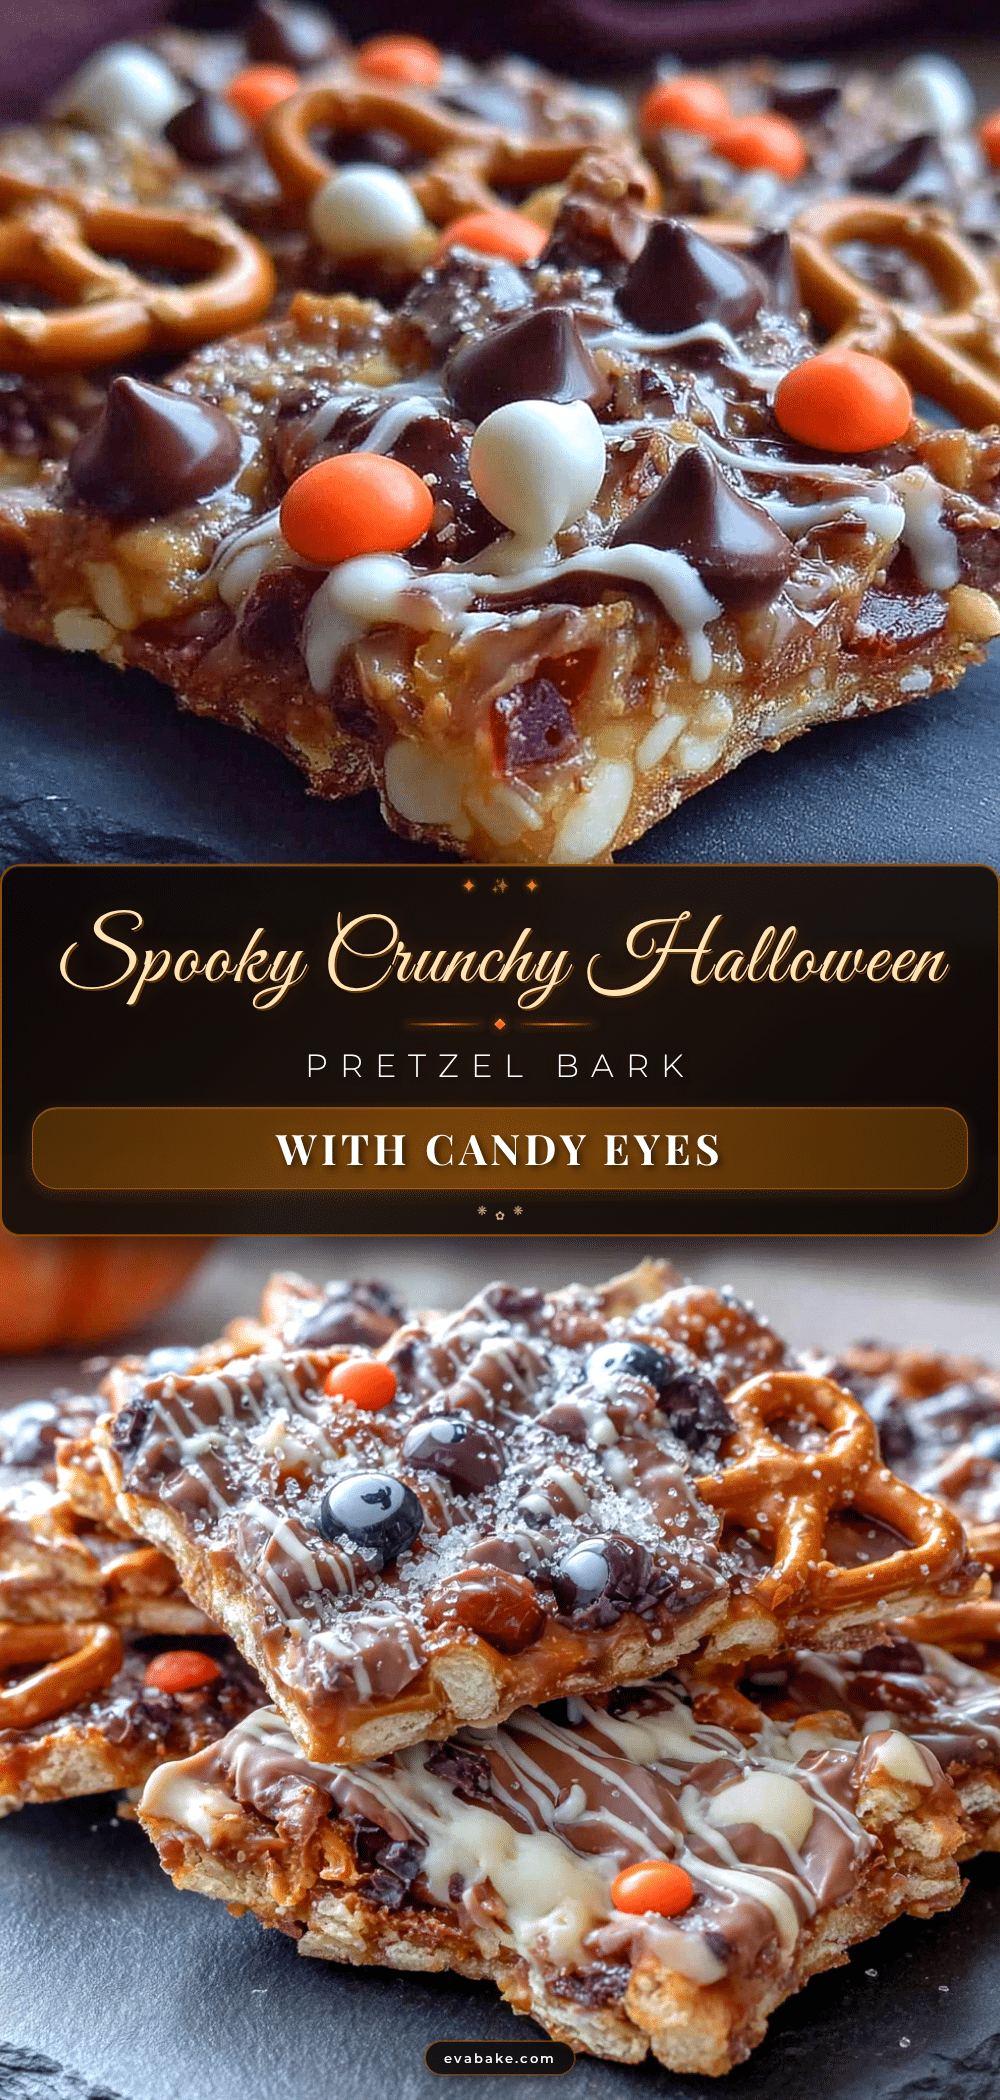
Spooky Crunchy Halloween Pretzel Bark with Candy Eyes

This Spooky Crunchy Halloween Pretzel Bark with Candy Eyes is a salty, sweet, crunchy, and delightfully creepy treat. The combination of buttery pretzels, rich caramel, smooth chocolate, and wiggly candy eyes creates a treat that disappears faster than a ghost at dawn.
- Prep Time: 15 minutes
- Cook Time: 15 minutes
- Total Time: 2 hours 30 minutes (including setting time)
- Yield: 12 servings 1x
- Category: Dessert
- Cuisine: American
Ingredients
- 4 cups mini pretzel twists
- 1 cup salted butter
- 1 cup packed light brown sugar
- 1/4 cup light corn syrup
- 1 teaspoon vanilla extract
- 1/4 teaspoon baking soda
- 2 cups semi-sweet chocolate chips
- 1 tablespoon coconut oil or vegetable shortening
- 1/2 cup candy eyes
- Optional: 1/4 cup white chocolate chips for drizzling
- Optional: Flaky sea salt for finishing
Instructions
- Preheat your oven to 350°F (175°C). Line your baking sheet with parchment paper, leaving some overhang on the sides. Spread the mini pretzel twists in a single layer across the baking sheet. Bake for about 5 minutes, just until the pretzels are warm and slightly toasted. Set aside.
- In a medium saucepan, combine the butter, brown sugar, and corn syrup over medium heat. Stir constantly until the butter is melted and everything is combined (about 2-3 minutes). Once it comes to a gentle boil, stop stirring and let it cook for exactly 4 minutes. Set a timer.
- Remove the pan from heat and stir in the vanilla extract and baking soda. The mixture will bubble up and foam.
- Working quickly but carefully, pour the hot caramel evenly over the warm pretzels. Use your spatula to spread it out, making sure every pretzel gets coated. Let the caramel-covered pretzels cool for about 5 minutes at room temperature.
- While the caramel is cooling, place your chocolate chips and coconut oil in a microwave-safe bowl. Microwave in 30-second intervals, stirring well after each interval, until the chocolate is completely smooth and glossy (about 1-2 minutes total).
- Pour the melted chocolate over the caramel layer. Use your spatula to spread it evenly, covering the caramel completely. The chocolate layer should be about 1/4 inch thick.
- While the chocolate is still wet, press the candy eyes into the surface. Give each eye a gentle press to make sure it sticks. If using white chocolate for drizzling, melt it now and drizzle it over the top before adding the eyes. Add the flaky sea salt now too, if using.
- Place the baking sheet in the refrigerator and let it set for at least 2 hours, or until the chocolate is completely firm. Overnight is best.
- Once the bark is completely set, remove it from the refrigerator. Use the parchment paper overhang to lift the bark out of the baking sheet and onto a cutting board. Use a sharp knife to cut it into irregular pieces. Store in an airtight container in the refrigerator until ready to serve.
Notes
Don’t skip toasting the pretzels; it prevents sogginess. Use a heavy-bottomed pan for caramel and don’t stir once boiling to avoid crystallization. Press candy eyes gently but firmly into warm chocolate. Make the day before for best flavor and texture. Store in an airtight container in the refrigerator for up to 2 weeks, or freeze for up to 3 months.
Nutrition
- Serving Size: 2-3 pieces
- Calories: 300
- Sugar: 22
- Sodium: 280
- Fat: 18
- Saturated Fat: 11
- Carbohydrates: 35
- Fiber: 1
- Protein: 3
Keywords: Halloween, pretzel bark, candy eyes, caramel, chocolate, spooky, easy, no-bake


