My neighbor wasn’t trying to impress anyone. I’d stopped by to borrow a ladder — ours had mysteriously vanished into the garage abyss — and the smell hit me before I even got to the front door. It was December, cold enough that my breath made little clouds, and that warm, spicy-sweet aroma was like a hug you didn’t know you needed. She opened the door with flour on her cheek and said, “Oh, I just threw some rolls together. Want one?”
Honestly, “threw together” is not what I’d call what she handed me. This was a pan of the most tender, pillowy cinnamon rolls I’d ever seen, with a glaze that looked like snow and smelled like Christmas morning. I took a bite, and I mean this — I actually stopped mid-sentence. The eggnog flavor was there, but not in that fake, syrupy way. It was subtle, creamy, and wrapped around the cinnamon like they were old friends. The nutmeg in the glaze? Let me tell you, it was the perfect little kick at the end.
I stood there in her doorway, eating a second roll (she insisted), and asked for the recipe. She shrugged and scribbled it on the back of an envelope. “It’s nothing special,” she said. But it was. It really, really was. And now, every year when the weather turns cold and the holiday lights go up, I make these rolls. They’ve become my little secret weapon for Christmas brunch, cozy mornings, and those days when you just need something warm and sweet. Maybe you’ve been there — that moment when a recipe just clicks and becomes yours?
Why You’ll Love This Recipe
These Cozy Eggnog Cinnamon Rolls with Nutmeg Glaze are not your average cinnamon roll. I’ve tested this recipe about six times to get it just right, and let me tell you, the payoff is huge. Here’s why you’re going to want these in your holiday rotation:
- Quick & Easy: The dough comes together in about 15 minutes, and the rise time is just over an hour. You can have fresh rolls on the table in under two hours — perfect for a lazy weekend morning or a holiday brunch that feels special without the stress.
- Simple Ingredients: No weird stuff here. You probably already have most of these in your pantry. The eggnog is the star, and it does all the heavy lifting for flavor.
- Perfect for the Holidays: These rolls were made for Christmas morning, New Year’s brunch, or any cozy winter gathering. They smell like the holidays in a pan.
- Crowd-Pleaser: I brought these to a family brunch last year, and my picky uncle asked for the recipe. That’s when you know you’ve got a winner.
- Unbelievably Delicious: The texture is soft and fluffy, the filling is perfectly spiced, and that nutmeg glaze? It’s like frosting a cloud. The combination is pure comfort.
What makes this recipe different from the rest is the secret ingredient — full-fat eggnog in the dough itself. It adds richness and a subtle holiday flavor that you just can’t get from milk or cream. Plus, I’ve mastered the technique of letting the dough rest just long enough to get that bakery-style softness without the wait. This isn’t just another cinnamon roll recipe. It’s the one that will make you close your eyes after the first bite.
What Ingredients You Will Need
This recipe uses simple, wholesome ingredients to deliver big holiday flavor. Most of these are pantry staples, and the eggnog does the heavy lifting for that creamy, spiced taste. Here’s what you’ll need:
For the Dough
- 3 ½ cups all-purpose flour (plus more for dusting) — I use King Arthur for consistent results
- ¼ cup granulated sugar — just enough to feed the yeast and add a touch of sweetness
- 2 ¼ teaspoons active dry yeast (one packet) — make sure it’s fresh for a good rise
- ½ teaspoon salt — balances the sweetness
- ¾ cup full-fat eggnog, warmed to about 110°F — this is the star ingredient, so use the good stuff
- ¼ cup whole milk, warmed — helps the yeast activate
- 3 tablespoons unsalted butter, melted and slightly cooled
- 1 large egg, at room temperature — gives the dough structure
- 1 teaspoon vanilla extract — rounds out the flavors
For the Filling
- ½ cup unsalted butter, softened to room temperature — don’t melt it, just let it get soft
- ¾ cup packed brown sugar — light or dark both work, dark gives deeper flavor
- 2 tablespoons ground cinnamon — I prefer Saigon cinnamon for its warmth
- ½ teaspoon ground nutmeg — freshly grated is amazing if you have it
- ¼ teaspoon ground cloves — optional, but it adds that holiday spice kick
For the Nutmeg Glaze
- 1 ½ cups powdered sugar, sifted — no lumps allowed
- 3 tablespoons eggnog — adds that signature flavor
- 1 tablespoon unsalted butter, melted
- ½ teaspoon vanilla extract
- ¼ teaspoon ground nutmeg, plus more for sprinkling on top
- Pinch of salt — trust me on this, it balances the sweetness
Substitution Notes
If you need a dairy-free version, use almond milk and a dairy-free butter substitute in the dough, and a dairy-free eggnog alternative. The texture will be slightly different, but still delicious. For a gluten-free option, use a 1:1 gluten-free flour blend — just know the dough will be a bit more delicate. And if you don’t have eggnog on hand, you can use whole milk with an extra teaspoon of nutmeg and a splash of vanilla, but honestly, the real eggnog makes a difference.
Equipment Needed
You don’t need a fancy kitchen to make these rolls. Here’s what I use every time:
- Stand mixer with dough hook — this makes kneading so easy, but you can absolutely do it by hand if you’re feeling strong
- Large mixing bowl — for rising the dough
- 9×13-inch baking dish — glass or metal both work, I prefer glass so I can see the bottom browning
- Rolling pin — a standard one is fine, no need for a fancy French model
- Sharp knife or dough scraper — for cutting the rolls cleanly
- Measuring cups and spoons — accuracy matters in baking
- Kitchen thermometer — for checking the liquid temperature, it’s a game-changer for yeast
- Wire rack — for cooling the rolls after baking
If you don’t have a stand mixer, just knead the dough on a floured surface for about 8 minutes until it’s smooth and elastic. It’s a good arm workout! And a piece of unflavored dental floss works surprisingly well for cutting the rolls if you don’t have a sharp knife.
Preparation Method
- Activate the yeast: In the bowl of your stand mixer, combine the warmed eggnog (110°F) and warmed milk. Sprinkle the yeast on top and add a pinch of sugar. Let it sit for 5-7 minutes until it gets foamy. If it doesn’t foam, your liquid was too hot or your yeast is old — start over.
- Make the dough: Add the remaining sugar, melted butter, egg, and vanilla to the yeast mixture. Mix on low with the dough hook. Gradually add the flour and salt, mixing until a shaggy dough forms. Increase speed to medium and knead for 5-7 minutes until the dough is smooth and pulls away from the sides of the bowl. It should be slightly tacky but not sticky.
- First rise: Transfer the dough to a lightly greased bowl, turning once to coat. Cover with plastic wrap or a clean kitchen towel. Let it rise in a warm spot for about 1 hour, or until doubled in size. I like to put it in my oven with the light on — it’s the perfect temperature.
- Make the filling: While the dough rises, mix the softened butter, brown sugar, cinnamon, nutmeg, and cloves in a small bowl until it forms a spreadable paste. Set it aside at room temperature.
- Roll out the dough: Punch down the risen dough and turn it onto a lightly floured surface. Roll it into a 12×16-inch rectangle. Don’t stress about perfect edges — rustic is fine. The dough should be about ¼-inch thick.
- Spread the filling: Using an offset spatula or the back of a spoon, spread the filling evenly over the dough, leaving a 1-inch border on the long edge farthest from you. This bare strip will help seal the roll.
- Roll it up: Starting from the long edge closest to you, tightly roll the dough into a log. Pinch the seam to seal it. Use a sharp knife to cut the log into 12 equal rolls, about 1 ½ inches thick each. I sometimes use dental floss for cleaner cuts — slide it under the log, cross the ends over the top, and pull.
- Second rise: Place the rolls cut-side up in a greased 9×13-inch baking dish, spacing them evenly. Cover and let them rise for another 30-45 minutes, until they’re puffy and touching each other. They’ll look crowded — that’s what you want.
- Bake: Preheat your oven to 350°F. Bake the rolls for 22-25 minutes, until they’re golden brown on top and the center rolls are cooked through. If the tops brown too quickly, tent with foil for the last 5 minutes. Let them cool in the pan for 10 minutes before glazing.
- Make the glaze: While the rolls cool, whisk together the powdered sugar, eggnog, melted butter, vanilla, nutmeg, and salt until smooth. It should be thick but pourable.
- Glaze and serve: Pour the glaze over the warm rolls, spreading it gently with a spatula if needed. Sprinkle a little extra nutmeg on top for looks. Serve warm for the best experience.
Cooking Tips & Techniques
I’ve learned a few things the hard way so you don’t have to. Here are my best tips:
Temperature is everything with yeast. If your eggnog and milk are too hot (above 120°F), you’ll kill the yeast. Too cold (below 100°F), and it won’t activate. I use a kitchen thermometer every single time — it’s worth the extra step. Also, full-fat eggnog works best because the fat content helps create a tender crumb. Low-fat eggnog has more water and can make the dough dense.
Don’t over-flour your surface. When rolling out the dough, use just enough flour to prevent sticking. Too much flour will make the rolls tough. I keep a small pile of flour on the counter and dip my rolling pin in it as needed. The dough should feel soft and slightly tacky — that’s the sweet spot.
Let the rolls cool before glazing. I know it’s tempting to pour that gorgeous nutmeg glaze on right away, but if the rolls are too hot, the glaze will melt into a puddle. Wait about 10 minutes — the rolls should be warm but not hot to the touch. The glaze will set up nicely and stay creamy.
My biggest failure: The first time I made these, I used cold eggnog straight from the fridge. The yeast barely activated, and I ended up with dense, hockey-puck rolls that nobody wanted to eat. I was so frustrated I almost gave up. But I tried again with warm liquids, and the difference was night and day. Now I always warm my liquids — it’s non-negotiable.
Multitasking tip: While the dough is doing its first rise, I prep the filling and grease the baking dish. That way, when it’s time to roll, everything is ready to go. It makes the process feel much smoother.
Variations & Adaptations
One of the best things about this recipe is how flexible it is. Here are some ways to make it your own:
Dietary Variations
- Dairy-Free: Use almond milk and dairy-free butter in the dough, and a dairy-free eggnog alternative. The glaze works with vegan butter and plant-based eggnog too. The texture will be a bit less tender, but still delicious.
- Gluten-Free: Swap the all-purpose flour for a 1:1 gluten-free baking blend. Add an extra tablespoon of eggnog to the dough since gluten-free flours absorb more liquid. Handle the dough gently — it’s more fragile.
- Lower Sugar: Reduce the sugar in the dough to 2 tablespoons and use a sugar substitute in the filling. The glaze can be made with a powdered sugar alternative, but the texture will be slightly different.
Flavor Twists
- Bourbon Eggnog Rolls: Add 1 tablespoon of bourbon to the glaze for a grown-up version. It pairs beautifully with the nutmeg.
- Spiced Pecan: Sprinkle ½ cup of chopped pecans over the filling before rolling. The crunch adds a lovely texture.
- Chocolate-Eggnog: Add ¼ cup of mini chocolate chips to the filling. The chocolate and eggnog combo is surprisingly good.
Seasonal Adaptations
These rolls are perfect for the holidays, but you can make them year-round by swapping the eggnog for whole milk and adding an extra teaspoon of vanilla. In the spring, try a lemon glaze instead of nutmeg. I once made a version with eggnog in the dough and a maple glaze on top — it was incredible for a fall brunch.
Serving & Storage Suggestions
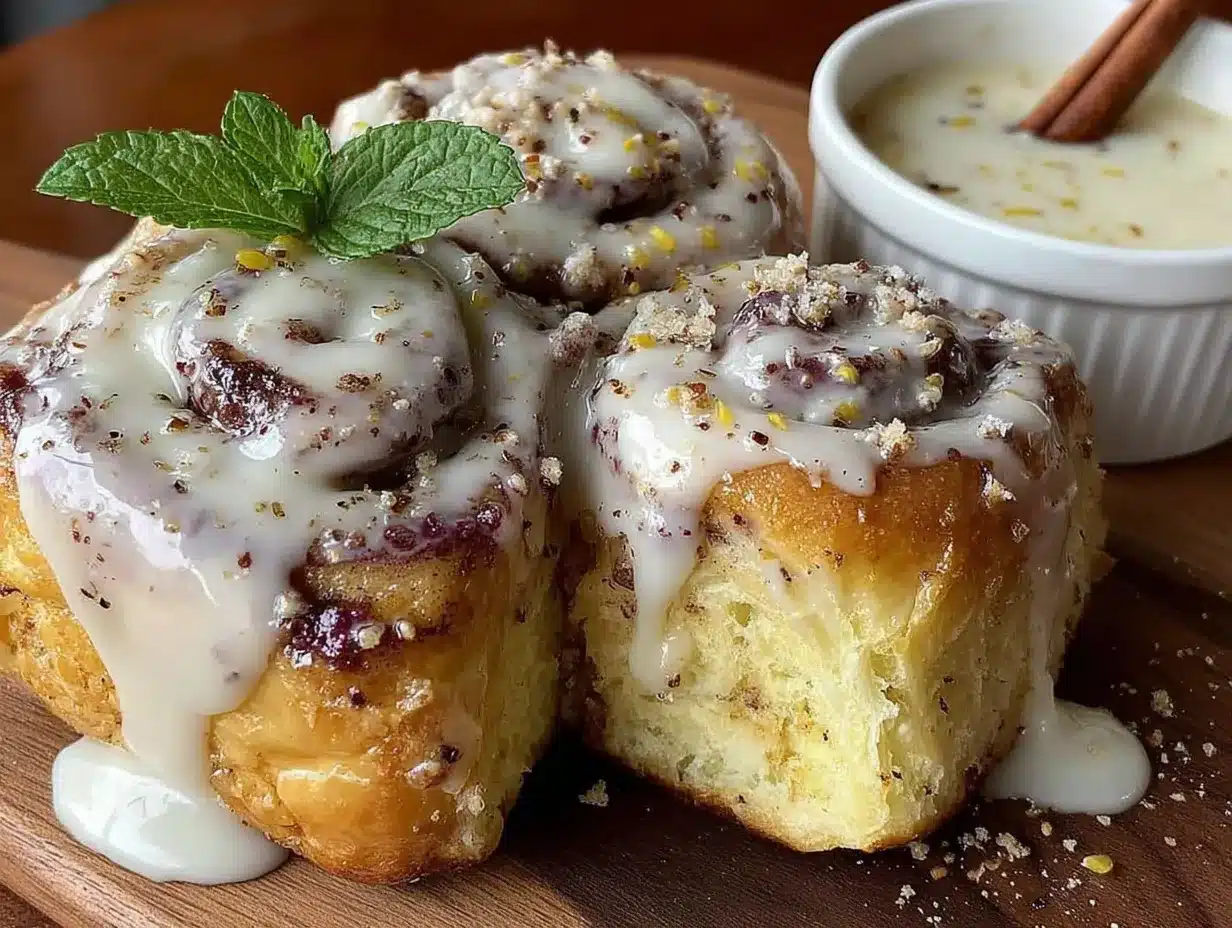
These rolls are best served warm, straight from the oven, with the glaze still slightly gooey. I like to serve them on a large platter with a dusting of fresh nutmeg and a few cinnamon sticks for decoration. They’re perfect for Christmas morning, holiday brunch, or even as a dessert with a scoop of vanilla ice cream.
What to serve with them: A cup of hot coffee, spiced tea, or a glass of cold milk. For a brunch spread, pair them with scrambled eggs, bacon, and fresh fruit. The sweetness of the rolls balances the savory dishes beautifully.
Storage: Store leftover rolls in an airtight container at room temperature for up to 2 days. The glaze will soften the rolls slightly, which I actually love. To reheat, pop one in the microwave for 15-20 seconds, or warm them in a 300°F oven for 5-7 minutes. If you’re reheating a whole pan, cover with foil and warm for 10 minutes.
Freezing: You can freeze the unbaked rolls after shaping them. Place them in a greased baking dish, cover tightly with plastic wrap and foil, and freeze for up to 3 months. When you’re ready to bake, thaw them in the refrigerator overnight, then let them rise at room temperature for 30-45 minutes before baking. You can also freeze baked, unglazed rolls — just wrap them well and glaze after thawing and reheating.
Flavor development: Honestly, the rolls taste even better the next day. The flavors meld together, and the texture stays soft. If you can resist eating them all on day one, you’re in for a treat.
Nutritional Information & Benefits
Let’s be real — these are a treat, not a health food. But knowing what’s in them helps you enjoy them mindfully. Per roll (based on 12 servings):
- Calories: ~380
- Total Fat: 16g
- Saturated Fat: 10g
- Carbohydrates: 54g
- Sugar: 28g
- Protein: 6g
- Fiber: 2g
- Sodium: 220mg
Health highlights: Eggnog is a good source of calcium and vitamin D, thanks to the milk and eggs. Cinnamon has anti-inflammatory properties and can help regulate blood sugar. Nutmeg in small amounts contains antioxidants. Of course, the butter and sugar balance things out, but everything in moderation, right?
Dietary considerations: This recipe contains gluten, dairy, and eggs. For allergen-friendly versions, check the variations section above. If you’re watching your sugar intake, consider serving half a roll with a side of fruit to balance the sweetness.
My personal philosophy? These rolls are for special occasions. They’re the kind of thing you make when you want to feel cozy and celebrate the season. One roll won’t derail your goals, and the joy they bring is worth every bite.
Conclusion
These Cozy Eggnog Cinnamon Rolls with Nutmeg Glaze are more than just a recipe — they’re a little moment of holiday magic. The soft, fluffy dough, the warm cinnamon filling, and that creamy, spiced glaze all come together to create something truly special. Whether you’re making them for Christmas morning, a holiday brunch, or just because it’s cold outside and you need something warm, these rolls deliver every time.
I love how this recipe has become a tradition in my kitchen. Every time I make them, I think of that neighbor who handed me a roll on a random December day, not knowing she was sharing something that would become part of my holiday season. Food does that, doesn’t it? It connects us to moments and people.
Now I want to hear from you. Have you ever tried eggnog in baked goods? What’s your favorite holiday breakfast tradition? Drop a comment below and let me know. And if you make these rolls, tag me in your photos — I’d love to see your creations. Happy baking, friends!
Frequently Asked Questions
Can I use store-bought dough for these rolls?
Yes, you can use refrigerated biscuit dough or frozen bread dough in a pinch. Just skip the dough-making steps and proceed with the filling and baking. The flavor won’t be as rich, but it’s a good shortcut for busy mornings.
Can I make these rolls the night before?
Absolutely. After shaping the rolls and placing them in the baking dish, cover and refrigerate overnight. In the morning, let them sit at room temperature for 30-45 minutes before baking. You may need to add a few extra minutes to the bake time since the dough will be cold.
Why did my rolls turn out dry?
Dry rolls usually mean you added too much flour or overbaked them. Make sure to measure your flour correctly (spoon it into the cup and level it off) and check the rolls a few minutes before the recommended bake time. Every oven runs a little different.
Can I use a different glaze flavor?
Of course! A cream cheese glaze works beautifully, or try a simple vanilla glaze with a splash of rum extract. For a maple variation, substitute the eggnog in the glaze with maple syrup and a little milk.
How do I know when the rolls are fully baked?
The tops should be golden brown, and the center rolls should feel firm to the touch. If you have an instant-read thermometer, the internal temperature should be around 190°F. The edges will pull away from the pan slightly when they’re done.
Pin This Recipe!
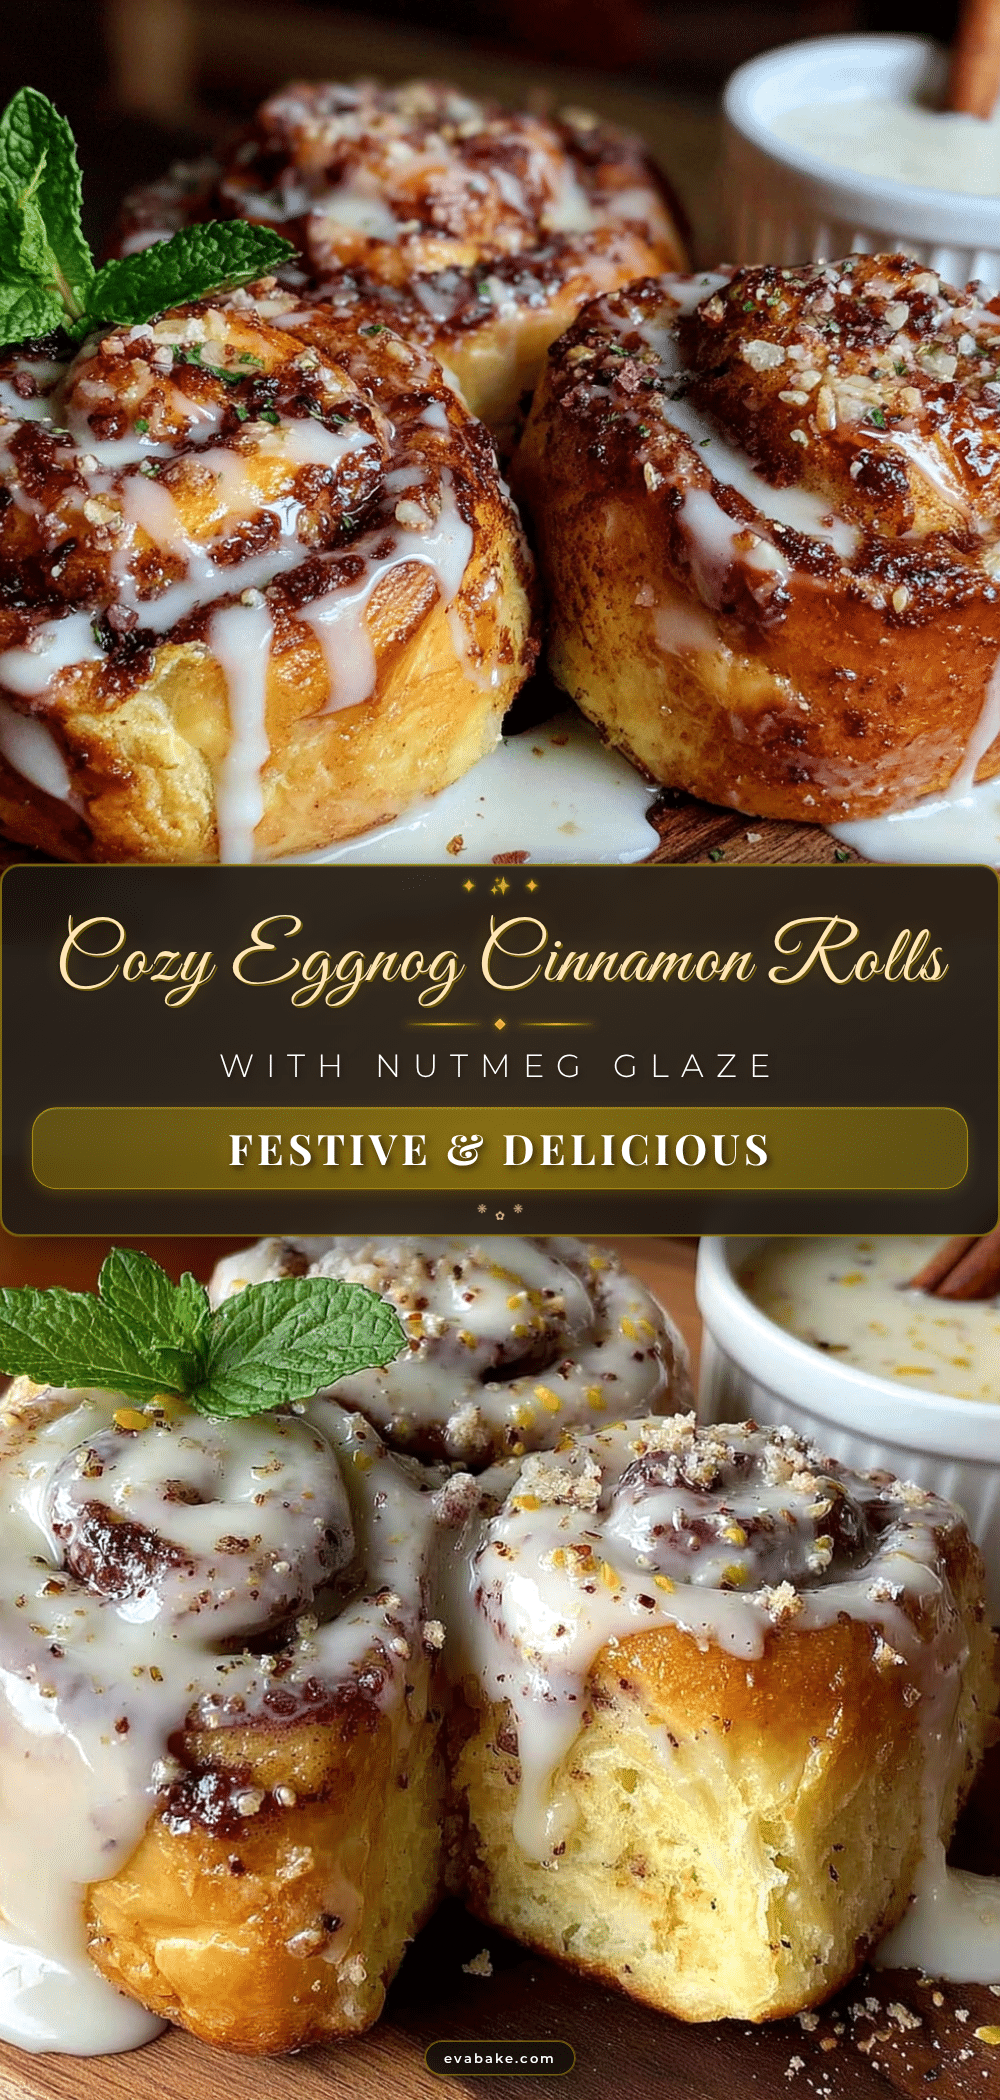
Cozy Eggnog Cinnamon Rolls with Nutmeg Glaze: Best Holiday Recipe
These tender, pillowy cinnamon rolls are infused with full-fat eggnog in the dough and topped with a creamy nutmeg glaze. Perfect for Christmas morning, holiday brunch, or any cozy winter gathering, they deliver a subtle, creamy eggnog flavor wrapped around warm cinnamon spice.
- Prep Time: 15 minutes
- Cook Time: 25 minutes
- Total Time: 1 hour 40 minutes
- Yield: 12 servings 1x
- Category: Breakfast
- Cuisine: American
Ingredients
- 3 ½ cups all-purpose flour (plus more for dusting)
- ¼ cup granulated sugar
- 2 ¼ teaspoons active dry yeast (one packet)
- ½ teaspoon salt
- ¾ cup full-fat eggnog, warmed to about 110°F
- ¼ cup whole milk, warmed
- 3 tablespoons unsalted butter, melted and slightly cooled
- 1 large egg, at room temperature
- 1 teaspoon vanilla extract
- ½ cup unsalted butter, softened to room temperature
- ¾ cup packed brown sugar
- 2 tablespoons ground cinnamon
- ½ teaspoon ground nutmeg
- ¼ teaspoon ground cloves (optional)
- 1 ½ cups powdered sugar, sifted
- 3 tablespoons eggnog
- 1 tablespoon unsalted butter, melted
- ½ teaspoon vanilla extract
- ¼ teaspoon ground nutmeg, plus more for sprinkling
- Pinch of salt
Instructions
- Activate the yeast: In the bowl of your stand mixer, combine the warmed eggnog (110°F) and warmed milk. Sprinkle the yeast on top and add a pinch of sugar. Let it sit for 5-7 minutes until it gets foamy. If it doesn’t foam, your liquid was too hot or your yeast is old — start over.
- Make the dough: Add the remaining sugar, melted butter, egg, and vanilla to the yeast mixture. Mix on low with the dough hook. Gradually add the flour and salt, mixing until a shaggy dough forms. Increase speed to medium and knead for 5-7 minutes until the dough is smooth and pulls away from the sides of the bowl. It should be slightly tacky but not sticky.
- First rise: Transfer the dough to a lightly greased bowl, turning once to coat. Cover with plastic wrap or a clean kitchen towel. Let it rise in a warm spot for about 1 hour, or until doubled in size. I like to put it in my oven with the light on — it’s the perfect temperature.
- Make the filling: While the dough rises, mix the softened butter, brown sugar, cinnamon, nutmeg, and cloves in a small bowl until it forms a spreadable paste. Set it aside at room temperature.
- Roll out the dough: Punch down the risen dough and turn it onto a lightly floured surface. Roll it into a 12×16-inch rectangle. Don’t stress about perfect edges — rustic is fine. The dough should be about ¼-inch thick.
- Spread the filling: Using an offset spatula or the back of a spoon, spread the filling evenly over the dough, leaving a 1-inch border on the long edge farthest from you. This bare strip will help seal the roll.
- Roll it up: Starting from the long edge closest to you, tightly roll the dough into a log. Pinch the seam to seal it. Use a sharp knife to cut the log into 12 equal rolls, about 1 ½ inches thick each. I sometimes use dental floss for cleaner cuts — slide it under the log, cross the ends over the top, and pull.
- Second rise: Place the rolls cut-side up in a greased 9×13-inch baking dish, spacing them evenly. Cover and let them rise for another 30-45 minutes, until they’re puffy and touching each other. They’ll look crowded — that’s what you want.
- Bake: Preheat your oven to 350°F. Bake the rolls for 22-25 minutes, until they’re golden brown on top and the center rolls are cooked through. If the tops brown too quickly, tent with foil for the last 5 minutes. Let them cool in the pan for 10 minutes before glazing.
- Make the glaze: While the rolls cool, whisk together the powdered sugar, eggnog, melted butter, vanilla, nutmeg, and salt until smooth. It should be thick but pourable.
- Glaze and serve: Pour the glaze over the warm rolls, spreading it gently with a spatula if needed. Sprinkle a little extra nutmeg on top for looks. Serve warm for the best experience.
Notes
Temperature is everything with yeast. If your eggnog and milk are too hot (above 120°F), you’ll kill the yeast. Too cold (below 100°F), and it won’t activate. Use a kitchen thermometer every time. Don’t over-flour your surface when rolling out the dough. Let the rolls cool for about 10 minutes before glazing so the glaze doesn’t melt into a puddle. For a dairy-free version, use almond milk and dairy-free butter. For gluten-free, use a 1:1 gluten-free flour blend. The rolls taste even better the next day.
Nutrition
- Serving Size: 1 roll
- Calories: 380
- Sugar: 28
- Sodium: 220
- Fat: 16
- Saturated Fat: 10
- Carbohydrates: 54
- Fiber: 2
- Protein: 6
Keywords: eggnog cinnamon rolls, holiday cinnamon rolls, nutmeg glaze, Christmas breakfast, eggnog recipe, cinnamon rolls with eggnog, holiday brunch


