Last September, I was standing in the middle of a crowded parking lot outside a local butcher shop, trying to balance my phone, a shopping bag, and my keys. A woman I’d seen at the Saturday farmers’ market a few times—she always wore a faded denim apron—walked past, then stopped. She watched me fumble for a second, then said, “You look like you’re cooking for a crowd.” I laughed and admitted I was panicking about a game day gathering I’d volunteered to host. She didn’t give me a recipe right then. She just told me to come find her at the poultry counter.
When I caught up with her, she was pointing at a package of bone-in, skin-on chicken thighs. “These,” she said, “are your best friend. They stay juicy, they get crispy, and they don’t need babysitting.” She showed me how to pat them dry—like, really dry—and told me to season them the night before if I had time. I scribbled her method on a crumpled receipt. Honestly, I forgot about half of what she said. But the part I remembered changed how I cook chicken forever. That conversation, that casual exchange between two strangers who just happened to love food, is exactly where this recipe for crispy air fryer chicken thighs was born.
I’ve tweaked it over the years—added a little smoked paprika, swapped the oil, figured out the exact timing for my air fryer model—but the heart of it is hers. It’s the kind of recipe that feels like a secret handshake among people who cook for game day. Maybe you’ve been there, staring at a pile of wings and wondering how to get that crunch without a deep fryer. I made a mess of my first attempt. I forgot to flip the thighs halfway through, and half of them came out soggy. But I kept going, because that first good batch—the one where the skin shattered when I bit into it—was worth every failed try.
This recipe stayed with me because it solved a real problem: how to feed a hungry crowd something that tastes like it took hours, when it actually took thirty minutes and almost zero cleanup. It’s not fancy. It’s not complicated. It’s just good, honest food that makes people happy. And honestly, isn’t that the whole point of game day?
Why You’ll Love This Recipe
Let’s be real—there are a million ways to cook chicken thighs. But this version? It’s the one I come back to every single time. Here’s why it works so well, especially when you’ve got people over and the game is about to start.
- Quick & Easy: These crispy air fryer chicken thighs come together in under 30 minutes. No marinating overnight, no complicated steps. Just season, toss in the air fryer, and let it do the work. Perfect for those last-minute game day cravings when you realize you forgot to plan ahead.
- Simple Ingredients: You probably have most of this in your pantry right now. Salt, pepper, garlic powder, paprika, a little oil. No weird specialty items that cost a fortune and sit in your cupboard for months.
- Perfect for Game Day: Whether it’s the Super Bowl, a playoff game, or just a casual Sunday gathering, these thighs are the ultimate finger food. They’re easy to eat while standing, easy to share, and they disappear fast. Trust me on that last part.
- Crowd-Pleaser: I’ve served these to kids, picky eaters, and serious foodies. Every single time, someone asks for the recipe. The combination of crispy skin and tender, juicy meat is basically impossible to resist.
- Unbelievably Delicious: The texture is what gets me. The skin gets so crispy it almost shatters, but the meat underneath stays ridiculously moist. It’s comfort food at its finest, but without the heavy feeling afterward.
What makes this recipe different from all the other air fryer chicken thigh recipes out there? It’s the technique. Most recipes tell you to just throw the thighs in and hope for the best. But I’ve tested this one over and over—different temperatures, different timings, different seasonings—and I’ve landed on a method that delivers consistent, perfect results every time. It’s not just another version. It’s the best version I’ve found, and I’m pretty sure you’ll agree after your first bite.
There’s something about that first crunch that makes you close your eyes for a second. It’s the kind of food that turns a regular game day into something memorable. And the best part? You get all that flavor without standing over a hot stove or dealing with a greasy mess. The air fryer handles the hard part, and you get to enjoy the game.
What Ingredients You Will Need
This recipe uses simple, everyday ingredients to deliver bold flavor and that perfect crispy texture. No fancy shopping trips required—just good, honest staples that work together beautifully.
- Bone-in, skin-on chicken thighs (6-8 thighs, about 2-2.5 lbs / 900-1100g) – This is non-negotiable for the crispiest skin. The bone keeps the meat juicy during cooking, and the skin renders down to that golden, shatteringly crisp finish. I prefer thighs from Bell & Evans or Mary’s Free Range for their consistent quality and flavor.
- Olive oil (2 tablespoons / 30ml) – Helps the seasoning stick and promotes browning. You can use avocado oil if you prefer a higher smoke point, but olive oil adds a subtle fruity note that I love. (Just don’t use extra-virgin for this—it’s too strong and can burn.)
- Kosher salt (2 teaspoons / 10g) – I use Diamond Crystal brand because its flaky texture distributes evenly. If you’re using table salt, reduce to 1½ teaspoons. Salt is crucial here—it draws out moisture from the skin, which is the first step to getting that crunch.
- Black pepper (1 teaspoon / 2g) – Freshly ground is always better. It adds a gentle heat that complements the other spices without overwhelming them.
- Garlic powder (1½ teaspoons / 4g) – Not granulated garlic, which is coarser and doesn’t stick as well. Garlic powder dissolves into the oil and coats every nook and cranny of the skin. (I’ve tried fresh garlic, but it burns in the air fryer—stick with powder here.)
- Smoked paprika (2 teaspoons / 4g) – This is my secret weapon. It adds a deep, smoky flavor that makes these thighs taste like they’ve been grilled over wood chips. Regular paprika works in a pinch, but you’ll miss that extra layer of complexity.
- Onion powder (1 teaspoon / 2g) – Balances the garlic and adds a subtle sweetness. It’s easy to skip, but you’ll notice the difference if you do.
- Dried thyme (½ teaspoon / 0.5g) – Optional, but I love the earthy, slightly floral note it adds. Rub it between your palms before adding to release the oils.
- Cayenne pepper (¼ teaspoon / 0.5g) – Just a pinch for warmth, not heat. If you’re feeding a crowd with sensitive palates, you can leave it out entirely. For those who like it spicy, feel free to bump it up to ½ teaspoon.
- Baking powder (1 teaspoon / 4g) – This is the game-changer. It raises the skin’s pH, helping it brown faster and get extra crispy. Make sure it’s aluminum-free (like Rumford) to avoid any metallic aftertaste.
Substitution Guidance: If you’re watching your sodium, reduce the salt to 1½ teaspoons and skip the baking powder. For a gluten-free option, this recipe is naturally gluten-free—just double-check your spice blends for any added fillers. And if you’re out of smoked paprika, use regular paprika plus a drop of liquid smoke for a similar effect.
Equipment Needed
You don’t need a professional kitchen to nail this recipe. Here’s what you’ll need:
- Air Fryer – Any model works, but basket-style air fryers (like the Cosori Pro II or Ninja Air Fryer) give the best results because they circulate heat evenly. If you have an oven-style air fryer, just make sure to flip the thighs halfway through for even crisping.
- Paper Towels – You’ll go through a few of these patting the chicken dry. It’s the most important step, so don’t skimp.
- Mixing Bowl – Large enough to toss the thighs without overcrowding. I use a stainless steel bowl because it’s easy to clean and doesn’t absorb odors.
- Tongs – For flipping the thighs halfway through cooking. Silicone-tipped tongs are great because they won’t scratch your air fryer basket.
- Instant-Read Thermometer – This is non-negotiable for food safety. I use a ThermoPro TP20 because it reads quickly and accurately. Chicken thighs are safe at 165°F (74°C), but I pull them at 170°F (77°C) for the best texture.
- Cutting Board – For resting the thighs after cooking. A wooden board is ideal because it won’t dull your knife if you need to slice anything.
Budget-Friendly Alternatives: No air fryer? You can use a convection oven set to 400°F (200°C) and bake on a wire rack set inside a baking sheet. It’ll take about 5-7 minutes longer, but you’ll still get great results. And if you don’t have an instant-read thermometer, you can check doneness by piercing the thickest part of the thigh—the juices should run clear, not pink.
Maintenance Tip: Clean your air fryer basket thoroughly after each use. Built-up grease can cause smoking and uneven cooking. I soak mine in hot, soapy water for 10 minutes, then scrub with a soft brush.
Preparation Method
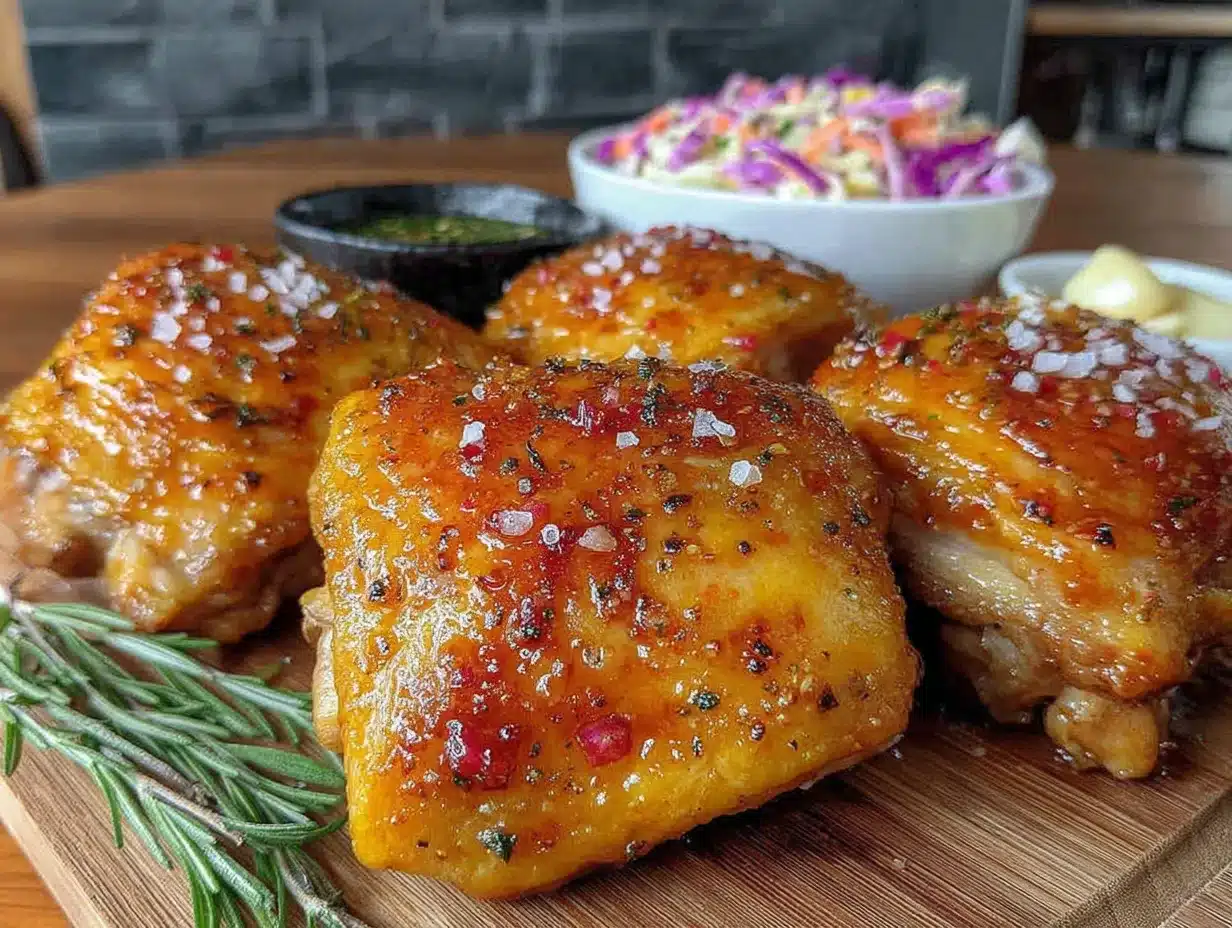
This method is straightforward, but each step matters. Follow it closely the first time, and you’ll see exactly why it works.
- Pat the chicken thighs dry. This is the most important step. Take each thigh and press it firmly between layers of paper towels. You want the skin to feel almost tacky to the touch. Any moisture left on the surface will steam instead of crisp. (I learned this the hard way after a batch of rubbery skin.) Let the thighs sit uncovered on a plate for 10 minutes while you prepare the seasoning—this allows any remaining moisture to evaporate.
- Preheat your air fryer to 400°F (200°C). Most air fryers need about 3-5 minutes to reach temperature. Don’t skip this step—starting with a cold basket leads to uneven cooking. While it’s heating, combine all the dry seasonings in a small bowl: kosher salt, black pepper, garlic powder, smoked paprika, onion powder, dried thyme, cayenne, and baking powder. Whisk them together with a fork to break up any clumps.
- Season the thighs. Drizzle the olive oil over the chicken and use your hands to rub it into every surface, including underneath the skin. (Yes, get under there—it adds flavor directly to the meat.) Sprinkle the seasoning mixture evenly over all sides, then toss gently to coat. Don’t be shy about massaging it in. The baking powder should feel slightly gritty; that’s normal.
- Arrange in the air fryer basket. Place the thighs skin-side down in a single layer. Leave at least ½ inch (1.25 cm) of space between each piece. If your air fryer is small, work in batches—overcrowding traps steam and ruins the crispiness. I can fit 4-5 thighs in my 5.8-quart Cosori.
- Cook for 12 minutes skin-side down. Set the timer and resist the urge to open the basket. The skin needs uninterrupted heat to start rendering and browning. You’ll hear a gentle sizzling sound—that’s the fat melting and doing its job.
- Flip and cook for another 10-12 minutes. Use tongs to carefully turn each thigh over. The skin should be golden and starting to crisp. Cook until the internal temperature reaches 170°F (77°C) in the thickest part of the thigh, away from the bone. For extra-crispy skin, increase the temperature to 420°F (215°C) for the final 2 minutes.
- Rest before serving. Transfer the thighs to a cutting board and let them rest for 5 minutes. This allows the juices to redistribute, so every bite is moist. Don’t skip this—cutting into them too early will release all that flavorful liquid onto the board instead of staying in the meat.
Sensory Cues: The skin should be deep golden brown and feel firm when tapped. You’ll hear a crackling sound when you bite into it. The meat should pull away from the bone easily but not fall apart. If the skin isn’t crispy enough, pop the thighs back in the air fryer for 2-3 minutes at 400°F (200°C).
Troubleshooting: If your thighs are browning too quickly but aren’t cooked through, reduce the temperature to 375°F (190°C) and cook for an additional 5-7 minutes. If they’re cooked through but the skin is pale, increase the temperature to 425°F (218°C) for the last 3 minutes. Every air fryer runs slightly different, so adjust based on what you see, not just the timer.
Cooking Tips & Techniques
After dozens of batches, here’s what I’ve learned about getting perfect crispy air fryer chicken thighs every time.
Dry the skin like your life depends on it. I can’t stress this enough. The number one mistake people make is not patting the chicken dry enough. I actually leave my thighs uncovered in the fridge for an hour before cooking if I have time. The cold air helps dry the surface even more, which means maximum crispiness. It’s a trick I picked up from a chef friend who makes the best roast chicken I’ve ever had.
Don’t skip the baking powder. I know it sounds weird, but it’s a game-changer. It creates tiny bubbles on the skin’s surface that increase the surface area, leading to more crunch. Just make sure it’s aluminum-free. I once used regular baking powder and tasted a faint metallic note that threw off the whole dish. Never again.
Let the chicken come to room temperature. Take the thighs out of the fridge 20 minutes before cooking. Cold chicken straight from the fridge will lower the air fryer’s temperature too much, leading to longer cooking times and less crispy skin. I usually season mine while they’re still cold, then let them sit while the air fryer preheats.
Flip with confidence. When you flip the thighs, do it quickly and close the basket immediately. Every second the basket is open, heat escapes, and the cooking time gets thrown off. I use a pair of long tongs and work fast. If you’re nervous, set a timer for 10 minutes instead of 12 so you have a buffer.
Multitask like a pro. While the chicken cooks, prep your dipping sauces and sides. I usually whip up a quick honey mustard (equal parts honey and Dijon, plus a splash of apple cider vinegar) and a spicy ranch (store-bought ranch with a dash of hot sauce). That way, everything’s ready when the chicken comes out.
My biggest failure: The first time I made these, I used frozen chicken thighs without thawing them first. The outside burned while the inside stayed raw. Don’t do that. Always thaw completely and pat dry. Also, I once forgot to flip the thighs entirely—half the batch came out with soft, pale skin. It was edible, but it wasn’t the crispy air fryer chicken thighs I was going for. Learn from my mistakes.
Variations & Adaptations
This recipe is incredibly flexible. Here are some ways to change it up based on what you have on hand or what your crowd prefers.
- Spicy Buffalo Version: After cooking, toss the thighs in a mixture of ¼ cup (60ml) melted butter and ⅓ cup (80ml) Frank’s RedHot sauce. Serve with blue cheese dressing and celery sticks. It’s a game day classic that never gets old.
- Honey Garlic Glaze: In the last 3 minutes of cooking, brush the thighs with a mixture of 2 tablespoons honey, 1 tablespoon soy sauce, and 2 minced garlic cloves. The sugar caramelizes beautifully, adding a sticky-sweet finish that balances the smoky paprika.
- Lemon Herb Variation: Replace the smoked paprika with 1 teaspoon dried rosemary and 1 teaspoon dried oregano. Add the zest of one lemon to the seasoning mix, and squeeze fresh lemon juice over the cooked thighs before serving. It’s bright, fresh, and perfect for spring game days.
- Keto-Friendly Option: This recipe is already low-carb, but you can increase the fat content by brushing the thighs with melted butter instead of olive oil. The butter adds richness and helps the skin crisp even more. Serve with a side of roasted broccoli or cauliflower mash.
- Dairy-Free Adaptation: The recipe is naturally dairy-free. Just make sure your baking powder is dairy-free (most are, but check the label). For the honey garlic glaze, use coconut aminos instead of soy sauce if you’re avoiding soy.
I once tried a Thai-inspired version with fish sauce, lime juice, and cilantro in the seasoning. It was good, but the fish sauce made the kitchen smell a little funky during cooking. I’d recommend adding those flavors as a finishing sauce instead. Live and learn.
Serving & Storage Suggestions
These crispy air fryer chicken thighs are best served hot, straight from the air fryer. The skin stays crispy for about 10-15 minutes, so plan your timing accordingly. I arrange them on a large platter lined with paper towels to catch any excess grease, then garnish with fresh parsley or chopped chives for color.
What to serve alongside: For game day, I go with classic dipping sauces—ranch, blue cheese, honey mustard, and barbecue. Add some crunchy celery and carrot sticks for contrast, and maybe a bowl of homemade potato wedges or air fryer onion rings. If you’re making a meal of it, serve with a simple green salad dressed with lemon vinaigrette to cut through the richness.
Beverage pairings: A cold IPA or pale ale cuts through the fat beautifully. For non-alcoholic options, try a spicy ginger beer or a tart lemonade. The acidity and carbonation balance the savory, smoky flavors.
Storage: Leftover chicken thighs can be stored in an airtight container in the refrigerator for up to 4 days. The skin will soften, but don’t worry—you can bring it back to life. To reheat, place the thighs back in the air fryer at 375°F (190°C) for 3-4 minutes. The skin will crisp up again almost like magic. Avoid microwaving—it turns the skin rubbery and the meat dry.
Freezing: Cooked thighs freeze well for up to 3 months. Let them cool completely, then wrap individually in plastic wrap and place in a freezer bag. To reheat from frozen, air fry at 375°F (190°C) for 8-10 minutes, flipping halfway through. No need to thaw first.
Flavor development: Honestly, these thighs taste even better the next day. The seasoning has time to meld with the meat, and the flavors become deeper and more complex. I’ve been known to make a double batch just so I have leftovers for lunch.
Nutritional Information & Benefits
Here’s the approximate nutritional breakdown per serving (1 thigh, based on 8 servings):
| Nutrient | Amount |
|---|---|
| Calories | 285 |
| Protein | 24g |
| Fat | 20g |
| Saturated Fat | 5g |
| Carbohydrates | 2g |
| Fiber | 0g |
| Sugar | 0g |
| Sodium | 620mg |
Chicken thighs are an excellent source of protein, which helps with muscle repair and keeps you feeling full. They’re also rich in B vitamins, particularly B6 and B12, which support energy metabolism and brain function. The skin contains healthy fats that aid in nutrient absorption, and the spices—especially paprika and cayenne—provide antioxidants that fight inflammation.
Dietary Considerations: This recipe is naturally gluten-free, low-carb, and keto-friendly. It’s also nut-free and egg-free, making it safe for common allergens. If you’re watching your sodium, reduce the salt to 1½ teaspoons and skip the baking powder (which contains sodium). For a lower-fat version, remove the skin before eating—you’ll still get great flavor from the seasoning.
I personally love that this recipe fits into a balanced lifestyle. It’s indulgent enough to feel like a treat but nutritious enough to enjoy regularly. Game day doesn’t have to mean sacrificing your health goals.
Conclusion
These crispy air fryer chicken thighs are the kind of recipe that becomes a staple. They’re quick, reliable, and always impressive—whether you’re feeding a crowd on game day or just making a weeknight dinner feel special. The combination of juicy meat, shatteringly crisp skin, and smoky, savory seasoning is hard to beat.
What I love most is how adaptable they are. You can keep them classic, spice them up, or glaze them with something sweet and sticky. They’re a blank canvas that rewards creativity. And honestly, they make you look like a kitchen hero with almost zero effort.
I’d love to hear how yours turn out. Did you try a variation? Find a new favorite dipping sauce? Drop a comment below or tag me in your photos—I’m always inspired by how people make recipes their own. And if you’re looking for more game day inspiration, check out my air fryer buffalo wings or this loaded game day nacho platter for a full spread.
Now go preheat that air fryer. Game day isn’t going to cook itself.
Frequently Asked Questions
Can I use boneless, skinless chicken thighs?
You can, but the results won’t be as crispy or juicy. The bone helps retain moisture during cooking, and the skin is what gets that shatteringly crisp texture. If you use boneless thighs, reduce the cooking time to 8-10 minutes per side and check the internal temperature at 165°F (74°C).
How do I prevent the chicken from sticking to the air fryer basket?
Make sure your basket is clean and lightly sprayed with cooking oil before adding the chicken. I use avocado oil spray because it has a high smoke point. Also, don’t move the chicken too early—let it cook for at least 8 minutes before flipping, and it should release naturally.
Can I make these ahead of time for a party?
Absolutely. Cook the thighs completely, then let them cool. Store in the refrigerator for up to 2 days. When your guests arrive, reheat in the air fryer at 375°F (190°C) for 4-5 minutes. The skin crisps right back up, and nobody will know they weren’t freshly made.
Why are my chicken thighs not getting crispy?
Most likely, there’s too much moisture. Make sure you pat the skin extremely dry with paper towels. Also, check that you’re not overcrowding the basket—air needs to circulate around each piece. Finally, try increasing the temperature to 420°F (215°C) for the last 3 minutes of cooking.
What dipping sauces go best with these?
My top three are honey mustard, spicy ranch, and a classic buffalo sauce (melted butter + hot sauce). For something different, try a creamy cilantro lime dip or a smoky chipotle aioli. The possibilities are endless, and they all complement the savory, crispy chicken beautifully.
Pin This Recipe!
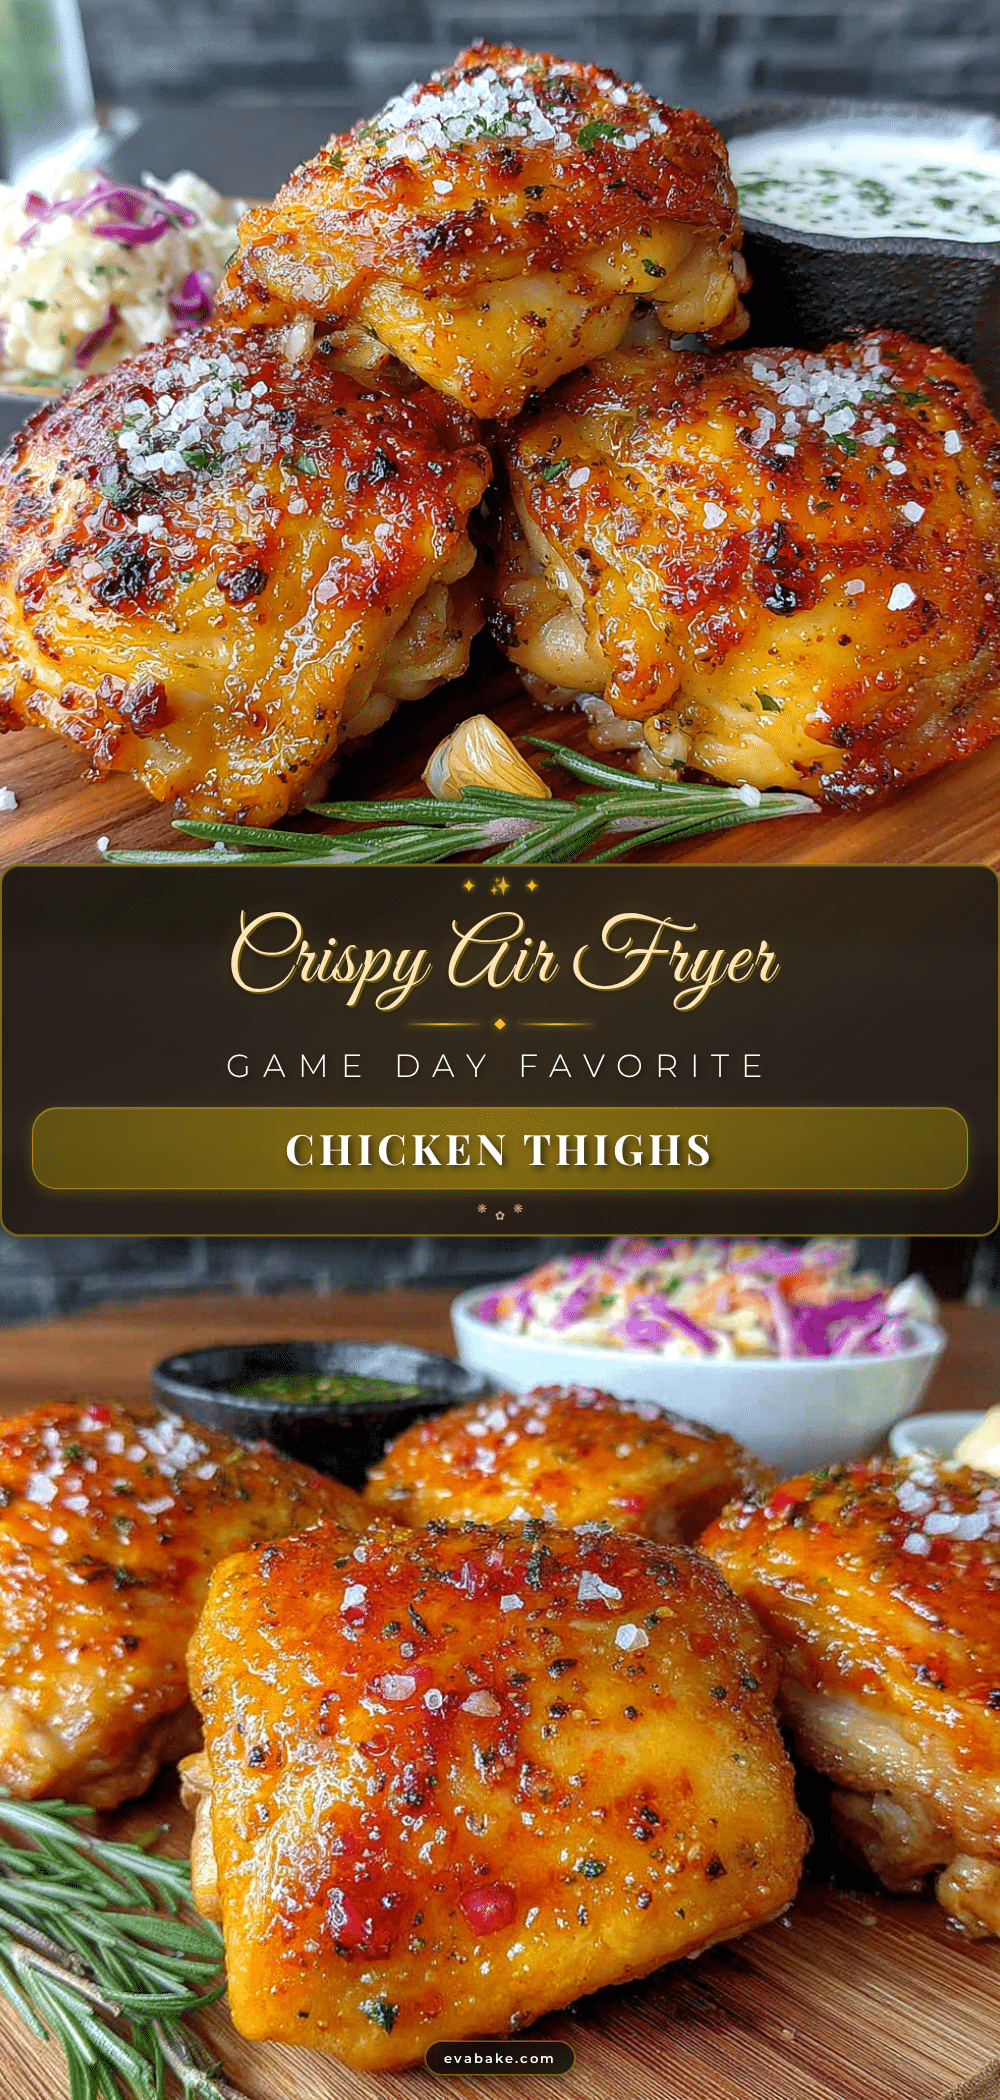
Crispy Air Fryer Chicken Thighs: The Best Game Day Appetizer

These crispy air fryer chicken thighs are the ultimate game day appetizer—juicy, tender meat with shatteringly crisp skin, ready in under 30 minutes with minimal cleanup.
- Prep Time: 15 minutes
- Cook Time: 22-24 minutes
- Total Time: 37-39 minutes
- Yield: 4-8 servings 1x
- Category: Appetizer
- Cuisine: American
Ingredients
- 6–8 bone-in, skin-on chicken thighs (about 2–2.5 lbs / 900-1100g)
- 2 tablespoons (30ml) olive oil
- 2 teaspoons (10g) kosher salt (Diamond Crystal preferred; reduce to 1½ tsp if using table salt)
- 1 teaspoon (2g) freshly ground black pepper
- 1½ teaspoons (4g) garlic powder
- 2 teaspoons (4g) smoked paprika
- 1 teaspoon (2g) onion powder
- ½ teaspoon (0.5g) dried thyme (optional)
- ¼ teaspoon (0.5g) cayenne pepper (optional, adjust to taste)
- 1 teaspoon (4g) aluminum-free baking powder
Instructions
- Pat the chicken thighs dry thoroughly with paper towels until the skin feels tacky. Let them sit uncovered on a plate for 10 minutes to allow remaining moisture to evaporate.
- Preheat your air fryer to 400°F (200°C) for 3-5 minutes. Meanwhile, combine kosher salt, black pepper, garlic powder, smoked paprika, onion powder, dried thyme, cayenne, and baking powder in a small bowl; whisk with a fork to break up clumps.
- Drizzle olive oil over the chicken and rub it into every surface, including under the skin. Sprinkle the seasoning mixture evenly over all sides and toss gently to coat, massaging the seasoning in well.
- Arrange the thighs skin-side down in a single layer in the air fryer basket, leaving at least ½ inch (1.25 cm) of space between each piece. Work in batches if necessary to avoid overcrowding.
- Cook for 12 minutes skin-side down without opening the basket.
- Flip the thighs using tongs and cook for another 10-12 minutes, until the internal temperature reaches 170°F (77°C) in the thickest part away from the bone. For extra-crispy skin, increase the temperature to 420°F (215°C) for the final 2 minutes.
- Transfer the thighs to a cutting board and let them rest for 5 minutes before serving. This allows the juices to redistribute.
Notes
Pat the chicken extremely dry for maximum crispiness. For even better results, leave thighs uncovered in the fridge for an hour before cooking. Let chicken come to room temperature for 20 minutes before cooking. If skin isn’t crispy enough, return to air fryer for 2-3 minutes at 400°F. Leftovers can be reheated in the air fryer at 375°F for 3-4 minutes to restore crispiness.
Nutrition
- Serving Size: 1 thigh
- Calories: 285
- Sodium: 620
- Fat: 20
- Saturated Fat: 5
- Carbohydrates: 2
- Protein: 24
Keywords: air fryer chicken thighs, crispy chicken thighs, game day appetizer, easy chicken recipe, air fryer recipe, chicken thighs, crispy skin


