I was elbow-deep in a pile of vintage linens at a dusty estate sale last fall when the woman running it—a tiny, silver-haired woman named Gloria who looked like she hadn’t smiled since 1987—started talking about cookies. I wasn’t there for cooking advice. I was hunting for a Pyrex bowl that wasn’t chipped. But Gloria, apparently, had other plans.
“You look like someone who needs a better cookie recipe,” she said, not asking. She handed me a crumpled index card from her apron pocket. “This one won’t wreck your jeans or your conscience.” I laughed, thinking it was a joke. She wasn’t laughing. So I took the card, paid three dollars for a slightly stained mixing bowl, and went home.
The card had a recipe for “Sensible Chocolate Chip Cookies” written in faded blue ink. No butter. Less sugar. And honestly? I was skeptical. I mean, what’s a chocolate chip cookie without a stick of butter? But I had a small craving that night—just enough for two people, not a whole battalion—so I gave it a shot. And let me tell you, that first bite was a genuine surprise. They were chewy, slightly crisp at the edges, and somehow still indulgent without the usual butter coma.
Gloria’s recipe became my go-to for those evenings when you want something sweet but don’t want to feel like you’ve derailed your whole week. Maybe you’ve been there—standing in front of the pantry at 9 p.m., trying to talk yourself out of a sugar binge. These cookies are the answer. They’re lightened-up, small-batch, and honestly, they might just ruin you for the full-fat version. I’ve made them at least twenty times since that estate sale, and they never last past the next morning.
Why You’ll Love This Recipe
Let me be real with you—I’ve tested this recipe more times than I care to count. I’ve made them with different flours, different sweeteners, different everything. And every single time, they come out exactly right. Here’s why this version is the one you’ll keep coming back to:
- Quick & Easy : From start to finish, these cookies take about 20 minutes. No chilling required. No stand mixer needed. Just a bowl, a spoon, and a baking sheet.
- Simple Ingredients : You probably have everything in your kitchen right now. No weird flours or obscure sweeteners. Just real, everyday stuff that works.
- Perfect for Late-Night Cravings : This batch makes exactly six cookies. Not two dozen that’ll sit on your counter calling your name for days. Just enough to satisfy that sweet tooth without the guilt.
- Crowd-Pleaser : I’ve served these to friends who swear they can taste the difference between butter and margarine. They couldn’t tell these were lightened-up. Not even a little.
- Unbelievably Delicious : The texture is the real magic here—crispy edges, soft centers, and that perfect chocolate-to-cookie ratio. It’s comfort food that doesn’t weigh you down.
What makes this recipe different? It’s the technique. Instead of relying on butter for fat and flavor, we’re using a combination of coconut oil and Greek yogurt. The coconut oil gives you that rich, buttery mouthfeel, while the yogurt adds moisture and a tiny tang that makes the chocolate pop. It’s not another version of the same old cookie—it’s the best version for anyone who wants to eat well without giving up the good stuff.
Honestly, this is the kind of recipe that makes you close your eyes after the first bite. It’s comfort food reimagined—healthier, faster, but with the same soul-soothing satisfaction. Perfect for impressing yourself on a Tuesday night.
What Ingredients You Will Need
This recipe uses simple, wholesome ingredients to deliver bold flavor and satisfying texture without the fuss. Most of these are pantry staples, so you’re probably already set.
- All-purpose flour (¾ cup / 90g) – The backbone of the cookie. I use unbleached all-purpose for the best texture. Spoon and level it—don’t scoop directly from the bag or you’ll end up with dry cookies.
- Coconut oil (2 tablespoons, melted and cooled) – This replaces butter. Use refined coconut oil if you don’t want any coconut flavor. Unrefined works too, but you’ll get a subtle coconut note that pairs beautifully with dark chocolate.
- Greek yogurt (2 tablespoons, plain, full-fat or 2%) – The secret ingredient for moisture and tenderness. Full-fat works best, but 2% is fine. Don’t use nonfat—it’s too watery and the cookies will spread too much.
- Light brown sugar (¼ cup / 50g, packed) – Adds moisture and that classic chewy texture. You can use dark brown sugar for a deeper molasses flavor, but light brown keeps things balanced.
- Granulated sugar (2 tablespoons / 25g) – Just enough for sweetness and a little crispness at the edges. I’ve tried cutting this out entirely, but the cookies lose their structure.
- Egg yolk (1 large) – Adds richness and helps bind everything together. Save the white for an omelet or scramble. Using the whole egg makes the cookies too cakey.
- Vanilla extract (1 teaspoon) – Pure vanilla, not imitation. It makes a difference. I recommend Nielsen-Massey for the best flavor.
- Baking soda (¼ teaspoon) – Helps the cookies spread just enough and gives them that golden color.
- Salt (¼ teaspoon) – Don’t skip this. Salt balances the sweetness and makes the chocolate taste more chocolatey.
- Chocolate chips (¼ cup / 45g) – Use dark chocolate chips (60-70% cacao) for the best balance. I prefer Ghirardelli 60% cacao chips. They melt into puddles instead of holding their shape, which is exactly what you want.
- Optional: Flaky sea salt (for sprinkling) – A pinch on top before baking takes these from good to unforgettable. Trust me on this.
Substitution notes: If you need a dairy-free option, use dairy-free yogurt (coconut-based works well) and ensure your chocolate chips are dairy-free. For a gluten-free version, swap the all-purpose flour with a 1:1 gluten-free baking blend. I’ve had good luck with King Arthur’s Measure for Measure.
Equipment Needed
You don’t need fancy tools for these cookies. Here’s what you’ll actually use:
- Mixing bowl (medium-sized) – Any bowl works. I use a ceramic one because it doesn’t slide around.
- Whisk – For mixing the wet ingredients. A fork works in a pinch.
- Rubber spatula or wooden spoon – For folding in the dry ingredients and chocolate chips.
- Baking sheet – A light-colored, rimmed sheet is best. Dark sheets make the bottoms brown too fast.
- Parchment paper or silicone baking mat – Non-negotiable for easy cleanup and even baking. I’ve used both, and parchment is my favorite because it’s disposable.
- Cookie scoop or tablespoon – For evenly sized cookies. A #40 cookie scoop (about 1.5 tablespoons) is perfect. If you don’t have one, just use a regular tablespoon.
- Cooling rack – Helps the cookies cool evenly so they don’t get soggy on the bottom. If you don’t have one, transfer them to a plate after 5 minutes.
- Measuring cups and spoons – For accuracy. I use metal measuring cups for dry ingredients and glass for liquids.
I bought my cookie scoop at a restaurant supply store for like four dollars, and it’s one of the best kitchen purchases I’ve ever made. No more uneven cookies or dough stuck to my hands.
Preparation Method
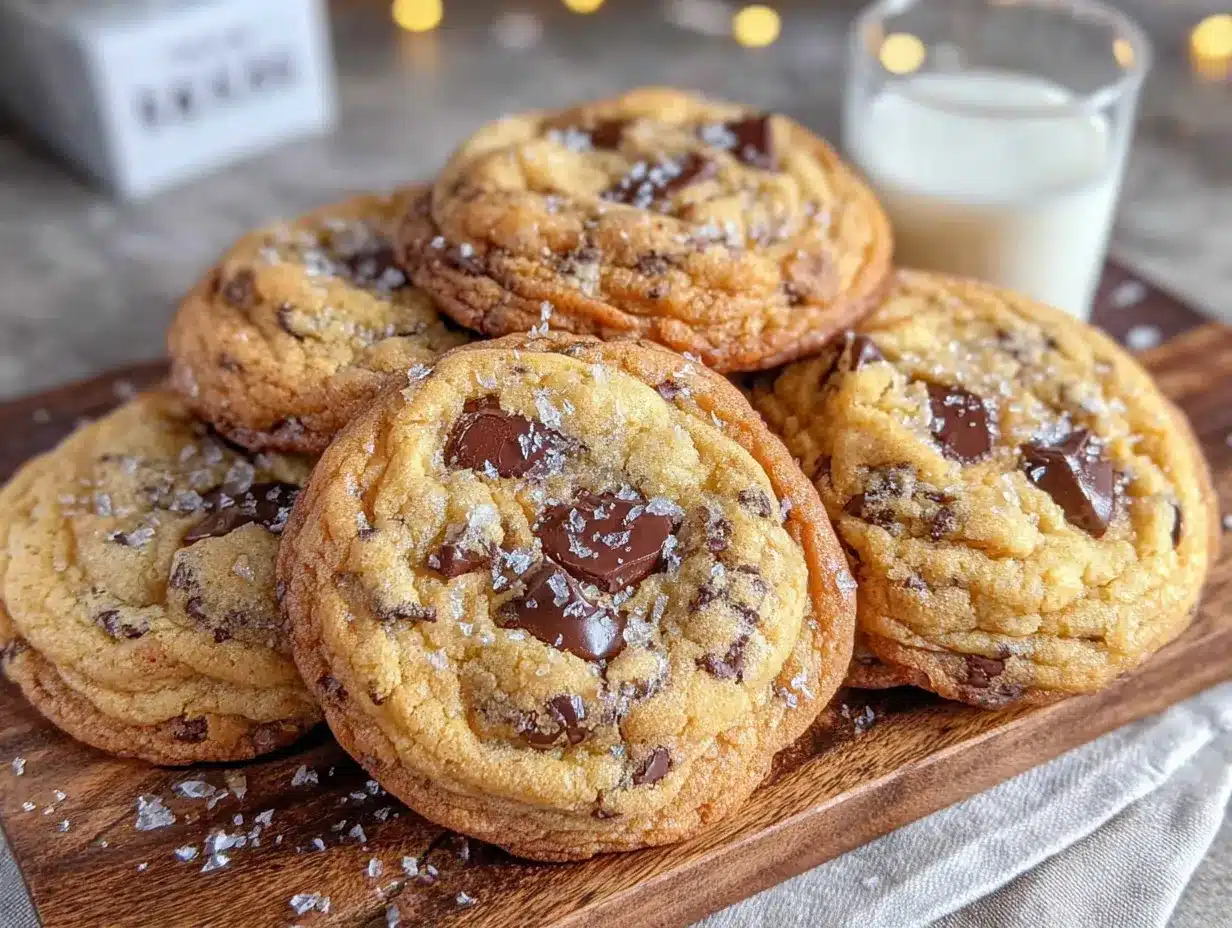
Let’s make some cookies. This whole process takes about 20 minutes, and I promise it’s easy.
- Preheat your oven to 350°F (175°C). Line a baking sheet with parchment paper or a silicone mat. Do this first so the oven is ready when you are.
- In a medium mixing bowl, whisk together the melted coconut oil, Greek yogurt, light brown sugar, and granulated sugar. Whisk until smooth and well combined. It should look like a thick, glossy paste. If your coconut oil clumps up, don’t worry—just keep whisking. It’ll come together.
- Add the egg yolk and vanilla extract. Whisk again until everything is fully incorporated. The mixture will be slightly thinner now, almost like a thin caramel. That’s perfect.
- In a separate small bowl, whisk together the all-purpose flour, baking soda, and salt. This ensures the baking soda and salt are evenly distributed. I learned this the hard way after biting into a salty cookie once. Never again.
- Add the dry ingredients to the wet ingredients. Use a rubber spatula or wooden spoon to fold them together. Stir just until no streaks of flour remain. Overmixing will make the cookies tough, so stop as soon as it comes together.
- Fold in the chocolate chips. Reserve a few chips to press on top of the dough balls before baking—it makes them look bakery-style. The dough will be thick and slightly sticky. That’s normal.
- Scoop the dough into 6 equal portions. Use a cookie scoop or a tablespoon to portion out the dough. Each portion should be about 1.5 tablespoons. Roll them into balls with your hands—they’ll be a little sticky, but that’s okay. Place them on the prepared baking sheet, spacing them about 2 inches apart.
- Press a few extra chocolate chips on top of each dough ball. This is optional but highly recommended. It makes the cookies look prettier and ensures every bite has chocolate.
- Bake for 8-10 minutes. The cookies should look golden around the edges but still soft and slightly underdone in the center. They’ll continue to set as they cool. I usually pull them out at the 9-minute mark for that perfect chewy texture.
- Let the cookies cool on the baking sheet for 5 minutes. This is crucial—they’re too fragile to move right away. After 5 minutes, transfer them to a cooling rack to cool completely. Or eat one warm. I won’t judge.
Pro tip: If you want extra-crispy edges, let them bake for the full 10 minutes. If you prefer softer, gooeyer cookies, pull them at 8 minutes. Your oven might run hot or cold, so keep an eye on them the first time.
Cooking Tips & Techniques
I’ve made these cookies more times than I can count, and I’ve learned a few things along the way. Here’s what I wish someone had told me:
Don’t overmix the dough. This is the number one mistake people make. Once you add the flour, stir just until it disappears. Overmixing develops gluten, which makes cookies tough and cakey. You want tender, not tough.
Use room temperature ingredients. The coconut oil should be melted but not hot. The egg yolk should be at room temperature. If you forget to take it out of the fridge, place it in a bowl of warm water for 5 minutes. Cold ingredients don’t emulsify properly, and you’ll end up with greasy cookies.
Chill the dough if you have time. I know I said no chilling required, but if you can spare 30 minutes, pop the dough balls in the fridge. Chilled dough spreads less and gives you thicker, chewier cookies. I’ve done it both ways, and chilled is slightly better. But honestly, when I’m craving cookies at 9 p.m., I skip the chill.
Watch the bake time. Every oven is different. My old oven ran hot and would burn the bottoms at 8 minutes. My current oven runs cool and needs the full 10. Get to know your oven’s quirks. The cookies are done when the edges are set and golden, but the centers still look soft and puffy.
Let them cool properly. I know it’s tempting to grab one right out of the oven, but trust me—they need those 5 minutes on the baking sheet. If you move them too soon, they’ll fall apart. I learned this the hard way and ended up with a plate of cookie crumbs.
Use a kitchen scale. If you have one, weigh your ingredients. Flour is especially tricky—scooping from the bag can give you up to 20% more flour than you need. Weighing ensures consistent results every time. I use my scale for everything now, and my baking has never been better.
Variations & Adaptations
One of the best things about this recipe is how easy it is to adapt. Here are some variations I’ve tried and loved:
Gluten-Free Version: Swap the all-purpose flour with a 1:1 gluten-free baking blend. I’ve used King Arthur’s Measure for Measure and Bob’s Red Mill with great results. The texture is slightly more crumbly, but still delicious. Add an extra tablespoon of yogurt to help with moisture.
Vegan Version: Replace the egg yolk with a flax egg (1 tablespoon ground flaxseed + 3 tablespoons water, let sit for 5 minutes). Use dairy-free yogurt and vegan chocolate chips. The cookies will be slightly denser but still chewy and satisfying.
Double Chocolate Chip: Replace 1 tablespoon of the all-purpose flour with 1 tablespoon of unsweetened cocoa powder. Use white chocolate chips or dark chocolate chips. The cocoa adds a rich, fudgy flavor that pairs beautifully with the yogurt tang.
Add-In Variations: Fold in 2 tablespoons of chopped nuts (walnuts or pecans work great) or 2 tablespoons of shredded coconut. For a seasonal twist, add 1 tablespoon of dried cranberries and a pinch of orange zest. I made a batch with chopped dark chocolate and toasted pecans last Christmas, and they disappeared in minutes.
Lower Sugar Option: Reduce the granulated sugar to 1 tablespoon and use a sugar substitute like monk fruit sweetener for the other tablespoon. The cookies will be less sweet but still satisfying. I’ve done this for friends who are watching their sugar intake, and they couldn’t tell the difference.
Serving & Storage Suggestions
These cookies are best served warm, straight from the oven. The edges are crisp, the centers are soft, and the chocolate is still melty. That’s the ideal moment. But they’re also fantastic at room temperature—the flavors meld together after a few hours, and the texture becomes perfectly chewy.
Serve with: A glass of cold milk (dairy or non-dairy), a scoop of vanilla ice cream for an indulgent dessert, or a cup of strong coffee for a late-afternoon treat. I’ve also crumbled them over Greek yogurt for a quick dessert parfait.
Storage: Store leftover cookies in an airtight container at room temperature for up to 3 days. Place a slice of bread in the container to keep them soft—the cookies will absorb the moisture from the bread. Replace the bread slice every day if you’re storing them longer.
Freezer Instructions: These cookies freeze beautifully. Place cooled cookies in a single layer in a freezer-safe bag or container. They’ll keep for up to 3 months. To thaw, leave them at room temperature for 15 minutes, or pop them in a 300°F oven for 5 minutes to re-crisp the edges.
Freezing the Dough: You can also freeze the dough balls. Scoop them onto a baking sheet and freeze until solid, then transfer to a freezer bag. Bake from frozen, adding 1-2 minutes to the bake time. This is perfect for when you want just one or two cookies without making a whole batch.
Flavor Development: Honestly, these cookies taste even better the next day. The flavors have time to meld, and the texture becomes perfectly balanced. If you can resist eating them all on day one, you’re in for a treat on day two.
Nutritional Information & Benefits
Here’s the breakdown for one cookie (based on 6 cookies per batch):
| Nutrient | Amount per Cookie |
|---|---|
| Calories | 145 |
| Total Fat | 7g |
| Saturated Fat | 5g |
| Carbohydrates | 19g |
| Fiber | 1g |
| Sugar | 12g |
| Protein | 2g |
Compared to a traditional chocolate chip cookie (which can clock in at 200+ calories and 12g of fat per cookie), this version is a significant improvement. The Greek yogurt adds protein and calcium, while the coconut oil provides healthy medium-chain triglycerides (MCTs) that are metabolized differently than other fats.
Dietary Considerations: This recipe is vegetarian. For a gluten-free version, use a 1:1 gluten-free flour blend. For a dairy-free version, use dairy-free yogurt and chocolate chips. The recipe is naturally nut-free (unless you add nuts), making it safe for school lunches.
Potential Allergens: Contains wheat (gluten), dairy (yogurt), and eggs. Check your chocolate chips for dairy if you’re avoiding it.
I love that I can enjoy these cookies without the post-sugar crash or the guilt. They’re proof that eating well doesn’t mean giving up the foods you love—it’s about making smarter choices that still taste amazing.
Conclusion
These lightened-up small-batch chocolate chip cookies have become a staple in my kitchen, and I think they’ll become one in yours too. They’re quick, easy, and made with ingredients you probably already have. But more than that, they’re proof that you don’t need a stick of butter and a cup of sugar to make a genuinely satisfying cookie.
I love that this recipe came from an unexpected source—a grumpy estate sale lady who probably didn’t think twice about handing me that crumpled index card. But it’s become one of my most cherished recipes, not just because it’s delicious, but because it reminds me that good things often come from the most unlikely places.
So go ahead and give these cookies a try. Make them your own—add nuts, swap the chocolate, experiment with different extracts. And when you do, I’d love to hear about it. Leave a comment below, share your photos, or tell me about your own unexpected recipe discoveries. Because honestly, the best recipes are the ones with a story behind them.
Happy baking, friends. You deserve a cookie that’s good for you and good to you.
Frequently Asked Questions
Can I use butter instead of coconut oil?
Yes, you can substitute melted butter for the coconut oil in a 1:1 ratio. Keep in mind that this will increase the saturated fat content and change the nutritional profile. The texture will be slightly different—butter cookies tend to spread more and have a crisper edge.
Why are my cookies spreading too much?
This usually happens if the dough is too warm or if you used too much sugar. Make sure your coconut oil is melted but not hot, and measure your sugars accurately. If your kitchen is warm, chill the dough balls for 15-20 minutes before baking. Also, check that your baking sheet isn’t too dark—dark sheets absorb more heat and cause more spread.
Can I double this recipe?
Absolutely. Simply double all the ingredients. The bake time will stay the same, but you might need to bake in batches if you only have one baking sheet. The dough can be refrigerated for up to 3 days, so you can bake a few cookies at a time as needed.
How do I make these cookies softer or chewier?
For softer cookies, reduce the bake time by 1-2 minutes and pull them out when the centers still look slightly underdone. For chewier cookies, add an extra tablespoon of Greek yogurt and use all brown sugar (omit the granulated sugar). The extra moisture and molasses in the brown sugar create a chewier texture.
Can I use a different type of yogurt?
Yes, but the texture will vary. Full-fat Greek yogurt works best for moisture and structure. You can use regular plain yogurt, but reduce the amount to 1.5 tablespoons since it’s more watery. Non-dairy yogurts (coconut, almond, or soy) work well too, but look for thick, unsweetened varieties to avoid adding extra sugar or liquid.
Pin This Recipe!
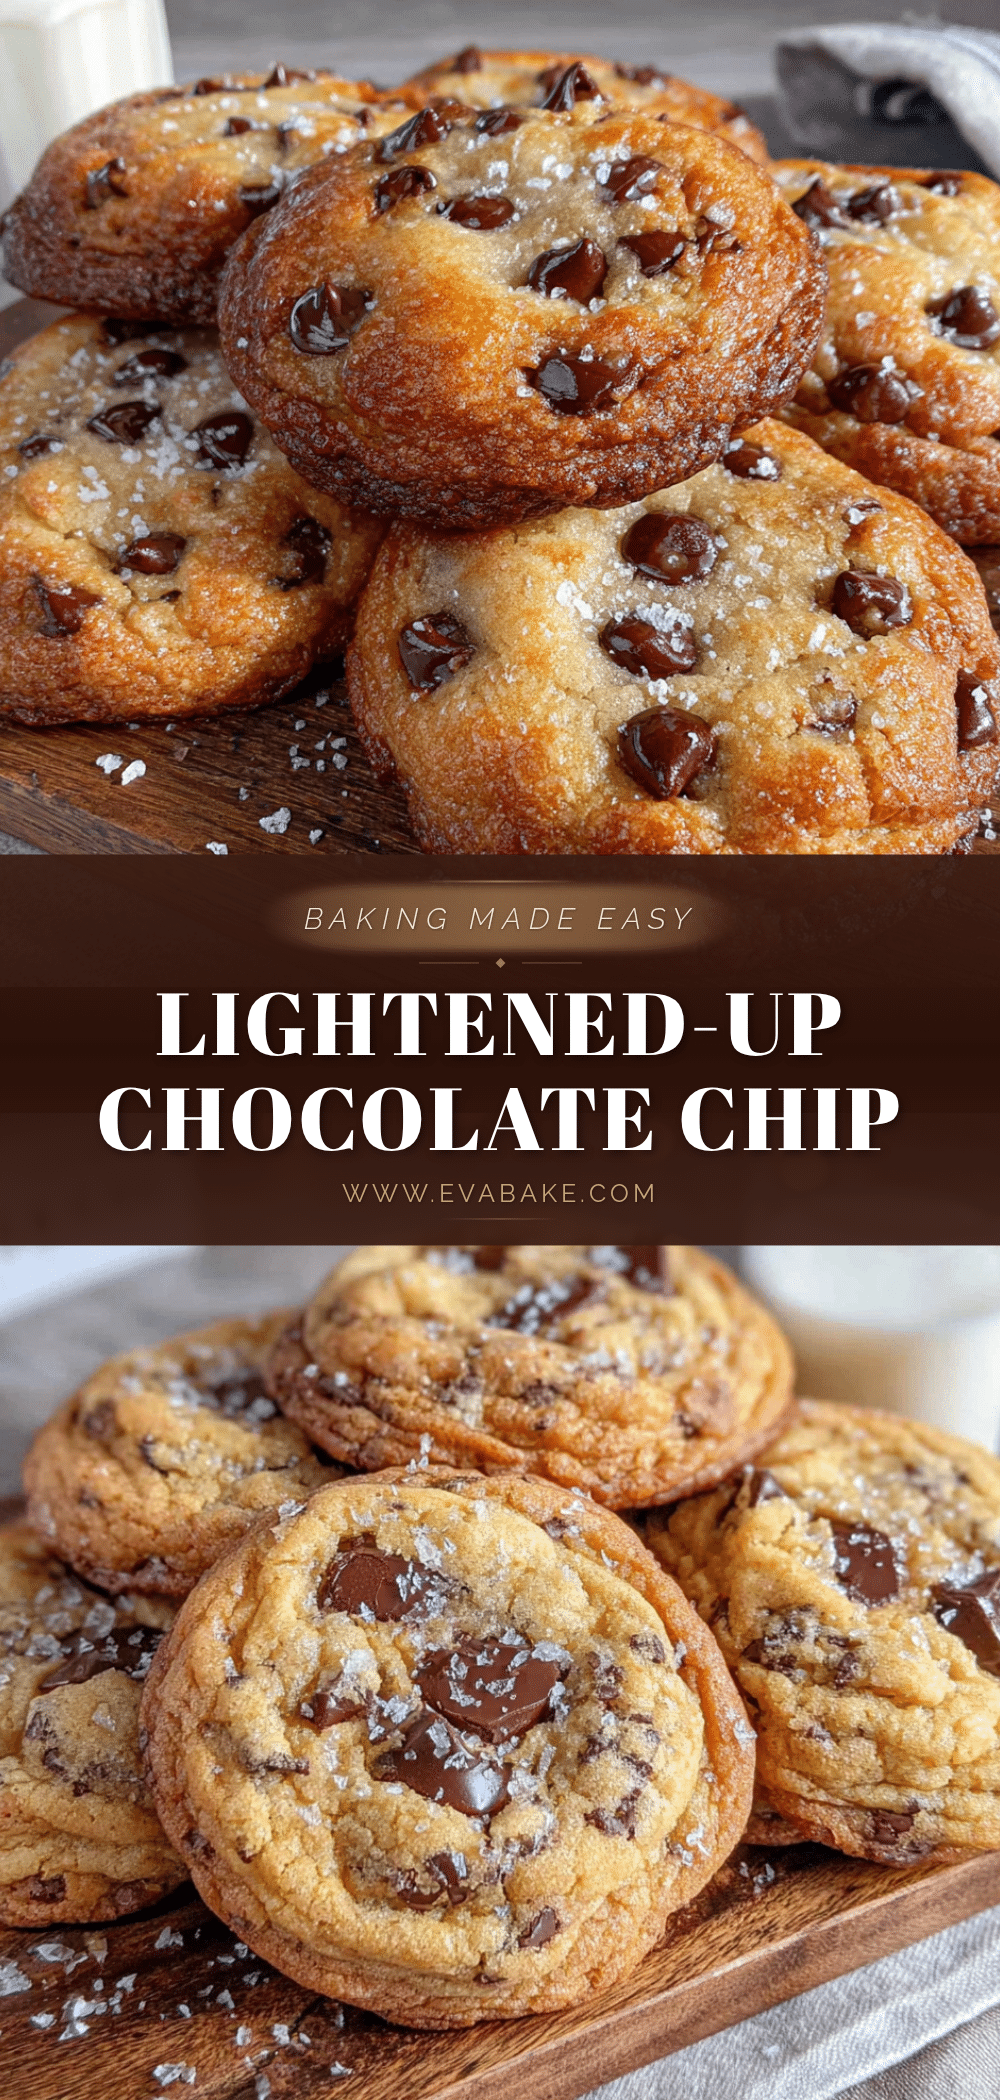
Lightened-Up Small Batch Chocolate Chip Cookies Easy Recipe

These lightened-up small batch chocolate chip cookies are quick, easy, and made with simple ingredients. They deliver chewy, indulgent cookies without the guilt, perfect for late-night cravings.
- Prep Time: 10 minutes
- Cook Time: 10 minutes
- Total Time: 20 minutes
- Yield: 6 cookies 1x
- Category: Dessert
- Cuisine: American
Ingredients
- ¾ cup (90g) all-purpose flour
- 2 tablespoons coconut oil, melted and cooled
- 2 tablespoons plain Greek yogurt (full-fat or 2%)
- ¼ cup (50g) packed light brown sugar
- 2 tablespoons (25g) granulated sugar
- 1 large egg yolk
- 1 teaspoon vanilla extract
- ¼ teaspoon baking soda
- ¼ teaspoon salt
- ¼ cup (45g) dark chocolate chips (60-70% cacao)
- Flaky sea salt for sprinkling (optional)
Instructions
- Preheat your oven to 350°F (175°C). Line a baking sheet with parchment paper or a silicone mat.
- In a medium mixing bowl, whisk together the melted coconut oil, Greek yogurt, light brown sugar, and granulated sugar until smooth and well combined.
- Add the egg yolk and vanilla extract. Whisk again until fully incorporated.
- In a separate small bowl, whisk together the all-purpose flour, baking soda, and salt.
- Add the dry ingredients to the wet ingredients. Use a rubber spatula or wooden spoon to fold them together just until no streaks of flour remain.
- Fold in the chocolate chips. Reserve a few chips to press on top of the dough balls before baking.
- Scoop the dough into 6 equal portions (about 1.5 tablespoons each). Roll into balls and place on the prepared baking sheet, spacing them about 2 inches apart.
- Press a few extra chocolate chips on top of each dough ball.
- Bake for 8-10 minutes, until edges are golden and centers are still soft.
- Let the cookies cool on the baking sheet for 5 minutes, then transfer to a cooling rack to cool completely.
Notes
For extra-crispy edges, bake for the full 10 minutes. For softer cookies, pull at 8 minutes. Chilling the dough for 30 minutes yields thicker, chewier cookies. Use a kitchen scale for best results.
Nutrition
- Serving Size: 1 cookie
- Calories: 145
- Sugar: 12
- Sodium: 95
- Fat: 7
- Saturated Fat: 5
- Carbohydrates: 19
- Fiber: 1
- Protein: 2
Keywords: lightened-up chocolate chip cookies, small batch cookies, healthy cookies, easy cookie recipe, late-night snack


