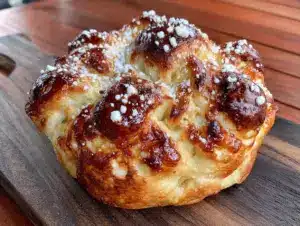
I wasn’t expecting baking advice from my accountant, but there I was, stuck in his office during tax season, watching him pull a crumb-covered recipe card from his desk drawer. Between spreadsheets and receipts, Mr. Garcia—who I’d only ever seen in ties and pocket protectors—started describing exactly how to make the best Pan de Muerto recipe. “You have to understand,” he said, wiping flour off the card, “this bread is about remembering. Every crumb tells a story.”
Honestly, I almost laughed. Here was a man who organized my deductions, and he was talking about orange blossom water and bone-shaped dough like it was the most important thing in the world. But then he told me about his grandmother in Puebla, how she’d wake up at 4 AM every November 1st to start the dough. “She said the bread has to be ready before the souls arrive,” he whispered. And let me tell you, sitting there with a stack of receipts in my lap, I felt something shift. This wasn’t just bread—it was a connection across time.
I asked him for the recipe, and he hesitated. “It’s not written down perfectly,” he warned. “My grandmother measured with her hands.” So for the next three weekends, I tried to decode his scribbled notes. The first batch came out dense as a brick—I mean, you could have used it as a doorstop. The second batch? Too dry, like eating sweetened sawdust. But that third batch, the one where I finally understood the rhythm of the dough, the way it should feel like a baby’s earlobe when it’s ready—that was it. That was the best Pan de Muerto I had ever tasted.
You know that feeling when you’ve been chasing something and suddenly it clicks? That was this bread. The golden crust, the pillowy interior, the faint whisper of orange and anise—it tasted like memory itself. And now, every year, I make this recipe for my Day of the Dead gatherings. It’s the first thing guests reach for, the thing they talk about long after the marigolds have wilted. Maybe you’ve been looking for that one showstopper bread that feels both authentic and forgiving. Let me tell you, this is it.
Why You’ll Love This Recipe
Let’s be real—there are a lot of Pan de Muerto recipes out there, but this one is different. This is the version I’ve tested, failed at, and perfected over three years of stubborn trial and error. It’s the one I now serve every Día de los Muertos, and honestly, it never fails to get that “where did you get this?” reaction from guests.
- Crowd-Pleasing at Any Gathering : This bread is designed to impress. It’s beautiful enough for an altar display but so delicious that it disappears before the candles burn down. Perfect for dinner parties, potlucks, or festive get-togethers where you want to be the host who brought something unforgettable.
- Deceptively Simple Ingredients : No obscure baking supplies or trips to specialty stores. Flour, butter, eggs, sugar, yeast, and a few aromatic extras—you probably have most of this in your pantry right now. The magic is in how they come together.
- Make-Ahead Friendly : The dough actually develops better flavor if you let it rest overnight in the fridge. This means you can prep everything the day before your party and just bake it fresh when guests arrive. Your kitchen will smell like a Mexican bakery, and you’ll look like a hero with zero last-minute stress.
- Authentic Yet Forgiving : I’ve taken every shortcut that works and every technique that matters. This recipe respects tradition but doesn’t punish you for being human. Forgot to bring the butter to room temperature? I’ve got a hack for that. Dough isn’t rising? I’ll show you what to do.
- The Texture That Keeps People Coming Back : The crumb is soft and slightly sweet, with that signature orange blossom fragrance. It’s not too dense, not too airy—it’s the kind of bread that makes you close your eyes after the first bite. Honestly, it’s comfort food reimagined for a celebration.
This isn’t just another recipe you’ll bookmark and forget. This is the best Pan de Muerto recipe you’ll actually make, the one your friends will ask for year after year. And when you pull that golden, bone-studded loaf out of the oven, surrounded by the people you love—well, that’s the whole point, isn’t it?
What Ingredients You Will Need
This recipe uses simple, wholesome ingredients to deliver that signature Pan de Muerto flavor and texture. Most of these are pantry staples, but a few special additions make all the difference. Here’s what you’ll need and why each one matters.
For the Dough
- 4 cups (500g) all-purpose flour – I prefer Gold Medal or King Arthur for consistent results. The protein content gives the bread structure without making it tough. (Pro tip: spoon and level your flour—don’t scoop directly from the bag or you’ll end up with dense bread.)
- 1/2 cup (100g) granulated sugar – Just enough sweetness to balance the floral notes. Regular white sugar works perfectly.
- 1 packet (2 1/4 tsp) active dry yeast – I use Red Star or Fleischmann’s. Make sure it’s fresh—check the expiration date before you start.
- 1/2 cup (120ml) whole milk, warm – Warm to about 110°F (43°C). Too hot kills the yeast, too cold and it won’t activate. Think warm bath water, not hot coffee.
- 1/4 cup (60ml) orange juice, freshly squeezed – This adds brightness and tenderizes the gluten. Don’t use bottled juice—it’s too acidic and can mess with the yeast.
- 1 tablespoon orange zest – From about 2 oranges. This is where the real flavor lives. Grate only the orange part, not the bitter white pith.
- 1 teaspoon orange blossom water – This is the secret ingredient that makes Pan de Muerto taste authentic. Find it in international grocery stores or online. A little goes a long way.
- 1 teaspoon anise seed – Crush them slightly with a mortar and pestle or the back of a spoon. That slight licorice note is traditional and absolutely essential.
- 1/2 teaspoon salt – Don’t skip this! Salt controls yeast activity and enhances all the other flavors.
- 1/3 cup (75g) unsalted butter, softened – Let it sit out for at least an hour. Cold butter won’t incorporate properly and will leave greasy spots in your dough.
- 2 large eggs, room temperature – Straight from the fridge will shock your dough. Place them in warm water for 5 minutes if you’re in a hurry.
- 1 egg yolk, room temperature – Extra richness without extra white, which can make the bread tough.
For the Glaze and Topping
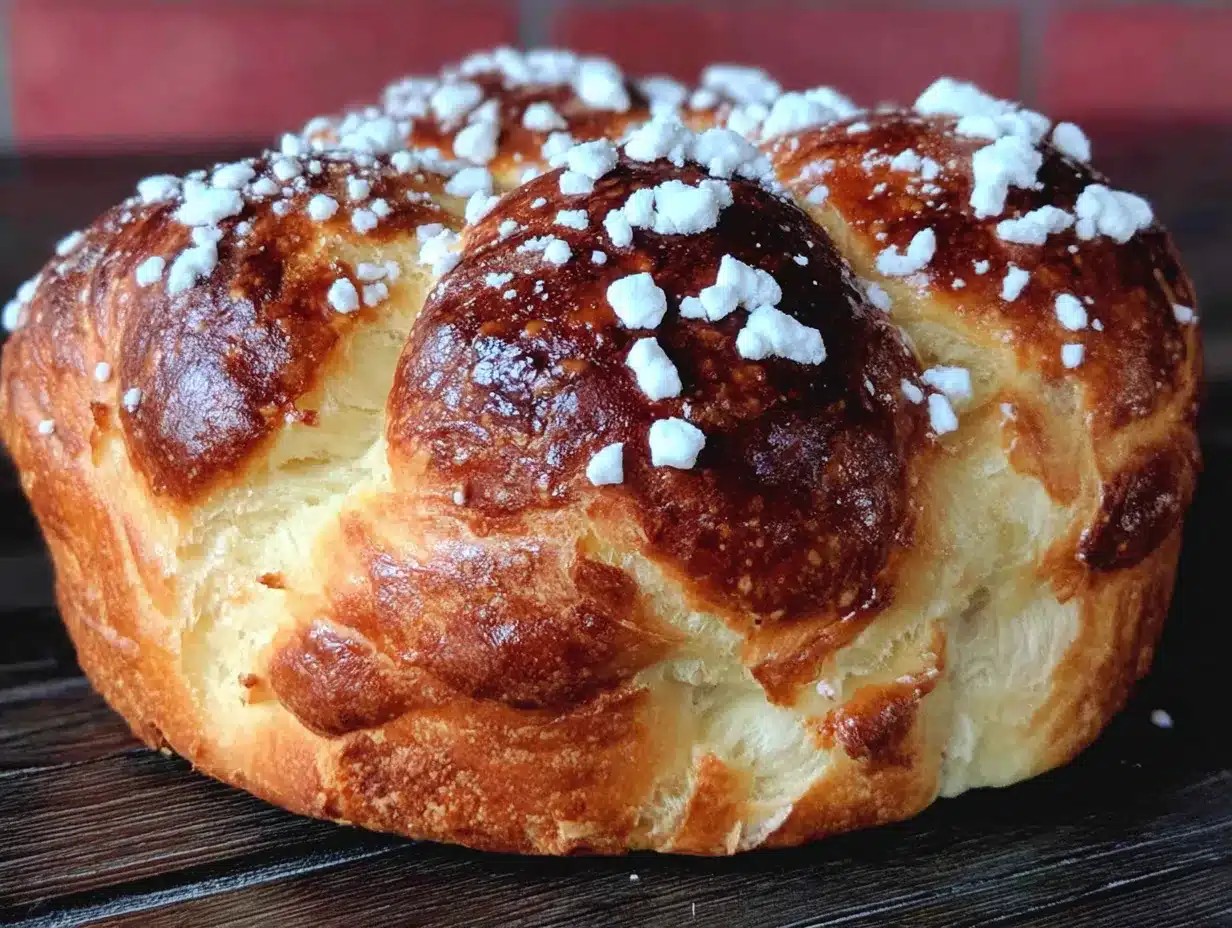
- 1/4 cup (50g) granulated sugar – For the final sprinkle. Use fine sugar—it sticks better and looks prettier.
- 2 tablespoons unsalted butter, melted – Brushed on while the bread is still warm. This gives that beautiful shine and helps the sugar adhere.
- 1 egg, beaten with 1 tablespoon water – For the egg wash before baking. It creates that gorgeous golden-brown crust.
Substitution Notes: If you’re dairy-free, use oat milk and vegan butter—I’ve tested this with Miyoko’s brand and it works well. For a gluten-free version, I recommend Cup4Cup multipurpose flour, though the texture will be slightly more cake-like. And if you can’t find orange blossom water, increase the orange zest to 2 tablespoons and add an extra teaspoon of orange juice. It won’t be exactly the same, but it’ll still be delicious.
Equipment Needed
You don’t need a professional bakery setup to make the best Pan de Muerto recipe. Here’s what I actually use and what you can substitute if you’re working with a less-stocked kitchen.
- Stand mixer with dough hook – This is my preference because kneading for 10 minutes by hand is a workout. I use my KitchenAid Artisan, but any brand works. (If you don’t have one, don’t worry—you can knead by hand. It just takes more elbow grease and about 15 minutes.)
- Large mixing bowl – Glass or stainless steel is best. Avoid plastic bowls—they can retain odors and don’t hold heat well for proofing.
- Baking sheets – Two half-sheet pans, lined with parchment paper. I’ve used the same Nordic Ware sheets for years and they’ve never warped.
- Pastry brush – For the egg wash and melted butter. A silicone brush is easier to clean than natural bristles.
- Bench scraper – Not essential, but incredibly helpful for dividing dough cleanly. A sharp knife works in a pinch.
- Plastic wrap or a clean kitchen towel – For covering the dough while it rises. I prefer a damp kitchen towel—it creates a better seal against drafts.
- Instant-read thermometer – Takes the guesswork out of water temperature. I use a Thermapen, but any digital thermometer under $20 will do the job.
- Cooling rack – Crucial for letting the bread cool evenly. If you don’t have one, carefully balance the loaf on its edge against a clean surface to allow airflow.
Budget Tip: You can absolutely make this bread with just your hands, a bowl, and a baking sheet. The equipment is nice, but it’s not what makes the bread good. Your attention to detail does.
Preparation Method
Alright, let’s get to it. This recipe takes about 3.5 hours total, including rising time. But most of that is hands-off—you’re just waiting for the yeast to do its thing. Here’s the step-by-step breakdown.
Step 1: Activate the Yeast (10 minutes)
- In a small bowl, combine the warm milk (110°F/43°C), 1 tablespoon of the sugar, and the active dry yeast. Stir gently and let it sit for 5-10 minutes until it becomes foamy and smells like fresh bread. If it doesn’t foam, your yeast is dead—start over with fresh yeast.
Step 2: Mix the Dough (15 minutes)
- In the bowl of your stand mixer (or a large mixing bowl if kneading by hand), whisk together the flour, remaining sugar, and salt.
- Add the foamy yeast mixture, orange juice, orange zest, orange blossom water, crushed anise seed, softened butter, whole eggs, and egg yolk.
- Using the dough hook attachment, mix on low speed for 2 minutes until everything comes together into a shaggy, sticky mass. Don’t panic if it looks messy—it’s supposed to.
- Increase speed to medium and knead for 8-10 minutes. The dough should pull away from the sides of the bowl and feel smooth and elastic. If it’s still sticking like crazy, add flour one tablespoon at a time. If it’s dry and stiff, add warm milk one teaspoon at a time.
Step 3: First Rise (1.5 hours)
- Lightly oil a large bowl (I use vegetable oil or cooking spray). Place the dough in the bowl, turning once to coat all sides with oil. Cover tightly with plastic wrap or a damp kitchen towel.
- Let it rise in a warm, draft-free spot for about 1.5 hours, or until doubled in size. My favorite spot is inside my turned-off oven with the light on—it stays around 80°F (27°C) which is perfect. If your kitchen is cold, it might take up to 2 hours. Be patient.
Step 4: Shape the Bread (20 minutes)
- Punch down the risen dough to release the air. Turn it out onto a lightly floured surface.
- Divide the dough into two equal pieces. Set one piece aside and cover it with a towel so it doesn’t dry out.
- From the first piece, cut off about 1/4 of the dough and set it aside. This will become the “bones” and the top knob.
- Shape the remaining large piece into a smooth ball by tucking the edges under and rotating it against the work surface. Place it on a parchment-lined baking sheet.
- Take the reserved small piece and divide it into 4 equal portions for the “bones.” Roll each into a rope about 6 inches long. Also form a small ball for the top knob.
- Gently press the bones onto the top of the main dough ball in a cross pattern (think of a plus sign). Place the small ball in the center where they meet. Don’t press too hard—you want them to stay visible after baking.
- Repeat steps 10-13 with the second piece of dough for your second loaf.
Step 5: Second Rise (45 minutes)
- Cover both shaped loaves loosely with plastic wrap or a clean towel. Let them rise for 45 minutes, or until puffy and almost doubled. They should look like happy little clouds.
Step 6: Bake (25-30 minutes)
- Preheat your oven to 350°F (175°C) about 15 minutes before the second rise is done. Position a rack in the center of the oven.
- In a small bowl, whisk the egg with 1 tablespoon of water to make the egg wash. Gently brush it over the entire surface of each loaf, being careful not to deflate the dough.
- Bake for 25-30 minutes, rotating the pans halfway through. The bread is done when it’s deep golden brown and sounds hollow when tapped on the bottom. An instant-read thermometer inserted into the center should read 190°F (88°C).
Step 7: Glaze and Serve (10 minutes)
- Remove the loaves from the oven and transfer them to a cooling rack. While still warm, brush generously with melted butter and sprinkle with granulated sugar. The butter will soak in and the sugar will create a delicate, crunchy crust.
- Let cool for at least 20 minutes before slicing. I know it’s hard to wait, but the texture improves as it cools. Serve slightly warm or at room temperature.
Cooking Tips & Techniques
After making this bread more times than I care to count (and failing spectacularly more than once), I’ve collected some hard-won wisdom. Here are the things I wish someone had told me before my first attempt.
Don’t rush the yeast. I once tried to speed things up by using water that was too hot. Big mistake. The yeast died instantly, and I ended up with a dense, sad brick that my dog wouldn’t even eat. Always check the temperature with a thermometer—your fingers lie.
The dough should be tacky, not sticky. When you touch it, a tiny bit should stick to your finger, but it should release cleanly. If it’s leaving a film on your hand, it needs more flour. If it feels dry and stiff, it needs more liquid. Trust the feel—it’s more reliable than any recipe.
Cold proofing is your friend. If you’re making this for a party, do the first rise in the fridge overnight. The cold slows down fermentation, which develops deeper flavor. Plus, cold dough is much easier to shape—it doesn’t stick as much and holds its form better. Just bring it back to room temperature for about an hour before shaping.
The bone shapes are forgiving. Don’t stress about making them perfect. I’ve had “bones” that looked more like sad worms, but they still tasted amazing. The important thing is to press them gently into the dough so they stay attached during baking. If they start to pull away, dab a little water underneath to glue them back.
Watch your oven like a hawk. Every oven runs differently. My old apartment oven would burn the bottoms every time, so I started placing the baking sheets on the second-to-top rack. If your bread is browning too fast, tent it loosely with aluminum foil halfway through.
Multitask wisely. While the dough is rising, this is the perfect time to set up your ofrenda, arrange your marigolds, or prep the rest of your meal. The bread will be ready when you are.
Variations & Adaptations
One of the things I love about this best Pan de Muerto recipe is how adaptable it is. Here are some variations I’ve tried and loved.
Chocolate Pan de Muerto
Replace 1/4 cup of the flour with unsweetened cocoa powder. Add 1 teaspoon of instant espresso powder to deepen the chocolate flavor. This version is incredible with a cup of Mexican hot chocolate—my friend Carla requests it every year.
Vegan Version
Use plant-based milk (oat or soy work best), vegan butter, and a flax egg (1 tablespoon ground flaxseed mixed with 3 tablespoons water, let sit for 5 minutes). The texture is slightly denser but still delicious. I’ve served this to non-vegans who couldn’t tell the difference.
Gluten-Free Adaptation
Substitute the all-purpose flour with a 1:1 gluten-free baking blend that contains xanthan gum. Bob’s Red Mill and King Arthur both make reliable versions. The dough will be stickier and harder to shape, so wet your hands with a little water to handle it. Bake for an extra 5 minutes.
Filled Pan de Muerto
After shaping the main dough ball, flatten it slightly and place a spoonful of cajeta (goat’s milk caramel), dulce de leche, or even Nutella in the center. Pinch the edges to seal, then reshape into a ball. The filling will create a gooey surprise inside—just warn your guests it might be hot.
Spiced Variation
Add 1/2 teaspoon of ground cinnamon and 1/4 teaspoon of ground cloves to the flour mixture. This gives the bread a warmer, more complex flavor that pairs beautifully with the orange blossom water. I make this version when I’m serving the bread with coffee instead of hot chocolate.
Serving & Storage Suggestions
This bread is at its absolute best the day it’s baked. That first day, the crust is slightly crisp, the interior is pillowy, and the orange blossom fragrance is intoxicating. But honestly, it’s still pretty amazing the next day—especially if you toast it lightly.
Serving Ideas for Your Gathering: Slice the Pan de Muerto into wedges and arrange them on a beautiful platter alongside a bowl of Mexican hot chocolate or cinnamon-spiced coffee. For a more festive presentation, dust the platter with a little extra sugar and scatter a few marigold petals around the edges. Your guests will think you hired a caterer.
What to Serve With It: This bread is wonderful on its own, but it pairs beautifully with a rich, frothy cup of Mexican hot chocolate. If you’re hosting a full dinner party, serve it alongside savory chicken tamales for a complete Día de los Muertos spread.
Storage Instructions: Store leftover bread in an airtight container at room temperature for up to 3 days. Do not refrigerate—it will dry out and go stale faster. If you need to keep it longer, wrap it tightly in plastic wrap, then aluminum foil, and freeze for up to 2 months.
Reheating Tips: To revive day-old bread, wrap it in foil and warm it in a 300°F (150°C) oven for 10 minutes. For a quicker fix, microwave a slice for 15 seconds, but be warned—it will lose that nice crust texture. Toasting is also an option and honestly, toasted Pan de Muerto with butter is a whole new level of delicious.
Flavor Development: Interestingly, the anise and orange flavors become more pronounced on the second day. So if you’re making this for a party, baking it a day ahead actually gives you a more flavorful bread. Just don’t glaze it until the day you serve it—the sugar will dissolve and lose its crunch if stored.
Nutritional Information & Benefits
Let’s be honest—this is a celebration bread, not a health food. But that doesn’t mean it’s without its merits. Here’s a rough nutritional breakdown per slice (assuming 12 slices per loaf).
| Nutrient | Amount Per Slice |
|---|---|
| Calories | 280 |
| Total Fat | 10g |
| Saturated Fat | 6g |
| Carbohydrates | 42g |
| Sugar | 18g |
| Protein | 6g |
| Sodium | 180mg |
| Fiber | 1g |
Health Highlights: The orange zest and juice provide a good dose of vitamin C, which supports immune function. Anise seed has been used in traditional medicine to aid digestion—so this bread might actually help settle your stomach after a big meal. And the eggs contribute high-quality protein and choline, which is important for brain health.
Dietary Considerations: This recipe contains gluten, dairy, and eggs. For allergen-friendly versions, check the variations section above. The gluten-free version is lower in protein but still satisfying. The vegan version is cholesterol-free and lower in saturated fat.
My personal take? This bread is about joy and connection, not counting calories. It’s the bread you make to honor those who came before us, and that’s worth every single bite. Life is short—eat the good bread.
Conclusion
So there you have it—the best Pan de Muerto recipe, straight from an accountant’s grandmother’s kitchen to yours. This bread is more than just a recipe; it’s a way to bring people together, to remember, and to celebrate. Every time I make it, I think about Mr. Garcia and his grandmother, and I feel connected to something bigger than myself.
I hope you’ll give this recipe a try, whether it’s for Día de los Muertos, a dinner party, or just a Tuesday that needs a little extra sweetness. Don’t be afraid to make it your own—add a little more orange zest, shape the bones differently, or fill it with your favorite sweet treat. The best recipes are the ones that become yours.
When you make it, I’d love to hear how it turns out. Drop a comment below and tell me about your experience—did you serve it with hot chocolate? Did your guests ask for the recipe? Did you burn the first batch like I did? (No judgment here, I promise.) Share your photos, your stories, and your own variations. This is how traditions live on.
Now go preheat that oven. Your kitchen is about to smell incredible.
Frequently Asked Questions
Can I make Pan de Muerto without a stand mixer?
Absolutely! Kneading by hand takes about 15 minutes instead of 10, but it’s completely doable. Use a rhythmic folding and pressing motion, and try not to add too much extra flour—the dough should stay slightly tacky.
Why isn’t my dough rising?
This is usually a yeast issue. Either your yeast was expired, your liquid was too hot (killed the yeast) or too cold (didn’t activate it), or your kitchen is too drafty. Try proofing in your oven with just the light on—it stays at the perfect temperature.
Can I freeze Pan de Muerto?
Yes! Bake it completely, let it cool, then wrap tightly in plastic wrap and foil. Freeze for up to 2 months. To serve, thaw overnight in the fridge, then warm in a 300°F oven for 10 minutes. Glaze with butter and sugar after reheating.
What if I can’t find orange blossom water?
Increase the orange zest to 2 tablespoons and add an extra teaspoon of orange juice. You can also use 1/2 teaspoon of vanilla extract as a backup. It won’t be exactly traditional, but it’ll still be delicious.
How do I know when the bread is fully baked?
Three signs: the top is deep golden brown, the bread sounds hollow when you tap the bottom, and an instant-read thermometer inserted into the center reads 190°F (88°C). If you don’t have a thermometer, the hollow sound test is very reliable.
Pin This Recipe!
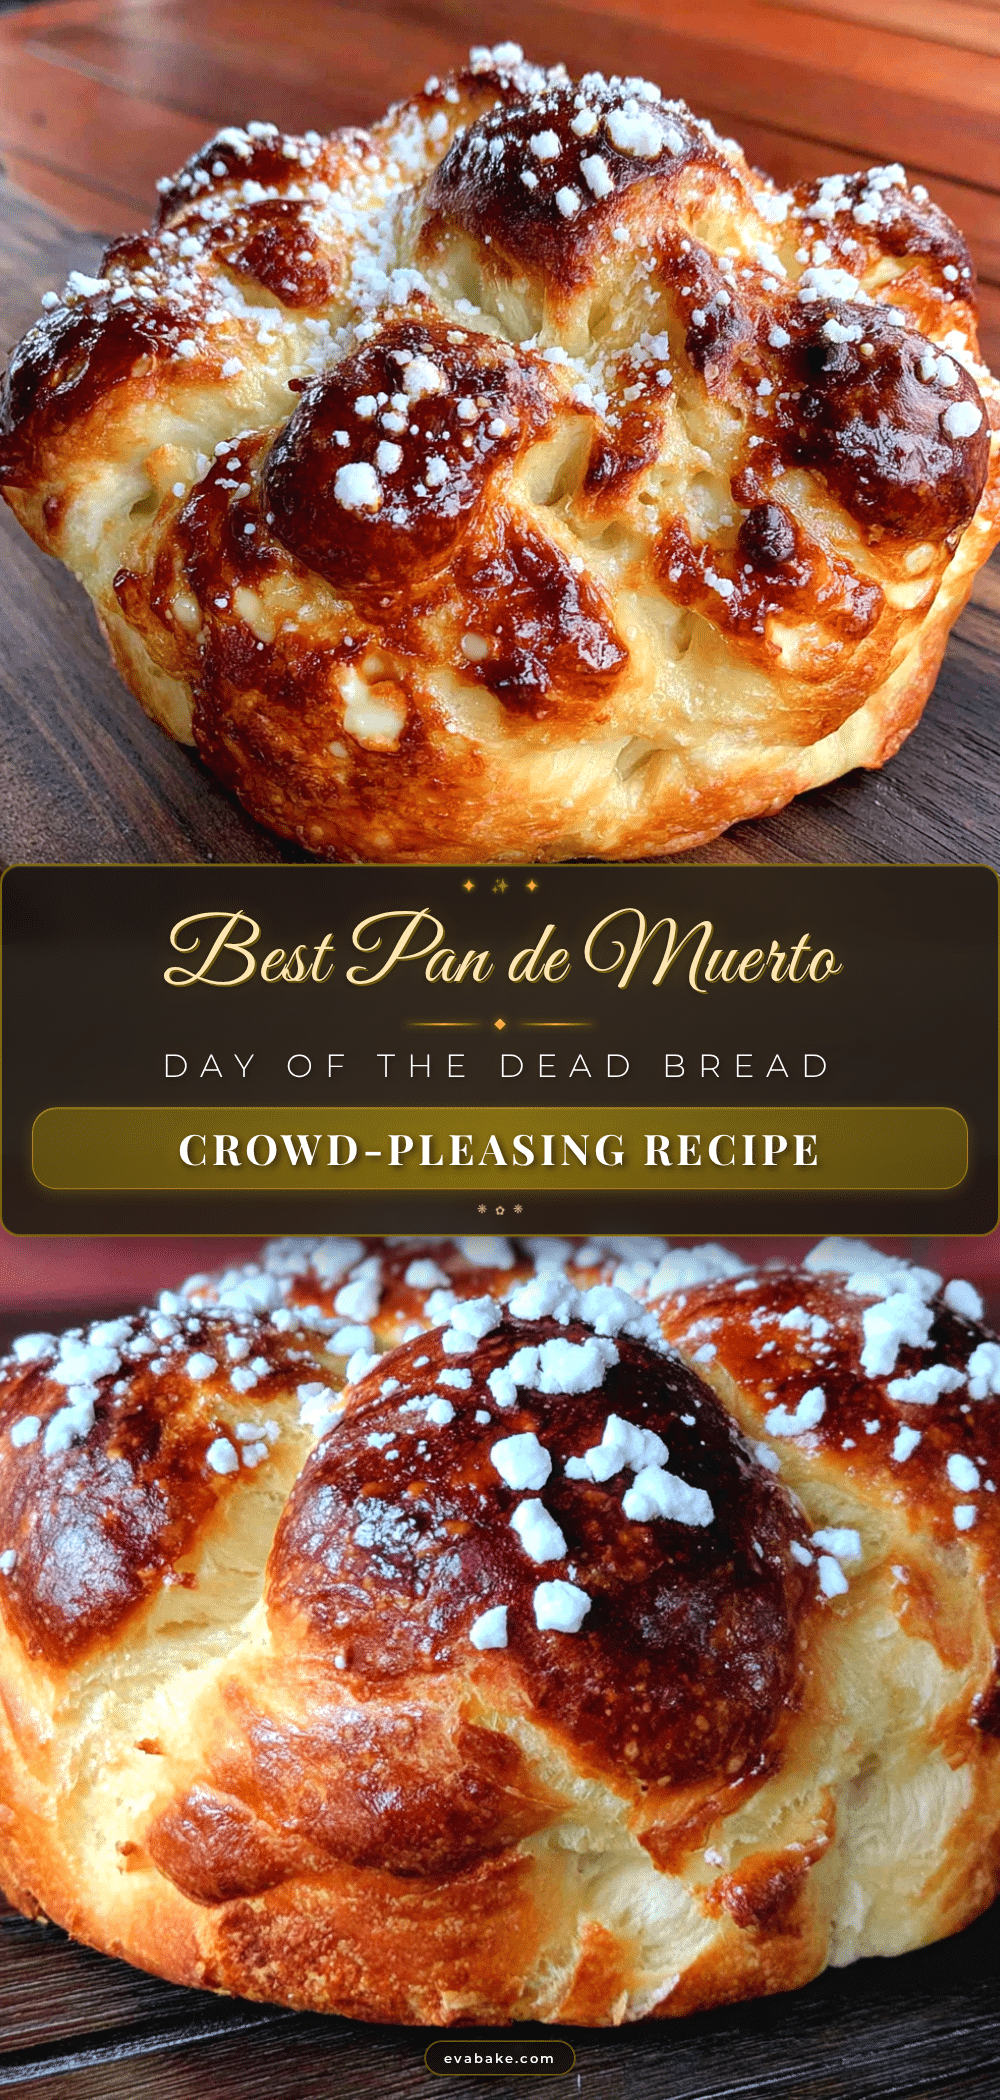
Best Pan de Muerto Recipe – Easy Homemade Day of the Dead Bread
This Pan de Muerto recipe is a soft, slightly sweet bread infused with orange blossom and anise, perfect for Día de los Muertos celebrations. It’s a forgiving, crowd-pleasing recipe that honors tradition while being accessible to home bakers.
- Prep Time: 20 minutes
- Cook Time: 30 minutes
- Total Time: 3 hours 35 minutes
- Yield: 12 servings 1x
- Category: Bread
- Cuisine: Mexican
Ingredients
- 4 cups (500g) all-purpose flour
- 1/2 cup (100g) granulated sugar
- 1 packet (2 1/4 tsp) active dry yeast
- 1/2 cup (120ml) whole milk, warm (110°F/43°C)
- 1/4 cup (60ml) orange juice, freshly squeezed
- 1 tablespoon orange zest
- 1 teaspoon orange blossom water
- 1 teaspoon anise seed, crushed
- 1/2 teaspoon salt
- 1/3 cup (75g) unsalted butter, softened
- 2 large eggs, room temperature
- 1 egg yolk, room temperature
- 1/4 cup (50g) granulated sugar (for topping)
- 2 tablespoons unsalted butter, melted (for glaze)
- 1 egg, beaten with 1 tablespoon water (for egg wash)
Instructions
- Activate the yeast: In a small bowl, combine warm milk (110°F/43°C), 1 tablespoon sugar, and active dry yeast. Stir gently and let sit for 5-10 minutes until foamy.
- Mix the dough: In a stand mixer bowl, whisk together flour, remaining sugar, and salt. Add foamy yeast mixture, orange juice, orange zest, orange blossom water, crushed anise seed, softened butter, whole eggs, and egg yolk. Mix on low speed for 2 minutes until a shaggy mass forms.
- Knead: Increase speed to medium and knead for 8-10 minutes until dough is smooth and elastic. If sticky, add flour 1 tablespoon at a time; if dry, add warm milk 1 teaspoon at a time.
- First rise: Lightly oil a large bowl, place dough in it, turning to coat. Cover with plastic wrap or a damp towel and let rise in a warm, draft-free spot for 1.5 hours, or until doubled in size.
- Shape the bread: Punch down dough and turn onto a lightly floured surface. Divide into two equal pieces. From one piece, cut off about 1/4 and set aside. Shape the large piece into a smooth ball and place on a parchment-lined baking sheet. Divide the reserved piece into 4 portions for ‘bones’ and roll each into a 6-inch rope; also form a small ball for the top knob. Press bones onto the dough in a cross pattern and place the knob in the center. Repeat with the second piece of dough.
- Second rise: Cover shaped loaves loosely and let rise for 45 minutes, until puffy and almost doubled.
- Preheat oven: Preheat oven to 350°F (175°C) about 15 minutes before the second rise is done.
- Egg wash: Whisk egg with 1 tablespoon water. Gently brush over each loaf.
- Bake: Bake for 25-30 minutes, rotating pans halfway, until deep golden brown and hollow when tapped. Internal temperature should reach 190°F (88°C).
- Glaze: Remove from oven and transfer to a cooling rack. While still warm, brush with melted butter and sprinkle with granulated sugar. Let cool at least 20 minutes before slicing.
Notes
For best flavor, do the first rise in the fridge overnight. The dough should be tacky, not sticky. If bones start to pull away during baking, dab a little water underneath to reattach. Watch the oven closely; if browning too fast, tent with foil.
Nutrition
- Serving Size: 1 slice
- Calories: 280
- Sugar: 18
- Sodium: 180
- Fat: 10
- Saturated Fat: 6
- Carbohydrates: 42
- Fiber: 1
- Protein: 6
Keywords: Pan de Muerto, Day of the Dead bread, Mexican sweet bread, orange blossom bread, Día de los Muertos recipe