My neighbor Margaret watched me unloading groceries one rainy Saturday last October—three bags of apples, a wedge of brie, and what looked like a desperate attempt at hosting. She didn’t say anything at first. Then she walked over with a wooden board so worn it felt soft, and said, “You’re overthinking it. Let the food do the work.”
That afternoon, standing in her kitchen while she arranged figs and sharp cheddar like they were telling a story, I realized I had been approaching holiday entertaining all wrong. I was trying to impress people. She was trying to feed them. There’s a difference, honestly.
Margaret grew up in Vermont, where every fall gathering revolved around whatever came from the orchard or the farmer’s market that week. Her philosophy was simple—good cheese, ripe fruit, something crunchy, and absolutely no stress. She’d laugh at the idea of a “recipe” for a charcuterie board, but she had rules she followed without thinking. And after years of tweaking and testing, I’ve turned her casual wisdom into something I can actually share.
This wholesome Thanksgiving charcuterie board with fall fruits and cheese is the result of that rainy afternoon and about a dozen trial runs since. It’s the appetizer I bring to Friendsgiving, the thing I set out when family shows up early, and honestly, the meal I eat for dinner when I’m home alone and feeling fancy.
Maybe you’ve been there—staring at a grocery list for a holiday appetizer and wondering why you’re making something complicated when what everyone really wants is to stand around the kitchen and snack. This board solves that. It’s beautiful without being fussy, satisfying without being heavy, and full of fall flavors that actually taste like the season instead of some Pinterest-filtered version of it.
Why You’ll Love This Wholesome Thanksgiving Charcuterie Board
Let me tell you why this board has become my go-to for every fall gathering. I’ve tested this combination at six different events—from casual Sunday football hangouts to my sister-in-law’s formal Thanksgiving dinner—and it’s never let me down.
- Comes together in under 20 minutes — No cooking required. Just slicing, arranging, and the occasional strategic placement of a fig. Perfect for when you’re juggling turkey prep and guests arriving early.
- Simple, wholesome ingredients — Everything comes from a regular grocery store. No specialty shops, no obscure cheeses that cost a fortune. I used to think charcuterie boards required a trip to some fancy gourmet market. Nope.
- Perfect for Thanksgiving entertaining — This board keeps people happy and fed while the turkey rests and the sides finish up. It’s the hero of the pre-dinner hour.
- Crowd-pleaser with dietary variety — Gluten-free friends, dairy-free folks, and picky eaters all find something to love. I’ve watched my uncle (who “doesn’t do cheese”) eat half a board of manchego without realizing it.
- Unbelievably delicious flavor combos — The sweetness of fall honeycrisp apples against sharp aged cheddar, the creaminess of brie with a drizzle of warm honey, the salty crunch of prosciutto wrapped around juicy pear slices. It’s the kind of eating that makes you close your eyes.
What makes this board different from the dozens of charcuterie tutorials out there is the balance. Most boards lean heavy on cured meats and processed crackers. This one lets the fall fruits and quality cheeses shine. The fruit does double duty—it adds natural sweetness, beautiful color, and a freshness that cuts through all the richness of holiday cooking.
This isn’t just another appetizer. It’s the thing guests hover around, the board that sparks conversations, the one that makes people ask, “Wait, did you make this?” And when you say yes, you actually mean it.
What Ingredients You Will Need
This wholesome Thanksgiving charcuterie board uses simple, seasonal ingredients that deliver big flavor without any complicated prep. The key is choosing quality over quantity—a few really good cheeses and ripe fruit beat a dozen mediocre options every time.
Cheeses (3-4 varieties for balance)
- Aged sharp cheddar (8 oz) — Look for one that’s been aged at least 12 months. The crystalline crunch and sharp tang stand up to sweet fruit. I prefer Cabot or Kerrygold for consistent quality.
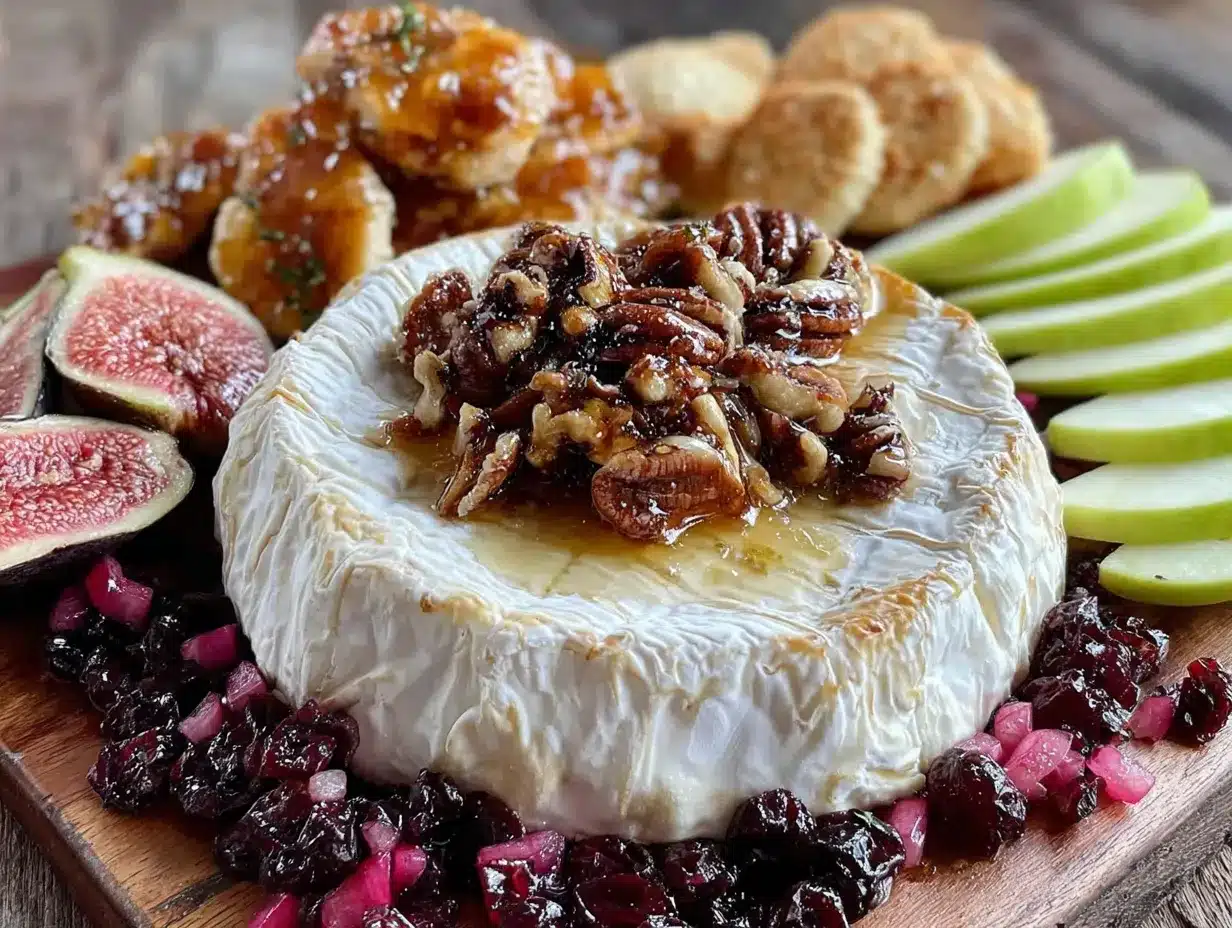
- Brie or camembert (8 oz wheel) — Go for a double or triple cream variety. The buttery softness is the creamy element every board needs. Let it sit at room temperature for 30 minutes before serving for best texture.
- Manchego (6 oz) — This Spanish sheep’s milk cheese has a nutty, slightly salty flavor that pairs beautifully with apples and honey. The 6-month aged version is perfect—firm but not crumbly.
- Goat cheese log (4 oz, optional) — Adds tangy creaminess and a lovely white pop of color. I use this when I want a dairy-free option for guests who tolerate goat milk better than cow milk.
Fall Fruits (the stars of the board)
- Honeycrisp apples (2 large) — Their sweet-tart crunch is non-negotiable. Slice them right before serving and toss with a squeeze of lemon juice to prevent browning. (I learned that one the hard way at a Friendsgiving where my apple slices looked sad within 20 minutes.)
- Bartlett or Bosc pears (2, slightly firm) — Ripe but not mushy. Bosc pears hold up better on a board since they’re less juicy. Slice them thin so they’re easy to layer on crackers.
- Fresh figs (6-8, halved) — When they’re in season, fresh figs add a honeyed sweetness nothing else can replicate. If you can’t find them, dried Mission figs work well too—just halve them.
- Red or black grapes (1 cup, small clusters) — Grapes add texture contrast and are the easiest thing to grab and nibble. Leave them in tiny clusters for visual appeal.
- Dried apricots (1/2 cup) — Their chewy texture and concentrated sweetness balance the salty cheeses. I prefer Turkish apricots for their deeper flavor.
Savory Elements
- Prosciutto (4 oz, thinly sliced) — A little goes a long way. Tear the slices into ribbons and drape them loosely rather than folding them into tight bundles. It looks more rustic and inviting.
- Sopressata or salami (4 oz, thinly sliced) — The spicy, garlicky notes cut through the richness of cheese and fruit. I like to fold these into small triangles for easy grabbing.
Crunch and Spread
- Good crackers (about 8 oz total) — Use a mix of textures. I love Raincoast Crisps for their fruit and nut studded crunch, plus a simple water cracker for neutral balance. Gluten-free rice crackers work beautifully here too.
- Toasted nuts (1 cup) — Candied pecans or simple toasted walnuts add warmth and crunch. If you’re feeling ambitious, toss them with a pinch of cayenne and maple syrup before toasting. (Recipe note: 350°F for 8 minutes, watch them closely—I’ve burned two batches learning this.)
- Honey (for drizzling) — A small bowl of warm honey for drizzling over brie or goat cheese. Local honey adds a lovely floral note that changes with the season.
Garnishes (for color and freshness)
- Fresh rosemary sprigs (3-4 sprigs) — They look like tiny Christmas trees and smell amazing. Tuck them between cheese wedges for instant visual appeal.
- Fresh thyme (a few sprigs) — Sprinkle the tiny leaves over soft cheeses for a pop of green and subtle earthy flavor.
- Pomegranate seeds (1/4 cup) — Those little ruby jewels make everything look festive. They’re also delicious and packed with antioxidants.
Equipment Needed
You don’t need fancy equipment for this board. Here’s what actually matters:
- A large wooden board or slate platter (at least 12×18 inches) — This is where Margaret’s soft, worn board comes in. If you don’t have one, a large cutting board works perfectly. I’ve used an inverted baking sheet in a pinch—just line it with parchment paper for a rustic look.
- Small bowls or ramekins (2-3) — For honey, olives, or any loose items that might roll off the board. Little ceramic dishes from the thrift store are my favorite—they add character.
- Cheese knives (at least 2) — A soft cheese knife with holes (for brie) and a hard cheese plane or fork-tipped knife (for cheddar and manchego). If you only have one, a paring knife works fine—just wipe it between cheeses.
- Paring knife and cutting board — For slicing fruit right before serving. I keep a small cutting board next to my main board for last-minute prep.
- Cheesecloth or parchment paper — For wrapping cheese to bring to room temperature. Never microwave cheese to soften it—I did that once and ended up with a puddle of sadness.
Preparation Method
Here’s how to assemble this board like you’ve been doing it for years. The secret is layering—start with the big items and fill in the gaps.
- Bring cheeses to room temperature (30 minutes before serving). Remove cheeses from the refrigerator and unwrap them. Cover loosely with cheesecloth or a clean kitchen towel. Room temperature cheese has way more flavor and better texture. Cold brie is like eating butter straight from the fridge—technically edible but missing the point entirely.
- Prep your fruits (just before assembling). Wash and dry all fruit thoroughly. Slice apples and pears into thin wedges—about 8 slices per apple. Toss apple slices with a squeeze of lemon juice to keep them from browning. Halve figs lengthwise. Break grapes into small clusters of 3-4 grapes each. I like to leave some apple slices whole and cut others into smaller bite-sized pieces for variety.
- Arrange the cheeses first. Place them at different points on the board, not all clustered together. Think of them as anchor points. Cut the cheddar and manchego into wedges or cubes before placing them on the board—it makes it easier for guests to serve themselves. Leave the brie whole as a wheel, but score the top in a crosshatch pattern if you want to drizzle honey over it later.
- Add the small bowls. Place your honey, olives (if using), or any other loose items in small bowls. Tuck them between the cheese wedges. This creates natural “rooms” on your board and keeps things organized.
- Layer in the meats. Tear prosciutto into ribbons and arrange them in loose, billowy piles. Fold salami slices into quarters or roll them into small cylinders. Place these near the cheeses they pair best with—prosciutto near brie, salami near cheddar.
- Scatter the fruits. Arrange apple and pear slices in fan patterns or small piles. Place fig halves cut-side up so their beautiful interior shows. Tuck grape clusters into empty spaces. Dried apricots can go in little scattered groups or piled in a small bowl. This is where the board starts looking spectacular—the colors really pop against the cheese and meat.
- Fill gaps with nuts and crackers. Pour nuts into small piles, not spread out everywhere—this prevents them from rolling off the board. Arrange crackers in overlapping rows or fan shapes near the cheeses. I like to create little “cracker stations” around the board so people don’t have to reach across everything.
- Add garnishes last. Tuck rosemary sprigs between cheese wedges like little green trees. Sprinkle fresh thyme leaves over soft cheeses. Scatter pomegranate seeds across the board like jewels. These finishing touches make the board look intentional and beautiful—they take 30 seconds but make a huge difference.
- Drizzle honey just before serving. Warm the honey slightly (10 seconds in the microwave) so it drizzles easily. A zigzag pattern over brie or goat cheese is classic and gorgeous. Don’t drown it—a little goes a long way.
Sensory check: Your board should look abundant but not crowded. You should be able to see the wood or slate between items. The colors should be varied—deep reds from grapes, golden from cheese, green from herbs, cream from brie. It should smell like ripe fruit, good cheese, and something you want to eat immediately.
Cooking Tips & Techniques
I’ve made about thirty versions of this board over the past two years, and I’ve learned a few things the hard way. Here’s what I wish someone had told me:
Don’t overthink the arrangement. I used to spend 20 minutes positioning every single grape. Now I just place things in groups and let the board look natural. Guests actually prefer a slightly messy board—it feels more inviting and less like a museum display. Trust me, I once arranged a board so perfectly that nobody wanted to touch it for the first hour.
Room temperature is your best friend. Cold cheese tastes like nothing. Let everything sit out for at least 30 minutes before serving. If you’re making this ahead, assemble the board without the fruit and crackers, cover with plastic wrap, and refrigerate. Add fruit and crackers 20 minutes before serving.
Prep fruit right before serving. Apples and pears brown quickly. Slice them last, toss with lemon juice, and arrange immediately. I’ve learned to slice only what I think people will eat—leftover sliced fruit gets sad fast.
Use the “three-bite” rule. For each element, estimate how many bites people will take. A wedge of brie serves about 6-8 people. A cup of grapes serves 4-5. This helps you avoid running out of popular items or having too much of something nobody touches. (Nobody ever runs out of prosciutto, by the way.)
Keep backups in the kitchen. I always have extra crackers, nuts, and sliced fruit in the fridge. When the board starts looking picked over, I refresh it before dinner. This takes 2 minutes and makes you look like a hosting genius.
One mistake I still make: Putting soft cheese next to strong-smelling items like blue cheese or strong salami. The flavors mingle on the board and everything starts tasting like everything else. Keep your brie and goat cheese away from pungent items—give them their own space.
Variations & Adaptations
This wholesome Thanksgiving charcuterie board is endlessly adaptable. Here are some of my favorite variations:
Vegan version: Replace all cheeses with high-quality vegan alternatives. Miyoko’s makes an incredible cashew-based brie that fools most people. Add roasted chickpeas for crunch, extra nuts, and a big pile of marinated artichoke hearts. The fruit and crackers stay the same—honestly, the board is still beautiful and satisfying.
Low-carb / keto option: Skip the crackers and dried fruit. Add extra nuts, cheese cubes, and sliced vegetables like cucumber rounds and bell pepper strips. Prosciutto and salami are naturally low-carb. I’ve served this version to keto friends who said it was the best charcuterie board they’d ever had.
Gluten-free adaptation: Use gluten-free crackers (I like Simple Mills almond flour crackers) and check that your cured meats are gluten-free (most are, but some contain additives). Everything else on this board is naturally gluten-free. I keep a separate small bowl of GF crackers to avoid cross-contamination.
Seasonal fruit swaps: In early fall, use fresh figs and concord grapes. Late fall calls for persimmons and pomegranates. Winter means blood oranges and dried dates. Spring brings strawberries and fresh cherries. The formula stays the same—just swap in whatever looks best at the market.
Spicy twist: Add a small bowl of hot honey for drizzling, or include slices of jalapeño-studded cheddar. A sprinkle of red pepper flakes over the goat cheese adds warmth without overwhelming the fruit. My brother-in-law requests this version every year.
My personal favorite variation: I once made this board with a wheel of baked brie—wrapped in puff pastry with a spoonful of fig jam in the center, baked until golden and gooey. It was ridiculous and wonderful. The warm, melty cheese against the cool, crisp apples was unforgettable. It took an extra 25 minutes but was absolutely worth it for a special occasion.
Serving & Storage Suggestions
This board is best served at room temperature, which means you should take it out of the refrigerator about 20 minutes before guests arrive. The cheese will be perfectly spreadable, the fruit will taste naturally sweet, and everything will look its best.
Presentation tips: Place the board in the center of your table or kitchen island where people can gather around it. Add a few small plates, napkins, and cheese knives nearby. I like to put out little cocktail napkins with a fall pattern—pumpkins, leaves, or simple neutrals. A few tea light candles nearby never hurt anyone.
What to serve alongside: This board pairs beautifully with a crisp white wine like Sauvignon Blanc or a dry Riesling. For non-alcoholic options, sparkling apple cider or a cranberry spritzer works perfectly. If you’re serving this before a big Thanksgiving meal, keep the drinks light—nobody wants to be full before the turkey arrives.
Storage: Leftovers can be stored, though honestly, there are rarely any. Wrap cheese separately in cheese paper or wax paper (not plastic wrap—cheese needs to breathe). Store fruit in airtight containers in the fridge. Crackers go in a ziplock bag at room temperature. Prosciutto and salami wrap well in parchment paper and keep for 3-4 days.
Reheating tips: If you have leftover baked brie or warm honey, reheat gently in a 300°F oven for 5-7 minutes. Never microwave cheese—it turns into a rubbery mess. Cold leftover fruit is delicious chopped into oatmeal or yogurt the next morning.
How flavors develop: The cheeses actually taste better on day two—the flavors mellow and deepen. I’ve been known to make extra cheese just so I have leftovers for lunch. A chunk of manchego with an apple and some almonds is a perfect work-from-home lunch.
Nutritional Information & Benefits
This wholesome Thanksgiving charcuterie board is surprisingly balanced. A typical serving (about 4 ounces of cheese, 2 ounces of meat, a handful of fruit, and a few crackers) provides approximately:
- Calories: 450-550
- Protein: 20-25 grams
- Fat: 30-35 grams
- Carbohydrates: 25-30 grams
- Fiber: 4-6 grams
- Sugar: 15-20 grams (mostly natural from fruit)
Health benefits of key ingredients: Apples are packed with fiber and vitamin C. Pears provide copper and vitamin K. Figs are rich in calcium and potassium. Nuts offer healthy fats and protein. Cheese provides calcium and protein. Even the prosciutto contributes B vitamins and iron—everything in moderation, right?
Dietary considerations: This board is naturally vegetarian (if you skip the meat) and can easily be made gluten-free or dairy-free with substitutions. It’s also naturally low in added sugar—the sweetness comes from fruit and honey. For those watching sodium, choose low-sodium crackers and skip the cured meats. I’ve served this to friends with various dietary restrictions and everyone found something to enjoy.
My wellness perspective: I love that this board feels indulgent but is actually full of whole foods. You’re eating real cheese, fresh fruit, nuts, and quality meats—not processed snacks or sugary appetizers. It’s the kind of eating that satisfies both your body and your taste buds. And honestly, sharing food this beautiful with people you love? That’s good for the soul too.
Conclusion
This wholesome Thanksgiving charcuterie board with fall fruits and cheese has become my signature appetizer for good reason. It’s beautiful, delicious, and somehow manages to feel both impressive and effortless at the same time. Margaret would probably laugh at me writing a whole article about something she threw together in ten minutes, but that’s exactly why it works—it’s simple enough to become a habit, not just a recipe.
I love that this board adapts to whatever season or occasion I’m celebrating. It’s become my go-to for Friendsgiving, Thanksgiving itself, and honestly any fall gathering where people want to stand around and talk while eating something delicious. The combination of sweet fruit, savory cheese, and salty meat is timeless for a reason.
Try this board for your next gathering. Customize it with whatever looks good at your market. Don’t stress about making it perfect—the slightly messy, abundant look is actually more inviting. And if someone asks where you learned to arrange a charcuterie board like that, tell them a neighbor in Vermont taught you. Margaret would love that.
I’d love to hear how your board turns out! Drop a comment below with your favorite fruit and cheese combination, or tag me in your photos. Happy Thanksgiving, friends—may your board be abundant and your stress levels low.
FAQs
How far in advance can I make this charcuterie board?
You can prep everything except the fresh fruit up to 24 hours in advance. Arrange the cheeses, meats, nuts, and crackers on the board, cover tightly with plastic wrap, and refrigerate. Add sliced apples, pears, and fresh herbs about 20 minutes before serving. This is my go-to strategy for holiday hosting—it saves so much time.
What if I can’t find fresh figs?
No problem at all! Fresh figs are seasonal and can be hard to find. Swap in dried Mission figs (halved), sliced persimmons, or extra grapes and apple slices. The board will still be gorgeous and delicious. I’ve made this board dozens of times without figs and it’s always a hit.
How much cheese should I buy per person?
Plan on about 2-3 ounces of cheese per person if this is an appetizer before a meal, and 4-5 ounces per person if it’s the main event. For a Thanksgiving gathering of 8-10 people, I buy about 1.5 pounds of cheese total—a mix of hard and soft varieties. It’s better to have leftovers than to run out!
Can I make this board dairy-free?
Absolutely. Replace all cheeses with high-quality vegan alternatives—cashew-based cheeses work especially well. Add extra nuts, roasted vegetables, and marinated artichokes for richness. The fruit, crackers, and garnishes stay the same. I’ve made a dairy-free version for my lactose-intolerant sister and she said it was the best charcuterie board she’d ever had.
What wine pairs best with this board?
A crisp white wine like Sauvignon Blanc or a dry Riesling is my top pick—the acidity cuts through the richness of cheese and meat. For red wine lovers, a light Pinot Noir or Beaujolais works beautifully. Non-alcoholic options like sparkling apple cider or a cranberry spritzer are also fantastic. Honestly, this board pairs well with almost anything—including a cold beer or a cup of hot cider.
Pin This Recipe!
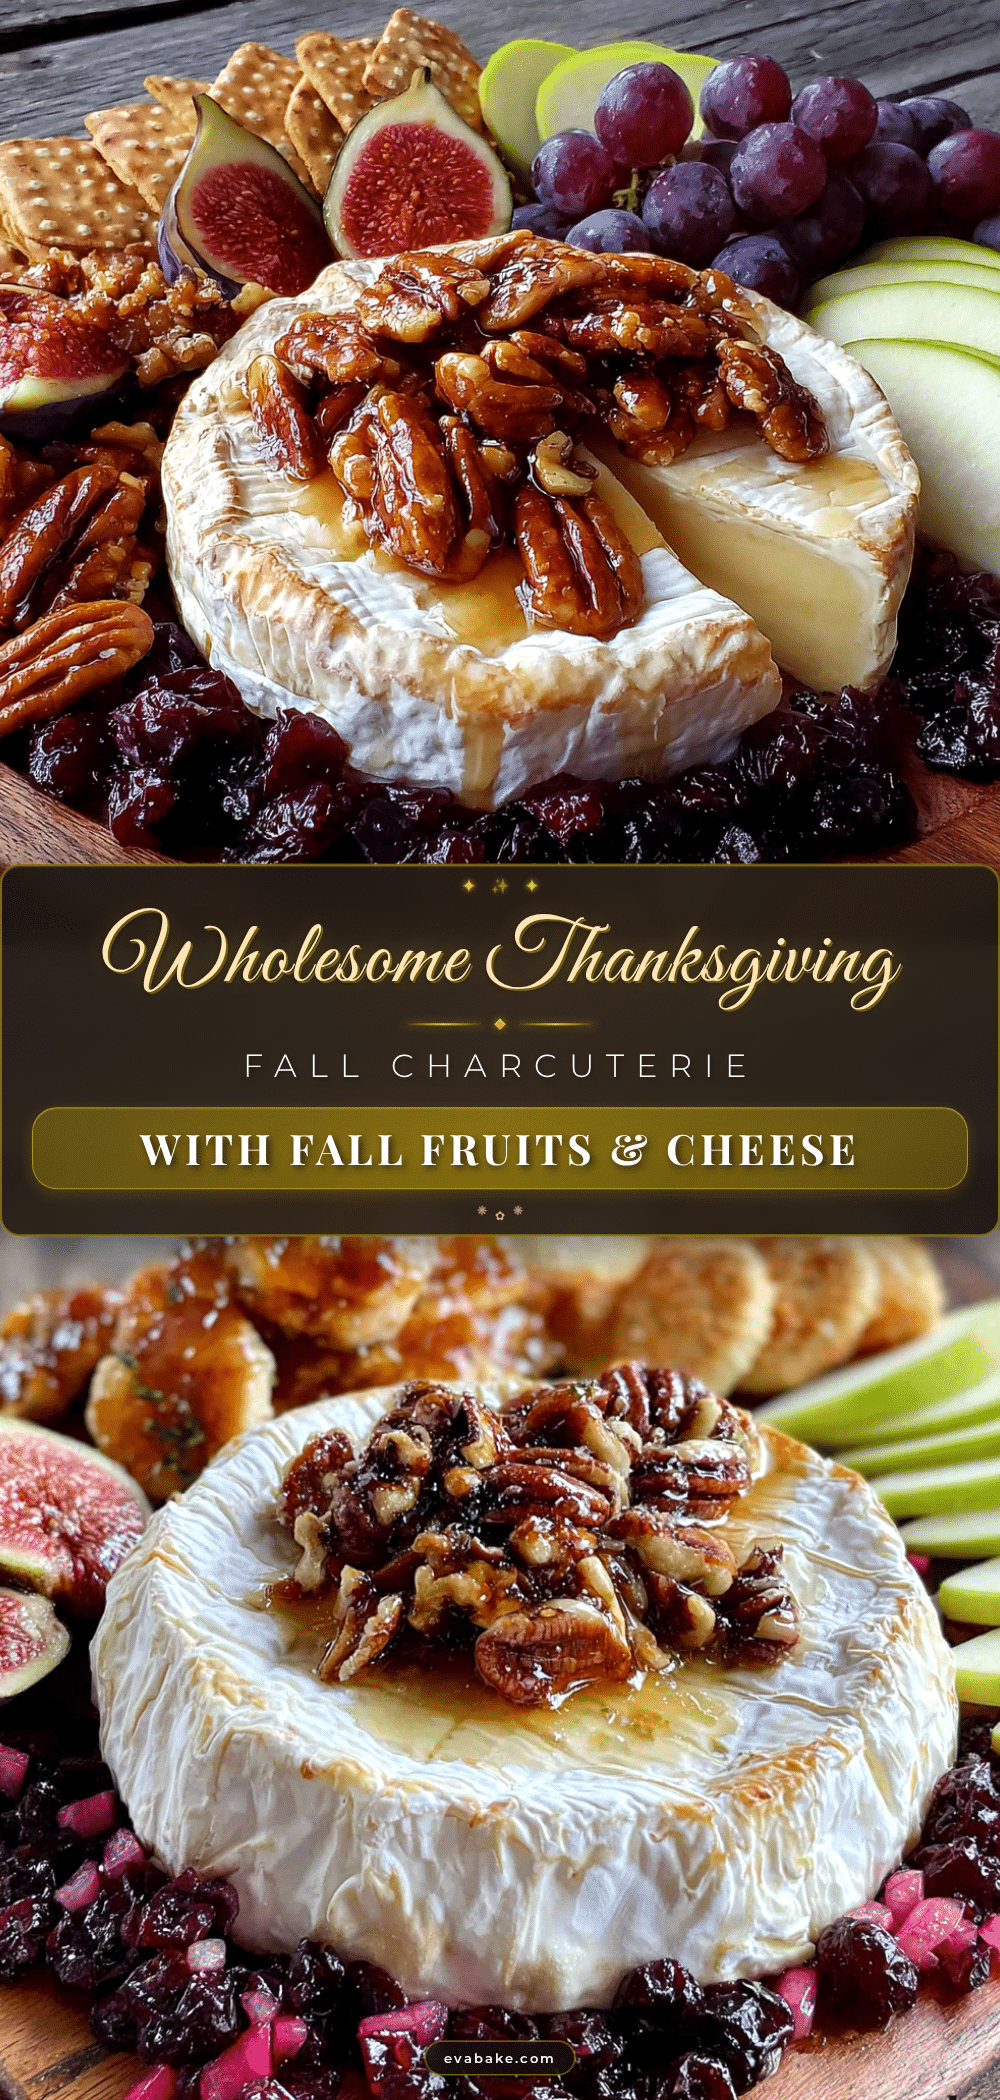
Wholesome Thanksgiving Charcuterie Board: Best Fall Recipe
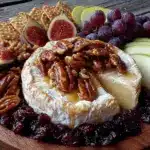
A beautiful and effortless fall charcuterie board featuring seasonal fruits, quality cheeses, and savory meats. Perfect for Thanksgiving entertaining, this board comes together in under 20 minutes and is full of wholesome, crowd-pleasing flavors.
- Prep Time: 20 minutes
- Cook Time: 0 minutes
- Total Time: 20 minutes
- Yield: 8-10 servings 1x
- Category: Appetizer
- Cuisine: American
Ingredients
- 8 oz aged sharp cheddar (at least 12 months aged)
- 8 oz brie or camembert (double or triple cream)
- 6 oz manchego (6-month aged)
- 4 oz goat cheese log (optional)
- 2 large honeycrisp apples
- 2 Bartlett or Bosc pears (slightly firm)
- 6–8 fresh figs (halved; or dried Mission figs)
- 1 cup red or black grapes (small clusters)
- 1/2 cup dried apricots (preferably Turkish)
- 4 oz prosciutto (thinly sliced)
- 4 oz sopressata or salami (thinly sliced)
- 8 oz good crackers (mix of textures; include gluten-free if needed)
- 1 cup toasted nuts (candied pecans or toasted walnuts)
- Honey (for drizzling)
- 3–4 sprigs fresh rosemary
- Fresh thyme (a few sprigs)
- 1/4 cup pomegranate seeds
Instructions
- Bring cheeses to room temperature (30 minutes before serving). Remove from refrigerator, unwrap, and cover loosely with cheesecloth or a clean kitchen towel.
- Prep fruits just before assembling: wash and dry all fruit. Slice apples and pears into thin wedges (about 8 slices per apple). Toss apple slices with a squeeze of lemon juice to prevent browning. Halve figs lengthwise. Break grapes into small clusters of 3-4 grapes each.
- Arrange cheeses first at different points on the board. Cut cheddar and manchego into wedges or cubes. Leave brie whole as a wheel; score the top in a crosshatch pattern if desired.
- Add small bowls for honey, olives, or other loose items. Tuck them between cheese wedges to create natural ‘rooms’ on the board.
- Layer in the meats: tear prosciutto into ribbons and arrange in loose piles. Fold salami slices into quarters or roll into small cylinders. Place near complementary cheeses.
- Scatter the fruits: arrange apple and pear slices in fan patterns or small piles. Place fig halves cut-side up. Tuck grape clusters into empty spaces. Dried apricots can go in small scattered groups or a small bowl.
- Fill gaps with nuts and crackers: pour nuts into small piles. Arrange crackers in overlapping rows or fan shapes near cheeses, creating ‘cracker stations’ around the board.
- Add garnishes last: tuck rosemary sprigs between cheese wedges. Sprinkle fresh thyme leaves over soft cheeses. Scatter pomegranate seeds across the board.
- Drizzle honey just before serving: warm honey slightly (10 seconds in microwave) and drizzle in a zigzag pattern over brie or goat cheese.
Notes
Bring cheeses to room temperature for best flavor. Slice apples and pears just before serving and toss with lemon juice to prevent browning. Keep backups of crackers, nuts, and sliced fruit in the kitchen to refresh the board. Avoid placing soft cheese next to strong-smelling items like blue cheese or strong salami to prevent flavor mingling.
Nutrition
- Serving Size: 1 serving (about 4 o
- Calories: 450550
- Sugar: 1520
- Sodium: 600800
- Fat: 3035
- Saturated Fat: 1520
- Carbohydrates: 2530
- Fiber: 46
- Protein: 2025
Keywords: Thanksgiving charcuterie board, fall charcuterie board, holiday appetizer, cheese board, fall fruits, easy appetizer, entertaining