It was 10:47 PM on a random Wednesday in October, and I was staring into the fridge like it held the secrets to the universe. The craving was specific—something fun, something a little ridiculous, something that felt like a celebration even though the only thing I was celebrating was surviving another workday. I didn’t have hot dogs and I definitely didn’t have those fancy pastry strips you see on cooking shows. But I had a pack of crescent rolls that was about to expire and a few standard hot dogs left over from a barbecue two weekends ago. And then it hit me—that weird, tired, 11 PM idea that makes you laugh at yourself but also makes you grab the baking sheet anyway.
I’d seen those mummy dogs floating around Pinterest for years, you know? The ones that look all cute and wrapped up like little bandaged guys. I always thought they looked fun but never had the energy to actually make them. But that night, with the kitchen light dim and the house completely quiet except for the hum of the fridge, I figured—why not? I mean, honestly, what did I have to lose? A few hot dogs and some dough that was already on its last day? It felt like a low-stakes experiment, the kind you only try when no one is watching and you can fully commit to the bit.
I ripped open that crescent roll can—you know the sound, that little pop that always startles you no matter how many times you hear it—and started cutting the dough into thin strips. My fingers were a little sticky, and I definitely made a mess on the counter, but something about the process was oddly satisfying. Wrapping each hot dog felt like I was creating a tiny, edible art project. By the time I pulled the first batch out of the oven, golden brown and honestly a little goofy-looking, I knew I had stumbled onto something special. This recipe stayed with me because it proved that even on the most ordinary, exhausted Tuesday night, you can make something that makes you smile.
Why You’ll Love This Recipe
Let me tell you why these mummy dogs are about to become your new favorite weeknight trick. I’ve tested this recipe about six times now—yes, six—because I wanted to get the wrapping technique just right and figure out the perfect bake time so the crescent rolls come out flaky and golden, not doughy or burnt. Here’s what makes these little guys so special:
- Quick & Easy: From fridge to table in under 20 minutes. No joke. These are perfect for those nights when you walk in the door at 6 PM and need dinner on plates by 6:20.
- Simple Ingredients: You only need three main ingredients—hot dogs, crescent rolls, and a little mustard or ketchup for the eyes. Chances are you already have everything in your kitchen right now.
- Perfect for Halloween: Obviously these are a hit for Halloween parties, but honestly? My kids ask for them year-round. They’re fun for movie nights, birthday parties, or just a regular Tuesday that needs a little pizzazz.
- Crowd-Pleaser: I’ve brought these to potlucks and watched grown adults fight over the last one. Kids adore them, but let’s be real—adults love anything wrapped in crescent roll dough.
- Unbelievably Delicious: The combination of salty hot dog wrapped in buttery, flaky crescent roll dough is pure comfort food magic. Add a little dab of mustard for eyes, and you’ve got a meal that tastes as good as it looks.
What makes this recipe different from all the other mummy dog recipes out there? It’s the wrapping technique, honestly. I figured out that cutting the crescent roll dough into thinner strips—about half an inch wide—gives you that authentic mummy look without the dough getting too thick and doughy in the middle. Plus, I leave a tiny gap at the top for the “face” so the eyes really pop. It’s a small detail, but it makes a huge difference in how they turn out.
This recipe isn’t just good—it’s the kind that makes you close your eyes after the first bite. It’s comfort food at its finest: fast, fun, and satisfying in that way only buttery dough and salty meat can be. Perfect for impressing your kids without stress, or turning a simple weeknight dinner into something memorable.
What Ingredients You Will Need
This recipe uses simple, everyday ingredients to create something that feels way more special than it actually is. Most of these are pantry staples you probably already have hanging around, which is exactly what you want on a busy weeknight when you can’t be bothered with a grocery run.
- Hot dogs (8 standard-sized): Use your favorite brand here. I personally like beef hot dogs for their richer flavor, but turkey or chicken hot dogs work great too. If you’re feeling fancy, you can even use those jumbo hot dogs—just adjust your baking time by a couple minutes. (Pro tip: look for hot dogs that are relatively straight, not too curved, so the crescent strips wrap evenly.)
- Crescent roll dough (1 can, 8-count): This is the star of the show. I recommend Pillsbury Original Crescent Rolls for the best texture and buttery flavor. The refrigerated kind in the cardboard tube—you know the one. If you can find the sheet-style crescent dough (without the perforations), that’s actually even easier to cut into strips. But the regular perforated kind works perfectly fine.
- Mustard or ketchup (for the eyes): This is purely decorative, but it makes the mummy faces come alive. Yellow mustard gives a nice bright color that pops against the golden dough. Ketchup works too if that’s what you have. You can also use sriracha for a spicy kick or even small dots of cream cheese for a milder look.
- Optional: melted butter (1-2 tablespoons): Brushing a little melted butter over the dough before baking gives it that gorgeous golden-brown color and extra flakiness. Not strictly necessary, but highly recommended if you have a spare minute.
- Optional: everything bagel seasoning or sesame seeds: Sprinkle a little on top before baking for extra texture and flavor. This is totally optional but adds a nice touch if you’re feeling extra.
That’s it. Seriously. Three main ingredients and a couple optional extras. No fancy grocery trips needed, no obscure spices to hunt down at the back of your pantry. These mummy dogs are the definition of low-effort, high-reward cooking.
Equipment Needed
You don’t need much to make these mummy dogs, which is exactly what you want on a busy weeknight when the last thing you feel like doing is washing a mountain of dishes. Here’s what you’ll need:
- Baking sheet: A standard half-sheet pan works perfectly. Line it with parchment paper or aluminum foil for easy cleanup—trust me, you’ll thank yourself later.
- Sharp knife or pizza cutter: You need something to cut the crescent roll dough into strips. A pizza cutter is actually my favorite tool for this job because it glides through the dough without dragging. A sharp chef’s knife works too. Just make sure it’s sharp so you don’t squish the dough.
- Pastry brush (optional): If you’re brushing on melted butter, a silicone pastry brush makes the job quick and even. A regular basting brush works too. In a pinch, you can even use a folded paper towel.
- Small bowl (for melted butter): Just something to melt your butter in. I usually pop mine in the microwave for 15 seconds.
- Toothpicks (for the eyes): A toothpick or the tip of a knife works perfectly for dotting on the mustard or ketchup eyes. You could also use a small piping tip if you’re feeling fancy.
If you don’t have a pizza cutter, honestly, just use a knife. I’ve made these with a butter knife before in a pinch, and while it wasn’t pretty, it got the job done. The key is just getting those strips cut.
Preparation Method
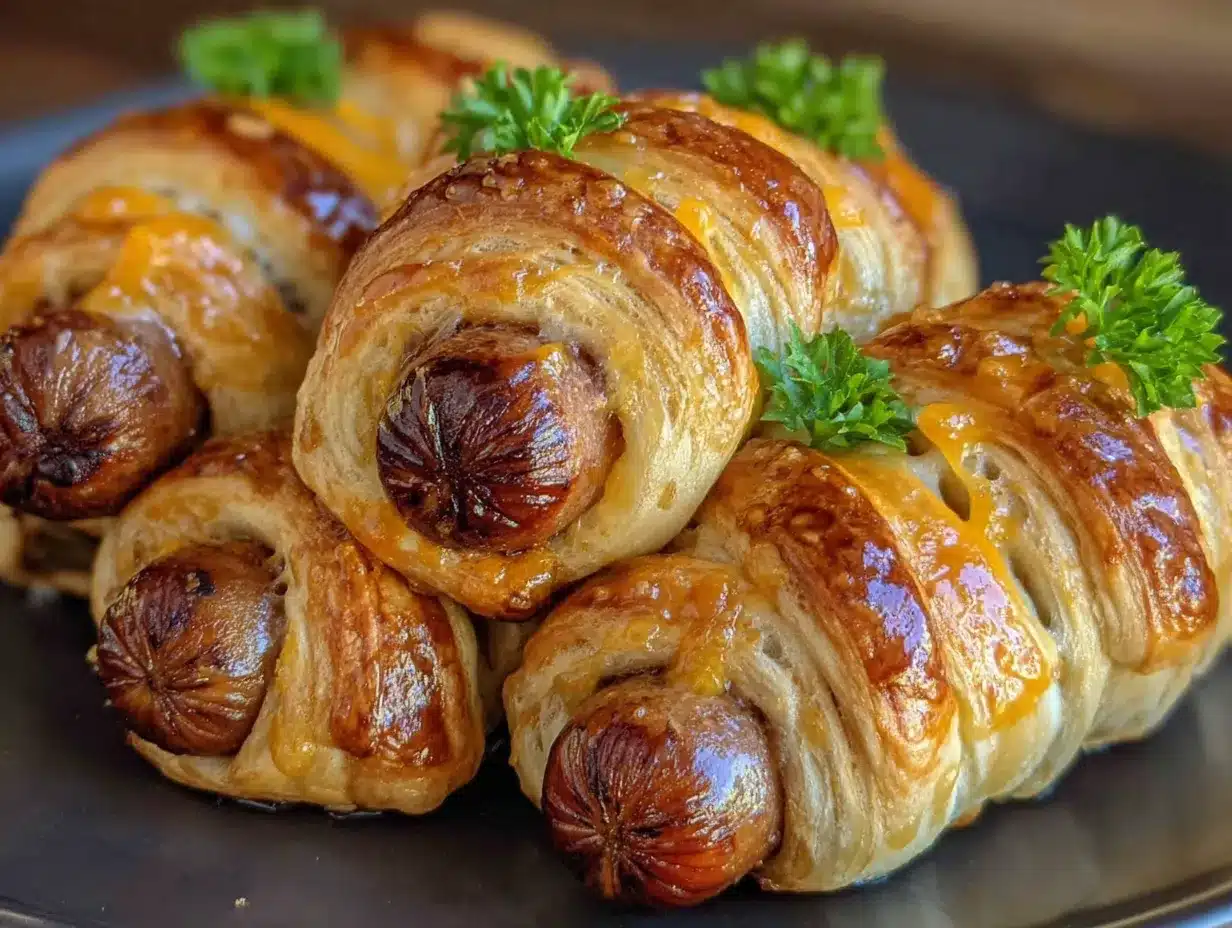
Alright, let’s get into the actual making of these little guys. I’ve broken this down step by step so you can follow along easily, even if you’re half-asleep after a long day.
- Preheat your oven to 375°F (190°C). Get this going first so it’s ready when you are. Line your baking sheet with parchment paper or foil for easy cleanup.
- Unroll the crescent roll dough. Carefully open the can—that pop still gets me every time—and unroll the dough onto a clean cutting board. If you’re using the perforated kind, press the seams together gently with your fingers to create one solid sheet of dough. If you’re using the sheet-style dough, you’re already ahead of the game.
- Cut the dough into strips. Using your sharp knife or pizza cutter, cut the dough lengthwise into thin strips about ½ inch wide. I usually get about 8-10 strips per sheet. Don’t stress about making them perfectly even—a little variation adds to the mummy look, honestly.
- Wrap the hot dogs. Take one hot dog and start wrapping a strip of dough around it, starting at one end and working your way up. Leave a small gap at the top (about ½ inch) for the “face” where the eyes will go. Overlap the dough slightly as you wrap so it looks like bandages. Press the end of the dough gently to seal it against the hot dog. Repeat with all 8 hot dogs.
- Place on the baking sheet. Arrange the wrapped hot dogs on your prepared baking sheet, leaving about an inch of space between each one. They don’t spread much, so you can fit all 8 on one standard sheet pan.
- Brush with melted butter (optional but recommended). If you’re using butter, melt it in a small bowl and brush a thin layer over each wrapped hot dog. This is what gives them that beautiful golden color and extra flaky texture. Don’t skip this if you can help it.
- Bake for 12-15 minutes. Pop them in the oven and bake until the dough is golden brown and the hot dogs are heated through. At 12 minutes, check them—you want a deep golden color, not pale. If they need more time, give them another 2-3 minutes. The smell in your kitchen right now is incredible, by the way.
- Add the eyes. Let the mummy dogs cool for about 2 minutes on the baking sheet—they’re hot, and you don’t want to burn your fingers. Then, using a toothpick or the tip of a knife, dab two small dots of mustard or ketchup on the exposed hot dog at the top to create the eyes. Be generous with the dots so they show up clearly.
- Serve immediately. These are best served warm, right out of the oven. The dough is flaky, the hot dog is juicy, and the whole thing is just ridiculously fun. Arrange them on a platter and watch them disappear.
A few notes from my many trials: If your dough strips are too thick, the mummy dogs will be doughy in the middle. Trust me on this—I learned the hard way. Keep those strips thin, about half an inch. Also, don’t overbake them. The difference between perfect golden and slightly burnt happens fast, so keep an eye on them in the last few minutes.
Cooking Tips & Techniques
I’ve made these mummy dogs enough times to have a few tricks up my sleeve. Here’s what I’ve learned through trial and error—mostly error, if I’m being honest.
The wrapping technique matters more than you think. My first batch looked like sad, lumpy sausages because I wrapped the dough too tightly and overlapped it too much. Leave a little space between the strips—about ⅛ inch—so the dough has room to puff up and get flaky. Think loose bandages, not a tight mummy wrap. You want the dough to look like it’s been wrapped around the hot dog, not fused to it.
Don’t skip the butter wash. I made a batch without it once because I was in a hurry, and they came out pale and kind of sad-looking. That extra step of brushing on melted butter is what gives them that gorgeous golden color and makes the dough actually taste like crescent rolls should—buttery and flaky. If you’re dairy-free, you can use olive oil or melted vegan butter instead.
Watch your oven like a hawk. Every oven runs a little differently. My old oven used to run hot, so I’d check at 10 minutes and often pull them out at 12. My new oven takes the full 15 minutes. Start checking at the 10-minute mark and go from there. You want the dough to be a deep golden brown, not pale. Darker spots are okay—those are the crispy bits that taste amazing.
Make the eyes pop. Here’s a mistake I made: I used too little mustard, and the eyes were barely visible. Be generous with the dots. Use a toothpick to dab on a good-sized dot of mustard or ketchup. If the dots are too small, they’ll just look like little specks. You want them to be clearly visible so the mummy faces actually look like faces.
Multitask like a pro. While the mummy dogs are baking, use that time to set out dipping sauces, plate some fruit or veggies on the side, or clean up your workspace. The whole process from start to finish is only about 20 minutes, so a little planning goes a long way.
Variations & Adaptations
One of the best things about this recipe is how easy it is to customize. Here are a few variations I’ve tried that turned out surprisingly well:
Cheesy Mummy Dogs: Before wrapping the hot dog, cut a slit lengthwise down the center and stuff it with a strip of cheddar or mozzarella cheese. Wrap as usual and bake. The cheese gets all melty and oozy inside—it’s next-level good. Just be careful when you bite into them because that cheese is hot.
Spicy Mummy Dogs: Use spicy hot dogs or brush the dough with a mixture of melted butter and sriracha before baking. You can also add a thin slice of jalapeño under the dough for an extra kick. My husband loves these, and he’s usually not a fan of “cute” food.
Veggie Mummy Dogs: For a vegetarian version, use veggie hot dogs or even pre-cooked sausages. The cooking time stays the same. I’ve tried this with plant-based hot dogs, and honestly, they work great—just make sure you’re using a brand that holds up well to baking.
Breakfast Mummy Dogs: Swap the hot dogs for breakfast sausages and use the same crescent roll wrapping technique. Serve with a side of maple syrup for dipping. I made these for a Halloween-themed brunch once, and they were a huge hit.
Gluten-Free Option: Use gluten-free crescent roll dough if you can find it. The texture will be slightly different—a little more delicate—but the concept works the same. Just handle the dough gently because gluten-free dough tends to be more fragile.
I’ve personally tried the cheesy version about three times now, and it’s become my go-to. Something about the combination of melted cheese and buttery dough just hits different. My kids call them “extra mummies” and request them for every holiday, not just Halloween.
Serving & Storage Suggestions
These mummy dogs are best served warm, fresh out of the oven. The dough is at its flakiest and most delicious right after baking, so try to time them so they come out just before you’re ready to eat. Arrange them on a platter with a small bowl of ketchup, mustard, or ranch dressing for dipping. They look especially cute on a dark plate or a Halloween-themed serving tray.
For a complete meal, serve these with a simple side of carrot sticks, apple slices, or a small salad. I usually throw together a quick veggie platter while the mummy dogs are baking—it balances out the indulgence and makes me feel like I’m feeding my kids something vaguely nutritious alongside the buttery goodness.
If you have leftovers—which honestly rarely happens in my house, but just in case—store them in an airtight container in the refrigerator for up to 3 days. The dough will soften a bit as they sit, but they’re still tasty. To reheat, pop them in a 350°F oven for about 5-7 minutes, or until heated through. The microwave works in a pinch (about 30 seconds), but the dough won’t be as crispy. I don’t recommend freezing these, as the texture of the dough changes significantly after thawing.
One thing I’ve noticed: the flavors actually meld together nicely after a day in the fridge. The mustard eyes kind of soak into the hot dog a little, and it creates this weirdly delicious effect. Not that I’m recommending you eat them cold, but if you sneak one straight from the fridge at midnight, I won’t judge.
Nutritional Information & Benefits
Let’s be real—these mummy dogs are a treat, not a health food. But here’s the estimated nutritional breakdown per serving (one mummy dog) based on standard ingredients:
| Nutrient | Amount per serving |
|---|---|
| Calories | 180-220 |
| Total Fat | 12-15g |
| Saturated Fat | 5-7g |
| Carbohydrates | 14-16g |
| Protein | 7-9g |
| Sodium | 450-550mg |
| Sugar | 3-4g |
On the plus side, hot dogs do provide a decent amount of protein, which helps keep you full. And if you use turkey or chicken hot dogs, you’ll cut down on the fat and calories significantly. The crescent roll dough is mostly empty carbs, but hey—sometimes you need a little joy in your life, and these mummy dogs deliver on that front.
For those with dietary restrictions: these contain gluten (from the crescent rolls) and dairy (from the butter and potentially the dough). You can use gluten-free crescent dough and dairy-free butter to accommodate those needs. They’re also nut-free and egg-free as written.
Conclusion
Look, I know mummy dogs aren’t going to win any Michelin stars. But that’s not the point. The point is that sometimes, on a random Wednesday night when you’re tired and the kids are cranky and you just need something that makes everyone smile, these little guys deliver. They’re fun, they’re fast, and they’re genuinely delicious in that comforting, buttery, salty way that only crescent roll dough can provide.
I love this recipe because it reminds me that cooking doesn’t always have to be serious. Some of the best meals come from a place of playfulness and improvisation—staring into the fridge at 11 PM and deciding to make something silly just because you can. These mummy dogs have become a staple in my house, not just for Halloween but for any night that needs a little extra joy.
So go ahead and give them a try. Customize them however you want—add cheese, make them spicy, use your favorite dipping sauce. And when you do, come back and let me know how they turned out. Drop a comment below or tag me in your photos. I genuinely love seeing your creations, and I promise I’ll respond to every single one. Now go make some mummy dogs and put a smile on your family’s faces!
Frequently Asked Questions
Can I make these mummy dogs ahead of time?
You can prep them up to the wrapping stage and keep them in the fridge for a few hours before baking. Just wrap the hot dogs, place them on the baking sheet, cover with plastic wrap, and refrigerate. When you’re ready to serve, brush with butter and bake as directed. You might need to add 1-2 minutes to the baking time since they’re starting from cold.
Can I use puff pastry instead of crescent rolls?
Absolutely! Puff pastry works great for a flakier, more buttery result. Just thaw the pastry according to package directions, cut it into thin strips, and wrap the hot dogs the same way. The baking time might be slightly longer—about 15-18 minutes at 400°F—so keep an eye on them.
How do I keep the dough from unraveling while baking?
Make sure you press the end of the dough strip gently against the hot dog to seal it. The dough will stick to itself as it bakes, so it shouldn’t unravel. If you’re worried about it, you can place the mummy dogs seam-side down on the baking sheet, which helps keep everything in place.
Can I use turkey or chicken hot dogs?
Yes, and they work perfectly fine. Turkey and chicken hot dogs tend to be a little leaner, so they might be slightly less juicy, but the flavor is still great. Just make sure you’re using pre-cooked hot dogs, as these are just being heated through in the oven.
What dipping sauces go best with mummy dogs?
Ketchup and mustard are the classics, but I also love ranch dressing, honey mustard, or even a little sriracha mayo for some heat. For a more adult version, try a spicy brown mustard or a sweet chili sauce. The possibilities are endless, so go with whatever your family loves.
Pin This Recipe!
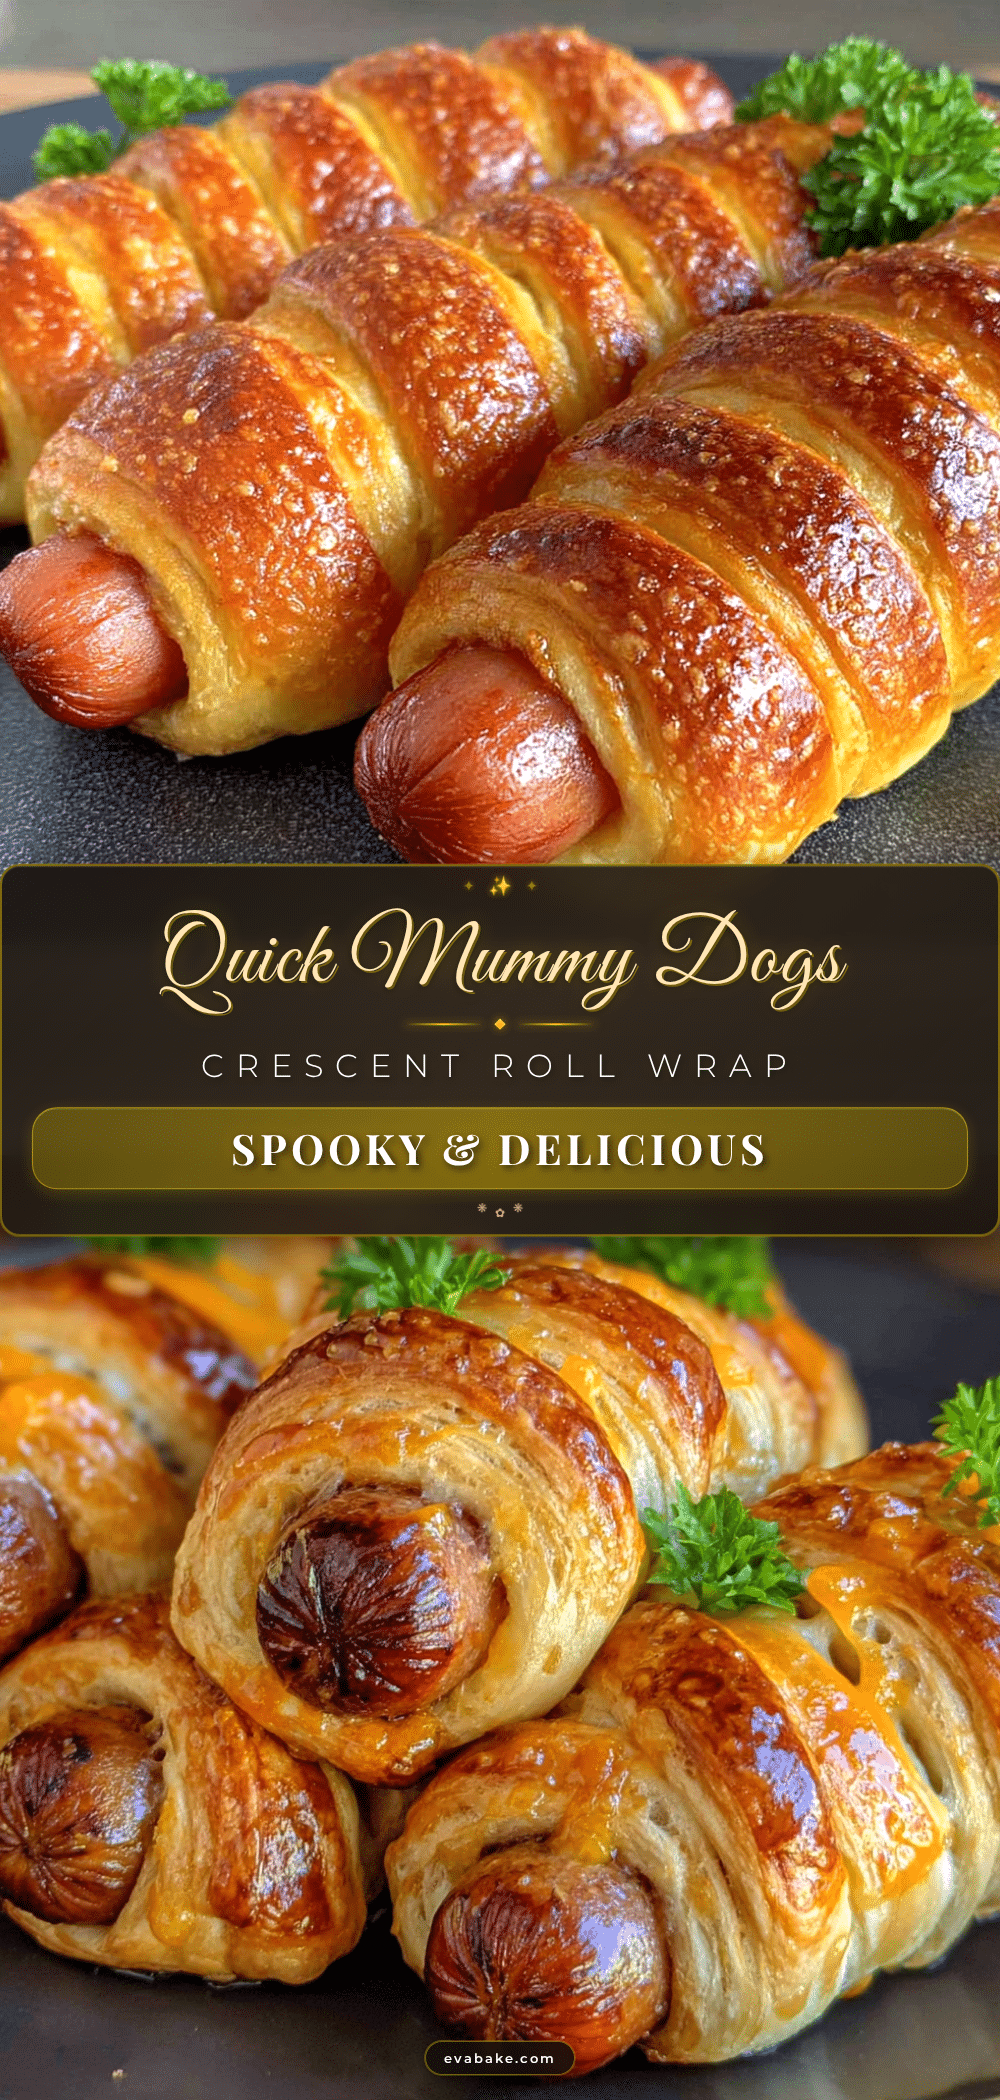
Easy Mummy Dogs: Best Crescent Roll Halloween Recipe
Fun and easy mummy dogs made with crescent roll dough and hot dogs, perfect for Halloween or any weeknight dinner. Ready in under 20 minutes with simple ingredients.
- Prep Time: 10 minutes
- Cook Time: 12-15 minutes
- Total Time: 20-25 minutes
- Yield: 8 servings 1x
- Category: Appetizer
- Cuisine: American
Ingredients
- 8 standard-sized hot dogs
- 1 can (8-count) crescent roll dough
- Mustard or ketchup (for the eyes)
- 1–2 tablespoons melted butter (optional)
- Everything bagel seasoning or sesame seeds (optional)
Instructions
- Preheat your oven to 375°F (190°C). Line a baking sheet with parchment paper or foil.
- Unroll the crescent roll dough onto a clean cutting board. If using perforated dough, press the seams together gently to create one solid sheet.
- Using a sharp knife or pizza cutter, cut the dough lengthwise into thin strips about ½ inch wide (about 8-10 strips per sheet).
- Take one hot dog and start wrapping a strip of dough around it, starting at one end and working up. Leave a small gap at the top (about ½ inch) for the face. Overlap the dough slightly as you wrap. Press the end to seal. Repeat with all 8 hot dogs.
- Place the wrapped hot dogs on the prepared baking sheet, leaving about an inch of space between each.
- If using, melt butter and brush a thin layer over each wrapped hot dog.
- Bake for 12-15 minutes until the dough is golden brown and the hot dogs are heated through. Check at 10 minutes and adjust as needed.
- Let cool for about 2 minutes on the baking sheet. Using a toothpick or knife tip, dab two small dots of mustard or ketchup on the exposed hot dog at the top to create eyes.
- Serve immediately while warm.
Notes
Keep dough strips thin (about ½ inch) to avoid doughy centers. Don’t overbake; check at 10 minutes. For best results, brush with melted butter for golden color. Can prep ahead by wrapping and refrigerating for a few hours before baking. For cheesy version, slit hot dogs and stuff with cheese before wrapping.
Nutrition
- Serving Size: 1 mummy dog
- Calories: 180220
- Sugar: 34
- Sodium: 450550
- Fat: 1215
- Saturated Fat: 57
- Carbohydrates: 1416
- Protein: 79
Keywords: mummy dogs, Halloween recipe, crescent roll recipe, hot dog recipe, easy appetizer, kid-friendly, weeknight dinner