“You just need a pan and some patience,” my friend said over the phone, sounding way too confident. I was skeptical. Making garlic naan bread without an oven? Honestly, I thought, that sounded like a stretch. But after a hectic day when my oven decided to take an unplanned break, I had to get creative. Staring at my stovetop, I figured I’d give this easy garlic naan bread stovetop recipe without oven a shot. It wasn’t about fancy equipment or complicated techniques—just simple ingredients and a skillet.
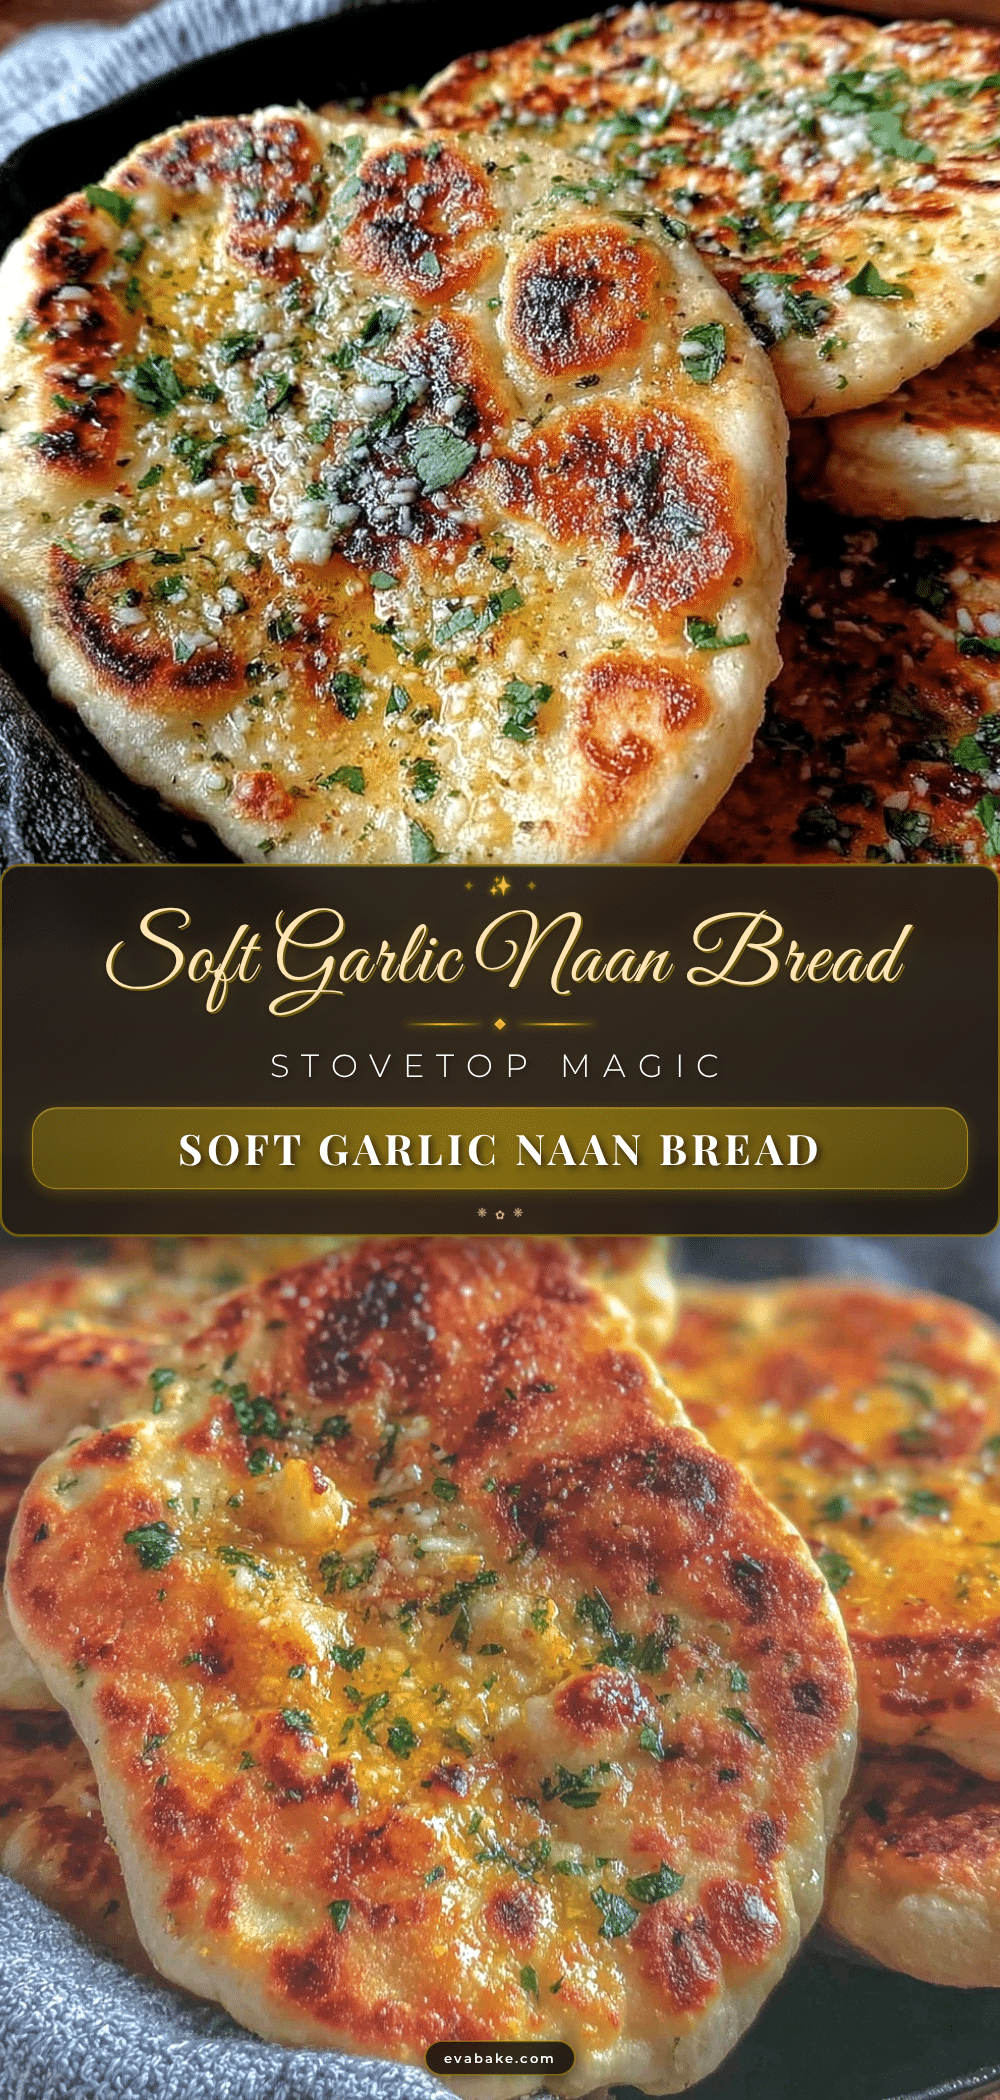
That first batch came out golden, soft with those little charred spots that make naan so irresistible, and the garlic butter brushed on top made the kitchen smell like a cozy Indian restaurant at home. I remember tearing into that warm bread, the buttery, garlicky aroma wrapping around me, and thinking, “Okay, this might just be a keeper.” Since then, I’ve made it over and over, sometimes late at night when I’m craving comfort without fuss, other times to impress friends who were amazed I didn’t need an oven.
This recipe stuck with me because it’s honest and straightforward—no special gear, no weird ingredients, just good old-fashioned cooking that fits right into my busy life. If you’re wondering how to get that perfect garlic naan bread using just your stovetop, you’re in the right spot. Let’s get into how you can make this happen in your kitchen, too.
Why You’ll Love This Recipe
After testing this recipe multiple times (and sharing it with friends who swear by it), here’s why it really stands out:
- Quick & Easy: Ready in under 30 minutes, perfect for busy evenings or last-minute dinner plans.
- Simple Ingredients: No exotic spices or hard-to-find flours—just pantry staples you probably have on hand.
- Perfect for Any Occasion: Whether you’re making a simple weeknight meal or need a quick side for a cozy dinner, this naan fits right in.
- Crowd-Pleaser: Kids, adults, naan beginners—they all rave about the soft texture and rich garlic flavor.
- Unbelievably Delicious: The buttery garlic topping and slight char give it that authentic taste without the fuss of a tandoor.
This isn’t your typical naan recipe that requires hours of waiting or a hot oven. Instead, I blend a quick dough that’s soft yet sturdy, perfect for cooking on a simple pan. The garlic butter glaze gets pressed in right after cooking, locking in flavor and moisture. It’s an easy trick I picked up that makes all the difference. Honestly, this garlic naan bread recipe is like a little warm hug after a long day, perfect for scooping up curries or just eating straight with a bit of butter.
Plus, if you ever want to pair it with something rich and creamy, this naan is a perfect match for dishes like my creamy Tuscan chicken or even a hearty bowl of my classic chicken tortilla soup. It’s just so versatile and forgiving—exactly what busy cooks need.
What Ingredients You Will Need
This easy garlic naan bread stovetop recipe without oven uses straightforward ingredients that come together to create that classic soft and flavorful naan we all love. Most of these are pantry staples, so no last-minute runs to the store needed.
- All-purpose flour (2 cups / 250g) – the base of your dough, gives the naan its structure.
- Active dry yeast (1 tsp) – helps the dough rise and get fluffy.
- Sugar (1 tsp) – feeds the yeast and adds a touch of sweetness.
- Warm water (¾ cup / 180ml) – activates the yeast and hydrates the flour.
- Plain yogurt (¼ cup / 60g, room temperature) – adds tenderness and a slight tang; I like using a full-fat brand like Stonyfield for best results.
- Olive oil or melted butter (2 tbsp) – keeps the naan soft and adds richness.
- Salt (½ tsp) – balances the flavors.
- Garlic cloves (3-4, finely minced) – the star flavor for this garlic naan.
- Unsalted butter (3 tbsp, melted) – for brushing the naan after cooking, giving it that irresistible garlic butter finish.
- Fresh cilantro or parsley (optional, chopped) – a fresh herb sprinkle adds a nice pop of color and flavor.
Ingredient tips: If you prefer gluten-free, almond flour or a gluten-free baking blend can be experimented with, but the texture will differ. For a dairy-free option, swap the yogurt with coconut yogurt and use plant-based butter or oil for brushing. Fresh garlic really makes the difference here—you won’t get the same punch from powder.
Equipment Needed
- Large mixing bowl – for combining and proofing the dough; a glass or stainless bowl works great.
- Measuring cups and spoons – for accurate ingredient portions (both US and metric measurements help keep things precise).
- Non-stick skillet or cast-iron pan – the key piece for stovetop cooking. I prefer cast iron for its even heat retention, but a heavy non-stick pan works fine too.
- Rolling pin – to shape the naan into rounds or ovals; if you’re short on space, your hands can do the job with a bit of patience.
- Pastry brush – for brushing the garlic butter on the hot naan. A silicone brush cleans up easily and lasts forever.
- Clean kitchen towel – to cover the dough while it rises, keeping it warm and cozy.
If you don’t have a rolling pin, no worries—just gently stretch the dough with your fingers. And if you don’t own a cast-iron skillet yet, a good-quality non-stick pan will get you there. Over time, I’ve found that caring for the cast iron by seasoning it properly makes the naan cook more evenly with those perfect little char spots.
Preparation Method

- Activate the yeast: In your large bowl, combine warm water (about 110°F/43°C), sugar, and active dry yeast. Stir gently and let sit for 5-10 minutes until foamy. If it doesn’t foam, your yeast might be dead, so start fresh.
- Make the dough: Add the all-purpose flour, plain yogurt, olive oil (or melted butter), and salt to the yeast mixture. Mix with a spoon or your hands until it starts to come together. Then knead on a lightly floured surface for about 8-10 minutes until smooth and elastic. The dough should be soft but not sticky—add a little flour if it’s too wet.
- Let the dough rise: Place the dough back in the bowl, cover with a clean kitchen towel, and set it in a warm spot. It should double in size in about 1-1.5 hours. If you’re short on time, a warm oven (turned off) works well to speed this up.
- Prepare garlic butter: While the dough rises, melt the unsalted butter and mix in the finely minced garlic. Set aside so the flavors meld.
- Divide and roll: Punch down the risen dough and divide it into 6 equal portions. Roll each into a ball, then flatten with a rolling pin into ¼-inch (about 6mm) thick rounds or ovals. Don’t worry about perfect shapes; rustic looks are charming here.
- Heat your pan: Warm your skillet or cast iron over medium-high heat until hot but not smoking.
- Cook the naan: Place one rolled dough piece in the pan. Cook for about 1-2 minutes until bubbles form and the bottom has golden spots. Flip and cook the other side for another 1-2 minutes. For a slight char and puffiness, press gently with a spatula to encourage even cooking.
- Brush with garlic butter: As soon as the naan comes off the pan, brush generously with the prepared garlic butter. Sprinkle with fresh cilantro or parsley if you like.
- Serve warm: Enjoy immediately or keep wrapped in a clean towel to stay soft while you cook the rest.
Tip: If your naan isn’t puffing up much, try increasing the heat slightly or covering the pan for a few seconds during cooking. Also, be careful not to overcook—the bread gets chewy if left too long.
Cooking Tips & Techniques
Here are some things I’ve learned after making this naan recipe dozens of times:
- Yeast temperature is key. Water that’s too hot kills the yeast; too cold, and it won’t activate. Aim for warm water around 110°F (43°C)—just warm to the touch, not hot.
- Kneading makes a difference. Don’t rush the kneading step. It develops gluten, giving the naan that perfect chew and softness.
- Don’t skip resting. The dough needs time to rise properly. I’ve tried shortcuts, but the texture suffers.
- Use a heavy pan. Cast iron or a thick-bottomed skillet helps create those lovely charred spots and cooks the naan evenly.
- Brush the garlic butter right away. It soaks into the warm naan and keeps it moist longer.
- Watch your heat. Too low and the naan gets tough; too high and it burns. Medium to medium-high usually works best.
- Multitasking tip: While the dough rises, prepare your garlic butter and chop herbs. By the time you’re ready to cook, everything’s waiting.
Once, I forgot to brush the garlic butter immediately and the naan got a bit dry. Lesson learned: that step really seals the deal on flavor and texture.
Variations & Adaptations
Want to switch things up? Here are several ways I’ve adapted this stovetop garlic naan bread to suit different tastes and needs:
- Cheese-stuffed naan: Add shredded mozzarella or paneer inside the dough before rolling for a gooey surprise.
- Herb-infused naan: Mix fresh chopped cilantro, mint, or parsley into the dough for fresh flavor layers.
- Whole wheat version: Substitute half the all-purpose flour with whole wheat flour for nuttier taste and added fiber.
- Vegan adaptation: Use coconut yogurt instead of dairy yogurt and olive oil instead of butter for brushing.
- Spicy twist: Add a pinch of chili flakes to the garlic butter or sprinkle some ground cumin on the dough before cooking.
I once tried the cheese-stuffed version when hosting an impromptu dinner party, and it completely stole the show. Everyone was amazed I pulled it off on the stovetop without any fancy equipment. It goes to show this basic recipe is a great base for creativity.
Serving & Storage Suggestions
Serve your garlic naan warm for the best experience—nothing beats that soft, buttery, garlicky goodness fresh off the pan. It pairs beautifully with Indian dishes like curries or lentil dal, but honestly, it’s also fantastic as a snack or alongside soups like the cozy ham and bean soup.
To store, wrap cooled naan tightly in foil or plastic wrap and keep it in an airtight container in the fridge for up to 2 days. For longer storage, freeze wrapped naan in a zip-top bag for up to 1 month. When ready to eat, reheat gently in a skillet or microwave with a damp paper towel to bring back softness.
Leftover naan also makes fantastic sandwiches or wraps. Just warm it up and fill with your favorite ingredients for a quick meal. Over time, the garlic flavor actually deepens after a day, so it gets even better if you plan ahead.
Nutritional Information & Benefits
This garlic naan bread recipe is a moderate source of carbohydrates and fats, mostly coming from the flour and butter. The yogurt adds a touch of protein and probiotics, which is a nice bonus for gut health. Garlic itself is known for its anti-inflammatory and immune-supporting properties, so each bite is a little boost.
Estimated per serving (1 naan): approximately 180 calories, 5g fat, 28g carbs, 5g protein. It’s not low-carb, but it’s satisfying and made with simple ingredients without preservatives or additives.
For gluten-sensitive diets, swapping to a gluten-free baking mix can help, but expect a different texture. The recipe is naturally vegetarian and can be easily made vegan with simple substitutions.
Conclusion
This easy garlic naan bread stovetop recipe without oven is just one of those reliable kitchen wins that you keep coming back to. It’s flexible, straightforward, and downright tasty—perfect for when you want fresh homemade bread but don’t have an oven handy. I love how it fits into busy nights or casual gatherings where simplicity rules but flavor can’t be compromised.
Feel free to tweak the garlic amount, add herbs, or even turn it into cheesy naan. The best part is you can make it your own, without fuss or fancy gear. If you ever want to pair it with something creamy and comforting, you might want to try my garlic parmesan chicken and rice—the combo is unbeatable.
Try it out, make it yours, and don’t be shy about sharing your twists or questions below. This naan bread is here to make your cooking life easier and tastier, one soft, garlicky bite at a time.
Frequently Asked Questions
Can I make naan bread without yeast?
Yes, you can use baking powder as a substitute for yeast in naan recipes, but the texture will be less fluffy and more like a flatbread. This recipe relies on yeast for that classic naan softness.
How do I keep naan soft after cooking?
Brush the naan immediately with melted garlic butter and keep them wrapped in a clean towel or foil. Storing in an airtight container also helps maintain softness.
Can I use whole wheat flour for this recipe?
Absolutely! Substitute up to half the all-purpose flour with whole wheat flour. Your naan will have a nuttier flavor and denser texture.
What’s the best pan for cooking naan on the stovetop?
A cast iron skillet is ideal because it retains heat evenly and creates nice char spots. A heavy-bottomed non-stick pan also works well if you don’t have cast iron.
Can I prepare the naan dough ahead of time?
Yes, you can prepare the dough and refrigerate it for up to 24 hours. Just bring it to room temperature before rolling and cooking.
Pin This Recipe!
Easy Garlic Naan Bread Stovetop Recipe Without Oven Perfect for Beginners

A quick and easy garlic naan bread recipe cooked on the stovetop without an oven, perfect for beginners and busy cooks. Soft, buttery, and flavorful naan with a garlic butter finish.
- Prep Time: 15 minutes
- Cook Time: 10 minutes
- Total Time: 1 hour 25 minutes
- Yield: 6 servings 1x
- Category: Bread
- Cuisine: Indian
Ingredients
- 2 cups (250g) all-purpose flour
- 1 tsp active dry yeast
- 1 tsp sugar
- ¾ cup (180ml) warm water (about 110°F/43°C)
- ¼ cup (60g) plain yogurt, room temperature
- 2 tbsp olive oil or melted butter
- ½ tsp salt
- 3–4 garlic cloves, finely minced
- 3 tbsp unsalted butter, melted
- Fresh cilantro or parsley, chopped (optional)
Instructions
- Activate the yeast: In a large bowl, combine warm water, sugar, and active dry yeast. Stir gently and let sit for 5-10 minutes until foamy.
- Make the dough: Add all-purpose flour, plain yogurt, olive oil (or melted butter), and salt to the yeast mixture. Mix until it starts to come together, then knead on a lightly floured surface for 8-10 minutes until smooth and elastic.
- Let the dough rise: Place the dough back in the bowl, cover with a clean kitchen towel, and set in a warm spot to double in size, about 1-1.5 hours.
- Prepare garlic butter: Melt the unsalted butter and mix in the minced garlic. Set aside.
- Divide and roll: Punch down the risen dough and divide into 6 equal portions. Roll each into a ball, then flatten into ¼-inch (6mm) thick rounds or ovals.
- Heat your pan: Warm a non-stick skillet or cast iron pan over medium-high heat until hot but not smoking.
- Cook the naan: Place one dough piece in the pan. Cook 1-2 minutes until bubbles form and bottom has golden spots. Flip and cook another 1-2 minutes. Press gently with a spatula for even cooking.
- Brush with garlic butter: Immediately brush cooked naan with garlic butter and sprinkle with fresh herbs if desired.
- Serve warm: Enjoy immediately or keep wrapped in a clean towel to stay soft while cooking the rest.
Notes
Use warm water around 110°F (43°C) to activate yeast properly. Knead dough well for softness. Brush garlic butter immediately after cooking to keep naan moist. Use cast iron skillet for best charred spots. If naan doesn’t puff, increase heat slightly or cover pan briefly. Dough can be refrigerated up to 24 hours before cooking.
Nutrition
- Serving Size: 1 naan
- Calories: 180
- Sugar: 2
- Sodium: 200
- Fat: 5
- Saturated Fat: 3
- Carbohydrates: 28
- Fiber: 1
- Protein: 5
Keywords: garlic naan, naan bread, stovetop naan, easy naan recipe, garlic bread, Indian bread, no oven naan, quick naan