I burned zucchini chips four times before I figured out the secret.
The first batch came out soggy and sad. The second batch was practically charcoal. The third? Edible, but only if you squinted and pretended really hard. The fourth attempt I scraped straight into the trash and ordered pizza instead. It was humbling, honestly. A vegetable chip should not be this hard to get right.
Here is the thing though — I do not even really like zucchini. Not in the way normal people do. I will pick it out of stir-fries and push it to the side of my plate at summer barbecues. So when I tell you these Baked Parmesan Zucchini Chips changed my mind, I mean it. They did not just change my mind about zucchini. They changed my mind about what a healthy snack could actually taste like.
The problem was moisture. Zucchini is basically a water balloon with good PR. No amount of breadcrumbs or parmesan was going to fix that until I stopped fighting the vegetable and started working with it. Once I figured out the right prep work — and I will share every messy detail with you — the chips came out shatteringly crisp, cheesy, and genuinely addictive.
I ate the entire batch standing at the counter. No regrets.
These are not those sad diet chips you choke down out of obligation. These are the kind of snack that makes you forget you are eating vegetables at all. And honestly? That is exactly the point.
Why You Will Love This Recipe
Let me tell you why this recipe is different from every other zucchini chip recipe you have seen floating around the internet. I tested this thing into the ground so you do not have to.
- Actually Crispy : These chips stay crunchy for hours, not minutes. The secret is in the prep work, and I promise it is worth the extra step.
- Baked, Not Fried : You get all the crunch without the grease. Your kitchen stays clean, and your waistline stays happy.
- Simple Ingredients : Zucchini, parmesan, breadcrumbs, and basic pantry spices. No weird health food store ingredients required.
- Ready in 30 Minutes : From fridge to snack bowl in half an hour. Perfect for those after-work hunger emergencies.
- Kid-Approved : My niece calls them “green french fries” and inhales them. If that is not a glowing review, I do not know what is.
- Meal Prep Friendly : Make a big batch on Sunday and snack all week. They reheat beautifully in the oven or air fryer.
What makes these chips special is the double-coating technique. Most recipes just toss zucchini slices in breadcrumbs and hope for the best. That is a recipe for disappointment. Here, we use a flour-egg-breadcrumb system that creates a real crust. The parmesan melts into the breadcrumbs during baking, forming a golden, crispy shell that actually stays on the chip.
This is the kind of snack that makes you feel like you are cheating. Salty, cheesy, ridiculously crunchy — and somehow still packed with vegetables. It is comfort food that actually works with your goals instead of against them.
What Ingredients You Will Need
The beauty of this recipe is how straightforward the ingredients are. You probably have most of them already. Here is what you need and why each one matters.
For the Zucchini Chips
- 2 medium zucchini (about 8 ounces each) — Look for firm zucchini with shiny skin. Avoid any that feel soft or have wrinkled ends. Smaller zucchini tend to have fewer seeds and better texture.
- 1 cup panko breadcrumbs — Regular breadcrumbs work, but panko gives you that extra-crispy texture. I prefer Ian’s brand for consistent crunch.
- 1/2 cup finely grated parmesan cheese — Buy a block and grate it yourself. The pre-shredded stuff has anti-caking agents that prevent melting and sticking. Trust me on this one.
- 1/2 cup all-purpose flour — Creates the first layer that helps the egg wash stick. You can swap in almond flour for a gluten-free version.
- 2 large eggs — The glue that holds everything together. Room temperature eggs work best for even coating.
- 1 teaspoon garlic powder — Adds savory depth without being overpowering.
- 1 teaspoon onion powder — Rounds out the flavor profile.
- 1/2 teaspoon smoked paprika — Optional, but adds a subtle smoky note that pairs beautifully with the parmesan.
- 1/2 teaspoon salt — Use fine sea salt for even distribution.
- 1/4 teaspoon black pepper — Freshly ground if you have it.
- Olive oil cooking spray — Essential for browning. Do not skip this or your chips will come out pale.
For the Dipping Sauce (Optional but Highly Recommended)

- 1/2 cup plain Greek yogurt — Full fat gives the best texture, but 2% works fine.
- 1 tablespoon fresh lemon juice — Brightens everything up.
- 1 clove garlic, minced — Because garlic makes everything better.
- Salt and pepper to taste
The zucchini is the star here, obviously. But the parmesan-panko coating is what makes these chips unforgettable. I have tried using nutritional yeast for a dairy-free version, and while it works, nothing beats the real thing for that savory, umami kick.
If you are feeling adventurous, add a pinch of cayenne pepper or red pepper flakes to the breadcrumb mixture. The heat plays beautifully against the cool yogurt dipping sauce.
Equipment Needed
You do not need a fancy kitchen to make these chips. Here is what you will need:
- Baking sheet — A standard half-sheet pan works perfectly. Avoid dark non-stick pans as they brown the bottoms too quickly.
- Parchment paper or silicone baking mat — Silicone mats are my preference. They promote even browning and make cleanup a breeze. Parchment paper works great too, just expect slightly less browning on the bottom.
- Sharp knife or mandoline slicer — A mandoline gives you perfectly even slices, which is crucial for even cooking. If using a knife, aim for 1/4-inch thick slices. A Benriner mandoline is my go-to — affordable and reliable.
- Three shallow bowls — For the flour, egg wash, and breadcrumb mixture. Pie plates work great.
- Wire cooling rack — Essential for keeping chips crispy after baking. Do not skip this step.
- Clean kitchen towel or paper towels — For drying the zucchini slices. This step is non-negotiable.
- Colander — For the salting step that draws out moisture.
If you do not own a mandoline, do not worry. Just take your time with the knife and try to keep the slices uniform. Uneven slices mean some chips will burn while others stay soggy.
Preparation Method
Alright, here is where the magic happens. Follow these steps carefully, and you will have the crispiest zucchini chips of your life.
Step 1: Prep the Zucchini (15 minutes, mostly inactive)
Wash your zucchini thoroughly and trim off the ends. Slice them into 1/4-inch thick rounds. Consistency matters here — too thin and they burn, too thick and they stay soggy. Place the slices in a colander and sprinkle generously with salt. Let them sit for 10 minutes. You will see beads of water form on the surface. Pat each slice dry with paper towels. This step removes excess moisture and is the difference between crispy chips and sad, limp disappointment.
Step 2: Set Up Your Breading Station (5 minutes)
Preheat your oven to 425°F (220°C). Line your baking sheet with parchment paper or a silicone mat. In the first shallow bowl, add the flour. In the second bowl, beat the eggs with a splash of water until smooth. In the third bowl, combine the panko breadcrumbs, grated parmesan, garlic powder, onion powder, smoked paprika, salt, and pepper. Mix well with a fork.
Step 3: Bread the Zucchini (10 minutes)
Working one slice at a time, dredge each zucchini round in the flour, shaking off the excess. Dip it into the egg wash, letting any excess drip off. Finally, press it into the breadcrumb mixture, coating both sides evenly. Place the coated slices on the prepared baking sheet in a single layer. Do not overcrowd — the slices should not touch each other. If you have more zucchini than will fit on one sheet, use two pans or work in batches.
Step 4: Bake to Golden Perfection (20-25 minutes)
Spray the tops of the chips generously with olive oil cooking spray. This is what gives them that golden, crispy finish. Bake for 10 minutes, then flip each chip carefully with a spatula. Spray the other side with oil and bake for another 10-15 minutes, until deeply golden and crispy. Keep an eye on them in the last few minutes — ovens vary and you want them golden brown, not burnt.
Step 5: Cool and Crisp (5 minutes)
Remove the baking sheet from the oven and let the chips cool on the pan for 2 minutes. Then transfer them to a wire cooling rack. This step is crucial — if you leave them on the hot pan, steam will make them soggy. Let them cool completely before serving. They will continue to crisp up as they cool.
Step 6: Make the Dipping Sauce (5 minutes)
While the chips cool, whisk together the Greek yogurt, lemon juice, minced garlic, salt, and pepper in a small bowl. Taste and adjust seasoning. The tangy, creamy sauce is the perfect counterpoint to the salty, crispy chips.
Your kitchen will smell incredible at this point. The combination of melted parmesan and toasted panko is basically aromatherapy for snack lovers.
Cooking Tips and Techniques
I learned most of these lessons the hard way so you do not have to. Here is what I wish someone had told me before my fourth failed batch.
The salting step is non-negotiable. I know it adds an extra 10 minutes. I know you are hungry. Do it anyway. Zucchini is over 90% water, and if you do not draw that moisture out before baking, your chips will steam instead of crisp. I skipped this step on batch number two and ended up with pale, rubbery discs that tasted like regret.
Use a wire rack for cooling. This was the game-changer for me. When chips cool on a flat surface, condensation builds up underneath and softens the bottom. A wire rack allows air to circulate all around, keeping every surface crunchy. I actually bought a second rack just for this recipe.
Do not skip the oil spray. Panko and parmesan need fat to brown properly. Without the oil spray, your chips will be pale and dry rather than golden and crispy. A light, even coating is all you need. I use a Misto sprayer filled with olive oil for better control than canned sprays.
Flip halfway through. This ensures even browning on both sides. If you forget, you will end up with chips that are crispy on top but soft on the bottom. Set a timer if you need to.
Work in batches if needed. Overcrowding the pan is a common mistake. The chips need space for hot air to circulate. If they are touching each other, they will steam and stick together. Use two baking sheets if you are making a double batch.
Season the flour, not just the breadcrumbs. This was a tip from a chef friend that changed everything. Seasoning all three layers — flour, egg, and breadcrumbs — ensures every bite is flavorful, not just the outside.
Variations and Adaptations
Once you master the basic recipe, the possibilities are endless. Here are some of my favorite variations.
Spicy Buffalo Zucchini Chips
Add 2 tablespoons of buffalo wing sauce to the egg wash and reduce the salt slightly. Toss the finished chips in extra buffalo sauce mixed with melted butter. Serve with blue cheese dressing instead of the yogurt dip. These are dangerously good and disappear fast at parties.
Italian Herb Version
Replace the smoked paprika with 1 teaspoon of dried Italian seasoning and 1/2 teaspoon of dried oregano. Add 2 tablespoons of finely chopped fresh parsley to the breadcrumb mixture. These pair beautifully with marinara sauce for dipping. I make these when I am craving something reminiscent of fried mozzarella sticks but want to keep it lighter.
Gluten-Free Adaptation
Swap the all-purpose flour for almond flour or gluten-free all-purpose blend. Use gluten-free panko breadcrumbs — Aleia’s brand makes an excellent version. The texture will be slightly different, but they still come out wonderfully crispy. My gluten-sensitive friends rave about this version.
Air Fryer Method
Preheat your air fryer to 375°F (190°C). Arrange the breaded zucchini slices in a single layer in the basket — do not overcrowd. Spray with oil and cook for 8-10 minutes, flipping halfway through, until golden and crispy. The air fryer version cooks faster and comes out even crispier than the oven method. This is my go-to on busy weeknights.
Cheese Lover’s Variation
Add 1/4 cup of finely grated pecorino romano to the parmesan. The pecorino adds a sharper, saltier flavor that really punches through. You can also sprinkle extra parmesan on top during the last 2 minutes of baking for an extra-cheesy crust.
I have experimented with adding everything from everything bagel seasoning to curry powder. The base recipe is so versatile that it works with almost any flavor profile you can dream up.
Serving and Storage Suggestions
These chips are best served warm, right after baking, when they are at peak crispiness. But I have eaten them cold straight from the fridge at midnight more times than I care to admit, and they are still pretty great.
Serving Temperature: Room temperature or warm. If you are serving them at a party, keep them on a wire rack over a baking sheet in a warm oven (200°F) for up to 30 minutes.
Presentation: Arrange the chips in a shallow bowl or on a platter, slightly overlapping. Serve the dipping sauce in a small bowl in the center. Garnish with fresh parsley or a sprinkle of extra parmesan for a restaurant-worthy look.
Complementary Dishes: These chips pair beautifully with a fresh watermelon feta mint skewers with zesty chili lime dressing for a light summer spread. They also work great alongside crispy beer battered pickle chips with spicy chipotle ranch dip for an epic snack board.
Beverage Pairings: A crisp white wine like Sauvignon Blanc or a light lager complements the salty, cheesy flavors beautifully. For non-alcoholic options, try sparkling water with lemon or iced green tea.
Storage: Store leftover chips in an airtight container at room temperature for up to 2 days. Do not refrigerate — the moisture will make them soggy. To reheat, spread them on a baking sheet and warm in a 350°F oven for 5-7 minutes. The air fryer also works well for reheating at 350°F for 3-4 minutes.
Freezer Instructions: You can freeze the breaded, unbaked zucchini chips on a baking sheet until solid, then transfer to a freezer bag. Bake from frozen, adding 5-7 minutes to the cooking time. This is perfect for meal prep or last-minute snack emergencies.
The chips will never be quite as crispy as fresh-baked, but they are still miles better than any store-bought vegetable chip I have tried.
Nutritional Information and Benefits
Here is the breakdown for one serving (about 1/4 of the recipe, roughly 8-10 chips):
| Nutrient | Amount |
|---|---|
| Calories | 185 |
| Total Fat | 8g |
| Saturated Fat | 3g |
| Cholesterol | 65mg |
| Sodium | 420mg |
| Total Carbohydrates | 18g |
| Dietary Fiber | 2g |
| Sugars | 3g |
| Protein | 10g |
| Vitamin C | 15% DV |
| Calcium | 20% DV |
| Iron | 8% DV |
Zucchini is packed with antioxidants, particularly lutein and zeaxanthin, which support eye health. It is also high in vitamin C and potassium. The parmesan adds protein and calcium, making this a surprisingly balanced snack.
This recipe is naturally vegetarian and can be made gluten-free with simple substitutions. It is also lower in carbs than traditional chips, making it suitable for those watching their carbohydrate intake.
I personally love that I can enjoy a big bowl of these without the guilt that comes with traditional fried snacks. They satisfy that crunchy, salty craving while actually providing some nutritional value. It is a win-win in my book.
Conclusion
These Baked Parmesan Zucchini Chips have become my go-to snack for everything from movie nights to party platters. They are proof that healthy eating does not have to mean boring eating. With the right technique and a little patience, you can transform a humble summer squash into something genuinely crave-worthy.
I love that this recipe is forgiving enough for beginners but rewarding enough for experienced cooks. The first time you pull a tray of perfectly golden, shatteringly crisp chips out of the oven, you will feel like a kitchen wizard. And the best part? You get to eat your magic trick.
Try these chips with the creamy yogurt dip, or experiment with your own flavor combinations. Maybe add a sprinkle of cayenne for heat, or swap the parmesan for asiago. This recipe is a starting point, not a rulebook. Make it your own.
I would love to hear how yours turn out. Drop a comment below and let me know your favorite variation, or tag me in your photos if you share them online. Happy snacking, friends!
Frequently Asked Questions
Can I make these zucchini chips ahead of time?
Yes, but they are best fresh. You can bread the zucchini slices up to 24 hours in advance and refrigerate them on a baking sheet covered with plastic wrap. Bake right before serving for the best texture.
Why are my zucchini chips soggy?
The most common reason is skipping the salting step. Zucchini contains a lot of water that needs to be drawn out before baking. Make sure you salt the slices and let them sit for at least 10 minutes, then pat them thoroughly dry with paper towels.
Can I use a different type of cheese?
Absolutely! Pecorino romano, asiago, or even a sharp cheddar work well. Just make sure to use finely grated cheese so it adheres properly to the breadcrumb mixture. Avoid pre-shredded cheese as it contains anti-caking agents.
How do I make these chips vegan?
Replace the eggs with a flax egg (1 tablespoon ground flaxseed mixed with 3 tablespoons water per egg, let sit for 5 minutes). Use nutritional yeast instead of parmesan cheese, and ensure your breadcrumbs are vegan. The texture will be slightly different but still delicious.
Can I use yellow squash instead of zucchini?
Yes, yellow squash works perfectly as a substitute. It has a similar water content and texture. You can even mix yellow and green squash for a colorful presentation. The cooking time and method remain exactly the same.
Pin This Recipe!
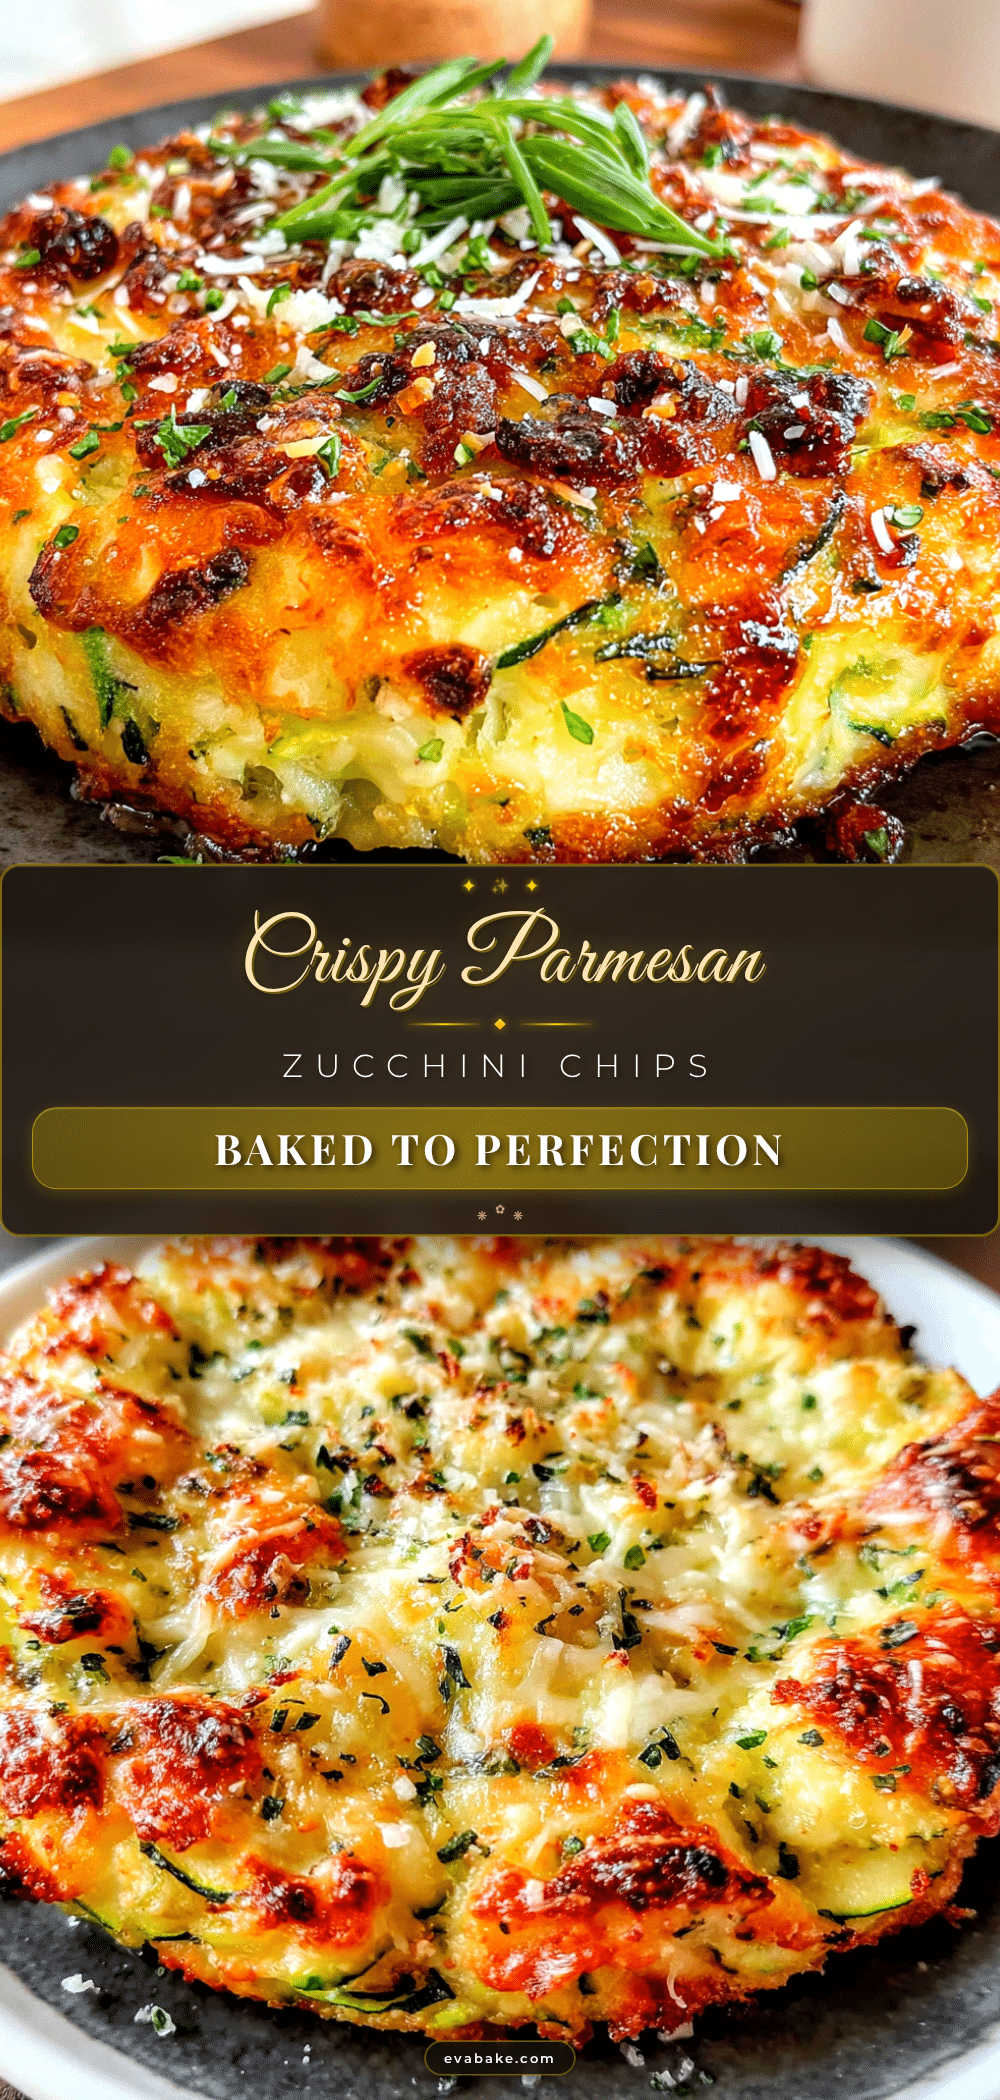
Baked Parmesan Zucchini Chips – Easy Crispy Snack

These Baked Parmesan Zucchini Chips are shatteringly crisp, cheesy, and genuinely addictive. With a double-coating technique and simple ingredients, they transform a humble summer squash into a healthy, crave-worthy snack that stays crunchy for hours.
- Prep Time: 15 minutes
- Cook Time: 25 minutes
- Total Time: 40 minutes
- Yield: 4 servings 1x
- Category: Snack
- Cuisine: American
Ingredients
- 2 medium zucchini (about 8 ounces each)
- 1 cup panko breadcrumbs
- 1/2 cup finely grated parmesan cheese
- 1/2 cup all-purpose flour
- 2 large eggs
- 1 teaspoon garlic powder
- 1 teaspoon onion powder
- 1/2 teaspoon smoked paprika
- 1/2 teaspoon salt
- 1/4 teaspoon black pepper
- Olive oil cooking spray
- 1/2 cup plain Greek yogurt
- 1 tablespoon fresh lemon juice
- 1 clove garlic, minced
- Salt and pepper to taste
Instructions
- Wash zucchini thoroughly and trim off ends. Slice into 1/4-inch thick rounds. Place slices in a colander and sprinkle generously with salt. Let sit for 10 minutes. Pat each slice dry with paper towels.
- Preheat oven to 425°F (220°C). Line a baking sheet with parchment paper or a silicone mat.
- Set up breading station: In first shallow bowl, add flour. In second bowl, beat eggs with a splash of water. In third bowl, combine panko breadcrumbs, grated parmesan, garlic powder, onion powder, smoked paprika, salt, and pepper. Mix well.
- Working one slice at a time, dredge each zucchini round in flour, shaking off excess. Dip into egg wash, letting excess drip off. Press into breadcrumb mixture, coating both sides evenly. Place on prepared baking sheet in a single layer without touching.
- Spray tops of chips generously with olive oil cooking spray. Bake for 10 minutes, then flip each chip carefully. Spray the other side with oil and bake for another 10-15 minutes, until deeply golden and crispy.
- Remove from oven and let chips cool on pan for 2 minutes. Transfer to a wire cooling rack to cool completely.
- While chips cool, whisk together Greek yogurt, lemon juice, minced garlic, salt, and pepper in a small bowl. Adjust seasoning to taste.
Notes
The salting step is non-negotiable to draw out moisture. Use a wire rack for cooling to keep chips crispy. Do not skip the oil spray for proper browning. Flip halfway through for even cooking. Work in batches if needed to avoid overcrowding. Season all three layers (flour, egg, breadcrumbs) for maximum flavor.
Nutrition
- Serving Size: 1/4 of recipe (about
- Calories: 185
- Sugar: 3
- Sodium: 420
- Fat: 8
- Saturated Fat: 3
- Carbohydrates: 18
- Fiber: 2
- Protein: 10
Keywords: zucchini chips, baked zucchini chips, parmesan zucchini chips, healthy snack, crispy zucchini chips, easy snack recipe, baked snack, vegetable chips


