It was 10:47 PM on a particularly chaotic Wednesday, and I had a fierce craving for something crunchy and sweet. The kids had finally crashed after a dinner that felt more like a negotiation than a meal, and the kitchen was a disaster zone of abandoned homework and pumpkin carving aftermath. I didn’t have the energy for a proper dessert, but I had a bowl of slimy pumpkin seeds staring at me from the counter, left over from the afternoon’s craft project. The idea arrived like a quiet little miracle: what if I just… skipped the salt and went straight for the sugar? I mean, honestly, what did I have to lose at that hour? I grabbed the cinnamon, the sugar, and a bit of butter, and just started tossing things together. I wasn’t trying to be a hero chef—I was just a tired mom hoping for a small, sweet victory.
And you know what? It worked. Better than worked. These little seeds turned into something completely addictive, the kind of snack that makes you close the pantry door slowly so no one hears you sneaking another handful. There’s something about the late night that loosens the usual rules—you stop overthinking and just go with your gut. That’s how this recipe was born. It’s not fancy, it’s not complicated, and it honestly uses ingredients you probably already have. But let me tell you, the first time I made these Cinnamon Sugar Roasted Pumpkin Seeds, I stood in the dim kitchen light, eating them straight off the baking sheet, and felt a ridiculous wave of happiness. Maybe you’ve been there—that moment when a simple, improvised thing turns out to be exactly what you needed. This recipe stayed with me because it’s proof that you don’t need a perfect plan to make something wonderful.
Why You’ll Love This Recipe
Listen, I’ve tested a lot of pumpkin seed recipes over the years. Some were too salty, some were too bland, and some just didn’t have that “can’t-stop-eating-them” quality. These Cinnamon Sugar Roasted Pumpkin Seeds are different. They’re the ones my kids actually fight over, and I mean that in the best way possible. Here’s why this recipe works so well for real families:
- Quick & Easy : Comes together in under 30 minutes, perfect for busy weeknights or last-minute cravings. You can whip these up while the kids are doing homework or while you’re waiting for dinner to finish.
- Simple Ingredients : No fancy grocery trips needed. You likely already have pumpkin seeds (from that pumpkin carving session), butter, cinnamon, sugar, and a pinch of salt in your kitchen right now.
- Perfect for Family Snacking : Great for after-school snacks, movie nights, lunchbox treats, or even a surprising addition to your holiday snack table. They’re not too sweet, not too savory—just right.
- Crowd-Pleaser : Always gets rave reviews from kids and adults alike. I’ve brought these to playdates and potlucks, and they disappear faster than almost anything else.
- Unbelievably Delicious : The texture is what gets me every time—crunchy on the outside with a warm, sweet coating that melts in your mouth. It’s next-level comfort food, honestly.
What makes this recipe different from the rest? It’s the perfect balance of sweet and salty, and the method is foolproof. I’ve tried roasting seeds at different temperatures, with different coatings, and this combination of melted butter, cinnamon, and a specific sugar-to-seed ratio is the winner. It’s not just another version—it’s my best version, tested and approved by the toughest critics: my own kids. This recipe isnt just good—it is the kind that makes you close your eyes after the first bite. It’s comfort food reimagined—healthier, faster, but with the same soul-soothing satisfaction. Perfect for impressing guests without stress, or turning a simple snack into something memorable.
What Ingredients You Will Need
This recipe uses simple, wholesome ingredients to deliver bold flavor and satisfying texture without the fuss. Most of these are pantry staples, which makes this a go-to recipe when you need a quick snack. Here’s what you’ll need:
- Fresh pumpkin seeds – 1 cup (about 120 grams), rinsed and patted dry. These are the star of the show. You can use seeds from any pumpkin variety, but sugar pumpkins tend to have the best flavor. (I recommend using seeds from a fresh pumpkin for the best texture and taste.)
- Unsalted butter – 2 tablespoons (28 grams), melted. This helps the sugar and cinnamon stick to the seeds and adds a rich, nutty flavor. (Use salted butter if that’s all you have, just reduce the added salt.)
- Granulated sugar – 2 tablespoons (25 grams). Provides the perfect sweetness and helps create that crunchy coating. (You can also use coconut sugar for a slightly deeper flavor.)
- Ground cinnamon – 1 teaspoon (2.6 grams). The warm, cozy spice that makes these seeds so addictive. (I prefer Saigon cinnamon for its stronger, sweeter taste.)
- Salt – ¼ teaspoon (1.5 grams). Just a pinch to balance the sweetness and bring out all the flavors. (Sea salt or kosher salt works best.)
- Vanilla extract – ½ teaspoon (2.5 ml). Optional, but highly recommended. It adds a subtle warmth that complements the cinnamon beautifully. (Use pure vanilla extract if you can; it makes a difference.)
Ingredient Selection Tips: When you’re cleaning your pumpkin seeds, try to remove as much of the stringy pumpkin flesh as possible. The cleaner the seeds, the better they’ll roast. I like to rinse them in a colander under cold water and then spread them out on a clean kitchen towel to dry for about 15 minutes. This extra step helps the coating stick better. If you’re using seeds from a store-bought pumpkin, that’s totally fine—they’ll still taste amazing. For a dairy-free option, you can substitute the butter with coconut oil or a vegan butter stick. It changes the flavor slightly, but it’s still delicious.
Equipment Needed
You don’t need any fancy gadgets for this recipe, which is part of its charm. Here’s what you’ll need:
- Baking sheet – A standard 13×18 inch rimmed baking sheet works perfectly. The rim helps keep the seeds from rolling off. (I’ve used a dark non-stick sheet and a lighter aluminum one; both work, but the darker sheet browns the seeds a bit faster, so watch them closely.)
- Parchment paper – Highly recommended for easy cleanup. It also prevents the seeds from sticking to the pan. (You can use a silicone baking mat instead if you have one.)
- Mixing bowl – A medium-sized bowl for tossing the seeds with the butter and coating. (Any bowl will do, but a wider bowl makes mixing easier.)
- Spatula or wooden spoon – For stirring the seeds and spreading them on the baking sheet. (A silicone spatula is great for scraping every bit of the coating.)
- Measuring spoons – For accurate measurements of the sugar, cinnamon, and salt. (I keep a dedicated set just for baking to avoid cross-contamination with savory spices.)
- Kitchen towel – For drying the seeds after rinsing. (Paper towels work in a pinch, but a cloth towel is more sustainable.)
Budget-Friendly Options: If you don’t have parchment paper, you can lightly grease your baking sheet with butter or cooking spray. Just keep an eye on the seeds so they don’t stick. A rimmed baking sheet is ideal, but a flat cookie sheet will work if you’re careful when stirring.
Preparation Method
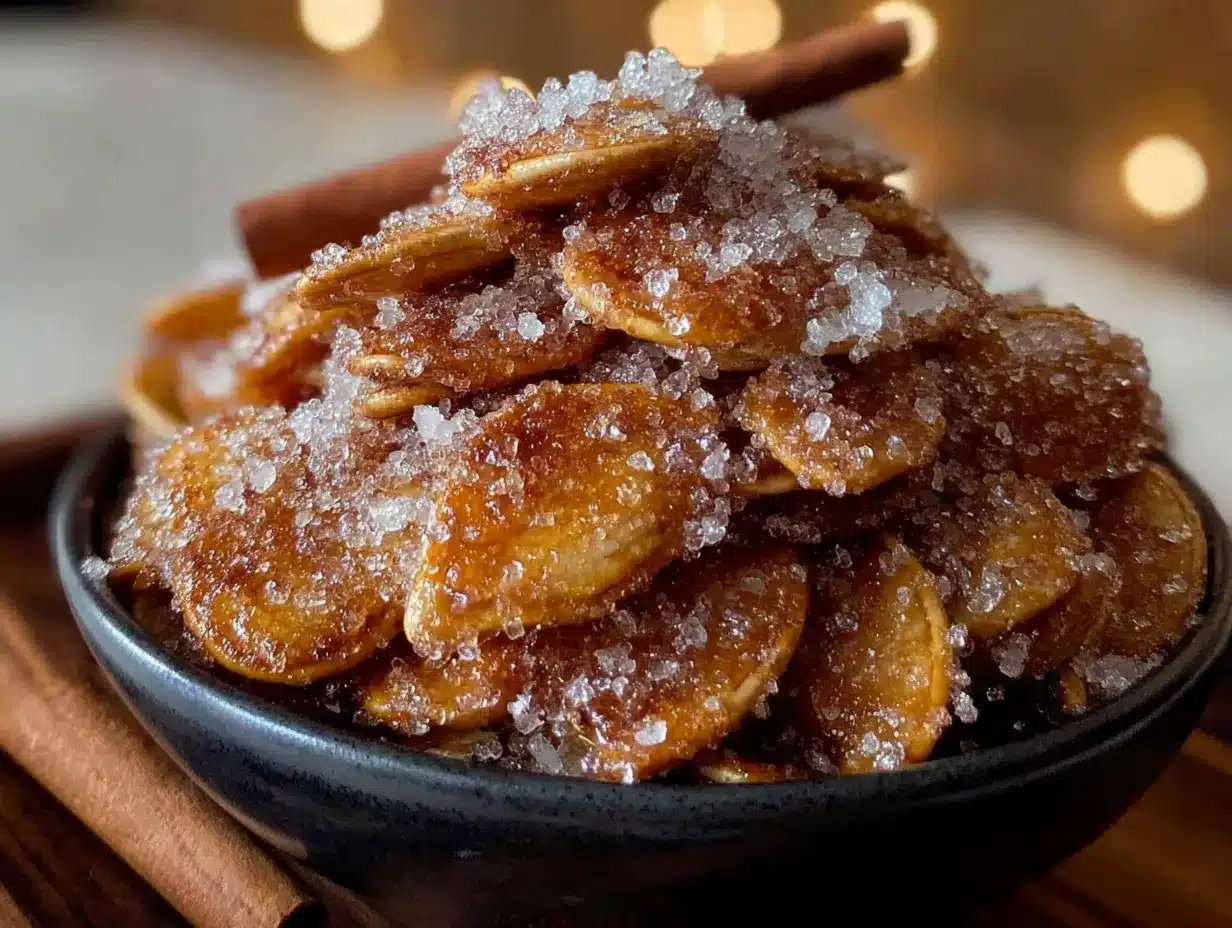
Let’s get roasting! This method is straightforward, but I’ve added some tips I’ve learned from making these seeds more times than I can count. Follow these steps, and you’ll have a perfect batch every time.
- Preheat your oven to 300°F (150°C). This lower temperature is key—it allows the seeds to dry out and become crunchy without burning the sugar coating. While the oven heats up, line your baking sheet with parchment paper.
- Clean and dry your pumpkin seeds. If you’re using fresh seeds from a pumpkin, rinse them thoroughly in a colander under cold water. Pick out any large pieces of pumpkin flesh or stringy bits. Spread the seeds out on a clean kitchen towel and pat them dry. Let them sit for about 10-15 minutes. (I once skipped this step and the seeds came out chewy instead of crunchy. Don’t be like me—dry them well!)
- Melt the butter. Place the 2 tablespoons of unsalted butter in a small microwave-safe bowl and microwave for 20-30 seconds, until fully melted. Alternatively, you can melt it in a small saucepan over low heat. Let it cool for a minute so it doesn’t cook the sugar when you mix it.
- Mix the coating. In your medium mixing bowl, combine the 2 tablespoons of granulated sugar, 1 teaspoon of ground cinnamon, and ¼ teaspoon of salt. Whisk them together with a fork until evenly combined. (This is where the magic happens—the smell of cinnamon alone is enough to bring the whole family into the kitchen.)
- Combine the seeds and butter. Add the dried pumpkin seeds to the bowl with the dry coating mixture. Pour the melted butter over the top. If you’re using the vanilla extract, add it now. Stir everything together with your spatula until every seed is evenly coated. The mixture will look a bit clumpy at first, but keep stirring—it’ll come together.
- Spread the seeds on the baking sheet. Pour the coated seeds onto your prepared baking sheet. Use your spatula to spread them into a single, even layer. Try not to overlap them too much; this ensures even roasting. (I like to shake the pan gently to help them settle into a single layer.)
- Roast for 20-25 minutes. Place the baking sheet in the preheated oven. Set a timer for 10 minutes, then take the pan out and give the seeds a good stir with your spatula. This prevents them from sticking and helps them brown evenly. Return the pan to the oven and continue roasting. At the 20-minute mark, check on them. They should be golden brown and fragrant. If they need more time, roast for another 3-5 minutes, checking frequently. (The smell in your kitchen will be incredible—your kids will start wandering in asking what’s for snack.)
- Cool completely. Once the seeds are done, remove the baking sheet from the oven and let the seeds cool right on the pan. They will continue to crisp up as they cool. This is the hardest part—waiting! But trust me, it’s worth it. Let them cool for at least 15-20 minutes before serving. (If you taste one while it’s still warm, it might seem a bit soft. Don’t panic—they’ll crunch up as they cool.)
- Break apart any clumps. Once cooled, use your fingers to gently break apart any seeds that have stuck together. They should separate easily. If some are stubborn, that’s okay—they’re still delicious.
Cooking Tips & Techniques
Over the years, I’ve learned a few things the hard way. Here are my best tips to make sure your Cinnamon Sugar Roasted Pumpkin Seeds turn out perfect every single time.
Don’t skip the drying step. I cannot stress this enough. Wet seeds steam instead of roast, and you’ll end up with a chewy, sad snack. After rinsing, really take the time to pat them dry. I even let them air dry for an extra 10 minutes on the towel. It makes a world of difference.
Watch your oven like a hawk. Every oven runs a little differently. My old oven would burn these seeds at 300°F, while my current one takes the full 25 minutes. Start checking at 15 minutes and go from there. The seeds should be a light golden brown, and you’ll smell that toasty cinnamon aroma when they’re close. I once walked away to fold laundry and came back to slightly overdone seeds—still edible, but a little bitter. Learn from my mistake!
Use a rimmed baking sheet. This is a small detail, but it matters. A rimmed sheet keeps the seeds contained when you stir them. A flat cookie sheet works, but you might lose a few seeds over the edge. I speak from experience—finding a rogue seed on the bottom of the oven is not fun.
Double the batch if you can. These seeds disappear fast. I’ve learned to always make a double batch if I’m carving a big pumpkin. They store well (see the storage section below), and having extra on hand means fewer arguments over the last handful. Plus, they make a fantastic homemade gift during the holidays—just pop them in a cute jar with a ribbon.
Let them cool completely before storing. I know it’s tempting to pack them up right away, but any residual warmth will create steam inside your container, making the seeds lose their crunch. Patience, my friend. Let them sit out on the counter for a full 30 minutes before transferring to an airtight container.
Variations & Adaptations
One of the best things about this recipe is how easy it is to customize. Here are some variations I’ve tried and loved:
- Spiced Pumpkin Seeds : Add ¼ teaspoon of nutmeg, ¼ teaspoon of ginger, and a pinch of cloves to the cinnamon-sugar mixture. This gives them a chai-spiced flavor that’s incredible for fall. My sister-in-law tried this version and now refuses to make them any other way.
- Maple Brown Sugar Seeds : Swap the granulated sugar for 2 tablespoons of packed brown sugar and replace the vanilla extract with 1 tablespoon of pure maple syrup. Reduce the butter to 1½ tablespoons. The result is a deeper, more caramel-like sweetness. (Be careful—the maple syrup can make them stickier, so stir them halfway through roasting.)
- Dairy-Free Version : Substitute the butter with 2 tablespoons of coconut oil (refined for a neutral flavor, or unrefined for a subtle coconut taste). The seeds will still be crunchy and delicious. I’ve also used a vegan butter stick with great results.
- Extra Crunchy Seeds : Before coating, boil the cleaned seeds in salted water for 10 minutes. Drain them, pat them dry, and then proceed with the recipe. This parboiling step helps the seeds get extra crispy on the inside. It’s a bit more work, but the texture is amazing.
- Chocolate Lover’s Version : After the seeds have cooled, drizzle them with melted dark chocolate and let it set. The combination of sweet cinnamon seeds and rich chocolate is absolutely decadent. (This is my secret weapon for holiday cookie trays.)
Serving & Storage Suggestions
These Cinnamon Sugar Roasted Pumpkin Seeds are incredibly versatile. Here’s how to serve and store them for the best experience.
Serving Suggestions: These seeds are fantastic served at room temperature. I love putting them out in a small bowl for snacking during movie nights, or adding them to a trail mix with dried cranberries and dark chocolate chips. They’re also a wonderful topping for yogurt parfaits, oatmeal, or even a simple green salad with apple slices and a maple vinaigrette. For a fun party idea, fill small paper cones with the seeds and tie them with twine—they make adorable favors for Halloween or Thanksgiving gatherings. My kids love taking a small baggie of them in their lunchboxes for a special treat.
Storage Instructions: Store the cooled seeds in an airtight container at room temperature. They will stay fresh and crunchy for up to 2 weeks. I personally use a glass jar with a tight-fitting lid, but a zip-top bag works perfectly too. Do not refrigerate them—the moisture in the fridge can make them soft. If you live in a humid climate, you can add a silica gel packet (the kind you find in shoe boxes) to the container to help absorb excess moisture.
Reheating Tips: If your seeds lose a bit of their crunch over time, you can revive them! Spread them on a baking sheet and pop them into a 300°F (150°C) oven for 5 minutes. Let them cool completely, and they’ll be crispy again. I’ve done this multiple times, and it works like a charm. Just don’t overheat them, or the sugar can burn.
How Flavors Develop: Honestly, these seeds are best within the first few days after roasting. The coating is at its crunchiest and the cinnamon flavor is most vibrant. That said, they’re still delicious after a week—they just might be a little less snappy. I’ve never had a batch last longer than a week in my house, so it’s rarely an issue!
Nutritional Information & Benefits
Let’s be real—these are a treat, but they also have some surprising nutritional perks. Here’s a quick breakdown:
Estimated Nutritional Values (per ¼ cup serving):
- Calories: 180-200
- Fat: 14g (mostly healthy unsaturated fats from the seeds)
- Carbohydrates: 10g
- Fiber: 2g
- Protein: 5g
- Sugar: 7g
Health Benefits: Pumpkin seeds are little nutritional powerhouses. They’re packed with magnesium, zinc, and healthy fats that support heart health and immune function. The fiber helps keep you full, and the protein makes them a more satisfying snack than many other sweets. The cinnamon adds a dose of antioxidants and may help with blood sugar regulation. Of course, the sugar and butter add calories, so I think of these as a “sometimes” snack—but a totally worthwhile one.
Dietary Considerations: This recipe is naturally gluten-free and vegetarian. For a vegan version, use coconut oil instead of butter. It is not nut-free (due to potential cross-contamination with seeds), but the seeds themselves are not tree nuts. If you have a seed allergy, this recipe is not for you. Always check your labels if you have specific dietary concerns.
Conclusion
So there you have it—my late-night, slightly impulsive creation that turned into a family favorite. These Cinnamon Sugar Roasted Pumpkin Seeds are proof that you don’t need a fancy recipe or a perfectly stocked pantry to make something truly special. They’re easy, affordable, and absolutely delicious. I love this recipe because it turns something you might normally throw away into a snack that brings everyone together. It’s resourceful cooking at its best, and it makes me feel a little bit like a kitchen magician every time I make them.
I really hope you give these a try. Don’t be afraid to tweak the spices or try one of the variations—that’s the beauty of cooking, right? You get to make it your own. And when you do make them, I’d love to hear about it. Come back and leave a comment below telling me how they turned out, or share a photo of your batch on social media. Your feedback and ideas help make this little community of home cooks even better. Happy roasting, and here’s to finding joy in the simple things!
Frequently Asked Questions
Can I use store-bought pumpkin seeds instead of fresh ones?
Absolutely! You can use raw, shelled pumpkin seeds (also called pepitas) from the store. Just skip the cleaning and drying steps, and toss them directly with the coating. The roasting time might be slightly shorter since they’re already dry, so start checking at 15 minutes.
Why did my seeds turn out chewy instead of crunchy?
This usually happens for two reasons: either the seeds weren’t dried properly before roasting, or they were undercooked. Make sure to pat them very dry after rinsing, and don’t be afraid to let them roast the full 25 minutes. They should be golden and fragrant when done.
Can I make these in an air fryer?
Yes, you can! Preheat your air fryer to 300°F (150°C). Spread the coated seeds in a single layer in the air fryer basket. Cook for 10-12 minutes, shaking the basket halfway through. Keep an eye on them since air fryers can vary. Let them cool completely before serving.
How do I prevent the sugar coating from burning?
The key is the low oven temperature (300°F). Higher temperatures will cause the sugar to caramelize too quickly and burn. Also, stirring the seeds halfway through roasting helps distribute the heat evenly and prevents any hot spots from scorching the coating.
Can I double this recipe?
Yes, this recipe doubles or even triples beautifully. Just make sure to use a larger baking sheet or roast in batches to avoid overcrowding. Overcrowding traps steam and prevents the seeds from getting crispy. If doubling, you may need to add 2-3 minutes to the roasting time.
Pin This Recipe!
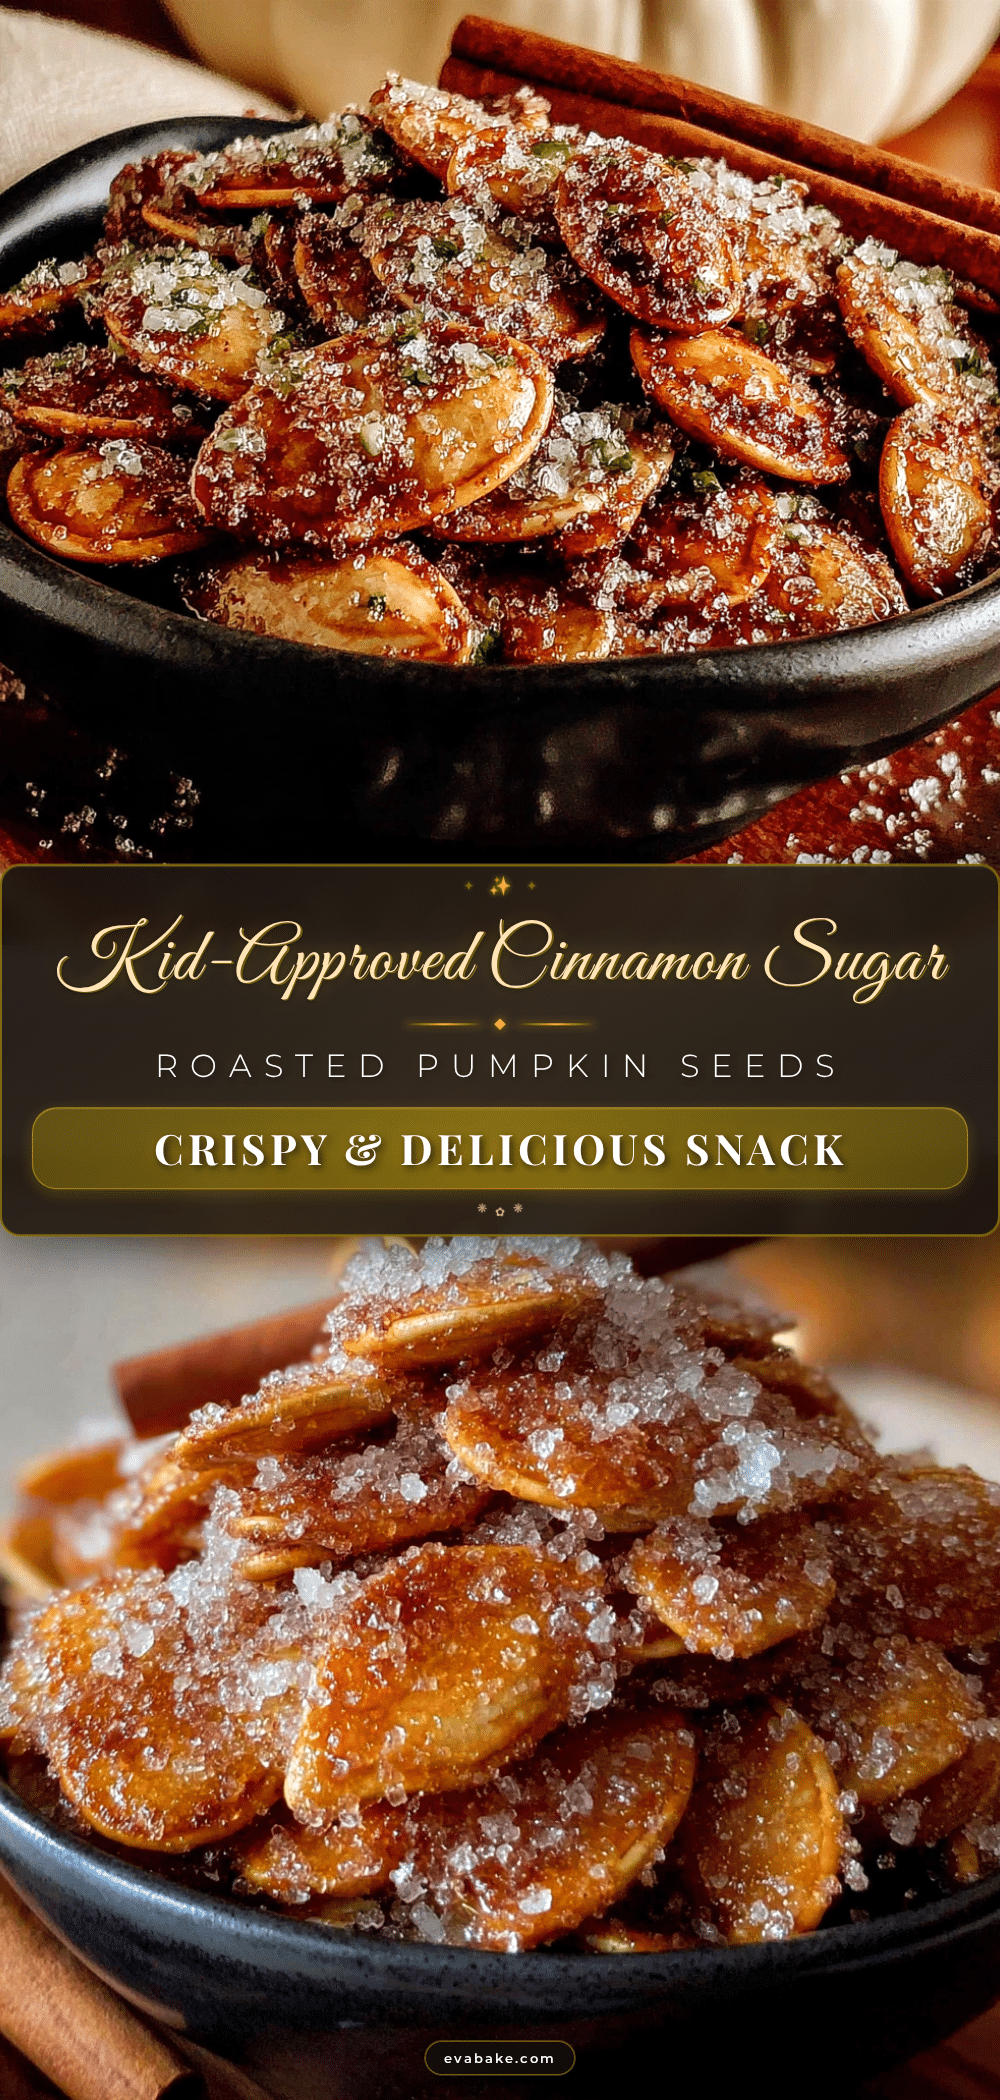
Best Easy Cinnamon Sugar Roasted Pumpkin Seeds

These Cinnamon Sugar Roasted Pumpkin Seeds are a quick, easy, and addictive snack made with simple pantry ingredients. Perfect for busy weeknights or last-minute cravings, they offer a perfect balance of sweet and salty with a crunchy texture.
- Prep Time: 15 minutes
- Cook Time: 25 minutes
- Total Time: 40 minutes
- Yield: 4 servings 1x
- Category: Snack
- Cuisine: American
Ingredients
- 1 cup fresh pumpkin seeds (about 120 grams), rinsed and patted dry
- 2 tablespoons unsalted butter (28 grams), melted
- 2 tablespoons granulated sugar (25 grams)
- 1 teaspoon ground cinnamon (2.6 grams)
- ¼ teaspoon salt (1.5 grams)
- ½ teaspoon vanilla extract (2.5 ml), optional
Instructions
- Preheat your oven to 300°F (150°C). Line a baking sheet with parchment paper.
- Clean and dry the pumpkin seeds: rinse them in a colander under cold water, remove any pumpkin flesh, spread on a kitchen towel, and pat dry. Let them sit for 10-15 minutes.
- Melt the butter in a small microwave-safe bowl for 20-30 seconds, or in a small saucepan over low heat. Let it cool for a minute.
- In a medium mixing bowl, combine the granulated sugar, ground cinnamon, and salt. Whisk together with a fork.
- Add the dried pumpkin seeds to the bowl with the dry coating mixture. Pour the melted butter over the top. If using, add the vanilla extract. Stir with a spatula until every seed is evenly coated.
- Spread the coated seeds in a single, even layer on the prepared baking sheet. Try not to overlap them too much.
- Roast for 20-25 minutes, stirring halfway through at the 10-minute mark. The seeds should be golden brown and fragrant.
- Remove the baking sheet from the oven and let the seeds cool completely on the pan for at least 15-20 minutes. They will crisp up as they cool.
- Once cooled, gently break apart any clumps with your fingers.
Notes
Don’t skip drying the seeds—wet seeds steam instead of roast, resulting in a chewy texture. Watch your oven closely as temperatures vary; start checking at 15 minutes. Use a rimmed baking sheet to prevent seeds from rolling off. Double the batch if possible, as they disappear fast. Let seeds cool completely before storing to maintain crunch.
Nutrition
- Serving Size: ¼ cup
- Calories: 190
- Sugar: 7
- Sodium: 150
- Fat: 14
- Saturated Fat: 4
- Carbohydrates: 10
- Fiber: 2
- Protein: 5
Keywords: pumpkin seeds, cinnamon sugar, roasted, easy snack, fall recipe, Halloween, Thanksgiving