I was folding laundry last Tuesday — a truly mindless task — when the scent of smoked paprika hit me from nowhere. Not from the kitchen, not from a jar I’d just opened. Just… there. And suddenly I was eight years old, standing in the damp, chilly garage of my Uncle Frank’s house in upstate New York, watching him stir a massive black pot on a propane burner. The steam curled up into the cold air, and that smell — smoky, warm, a little bit wild — wrapped around me like a blanket. He’d let me drop in the bay leaves, one by one, and told me that chili was a “man’s dish,” which I thought was the dumbest thing I’d ever heard. I was more interested in how the meat, which he’d gotten from a buddy who hunted, looked so dark and lean compared to the grayish stuff in the school cafeteria. I don’t remember much else about that day — I think my mom was inside drinking coffee — but I remember the steam on my face and the way Uncle Frank didn’t rush. He just stirred. He passed away a few years ago, and honestly, I haven’t thought about that garage in ages. But that phantom smell of paprika last week? It hit me like a truck. I knew I had to try to make that chili myself, but I also knew I needed a version that wouldn’t break the bank or take all day. Because, let’s face it, I’m not a retired guy with a propane burner and a deer in the freezer. I’m a mom on a Tuesday night. So, I started experimenting, and what came out of my own Dutch oven was something that finally felt right. It’s smoky, it’s hearty, and it’s got that same soul-deep warmth I remember, but made with ground venison from the grocery store and a handful of pantry staples. This is that recipe — a bowl of comfort that tastes like a memory, but fits right into your budget.
Why You’ll Love This Recipe
Let’s be real for a second. Cooking with venison can be intimidating. People worry it’ll taste gamey or turn out dry. I’ve been there — I’ve made a few sad, tough venison burgers in my day. But this chili? It’s different. It’s the recipe that made my picky seven-year-old ask for seconds, and my husband scrape the pot clean. Here’s why it works so well for a family on a budget:
- Budget-Friendly Hero: Ground venison is often cheaper than beef, especially if you buy it in bulk or find it on sale at a store like Aldi or a local butcher shop. One pound stretches beautifully in this chili.
- One Pot Wonder: You only need your Dutch oven. No extra pans, no splattering grease on the stove. Less cleanup means more time with your family.
- Picky Eater Approved: The long simmer time and the rich blend of spices completely mellow out the venison’s flavor. Even kids who swear they “don’t like deer meat” will gobble this up. The beans and tomatoes make it feel familiar.
- Leftovers That Get Better: This is the kind of meal you want to make on a Sunday. The flavors meld and deepen overnight, making Tuesday’s lunch taste even better than the first bowl.
- Freezer-Friendly: Make a double batch and freeze half for a crazy-busy weeknight. It’s a lifesaver when you have zero energy to cook.
This isn’t just another chili recipe. I dialed in the spice blend to highlight the venison’s natural richness without masking it, and I added a secret ingredient — a splash of strong coffee — that deepens the flavor without making it taste like breakfast. It’s the kind of meal that makes everyone at the table stop talking for a minute and just eat. That’s the kind of magic we all need on a regular Tuesday night.
What Ingredients You Will Need
This recipe uses simple, affordable ingredients to build layers of flavor. Most of these are probably in your pantry or fridge right now. Here’s what you’ll need to grab:
- For the Chili Base:
- 1 tablespoon olive oil (or any neutral oil you have on hand)
- 1 large yellow onion, diced (about 1.5 cups) — the foundation of flavor
- 1 green bell pepper, diced (adds sweetness and texture)
- 3 cloves garlic, minced — don’t skimp on this
- 1 pound ground venison (if you can’t find it, ground beef works great, but this is the star!)
- For the Spice Blend:
- 2 tablespoons chili powder (I prefer a mild, grocery-store brand like McCormick for this)
- 1 tablespoon ground cumin — the smoky, earthy backbone
- 1 teaspoon smoked paprika (this is the smell that started it all)
- 1 teaspoon dried oregano
- 1/2 teaspoon cayenne pepper (optional, for heat; leave it out for little kids)
- 1 teaspoon salt (plus more to taste)
- 1/2 teaspoon black pepper
- For the Liquid & Body:
- 1 can (14.5 oz) fire-roasted diced tomatoes (don’t drain them — the liquid is flavor)
- 1 can (15 oz) tomato sauce (the cheap store brand is fine)
- 1 can (15 oz) kidney beans, drained and rinsed (or pinto beans if that’s what you have)
- 1 can (15 oz) black beans, drained and rinsed
- 1 cup beef broth (or venison broth if you’re fancy; water works in a pinch)
- 1/4 cup strong brewed coffee (leftover from the morning is perfect — trust me on this)
Ingredient Tips & Substitutions: If you’re buying ground venison, look for packages that are a deep, dark red and don’t have a lot of liquid in the tray. I’ve had good luck with the brand “Exotic Meats” at my local grocery chain. For the beans, feel free to swap in whatever you have — pinto, cannellini, or even chickpeas work fine. If you don’t drink coffee, just use an extra 1/4 cup of broth. The coffee adds a subtle, almost bitter richness that balances the sweetness of the tomatoes, but the chili is still fantastic without it.
Equipment Needed
You don’t need a fancy kitchen for this one. Here’s the short list:
- A 6-quart or larger Dutch oven: This is the workhorse. I use my trusty Lodge enameled cast iron pot that I got for $40 on sale. It holds heat beautifully and makes the chili taste like it’s been simmering for hours, even on a busy weeknight. If you don’t have a Dutch oven, a large, heavy-bottomed stockpot will work, just keep an eye on it so it doesn’t scorch.
- A sharp chef’s knife and cutting board: For dicing the onion and pepper.
- A wooden spoon or sturdy spatula: For breaking up the meat and stirring.
- Measuring spoons: For the spices.
- A can opener: Unless you’re using pull-tab cans.
My Personal Tool Tip: I once tried using a non-stick skillet for this, thinking it would be easier to clean. Big mistake. The chili didn’t develop that deep, caramelized fond on the bottom that gives it so much flavor. Stick with the Dutch oven if you can. It’s worth the extra minute of scrubbing.
Preparation Method
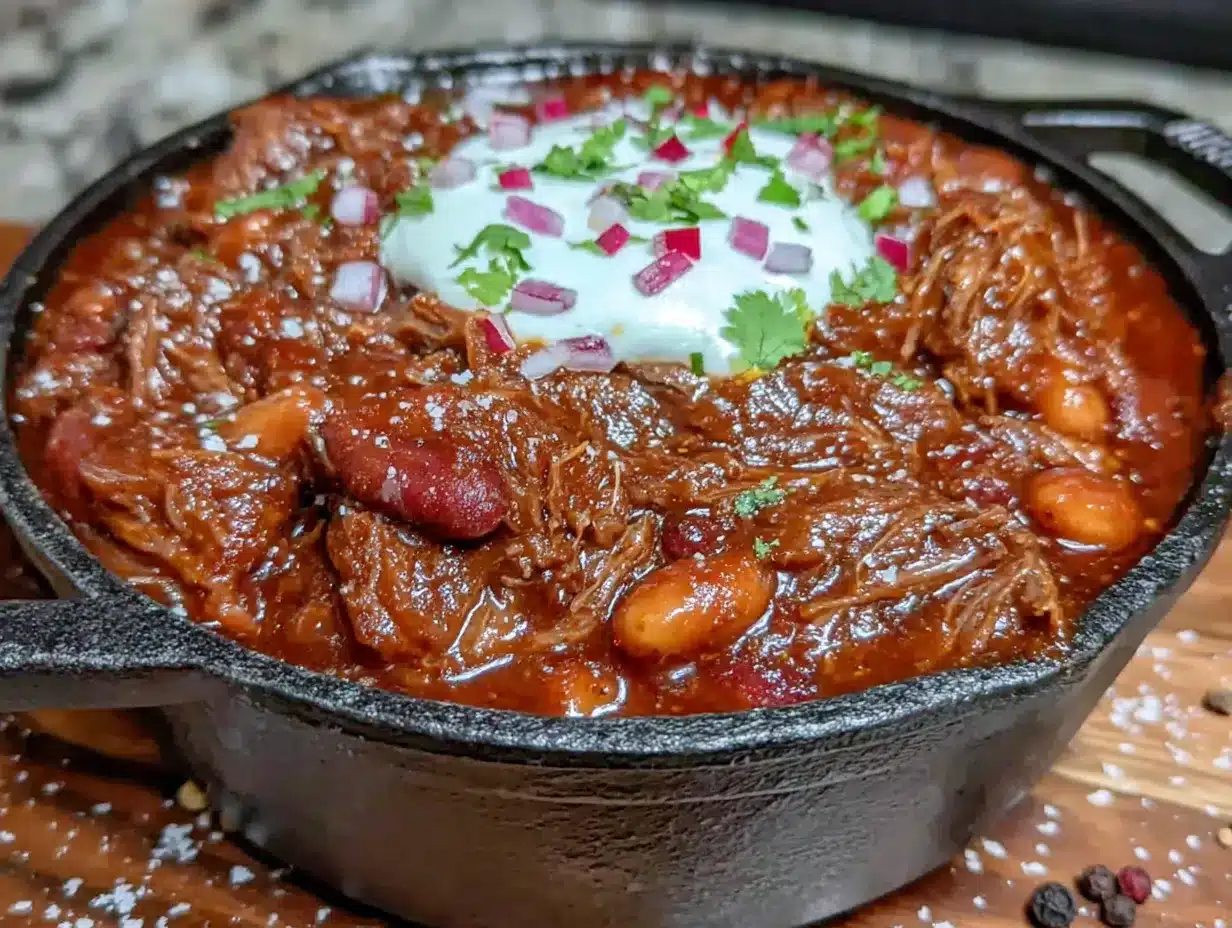
Alright, let’s get cooking. This process is straightforward, but I’ll walk you through it step-by-step, including what to look for at each stage.
- Brown the Aromatics (5 minutes): Place your Dutch oven over medium-high heat. Add the olive oil and let it shimmer for about 30 seconds. Toss in the diced onion and bell pepper. Cook, stirring occasionally, until they start to soften and the onion turns translucent — about 4-5 minutes. You might see a little brown sticking to the bottom of the pot. That’s good! Add the minced garlic and cook for one more minute, until it smells fragrant. Don’t let the garlic burn, or it will turn bitter.
- Brown the Venison (6-8 minutes): Add the ground venison to the pot. Break it up with your wooden spoon into small, crumbly pieces. Venison is very lean, so it will brown quickly. Cook it until it’s no longer pink, stirring frequently. You won’t see a lot of fat rendering off like you would with beef, which is a good thing. If the pot looks dry, don’t worry — the tomatoes will add plenty of moisture later. Once the meat is browned, let it sit for a minute to get a little bit of a sear on the bottom.
- Bloom the Spices (1 minute): Sprinkle the chili powder, cumin, smoked paprika, oregano, cayenne (if using), salt, and pepper over the meat and vegetables. Stir everything together until the meat is completely coated. Let it cook for exactly one minute, stirring constantly. This “blooming” step wakes up the spices and makes them much more flavorful. Your kitchen will smell incredible right now.
- Add the Liquids & Beans (5 minutes): Pour in the can of fire-roasted tomatoes (with their juices), the tomato sauce, the drained beans, the beef broth, and the brewed coffee. Stir everything until it’s well combined. Scrape the bottom of the pot with your spoon to lift up any of those browned bits — that’s pure flavor.
- Simmer to Perfection (45 minutes to 1 hour): Bring the chili to a gentle boil, then immediately reduce the heat to low. You want a very lazy simmer — just a few bubbles breaking the surface. Cover the pot with the lid slightly ajar to let some steam escape. Let it simmer for at least 45 minutes, stirring every 10-15 minutes to make sure nothing is sticking. The longer it simmers, the better it gets. After 45 minutes, the chili will have thickened beautifully and the flavors will be deep and complex.
- Taste and Adjust (2 minutes): Before serving, give the chili a taste. Does it need more salt? A pinch of sugar to balance the acidity? Another dash of cumin? This is where you make it your own. I almost always add another 1/2 teaspoon of salt and a squeeze of lime juice at the end.
Troubleshooting Tip: If your chili is too thin after an hour, remove the lid and let it simmer uncovered for another 10-15 minutes. If it’s too thick, stir in a splash more broth or water. It’s a very forgiving dish.
Cooking Tips & Techniques
Over the years, I’ve made this chili at least a dozen times, and I’ve learned a few things the hard way. Here are my best tips to get it right every time:
- Don’t Overcrowd the Pot: When you’re browning the venison, make sure it has room to make contact with the hot surface. If you pile it all in at once, it will steam instead of sear. Work in batches if you’re doubling the recipe.
- Patience is a Virtue: I know it’s tempting to crank up the heat to speed things up, but a low, slow simmer is the secret to tender meat and a deep, developed flavor. Rushing the simmer is the number one mistake I see home cooks make.
- The Coffee Secret: I was skeptical the first time I tried this, but a friend who’s a competition chili cook swore by it. The coffee doesn’t make the chili taste like coffee. It adds a layer of earthy, roasted depth that makes the whole thing taste more complex. It’s my favorite “secret ingredient.”
- My Biggest Failure: The first time I made this, I forgot to add the beans. I was so focused on the spice blend that I completely spaced on the kidney beans. The chili was still good, but it was basically meat soup. Now, I always set my cans out on the counter before I start cooking so I can see them.
- Multitasking Strategy: While the chili simmers, I use that time to clean up the kitchen, set the table, and maybe whip up a quick batch of cornbread. It makes the whole dinner process feel so much smoother.
Variations & Adaptations
This recipe is a fantastic base for getting creative. Here are a few ways I’ve tweaked it over the years:
- Make it a “White” Chili: Swap the venison for ground chicken or turkey, use white beans (cannellini or great northern) instead of kidney and black beans, and replace the tomato sauce and diced tomatoes with a can of green chiles and extra chicken broth. Omit the chili powder and use more cumin and oregano.
- Vegetarian Version: Skip the meat entirely and double up on the beans. Add a diced sweet potato or a cup of frozen corn for extra heartiness. You can also add a handful of chopped mushrooms for a meaty texture.
- Spicy Kick: If your family likes heat, add a diced jalapeño (seeds and ribs removed for less heat, or left in for more) along with the onion and pepper. You can also stir in a tablespoon of chipotle peppers in adobo sauce at the end for a smoky, fiery punch.
- Slow Cooker Adaptation: Brown the meat and aromatics in a skillet first, then transfer everything to your slow cooker. Cook on low for 6-8 hours or on high for 3-4 hours. The flavors will be even more melded.
My Personal Favorite Variation: I once added a leftover half-can of pumpkin puree to the pot during the simmer. It sounds weird, but it added a velvety texture and a subtle sweetness that paired beautifully with the smoky spices. My kids had no idea they were eating a vegetable.
Serving & Storage Suggestions
This chili is a meal in itself, but a few simple sides and toppings make it feel like a feast.
- Serving Temperature: Serve it piping hot, straight from the Dutch oven. Ladle it into deep bowls.
- Toppings Bar: Set out small bowls of shredded sharp cheddar cheese, a dollop of sour cream (or Greek yogurt), sliced green onions, fresh cilantro, and a few pickled jalapeños. Let everyone build their own bowl. It’s fun and makes everyone feel included.
- What to Serve With It: A slice of warm, buttery cornbread is the classic pairing. A simple side salad with a tangy vinaigrette also cuts through the richness. For the kids, I sometimes serve it over a bowl of Fritos for a “Frito Pie” night — they go absolutely crazy for it.
- Storage: Leftover chili tastes even better the next day. Let it cool completely, then store it in an airtight container in the refrigerator for up to 5 days. The flavors will continue to meld and deepen.
- Freezing: This chili freezes like a dream. Portion it into freezer-safe bags or containers, leaving a little room for expansion. It will keep for up to 3 months. To reheat, thaw it in the refrigerator overnight and warm it in a pot over medium-low heat, adding a splash of broth if it’s too thick.
- Reheating: The best way to reheat individual bowls is in the microwave. For a larger batch, reheat it on the stovetop over medium-low heat, stirring occasionally. A slow cooker on low also works great for a party.
Nutritional Information & Benefits
This isn’t just a delicious meal; it’s also surprisingly good for you. Here’s a rough breakdown per serving (based on 6 servings):
| Nutrient | Approximate Amount |
|---|---|
| Calories | 350-400 |
| Protein | 30-35g |
| Fat | 10-15g |
| Carbohydrates | 30-35g |
| Fiber | 10-12g |
Pin This Recipe!
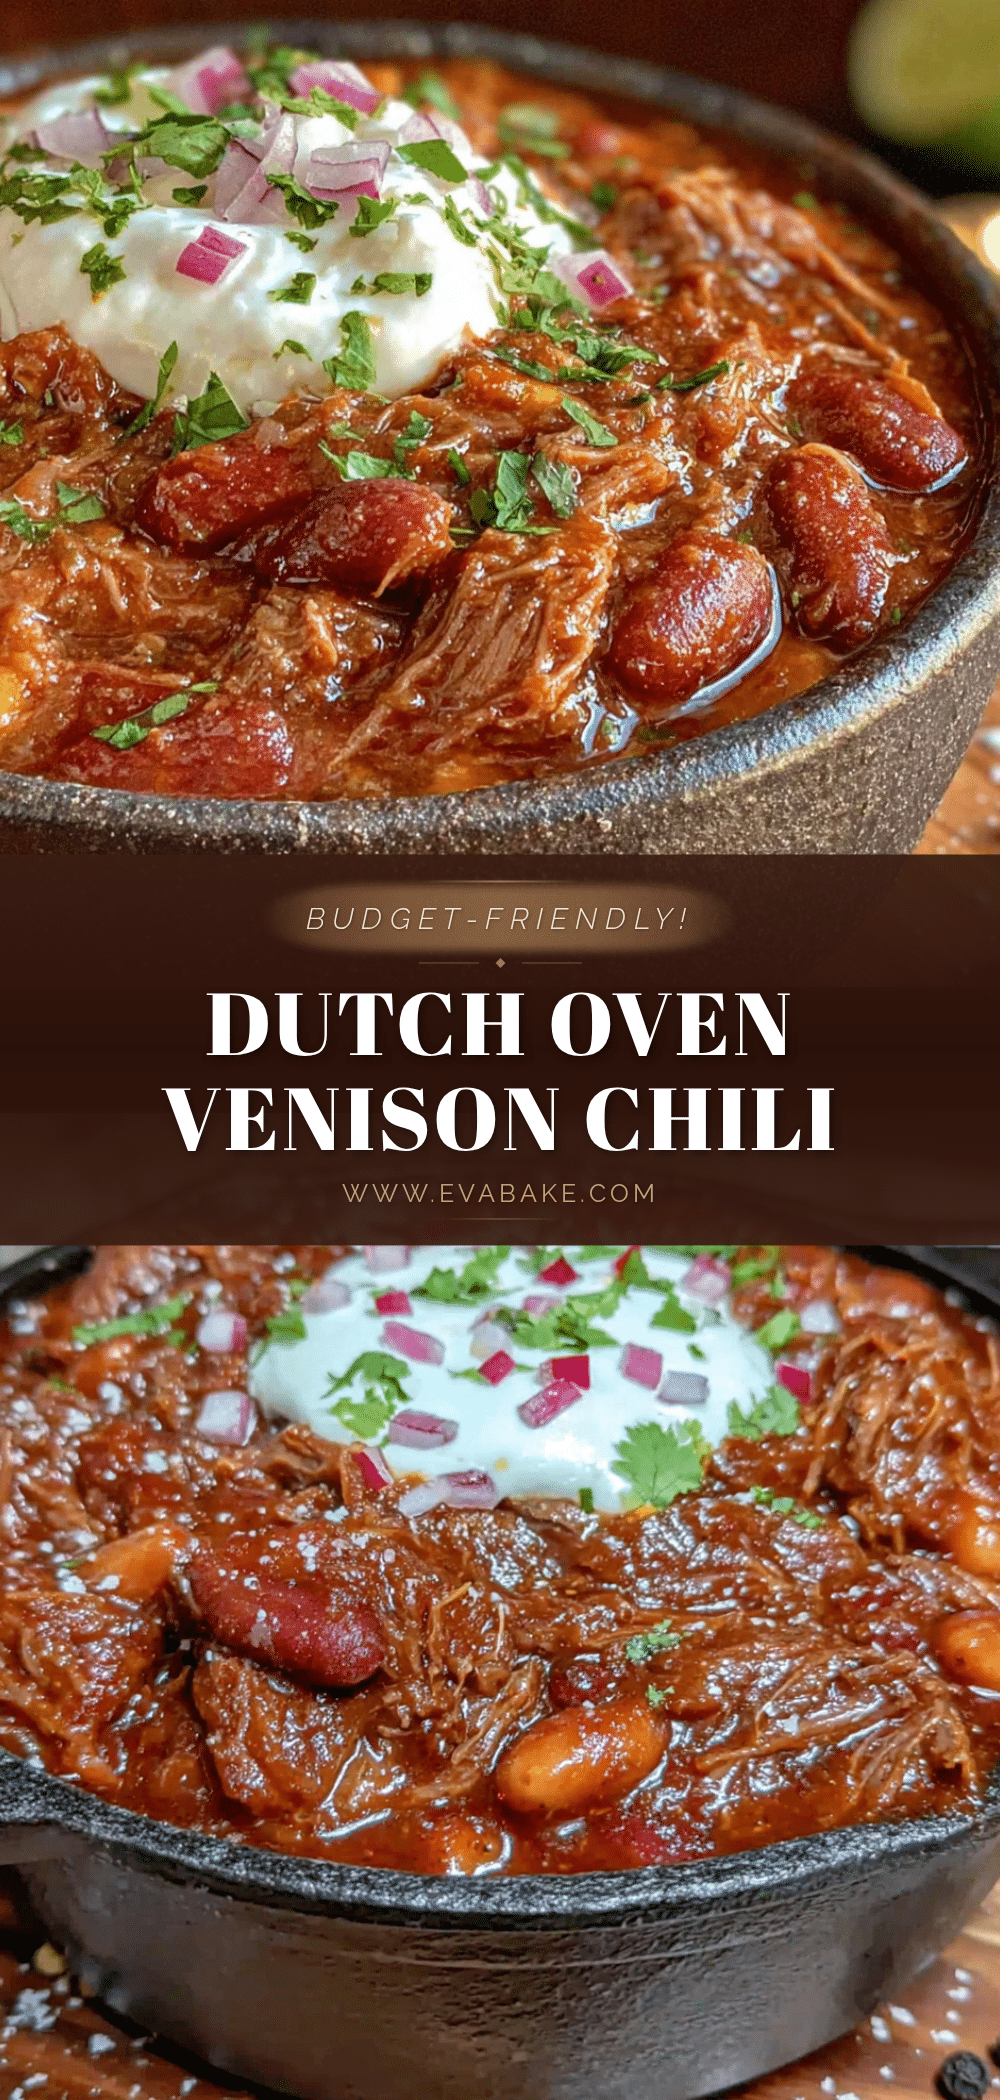
Budget-Friendly Dutch Oven Venison Chili for the Whole Family

A smoky, hearty venison chili made with ground venison and pantry staples, perfect for a budget-friendly family dinner. This one-pot wonder is picky eater approved and tastes even better the next day.
- Prep Time: 15 minutes
- Cook Time: 1 hour
- Total Time: 1 hour 15 minutes
- Yield: 6 servings 1x
- Category: Main Course
- Cuisine: American
Ingredients
- 1 tablespoon olive oil
- 1 large yellow onion, diced (about 1.5 cups)
- 1 green bell pepper, diced
- 3 cloves garlic, minced
- 1 pound ground venison
- 2 tablespoons chili powder
- 1 tablespoon ground cumin
- 1 teaspoon smoked paprika
- 1 teaspoon dried oregano
- 1/2 teaspoon cayenne pepper (optional)
- 1 teaspoon salt
- 1/2 teaspoon black pepper
- 1 can (14.5 oz) fire-roasted diced tomatoes (undrained)
- 1 can (15 oz) tomato sauce
- 1 can (15 oz) kidney beans, drained and rinsed
- 1 can (15 oz) black beans, drained and rinsed
- 1 cup beef broth
- 1/4 cup strong brewed coffee
Instructions
- Place your Dutch oven over medium-high heat. Add the olive oil and let it shimmer for about 30 seconds. Toss in the diced onion and bell pepper. Cook, stirring occasionally, until they start to soften and the onion turns translucent — about 4-5 minutes. Add the minced garlic and cook for one more minute, until fragrant.
- Add the ground venison to the pot. Break it up with a wooden spoon into small, crumbly pieces. Cook until no longer pink, stirring frequently, about 6-8 minutes. Let it sit for a minute to get a little sear on the bottom.
- Sprinkle the chili powder, cumin, smoked paprika, oregano, cayenne (if using), salt, and pepper over the meat and vegetables. Stir until the meat is completely coated. Cook for exactly one minute, stirring constantly.
- Pour in the fire-roasted tomatoes (with their juices), tomato sauce, drained beans, beef broth, and brewed coffee. Stir until well combined. Scrape the bottom of the pot to lift up any browned bits.
- Bring the chili to a gentle boil, then immediately reduce the heat to low. Cover the pot with the lid slightly ajar. Let it simmer for at least 45 minutes, stirring every 10-15 minutes.
- Before serving, taste and adjust seasoning. Add more salt, a pinch of sugar, or a squeeze of lime juice if desired.
Notes
The coffee adds a subtle, earthy richness without making the chili taste like coffee. For a milder version, omit the cayenne pepper. Leftovers taste even better the next day and can be frozen for up to 3 months.
Nutrition
- Serving Size: 1 bowl (about 1.5 cu
- Calories: 375
- Sugar: 8
- Sodium: 800
- Fat: 12
- Saturated Fat: 3
- Carbohydrates: 32
- Fiber: 11
- Protein: 32
Keywords: venison chili, budget-friendly chili, Dutch oven chili, family chili, one-pot chili, ground venison recipe