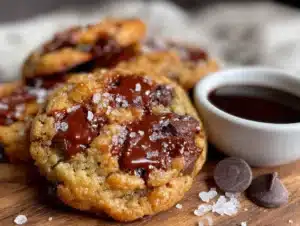
I wasn’t expecting baking advice from my accountant, but there I was, stuck in his office on a rainy Tuesday afternoon, listening to him describe exactly how to make the perfect espresso chocolate chip cookie. Mr. Henderson, a man who wore the same gray cardigan every single day and kept his pencils organized by color, suddenly transformed into this passionate cookie evangelist. He was telling me about browned butter and the precise moment you need to pull it off the heat, about the importance of letting the dough rest overnight, and honestly, I was completely captivated. I had come in to sort out my quarterly taxes, and I left with a crumpled napkin covered in his handwriting, detailing the recipe for what would become my most requested dessert for every single gathering.
At first, I was skeptical. I mean, this was the same man who once told me I could deduct my cat’s vet bills as a “home office security expense.” But his eyes lit up when he talked about these cookies, and you know that feeling when someone just knows a recipe? Like, they’ve made it a hundred times, and every tweak was hard-won. That was Mr. Henderson with these cookies. He told me his wife had submitted the recipe to a community cookbook contest back in 1987, and it won second place. “Should’ve been first,” he muttered, shaking his head. I laughed, stuffed the napkin in my pocket, and honestly forgot about it for a few weeks.
Then, I was scrambling for something to bring to a friend’s dinner party. I needed something impressive, something that would make people close their eyes and forget the conversation for a second. I found the napkin, stained with coffee and almost illegible. The butter was already melting in the pan when I realized I had no idea what I was doing. I burned the first batch of butter—black, smoky, a total disaster that had me opening every window in the apartment. The second batch? That golden, nutty, liquid gold. The cookies came out of the oven, and the smell alone had my neighbor knocking on the door. At the party, they vanished in minutes. People who “don’t even like chocolate chip cookies” asked for the recipe. And that’s the thing—these chewy brown butter espresso chocolate chip cookies aren’t just another cookie. They’re the one people remember. The one they text you about the next morning. The one you’ll be asked to bring to every single gathering from now on. Trust me on that.
Why You’ll Love This Recipe
Let me tell you why these cookies have become my not-so-secret weapon for hosting. I’ve tested this recipe at least a dozen times, tweaking the ratio of brown butter to sugar, the resting time, the exact moment to pull them from the oven. This is the version that consistently gets the loudest reactions at dinner parties, potlucks, and holiday gatherings. It’s the one that makes people hover near the kitchen counter, pretending to have a conversation while they wait for the next batch to come out.
- Bold, Complex Flavor: The nutty, toasty flavor of brown butter pairs perfectly with the subtle bitterness of espresso powder. It’s not a coffee-flavored cookie — it’s a cookie that tastes deeper, richer, and more sophisticated than your standard chocolate chip. The espresso doesn’t scream “coffee”; it whispers “something special.”
- Perfectly Chewy Texture: Nobody wants a dry, crumbly cookie at a party. These stay soft and chewy for days, thanks to the combination of melted brown butter and an extra egg yolk. They have that slight crispness at the edges and a tender, almost fudge-like center.
- Made with Simple Ingredients: No weird, hard-to-find stuff here. Butter, flour, sugar, eggs, chocolate chips, and a little espresso powder. You probably have most of it in your pantry right now. The magic comes from how you treat those ingredients, not from some exotic shopping list.
- Perfect for Hosting: This is the big one. You can make the dough up to three days ahead and bake them fresh when your guests arrive. Your kitchen will smell incredible, and you’ll look like a baking genius with almost no last-minute effort. I always have a log of this dough in my freezer, ready to slice and bake at a moment’s notice.
- Guaranteed Crowd-Pleaser: I’ve served these to kids, grandparents, food snobs, and people who swear they’re “not dessert people.” They all reach for a second one. It’s almost embarrassing how effective this recipe is at making people happy.
What makes this recipe different from every other chocolate chip cookie out there? It’s the brown butter, obviously, but it’s also the technique. Most recipes tell you to cream room-temperature butter with sugar. This one uses melted brown butter, which creates a denser, chewier texture. The espresso powder doesn’t make it taste like coffee; it amplifies the chocolate and adds this incredible depth that makes people ask, “What is that? What’s in this?” It’s a secret you’ll enjoy keeping.
This recipe isn’t just good—it is the kind that makes you close your eyes after the first bite. It’s comfort food reimagined—faster, more flavorful, but with the same soul-soothing satisfaction. Perfect for impressing guests without stress, or turning a simple Tuesday night into something memorable.
What Ingredients You Will Need
This recipe uses simple, wholesome ingredients to deliver bold flavor and satisfying texture without the fuss. Most of these are pantry staples, but I’ve included a few notes on how to pick the best ones for the best results.
- Unsalted butter (1 cup / 2 sticks / 226 grams): This is the star of the show. I recommend using a high-quality European-style butter like Kerrygold or Plugrà for browning. The higher butterfat content gives you a richer, nuttier flavor and a more consistent brown. Cut the butter into tablespoons for even melting.
- All-purpose flour (2 ¼ cups / 280 grams): Spoon and level your flour for accuracy. Scooping directly from the bag can pack in too much flour, leading to dry cookies. If you want a slightly sturdier cookie, you can substitute ¼ cup of the flour with bread flour.
- Granulated sugar (½ cup / 100 grams): This helps with spreading and creates those crispy, lacy edges. Don’t skip it or substitute it all with brown sugar, or your cookies will be too puffy.
- Light brown sugar (1 cup / 200 grams, packed): This is where the chewiness and moisture come from. The molasses in brown sugar reacts with the brown butter to create that deep, caramel-like flavor. Make sure it’s fresh and soft, not hard as a rock.
- Large eggs (2 whole eggs + 1 egg yolk): The extra yolk adds richness and tenderness. Make sure your eggs are at room temperature—cold eggs will seize the brown butter and ruin the emulsion. Leave them on the counter for 30 minutes before starting.
- Vanilla extract (2 teaspoons): Use pure vanilla extract, not imitation. It adds a floral, sweet note that rounds out the bold flavors. I love Nielsen-Massey, but any pure extract works.
- Espresso powder (1 tablespoon): This is non-negotiable for the signature flavor. I use King Arthur Flour’s espresso powder, but Medaglia d’Oro works great too. Do not substitute with instant coffee granules—they’re less potent and can leave a bitter, sour taste. Espresso powder is finely ground and dissolves completely into the dough.
- Baking soda (1 teaspoon): This helps the cookies spread and become chewy. Make sure it’s fresh—test it by dropping a little in vinegar; it should fizz vigorously.
- Salt (1 teaspoon, plus flaky sea salt for finishing): I use fine sea salt in the dough and a sprinkle of Maldon flaky salt on top right out of the oven. The flaky salt is a game-changer—it provides little bursts of salinity that make the sweetness and chocolate pop.
- Semi-sweet chocolate chips (2 cups / 340 grams): I prefer Ghirardelli 60% cacao chips for a balanced sweetness. You can also use a chopped dark chocolate bar (70% cacao) for more complex flavor and bigger puddles of chocolate. If you use milk chocolate, reduce the sugar by 2 tablespoons.
- Optional: Chopped toasted pecans or walnuts (½ cup / 60 grams): I add these sometimes for a little crunch and extra nuttiness that plays beautifully with the brown butter. Toast them in a dry pan for 3-4 minutes until fragrant before adding.
Equipment Needed
You don’t need a fancy kitchen to make these cookies, but a few specific tools will make your life much easier.
- Light-colored saucepan or skillet: This is crucial for browning butter. A dark pan makes it hard to see the color change, so you’ll end up with burnt butter. I use a stainless steel saucepan. A heavy-bottomed pan distributes heat more evenly.
- Stand mixer or hand mixer: You can do this by hand with a whisk and some elbow grease, but a mixer makes creaming the sugars and eggs much easier. I’ve done it both ways, and the mixer gives a slightly more consistent texture.
- Large mixing bowls: You’ll need one for the dry ingredients and one for the wet ingredients. Stainless steel or glass is fine.
- Whisk and rubber spatula: A whisk for the dry ingredients and a spatula for folding in the chocolate chips. A silicone spatula is great for scraping every last bit of brown butter from the pan.
- Baking sheets (2-3): Light-colored, rimmed baking sheets are best. Dark sheets can cause the bottoms to burn before the centers are set. If you only have dark sheets, reduce your oven temperature by 25°F.
- Parchment paper or silicone baking mats: Parchment paper is my go-to. It prevents sticking and makes cleanup a breeze. Silicone mats work too, but they can sometimes inhibit spreading, so you might need to flatten the dough balls slightly before baking.
- Cookie scoop (2-tablespoon size): This ensures uniform cookies that bake evenly. A #40 scoop is perfect. If you don’t have one, use a measuring tablespoon and roll the dough into balls.
- Cooling rack: Essential for letting the cookies cool properly. If you leave them on the hot baking sheet, they’ll continue to cook and can become overdone.
- Kitchen scale (optional but highly recommended): Weighing your ingredients, especially the flour and brown butter, guarantees consistent results every time. I use a simple OXO scale.
Preparation Method
Let’s get to the good part. This method is broken down into clear steps, with all the little cues and tips I’ve learned from making these cookies more times than I can count.
- Brown the butter. Place the 1 cup of butter in your light-colored saucepan over medium heat. Let it melt completely, then keep cooking. Swirl the pan occasionally. The butter will start to foam and crackle—that’s the water evaporating. After 5-7 minutes, the foam will subside, and you’ll see little brown specks forming at the bottom. The color will change from pale yellow to a deep amber. It will smell incredibly nutty and toasty. The moment you see those brown specks and smell that nutty aroma, immediately remove the pan from the heat. Pour the brown butter into a large mixing bowl (a heat-safe one!) to stop the cooking process. Let it cool for 10-15 minutes. It should be warm but not hot—you don’t want to cook the eggs when you add them later.
- Mix the dry ingredients. In a medium bowl, whisk together the 2 ¼ cups all-purpose flour, 1 teaspoon baking soda, and 1 teaspoon fine sea salt. Set aside.
- Combine sugars and brown butter. To the cooled brown butter, add the ½ cup granulated sugar and 1 cup packed light brown sugar. Whisk vigorously until the mixture is smooth and glossy. It will look a bit like wet sand. This should take about 1 minute.
- Add the eggs and vanilla. Crack the 2 whole eggs and 1 egg yolk into a small bowl (this prevents shell fragments from getting into your dough). Add the 2 teaspoons vanilla extract. Whisk the eggs lightly, then pour them into the sugar-butter mixture. Whisk until everything is fully combined and the mixture looks smooth and slightly thickened. It should be a light caramel color. If the mixture looks greasy or separated, you might have added the eggs while the butter was too hot—don’t worry, just whisk a little more to bring it back together.
- Add the espresso powder. Sprinkle the 1 tablespoon of espresso powder over the wet mixture. Whisk until it’s completely dissolved. You shouldn’t see any specks of powder. This step is important because undissolved espresso powder can leave bitter pockets in the baked cookies.
- Combine wet and dry ingredients. Pour the dry ingredients into the wet mixture. Use a rubber spatula to fold everything together. Mix just until you no longer see streaks of flour. Overmixing at this stage will develop the gluten and make your cookies tough. A few small lumps of flour are totally fine.
- Fold in the chocolate chips. Add the 2 cups of semi-sweet chocolate chips (and the optional ½ cup of toasted nuts). Fold gently until they’re evenly distributed. The dough will be thick, sticky, and absolutely gorgeous.
- Chill the dough (this is critical). Cover the bowl with plastic wrap and refrigerate for at least 2 hours, but 24-48 hours is ideal. I know, I know—you want cookies now. But trust me, this rest is non-negotiable. The flavors meld, the butter solidifies, and the sugars hydrate. The result is a cookie with a much deeper flavor and a chewier texture. If you bake them right away, they’ll spread into thin, greasy puddles. I’ve made that mistake so you don’t have to.
- Preheat the oven. When you’re ready to bake, preheat your oven to 350°F (175°C). Line your baking sheets with parchment paper.
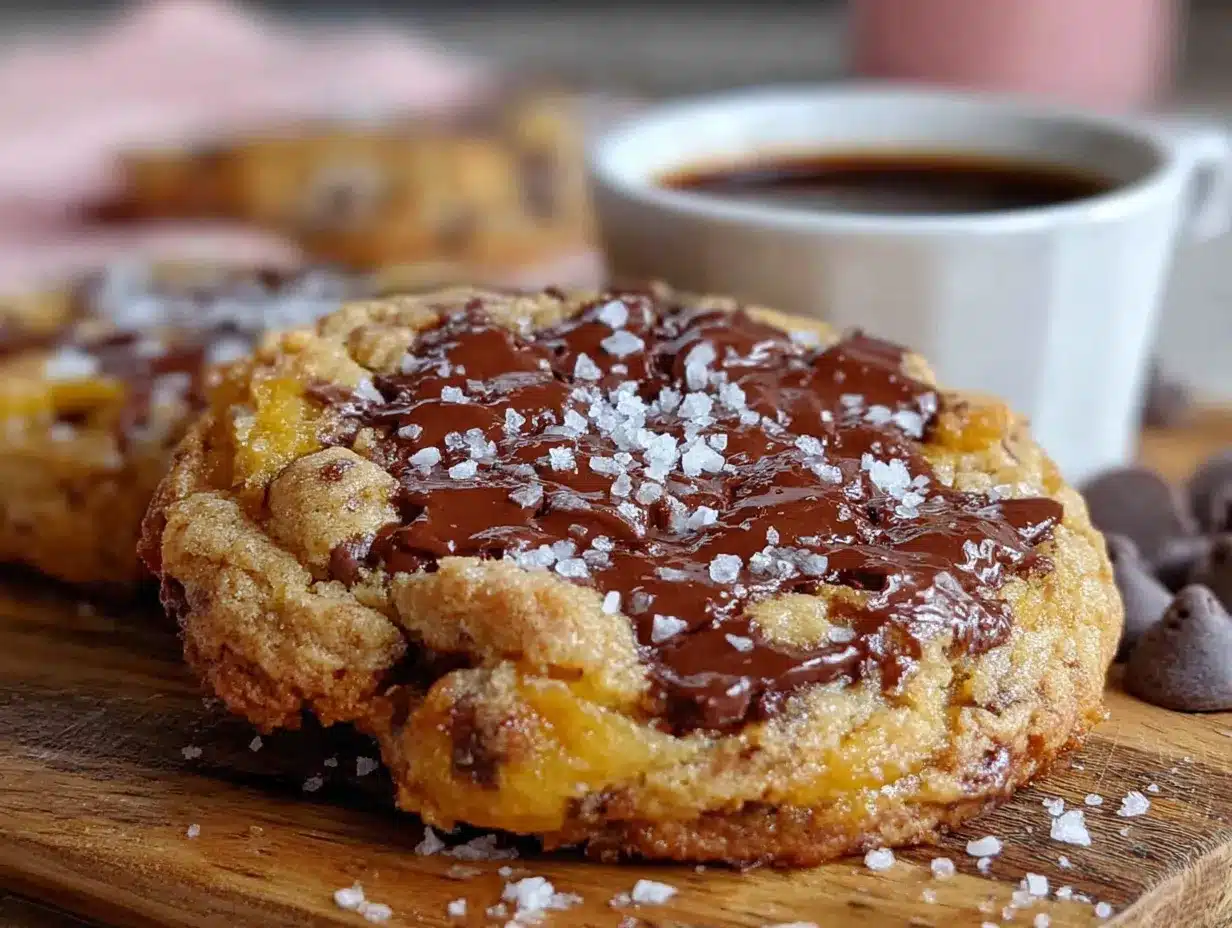
- Scoop and shape. Use your cookie scoop to portion the dough into balls, about 2 tablespoons each (roughly 40 grams). Place them 3 inches apart on the prepared baking sheets. For a bakery-style look, you can tear each dough ball in half and press the rough sides together, leaving the craggy top exposed. This gives the cookies a more rustic, textured appearance.
- Bake. Bake one sheet at a time in the center of the oven. Bake for 10-12 minutes. At 10 minutes, the edges should be golden brown and set, but the centers will still look soft, puffy, and slightly underdone. This is exactly what you want. They will continue to set on the hot baking sheet. If you overbake them, they’ll be crispy, not chewy.
- Finish with flaky salt. As soon as the cookies come out of the oven, sprinkle a pinch of flaky sea salt over each one. This little step makes a huge difference. It balances the sweetness and enhances all the flavors.
- Cool on the baking sheet. Let the cookies rest on the baking sheet for 5-7 minutes. This allows them to set up without becoming hard. Then, transfer them to a wire rack to cool completely. Or, you know, eat one while it’s still warm and gooey. I won’t tell.
Cooking Tips & Techniques
I’ve learned a few things the hard way so you don’t have to. Here are my best tips for getting these cookies absolutely perfect every single time.
Don’t walk away from the browning butter. This is the most common mistake. Brown butter goes from perfect to burnt in about 30 seconds. The first time I made this recipe, I got distracted by a phone call, and my butter turned black. The smoke alarm went off, and I had to air out my apartment for an hour. Keep your eyes on the pan, swirl it constantly, and trust your nose. The moment it smells like toasted hazelnuts, it’s done.
Weigh your flour. Seriously, this is the single best thing you can do for consistent baking. A cup of flour can weigh anywhere from 120 grams to 150 grams depending on how you scoop it. That 30-gram difference will completely change your cookies. If you don’t have a scale, fluff your flour with a spoon, spoon it into your measuring cup, and level it off with a knife. Never scoop directly from the bag.
Chill the dough overnight. I know it’s tempting to skip this, but the difference is night and day. After 24 hours, the dough develops a toffee-like complexity that you just can’t get in a hurry. The espresso flavor becomes more integrated, and the texture becomes supremely chewy. I often make the dough two days ahead and bake it when guests arrive. It’s a huge time-saver for hosting.
Use a cookie scoop for uniform size. This ensures all your cookies bake evenly. If you have different-sized dough balls, some will be underdone and some will be overdone. A #40 scoop (2 tablespoons) is the perfect size for these cookies.
Pull them early. The biggest mistake home bakers make is overbaking cookies. They should look slightly underdone in the center when you take them out. They’ll continue to cook from the residual heat of the baking sheet. If they look perfect in the oven, they’ll be overdone by the time they cool. I always pull mine at the 10-minute mark, even if the centers look a bit puffy and soft.
Let them rest on the sheet. Don’t try to move them immediately. They’re too fragile and will fall apart. Give them 5-7 minutes on the hot sheet to set up. This is also when the flaky salt melts slightly into the surface, creating those perfect salty-sweet pockets.
Variations & Adaptations
One of the best things about this recipe is how adaptable it is. I’ve tried several variations over the years, and here are my favorites.
Double Chocolate Espresso Cookies: Replace ¼ cup of the all-purpose flour with ¼ cup of unsweetened cocoa powder. Use white chocolate chips or dark chocolate chunks instead of semi-sweet. The combination of espresso and dark chocolate is absolutely decadent. I made these for a Valentine’s Day party, and they were gone in ten minutes.
Gluten-Free Version: Substitute the all-purpose flour with a 1:1 gluten-free baking blend that contains xanthan gum (I recommend King Arthur Flour Measure for Measure). The texture will be slightly more tender, but the flavor is just as incredible. Chill the dough for at least 3 hours, as gluten-free dough tends to be softer.
Mint Chocolate Chip Espresso Cookies: Add ½ teaspoon of peppermint extract along with the vanilla. Use dark chocolate chips or Andes mint baking pieces. The cool mint with the warm, nutty brown butter and espresso is a surprisingly amazing combination. I discovered this by accident when I ran out of vanilla and only had peppermint extract left.
Vegan Adaptation: Use a high-quality vegan butter (I like Miyoko’s for browning) and a flax egg (1 tablespoon ground flaxseed mixed with 3 tablespoons water, let sit for 5 minutes). The texture won’t be quite as chewy, but the flavor is still fantastic. Use vegan chocolate chips. This version is a hit at potlucks where there are dietary restrictions.
Spiced Chai Espresso Cookies: Add 1 teaspoon of pumpkin pie spice or a homemade chai spice blend (cinnamon, cardamom, ginger, cloves, nutmeg) along with the dry ingredients. This gives the cookies a warm, aromatic flavor that’s perfect for fall gatherings. I serve these with mulled cider at my annual Halloween party.
Serving & Storage Suggestions
These cookies are incredibly versatile when it comes to serving. Here’s how to make them shine at your next gathering.
Serving Temperature: Serve them at room temperature for the best texture. If you’ve just baked them, let them cool completely on a wire rack. If you’ve stored them, let them sit out for 10-15 minutes before serving. For an extra-indulgent treat, warm a cookie in the microwave for 10 seconds and serve with a scoop of vanilla bean ice cream. The warm, gooey cookie with cold, creamy ice cream is a match made in heaven.
Presentation Tips for Hosting: Arrange the cookies on a beautiful wooden board or a cake stand. Stack them slightly haphazardly for a rustic, homey look. Sprinkle a little extra flaky salt over the top just before serving to refresh the salty kick. I like to place a small bowl of cold milk or a coffee station nearby—these cookies are perfect with a hot latte or an iced coffee.
What to Serve Alongside: These cookies are fantastic on their own, but they also pair beautifully with a cheese board (the saltiness of aged cheddar is amazing with the chocolate), fresh berries, or a simple fruit salad. For a dessert spread, serve them alongside brownies, blondies, or a fruit crisp.
Storage Instructions: Store baked cookies in an airtight container at room temperature for up to 5 days. Place a slice of bread in the container to keep them extra soft—the bread absorbs excess air and releases moisture. Replace the bread slice every other day. Do not refrigerate baked cookies; the cold air will dry them out.
Freezer Instructions: You can freeze the baked cookies for up to 3 months. Layer them between sheets of parchment paper in a freezer-safe container. Thaw at room temperature for 30 minutes before serving. Even better, freeze the unbaked dough balls. Scoop them onto a baking sheet, freeze until solid (about 2 hours), then transfer to a freezer bag. You can bake them directly from frozen—just add 2-3 minutes to the baking time. This is my secret for having fresh cookies ready for unexpected guests.
Flavor Development: These cookies actually taste better on day two. The flavors meld and mellow, and the texture becomes even more chewy. If you can resist eating them all on day one, you’ll be rewarded on day two.
Nutritional Information & Benefits
Let’s be real: these are a treat, not a health food. But they’re made with real, wholesome ingredients, and that counts for something.
| Nutrient | Per Cookie (based on 30 cookies) |
|---|---|
| Calories | 210 |
| Total Fat | 12g |
| Saturated Fat | 7g |
| Cholesterol | 35mg |
| Sodium | 150mg |
| Total Carbohydrates | 26g |
| Dietary Fiber | 1g |
| Sugars | 18g |
| Protein | 3g |
These values are estimates and will vary based on your specific ingredients and portion sizes.
Health Benefits of Key Ingredients: The brown butter, while high in fat, contains conjugated linoleic acid (CLA), which has been linked to some health benefits in moderation. The dark chocolate is rich in antioxidants called flavonoids, which can support heart health. The espresso powder provides a small amount of caffeine and antioxidants. The eggs provide high-quality protein and essential nutrients like choline.
Dietary Considerations: This recipe contains gluten, dairy, and eggs. For a gluten-free version, see the variations section. For a vegan version, see the variations section. The cookies are nut-free if you omit the optional pecans or walnuts.
My Personal Perspective: I believe in balance. These cookies are a celebration, not an everyday snack. They’re meant to be shared with people you love, at gatherings where joy is the main ingredient. A cookie like this, made with care and shared with friends, is good for the soul, even if it’s not a superfood.
Conclusion
These chewy brown butter espresso chocolate chip cookies are, without a doubt, my most requested recipe. They’ve been the star of countless dinner parties, the surprise hit at potlucks, and the thing people text me about the next morning. They’re the cookie that makes people say, “Wait, what’s in these? They’re different. They’re amazing.” And honestly, that never gets old.
I love that this recipe came from such an unexpected place—my accountant’s office, on a rainy day, scribbled on a napkin. It reminds me that great recipes can come from anywhere, and that the best dishes are often the ones with a story. I hope you make these cookies for your next gathering. I hope you watch your friends’ faces light up when they take that first bite. And I hope you enjoy every single step of the process, from browning the butter to sprinkling that final pinch of flaky salt.
Please, go ahead and customize them. Add different chips, try the mint version, or make them gluten-free for a friend. Share your creations, tag me in your photos, and let me know how they turned out. Did you bake them for a party? Did someone ask for the recipe? I want to hear about it! Leave a comment below, and don’t forget to share this recipe with someone who loves cookies as much as you do. Happy baking, friends!
Frequently Asked Questions
Can I use instant coffee instead of espresso powder?
I don’t recommend it. Instant coffee granules are larger and less concentrated than espresso powder. They won’t dissolve as well into the dough, and they can leave a bitter, sour taste. Espresso powder is finely ground and blends seamlessly, giving you that deep, complex flavor without any bitterness. It’s worth picking up a jar—it lasts forever and is great in brownies and chocolate cakes too.
Why did my cookies spread too much?
This usually happens for one of three reasons: your butter was too warm when you mixed the dough, your dough wasn’t chilled long enough, or you used too much sugar. Make sure your brown butter is cooled to room temperature before adding the eggs. And don’t skip the 2-hour chill—the dough needs to be firm. If you’re still having trouble, try adding an extra 2 tablespoons of flour to your next batch.
Can I make the dough ahead and freeze it?
Absolutely! In fact, I highly recommend it. Scoop the dough into balls, place them on a baking sheet, and freeze until solid (about 2 hours). Then transfer the frozen dough balls to a freezer bag. You can bake them directly from frozen—just add 2-3 minutes to the baking time. This is my go-to for having fresh cookies ready for unexpected guests or last-minute gatherings.
How do I get that bakery-style look with the craggy top?
It’s easier than you think! After scooping your dough ball, use your hands to gently tear it in half. Then, press the torn halves back together with the rough, craggy side facing up. This creates those beautiful, uneven peaks and valleys on top of the cookie. It also creates more surface area for that flaky salt to stick to. It’s a simple trick that makes a huge visual difference.
My cookies came out cakey, not chewy. What went wrong?
Cakey cookies are usually the result of too much flour or overmixing. When you overmix the dough after adding the flour, you develop the gluten, which creates a more bread-like, cakey texture. Mix just until the flour disappears. Also, make sure you’re measuring your flour correctly—spoon and level it, or better yet, weigh it. Too much flour is the most common cause of cakey cookies.
Pin This Recipe!
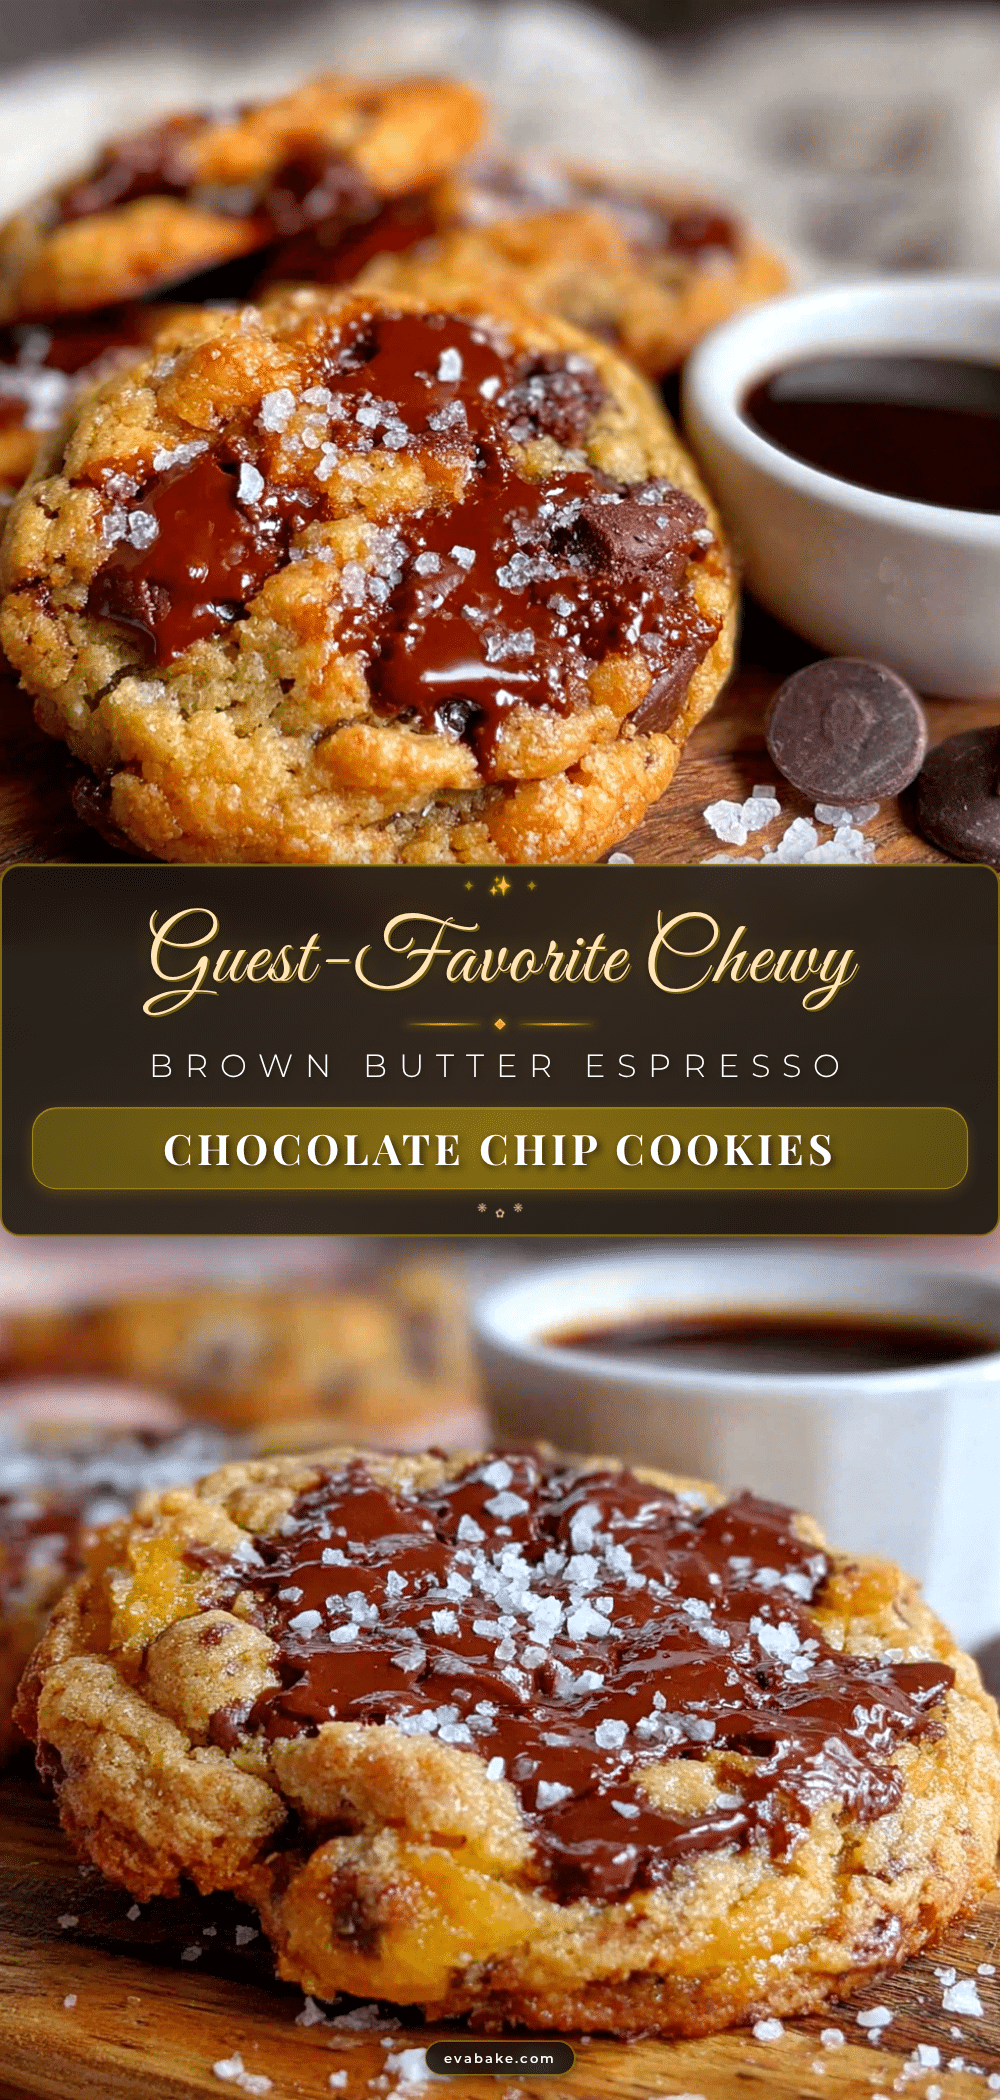
Chewy Brown Butter Espresso Chocolate Chip Cookies
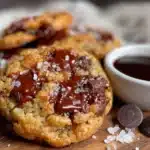
These chewy brown butter espresso chocolate chip cookies are the ultimate crowd-pleaser, featuring nutty browned butter, rich espresso powder, and semi-sweet chocolate chips for a deep, complex flavor and perfectly chewy texture.
- Prep Time: 20 minutes
- Cook Time: 12 minutes
- Total Time: 2 hours 32 minutes (includes chilling)
- Yield: 30 cookies 1x
- Category: Dessert
- Cuisine: American
Ingredients
- 1 cup (2 sticks / 226 grams) unsalted butter
- 2 ¼ cups (280 grams) all-purpose flour
- ½ cup (100 grams) granulated sugar
- 1 cup (200 grams, packed) light brown sugar
- 2 large eggs + 1 egg yolk, at room temperature
- 2 teaspoons pure vanilla extract
- 1 tablespoon espresso powder
- 1 teaspoon baking soda
- 1 teaspoon fine sea salt
- 2 cups (340 grams) semi-sweet chocolate chips
- Flaky sea salt, for finishing
- ½ cup (60 grams) chopped toasted pecans or walnuts (optional)
Instructions
- Brown the butter: Place 1 cup butter in a light-colored saucepan over medium heat. Melt completely, then continue cooking, swirling occasionally, until the butter foams, subsides, and turns a deep amber with brown specks and a nutty aroma (5-7 minutes). Immediately remove from heat and pour into a large heat-safe bowl. Let cool 10-15 minutes until warm but not hot.
- Mix dry ingredients: In a medium bowl, whisk together flour, baking soda, and fine sea salt. Set aside.
- Combine sugars and brown butter: To the cooled brown butter, add granulated sugar and packed light brown sugar. Whisk vigorously until smooth and glossy, about 1 minute.
- Add eggs and vanilla: In a small bowl, lightly whisk the 2 whole eggs, 1 egg yolk, and vanilla extract. Pour into the sugar-butter mixture and whisk until fully combined and slightly thickened, light caramel in color.
- Add espresso powder: Sprinkle espresso powder over the wet mixture and whisk until completely dissolved.
- Combine wet and dry ingredients: Pour dry ingredients into wet mixture. Fold with a rubber spatula just until no streaks of flour remain. Do not overmix.
- Fold in chocolate chips: Add chocolate chips (and optional nuts) and fold gently until evenly distributed. Dough will be thick and sticky.
- Chill the dough: Cover bowl with plastic wrap and refrigerate for at least 2 hours, ideally 24-48 hours.
- Preheat oven: When ready to bake, preheat oven to 350°F (175°C). Line baking sheets with parchment paper.
- Scoop and shape: Using a 2-tablespoon cookie scoop, portion dough into balls (about 40 grams each). Place 3 inches apart on prepared sheets. For a rustic look, tear each ball in half and press the rough sides together, leaving craggy top exposed.
- Bake: Bake one sheet at a time in the center of the oven for 10-12 minutes. Edges should be golden and set, centers still soft and puffy.
- Finish with flaky salt: Immediately after removing from oven, sprinkle a pinch of flaky sea salt over each cookie.
- Cool: Let cookies rest on baking sheet for 5-7 minutes, then transfer to a wire rack to cool completely.
Notes
Chilling the dough overnight is highly recommended for best flavor and texture. Do not overbake; cookies should look slightly underdone in the center when removed from the oven. Use a light-colored pan for browning butter to avoid burning.
Nutrition
- Serving Size: 1 cookie
- Calories: 210
- Sugar: 18
- Sodium: 150
- Fat: 12
- Saturated Fat: 7
- Carbohydrates: 26
- Fiber: 1
- Protein: 3
Keywords: brown butter cookies, espresso chocolate chip cookies, chewy cookies, chocolate chip cookies, espresso cookies, brown butter chocolate chip cookies