It was 10:47 PM on a random Wednesday, and I had that itch. You know the one—where nothing in the fridge looks good, but you need something, anything, that hits like bar food without leaving the house. I didn’t have wings or a proper party platter situation, but I had leftover rotisserie chicken, half a block of cream cheese, and some bell peppers that were about to go soft. The idea just arrived, fully formed, like a gift from my tired brain: what if I took everything I loved about buffalo chicken dip and stuffed it into a pepper boat? No chips needed. No guilt. Just spicy, creamy, ridiculous flavor in a vegetable that lets you call it dinner.
Honestly, I was skeptical at first. Buffalo chicken dip is sacred, right? You don’t mess with the classics. But I was hungry, the clock was ticking, and my only other option was cereal. So I threw the cream cheese in the microwave, shredded the chicken with my fingers (messy, but worth it), and dumped in the hot sauce without measuring—because that’s what late-night cooking is all about. The peppers went into the air fryer, and ten minutes later, I was standing at the counter, eating one with a fork, genuinely shocked at how good it was.
That night changed things. I started making these peppers for lunch, for dinner, for game day snacks when I didn’t want to deal with a crowd. They’re fast, they’re forgiving, and they scratch every single itch that buffalo chicken dip usually does—but they leave you feeling full and satisfied, not heavy and regretful. If you’ve ever wanted the flavor of a party dip on a Tuesday night without the commitment, this one’s for you. Let me tell you, it works.
Why You’ll Love This Recipe
I’ve tested this recipe about a dozen times now, and I can tell you with confidence: these stuffed peppers are a weeknight hero. Here’s why they keep ending up on my table:
- Ready in 20 Minutes: From fridge to fork in under half an hour. No marinating, no complicated steps—just quick, honest cooking that respects your schedule.
- Simple Ingredients: You probably have most of this in your kitchen right now. Rotisserie chicken, cream cheese, hot sauce, cheddar, and bell peppers. That’s it. No fancy grocery runs required.
- Perfect for Busy Weeknights: When you’re tired and hungry and the last thing you want to do is cook, these peppers come through. They’re filling enough for dinner but light enough that you won’t regret them.
- Crowd-Pleaser: I’ve served these to picky eaters, spice skeptics, and actual children—they disappear every time. The cheese and cream cheese mellow out the heat, so it’s approachable for everyone.
- Unbelievably Delicious: The combo of tender roasted pepper, creamy buffalo filling, and bubbly melted cheese is next-level comfort food. It hits every note: spicy, cool, crunchy, melty.
What makes this different from other stuffed pepper recipes? It’s the texture. Most stuffed peppers use rice or grains, which can get mushy. Here, the filling stays creamy and rich, while the pepper itself gets tender but still holds its shape. It’s the best of both worlds—a dip you can eat with your hands, in a vessel that counts as a vegetable. Honestly, it’s genius.
This is the kind of recipe that makes you close your eyes after the first bite. It’s comfort food reimagined—faster, smarter, but with the same soul-soothing satisfaction. Perfect for impressing yourself on a random Tuesday, or feeding a hungry family without breaking a sweat.
What Ingredients You Will Need
This recipe uses simple, everyday ingredients to deliver big flavor without the fuss. Most of these are pantry staples or fridge basics, which is exactly what you want on a busy weeknight.
For the Buffalo Chicken Filling
- 2 cups cooked chicken, shredded (rotisserie chicken works perfectly; leftover grilled or baked chicken is great too)
- 4 oz cream cheese, softened (full-fat gives the creamiest texture, but Neufchâtel works fine—just don’t use fat-free, it gets grainy)
- 1/3 cup buffalo hot sauce (I prefer Frank’s RedHot for that classic wing flavor; adjust based on your heat tolerance)
- 1/2 cup shredded cheddar cheese (sharp cheddar adds the most flavor; pre-shredded is fine, but freshly shredded melts better)
- 1/4 cup ranch or blue cheese dressing (optional but recommended—it balances the heat and adds creaminess; I like using a good-quality ranch like Hidden Valley for familiarity)
- 1/4 teaspoon garlic powder (adds savory depth without overpowering the buffalo flavor)
- Salt and black pepper to taste (go easy on salt since hot sauce and cheese are already salty)
For the Peppers
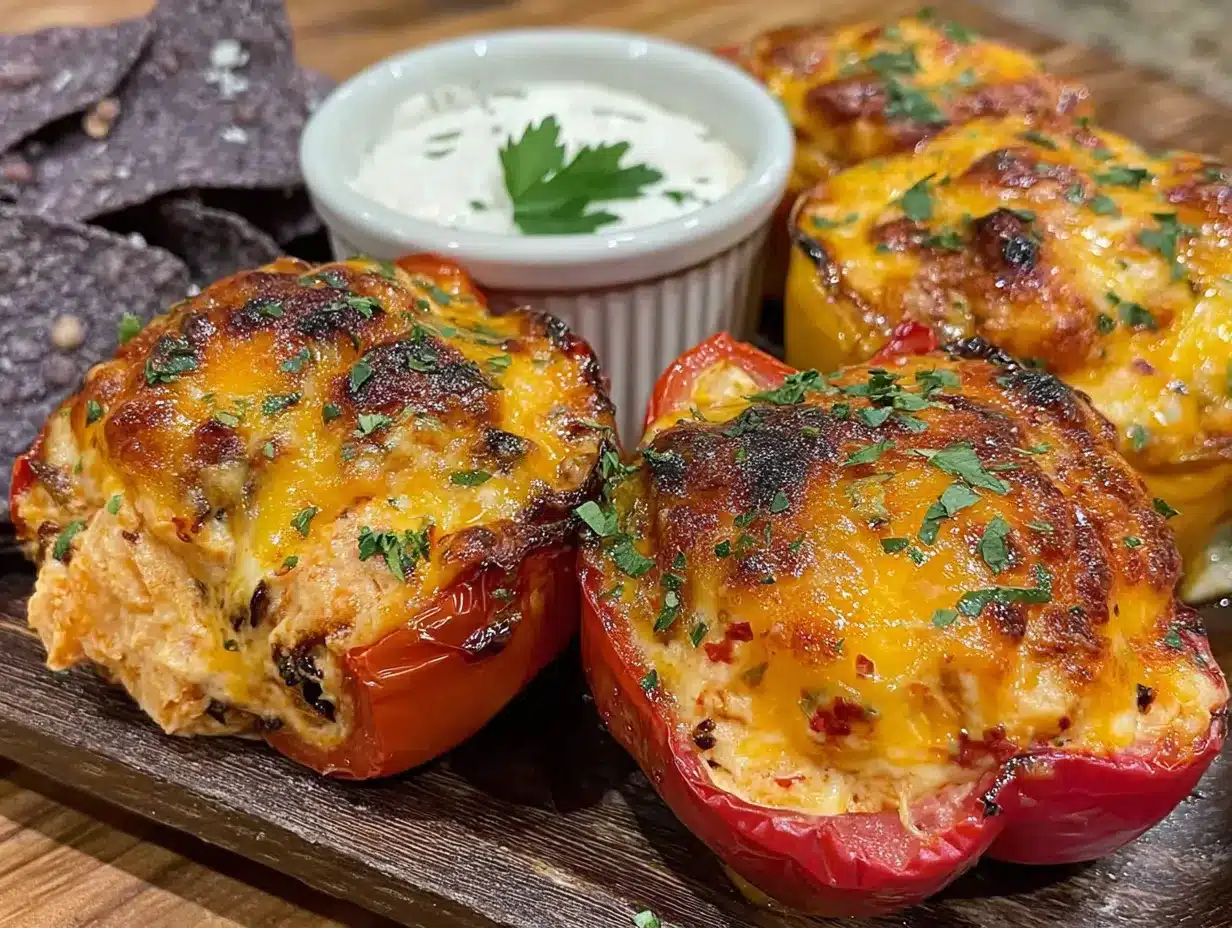
- 4 medium bell peppers (any color works; red and orange are sweeter, green are more savory and hold up slightly better during baking)
- 1 tablespoon olive oil (for brushing the peppers—helps them roast evenly and adds a little richness)
- Extra shredded cheddar for topping (about 1/4 cup—because more cheese is never a bad idea)
Ingredient Selection Tips: Look for bell peppers that are firm and evenly shaped so they sit flat when cut in half. If you’re using rotisserie chicken (my go-to for speed), pick one up from the deli section—it saves you about 15 minutes of cooking time. For the hot sauce, I’ve tested this with several brands, and Frank’s RedHot really does give the most authentic buffalo wing flavor. If you only have a milder sauce, add a pinch of cayenne pepper to kick up the heat.
Substitution Guidance: Need a dairy-free option? Use dairy-free cream cheese and vegan cheddar shreds—the texture will be slightly less creamy but still delicious. For a lower-fat version, swap the cream cheese for Greek yogurt (full-fat, strained) and use reduced-fat cheddar. If you don’t have buffalo sauce, mix 3 tablespoons of hot sauce with 1 tablespoon of melted butter—that’s essentially what buffalo sauce is anyway. And if you’re out of ranch or blue cheese dressing, just leave it out or use a splash of milk to thin the filling slightly.
Equipment Needed
You don’t need a fancy kitchen to make these peppers. Here’s what you’ll need:
- Baking sheet or air fryer basket (a standard baking sheet works great; an air fryer cuts the cooking time by about 5 minutes)
- Mixing bowl (medium-sized, for combining the filling)
- Sharp knife and cutting board (for halving the peppers and removing the seeds)
- Small spoon or spatula (for stuffing the peppers—I use a silicone spatula to scrape every last bit of filling)
- Fork or two forks (for shredding the chicken if you’re using whole pieces)
- Measuring cups and spoons (eyeballing works, but measuring ensures consistency the first time)
Budget-Friendly Options: If you don’t have an air fryer, no worries—the oven works perfectly. Just preheat to 375°F and bake for 15-18 minutes. A toaster oven also works great if you’re only making a couple of peppers. I’ve even made these in a cast-iron skillet on the stovetop, covered, on low heat—takes about 12 minutes and gives you a nice char on the bottom of the peppers.
Personal Note: I use my air fryer for these about 90% of the time because it’s faster and the peppers come out with a slightly firmer texture. But when I’m making a double batch for a party, the oven is more practical. Either way works—just keep an eye on them near the end so the cheese doesn’t burn.
Preparation Method
Let’s get cooking. This whole process takes about 20 minutes from start to finish, including prep time. Here’s exactly how to do it:
- Preheat your oven or air fryer. If using the oven, set it to 375°F (190°C). If using an air fryer, set it to 350°F (175°C). This ensures the peppers start cooking immediately once they’re in.
- Prep the bell peppers. Wash and dry the peppers. Cut each one in half lengthwise through the stem—you want two boat-like halves. Remove the seeds and white membranes with your fingers or a small spoon. If the peppers wobble, trim a thin slice off the bottom to make them sit flat. Brush the cut sides lightly with olive oil and set aside.
- Shred the chicken. If using rotisserie chicken, remove the skin and bones, then shred the meat with two forks or your fingers. You should have about 2 cups of shredded chicken. If the chicken is cold from the fridge, microwave it for 30 seconds to take the chill off—it’ll mix into the filling more easily.
- Make the buffalo filling. In a medium bowl, combine the softened cream cheese, buffalo hot sauce, ranch or blue cheese dressing (if using), garlic powder, and a pinch of black pepper. Stir until smooth and well combined—it should look like a thick, creamy sauce. Add the shredded chicken and 1/2 cup of shredded cheddar cheese. Mix until everything is evenly coated. Taste the filling and adjust: need more heat? Add another splash of hot sauce. Want it creamier? Add another tablespoon of dressing.
- Stuff the peppers. Divide the buffalo chicken mixture evenly among the 8 pepper halves. Use a small spoon or spatula to press the filling in firmly, mounding it slightly in the center. Don’t worry if some filling spills over—it’ll caramelize in the oven and taste amazing. Sprinkle the extra 1/4 cup of shredded cheddar cheese evenly over the tops.
- Cook the peppers. Place the stuffed peppers on a baking sheet (if using the oven) or in the air fryer basket. Make sure they’re not touching each other so the heat circulates evenly. Oven method: bake for 15-18 minutes, until the peppers are tender and the cheese is melted and bubbly. Air fryer method: cook at 350°F for 10-12 minutes, checking at the 8-minute mark. The peppers should be fork-tender but still hold their shape.
- Rest and serve. Let the peppers rest for 2-3 minutes after cooking. This allows the filling to set slightly so it doesn’t spill out when you bite into them. Serve warm, with extra ranch or blue cheese dressing on the side for dipping if you like.
Visual and Sensory Cues: At step 4, the filling should look like a thick, creamy dip—think of it as a slightly stiffer version of buffalo chicken dip. At step 6, you’ll know the peppers are done when the edges are slightly wrinkled and the cheese on top is golden in spots. The kitchen will smell like a sports bar, in the best way possible.
Troubleshooting Tips: If your peppers are very large, they may need an extra 2-3 minutes of cooking time. If the cheese is browning too quickly but the peppers aren’t tender yet, tent loosely with foil. If the filling seems dry, stir in an extra tablespoon of hot sauce or dressing before stuffing. And if you accidentally over-stuff the peppers (guilty as charged), just place them on a piece of foil to catch any overflow—it’s all delicious anyway.
Cooking Tips & Techniques
I’ve made these peppers enough times to know exactly where things can go wrong—and how to fix them. Here are my best tips for perfect stuffed peppers every time:
Don’t skip softening the cream cheese. I learned this the hard way. Cold cream cheese doesn’t mix well with the other ingredients, leaving you with lumpy filling. Let it sit on the counter for 15-20 minutes before starting, or microwave it in 10-second bursts until it’s soft but not melted. Smooth filling = happy peppers.
Use a fork to check for doneness. The peppers should be tender but still have a little bite—think al dente pasta. If the fork slides in easily, they’re done. If there’s resistance, give them another 2-3 minutes. Overcooked peppers get mushy and lose their structure, so err on the side of slightly underdone.
Toast the peppers for extra flavor. If you have an extra 2 minutes, place the empty pepper halves cut-side down on the baking sheet and broil them for 2-3 minutes before stuffing. This gives them a slight char that adds a smoky depth to the final dish. I do this when I’m feeling fancy, but it’s totally optional.
Multitasking is your friend. While the peppers are roasting, use that time to clean up your workspace or prep a quick side salad. The total active time for this recipe is about 10 minutes—the rest is just waiting. If you’re making a double batch, prep all the filling first, then stuff the peppers assembly-line style.
One mistake I still make: Forgetting to pat the chicken dry. If your shredded chicken is too wet (especially if it’s from a rotisserie chicken with juices), the filling can become watery. Just give the chicken a quick pat with a paper towel before mixing. It makes a noticeable difference in texture.
Variations & Adaptations
This recipe is incredibly flexible. Here are some of my favorite ways to change it up:
1. Low-Carb / Keto Version: This recipe is already pretty low-carb since it skips the rice or grains. To make it fully keto-friendly, use full-fat cream cheese and cheddar, and skip the ranch dressing (or use a sugar-free version). Each pepper half has about 4-5g net carbs, which fits nicely into a keto meal plan.
2. Extra Spicy Buffalo: If you’re like me and love heat, add 1-2 tablespoons of chopped pickled jalapeños to the filling, or mix in a teaspoon of cayenne pepper. You can also drizzle extra hot sauce over the finished peppers before serving. My personal favorite is to use a buffalo sauce that’s already extra hot, like Frank’s RedHot Xtra Hot.
3. Creamy Avocado Version: Dice half an avocado and gently fold it into the filling before stuffing. The cool creaminess of the avocado balances the spicy buffalo perfectly. Just be aware that avocado doesn’t reheat well, so this variation is best for immediate serving.
4. Smoked Chicken Variation: If you have leftover smoked chicken or pulled pork, use it instead of rotisserie chicken. The smoky flavor adds a whole new dimension to the buffalo chicken combo. I tried this with leftover smoked brisket once, and honestly, it was incredible.
5. Vegetarian Buffalo Cauliflower: Swap the chicken for 2 cups of roasted cauliflower florets (chopped small). The texture is surprisingly similar, and the cauliflower absorbs the buffalo sauce beautifully. This version is a hit with my vegetarian friends.
6. Mexican-Style Fusion: Replace the buffalo sauce with salsa verde, swap the cheddar for pepper jack cheese, and add a tablespoon of chopped cilantro to the filling. It’s a completely different dish, but just as quick and satisfying.
Serving & Storage Suggestions
Serving Temperature: These peppers are best served warm, straight from the oven or air fryer. The cheese is melty, the filling is creamy, and the peppers are tender—it’s a textural masterpiece. That said, they’re also delicious at room temperature, which makes them perfect for parties or meal prep.
Presentation Ideas: Arrange the stuffed peppers on a platter, drizzle with extra ranch or blue cheese dressing, and sprinkle with chopped fresh parsley or green onions for color. If you’re serving them as an appetizer, cut each pepper half into two or three bite-sized pieces. For a main course, serve two halves per person alongside a simple green salad or some carrot and celery sticks (classic buffalo pairing).
What to Serve With Them: These peppers pair beautifully with a crisp, crunchy salad—think romaine, cucumber, and a light vinaigrette to cut through the richness. For a heartier meal, serve them with roasted sweet potato wedges or a side of crispy air fryer fries. And obviously, extra ranch or blue cheese dressing for dipping is non-negotiable.
Storage Instructions: Store leftover stuffed peppers in an airtight container in the refrigerator for up to 4 days. The peppers will soften slightly upon reheating, but the flavor actually gets better as the ingredients meld together overnight. I often make a double batch just for leftovers throughout the week.
Reheating Methods: The best way to reheat these is in the oven or air fryer. For the oven, place them on a baking sheet at 350°F for 8-10 minutes. For the air fryer, reheat at 325°F for 4-5 minutes. The microwave works in a pinch (about 60-90 seconds), but the peppers will be softer and the cheese won’t be as bubbly. If you’re meal prepping, I recommend reheating only the portions you plan to eat to maintain the best texture.
Freezer Instructions: You can freeze the stuffed peppers (unbaked or baked) for up to 3 months. To freeze, place the assembled peppers on a baking sheet and freeze until solid, then transfer to a freezer-safe bag or container. To bake from frozen, add 10-15 minutes to the cooking time. I’ve done this for busy weeks, and it works beautifully—just don’t thaw them first, or the peppers will release too much water.
Nutritional Information & Benefits
Here’s the estimated nutritional breakdown for one stuffed pepper half (based on using full-fat cream cheese, cheddar, and rotisserie chicken):
| Nutrient | Amount per Serving |
|---|---|
| Calories | 195 |
| Protein | 16g |
| Fat | 12g |
| Saturated Fat | 6g |
| Carbohydrates | 6g |
| Fiber | 2g |
| Sugar | 3g |
| Sodium | 520mg |
Health Benefits: Bell peppers are packed with vitamin C—one medium pepper provides over 150% of your daily needs. They’re also rich in antioxidants like beta-carotene and lutein. The chicken provides lean protein, which keeps you full and supports muscle repair. The cream cheese and cheddar add calcium and vitamin A, while the hot sauce contains capsaicin, which may boost metabolism slightly. This recipe is naturally gluten-free and can easily be made low-carb or keto-friendly with simple swaps.
Dietary Considerations: This recipe contains dairy (cream cheese, cheddar) and may contain traces of gluten depending on your hot sauce and dressing brands. For a dairy-free version, use dairy-free alternatives as mentioned in the substitutions section. For a lower-sodium option, use low-sodium hot sauce and reduce the added salt. The peppers themselves are naturally low in calories and high in nutrients, making this a well-balanced meal option.
Personal Note: I love that this recipe feels indulgent but actually has a decent nutritional profile. It’s one of those rare dishes that satisfies a craving for something rich and spicy while still being relatively light. I don’t count calories, but I appreciate knowing that I’m getting a good dose of protein and vegetables without feeling like I’m eating “diet food.”
Conclusion
These Buffalo Chicken Dip Stuffed Peppers have become a staple in my kitchen for one simple reason: they work. They work when I’m tired, when I’m hungry, when I have no energy to cook but still want something that feels special. They work for weeknight dinners, for game day snacks, for those late-night cravings that demand something spicy and satisfying. And they work with ingredients I almost always have on hand.
What I love most about this recipe is how forgiving it is. You can swap the chicken for cauliflower, use a different cheese, add more heat or less—it always turns out delicious. That’s the mark of a great recipe, in my opinion: one that invites you to make it your own. So go ahead, play with the proportions, try a new hot sauce, or stuff them into mini sweet peppers for a party appetizer. The base is solid, and the possibilities are endless.
I’d love to hear how these turn out for you. Did you try a variation? Did your family devour them? Drop a comment below and let me know—I read every single one, and your feedback helps me create better recipes for all of us. And if you’re looking for more quick, satisfying weeknight meals, check out my easy weeknight dinner collection for more ideas that respect your time and your taste buds.
Until next time, happy cooking—and don’t forget the extra ranch.
Frequently Asked Questions
Can I make these stuffed peppers ahead of time?
Absolutely. You can assemble the peppers up to 24 hours in advance and store them in the refrigerator, covered. When you’re ready to cook, just pop them in the oven or air fryer—you may need to add 2-3 minutes to the cooking time since they’ll be starting from cold. This makes them perfect for meal prep or entertaining.
Can I use mini sweet peppers instead of bell peppers?
Yes, and they make fantastic appetizers! Use about 12-16 mini sweet peppers, cut in half lengthwise and seeded. Reduce the filling amount per pepper (about 1 tablespoon each) and reduce the cooking time to 8-10 minutes in the oven or 5-7 minutes in the air fryer. They’re perfect for parties and disappear fast.
How do I make this recipe dairy-free?
Use dairy-free cream cheese (I like Kite Hill or Tofutti), dairy-free cheddar shreds (Violife or Daiya work well), and a dairy-free ranch dressing. The texture will be slightly less creamy, but the flavor is still fantastic. Just make sure your hot sauce is also dairy-free—most are, but it’s worth checking the label.
Can I use canned chicken instead of rotisserie chicken?
You can, but I don’t recommend it. Canned chicken has a softer, mushier texture and a different flavor that doesn’t hold up as well in this recipe. If you’re in a pinch, drain and rinse the canned chicken thoroughly, pat it dry, and add an extra tablespoon of hot sauce to boost the flavor. But for the best results, rotisserie chicken or leftover cooked chicken is the way to go.
What’s the best way to reheat leftover stuffed peppers?
The air fryer is my top choice—it brings back the texture of the peppers and gets the cheese bubbly again in about 4-5 minutes at 325°F. The oven works well too (350°F for 8-10 minutes). The microwave is quickest but will make the peppers softer. If you’re reheating multiple servings, spread them out on a baking sheet so they heat evenly instead of steaming each other.
Pin This Recipe!
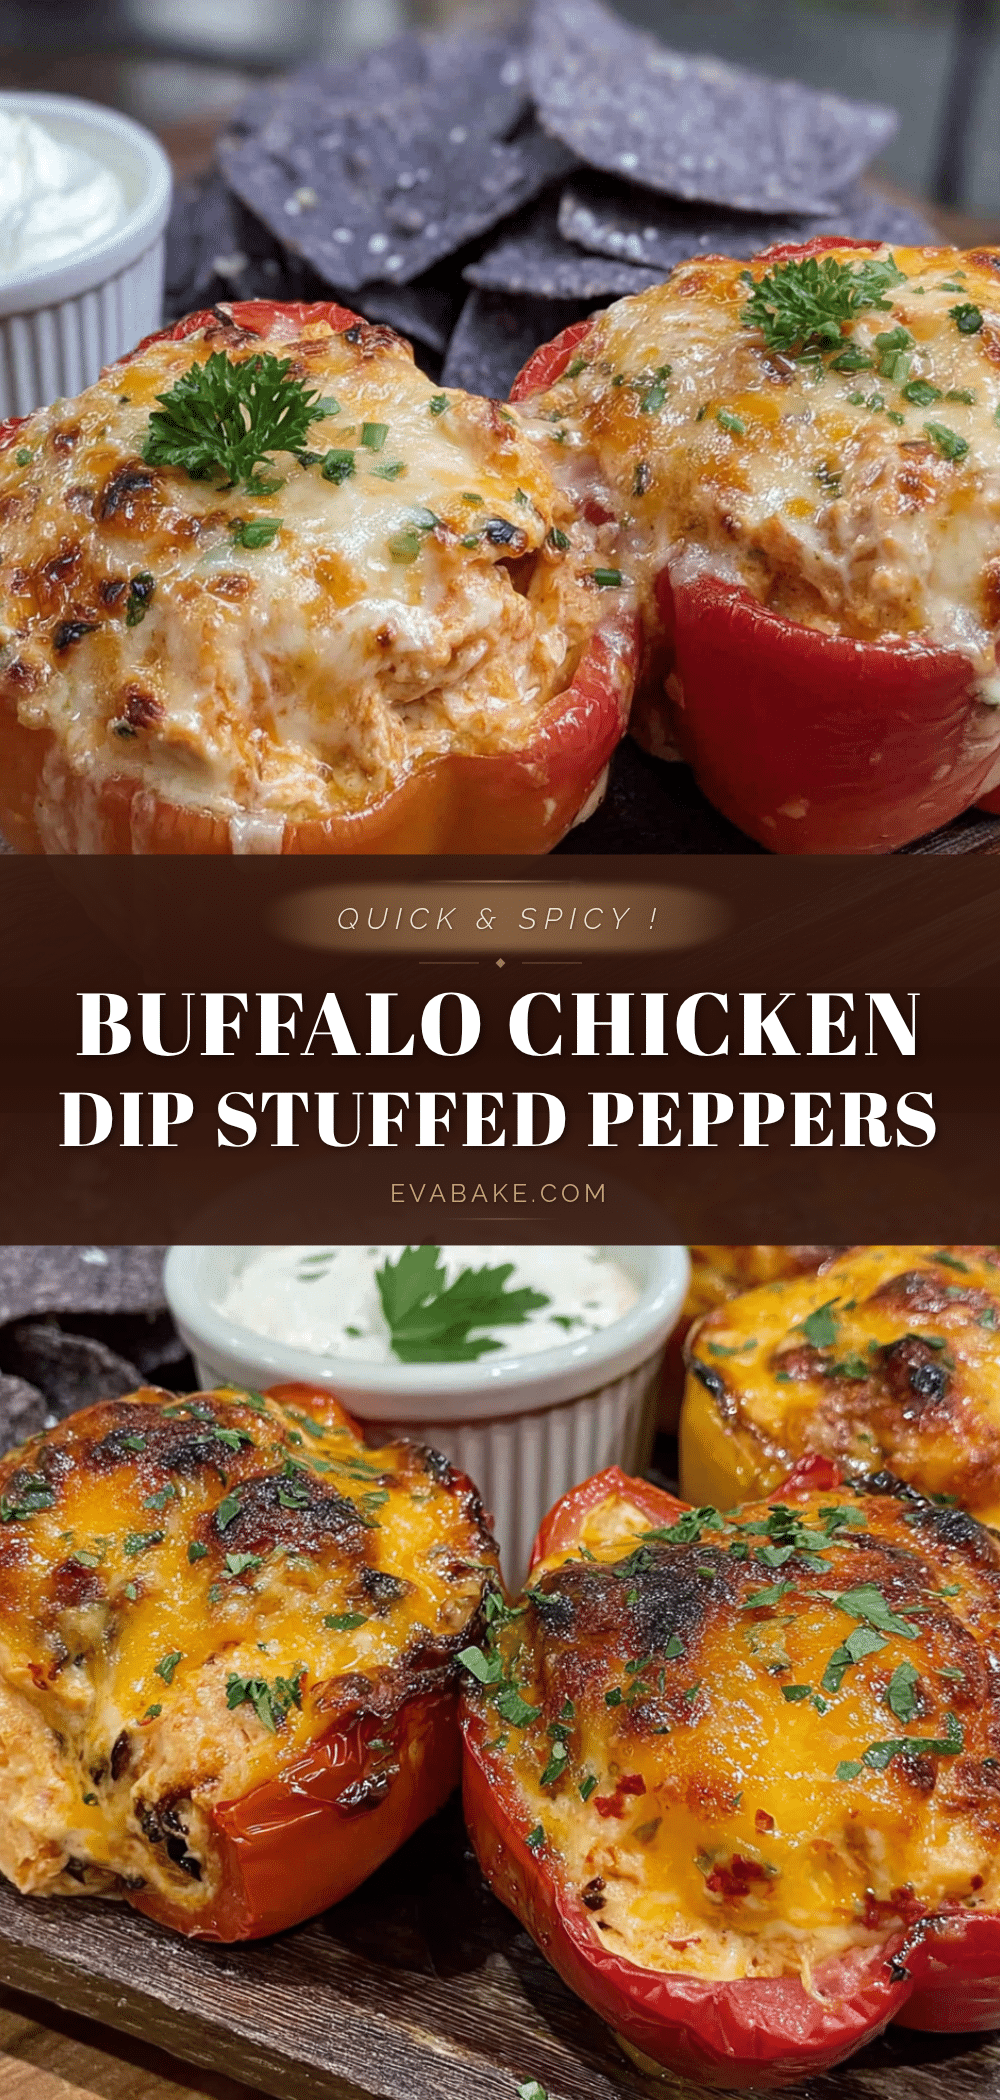
Easy Buffalo Chicken Dip Stuffed Peppers in 20 Minutes

These Buffalo Chicken Dip Stuffed Peppers are a quick and satisfying weeknight dinner or game day snack, combining creamy, spicy buffalo chicken filling with tender bell peppers. Ready in just 20 minutes, they deliver all the flavor of a party dip without the guilt.
- Prep Time: 10 minutes
- Cook Time: 10-18 minutes
- Total Time: 20 minutes
- Yield: 4 servings (8 pepper halves) 1x
- Category: Main Course
- Cuisine: American
Ingredients
- 2 cups cooked chicken, shredded (rotisserie chicken works perfectly)
- 4 oz cream cheese, softened
- 1/3 cup buffalo hot sauce (Frank’s RedHot recommended)
- 1/2 cup shredded cheddar cheese
- 1/4 cup ranch or blue cheese dressing (optional)
- 1/4 teaspoon garlic powder
- Salt and black pepper to taste
- 4 medium bell peppers (any color)
- 1 tablespoon olive oil
- 1/4 cup extra shredded cheddar cheese for topping
Instructions
- Preheat your oven to 375°F (190°C) or air fryer to 350°F (175°C).
- Wash and dry the bell peppers. Cut each in half lengthwise through the stem, remove seeds and membranes. Brush cut sides lightly with olive oil.
- Shred the cooked chicken (if using rotisserie, remove skin and bones first). You should have about 2 cups.
- In a medium bowl, combine softened cream cheese, buffalo hot sauce, ranch or blue cheese dressing (if using), garlic powder, and a pinch of black pepper. Stir until smooth. Add shredded chicken and 1/2 cup cheddar cheese; mix until evenly coated.
- Divide the filling evenly among the 8 pepper halves, pressing it in firmly. Sprinkle the extra 1/4 cup cheddar cheese over the tops.
- Place stuffed peppers on a baking sheet (oven) or in the air fryer basket. Oven: bake for 15-18 minutes until peppers are tender and cheese is melted. Air fryer: cook at 350°F for 10-12 minutes, checking at 8 minutes.
- Let rest for 2-3 minutes before serving. Serve warm with extra ranch or blue cheese dressing if desired.
Notes
For best results, soften cream cheese to room temperature before mixing. Pat shredded chicken dry to avoid watery filling. Peppers are done when fork-tender but still hold their shape. For extra flavor, broil empty pepper halves cut-side down for 2-3 minutes before stuffing.
Nutrition
- Serving Size: 2 stuffed pepper hal
- Calories: 390
- Sugar: 6
- Sodium: 1040
- Fat: 24
- Saturated Fat: 12
- Carbohydrates: 12
- Fiber: 4
- Protein: 32
Keywords: buffalo chicken dip, stuffed peppers, easy weeknight dinner, game day snack, low carb, keto, gluten-free


