I was standing in the checkout line at the grocery store, completely uninspired. It was the week before Halloween, and I had promised my niece I’d bring a treat to her school party. My usual go-to—a batch of brownies or a simple loaf cake—felt too predictable. I needed something fun, fast, and festive. Then I saw them. A bag of candy corn, sitting in one of those end-cap displays, practically glowing with its signature orange, yellow, and white stripes. I grabbed it without a second thought.
Honestly, I wasn’t sure what I was going to do with it. Candy corn is pretty, but it’s not exactly my favorite thing to eat straight out of the bag. It’s too sweet for me. But I knew it screamed “fall,” and that was enough. When I got home, I spotted the box of Rice Krispies cereal in the pantry, and it just clicked. Why not mash up two classic American treats? I mean, marshmallow Rice Krispie treats are already the perfect party food—easy to make, easy to transport, and loved by pretty much everyone. Adding candy corn felt like a no-brainer. It took me exactly twenty minutes from start to finish, and the result was way cuter than I expected. The colors layered together like a sunset, and the little white tips of the candy corn poked through the marshmallow mixture like tiny flags. I knew I had stumbled onto something good.
These Easy Candy Corn Rice Krispie Treats aren’t just a Halloween gimmick. They actually taste really good. The salty butter and marshmallow balance out the cloying sweetness of the candy corn, and the crunch from the cereal gives it that satisfying snap. Plus, they look like you spent way more time on them than you actually did. That’s my favorite kind of recipe. The one that makes you look like a hero with minimal effort. I’ve been making them every fall since that first accidental batch, and they never fail to get compliments. Once you try them, you’ll see exactly why.
Why You’ll Love This Recipe
Let’s be real for a second. Finding a festive Halloween treat that isn’t a total pain to make is like finding a parking spot right in front of the store. It rarely happens. But this recipe? It’s the unicorn of holiday baking. Here’s why you’re going to love it.
- Ready in 20 Minutes: I’m not kidding. From the moment you melt the butter to the second you press the mixture into the pan, you’re looking at about twenty minutes. No chilling, no baking, no complicated steps. It’s the perfect last-minute recipe for when you completely forget about the classroom party (we’ve all been there).
- Only 4 Main Ingredients: You need butter, marshmallows, Rice Krispies cereal, and candy corn. That’s it. You probably already have three of those things in your kitchen right now. No special trips to a fancy baking supply store required.
- Perfect for Halloween Parties: Whether you’re hosting a spooky movie night, sending treats to school, or just want something fun to snack on while you hand out candy, these treats fit the bill. They’re portable, kid-friendly, and they don’t melt or fall apart easily.
- A Total Crowd-Pleaser: I’ve served these at parties where half the people swore they “hated” candy corn. Guess what? They ate two pieces. The marshmallow coating mellows out the candy corn, making it way more palatable for skeptics. It’s a clever little trick.
- Unbelievably Cute: Let’s be honest, the visual appeal is half the fun. The layers of orange, yellow, and white look like actual candy corn, but in bar form. They’re Instagram-worthy without requiring any piping bags or food coloring gels.
What makes this recipe different from the hundreds of other Rice Krispie treat recipes out there is the texture. Most versions get hard and stale after a few hours. Not these. The secret is adding the candy corn after you’ve folded in the cereal, so it stays slightly chewy and doesn’t melt into a sugary puddle. I tested this method about four times before I got it exactly right. The result is a bar that stays soft, chewy, and perfectly balanced for days.
What Ingredients You Will Need
This recipe keeps things simple, but every ingredient has a job to do. Here’s what you’ll need to grab from your pantry.
- 3 tablespoons unsalted butter: Don’t use margarine or salted butter here if you can help it. Unsalted butter lets you control the salt level, and it gives the treats that rich, buttery flavor that makes them irresistible. If all you have is salted butter, just skip adding any extra salt later.
- 1 package (10 oz) mini marshmallows: Regular-sized marshmallows work too, but minis melt faster and more evenly. I’ve tested this with both, and the minis give you a smoother, creamier texture. Jet-Puffed is my go-to brand because they melt like a dream.
- 6 cups Rice Krispies cereal: Generic puffed rice cereal works fine, but the name brand holds its crunch a little longer. Whatever you choose, make sure it’s fresh. Stale cereal will give you sad, soggy treats.
- 1 cup candy corn: This is where the magic happens. You can use classic candy corn or the autumn mix that has those little pumpkins. Brach’s is the most common brand, and it works perfectly. Pro tip: buy an extra bag because you’ll definitely snack on some while you’re cooking.
- ¼ teaspoon vanilla extract (optional): This isn’t in the original recipe, but I add it because it rounds out the sweetness. It makes the treats taste more like a dessert and less like pure sugar. Totally optional, but highly recommended.
- Pinch of flaky sea salt (optional): If you like that sweet-salty combo (and honestly, who doesn’t?), sprinkle a little flaky salt on top right after you press the mixture into the pan. It cuts through the sweetness beautifully.
I want to mention one thing about the candy corn. Not all candy corn is created equal. Some brands are softer and almost waxy, while others are harder and crunchier. Brach’s is somewhere in the middle, which is perfect for this recipe. If you use a very hard candy corn, it might be a little tough to bite into when the treat is cold. Just let the bars sit at room temperature for a few minutes before serving, and they’ll soften up nicely.
If you’re looking for a more wholesome option, you can swap the butter for a plant-based alternative. I’ve used Miyoko’s vegan butter before, and it worked great. The treats were slightly less rich, but still delicious. For a gluten-free version, just double-check that your Rice Krispies are labeled gluten-free. The original recipe is naturally gluten-free, but some generic brands add malt flavoring, which contains gluten. It’s always worth reading the label.
Equipment Needed
You don’t need a fancy kitchen to pull this off. Here’s what you’ll need.
- Large pot or Dutch oven: You need a pot big enough to hold all six cups of cereal plus the marshmallows. A 5-quart pot is ideal. Don’t use a small saucepan, or you’ll end up with cereal all over your stove.
- 9×13-inch baking pan: This is the standard size for Rice Krispie treats. If you want thicker bars, use an 8×8-inch pan. Just note that you’ll need to adjust the pressing time—thicker layers take a little more effort to flatten evenly.
- Parchment paper: This is non-negotiable. Line your pan with parchment paper, leaving some overhang on the sides. It makes lifting the entire block of treats out of the pan so much easier. No scraping, no sticking, no tears.
- Rubber spatula: A silicone spatula is your best friend here. It won’t scratch your pot, and it’s flexible enough to fold the cereal into the marshmallow mixture without crushing it.
- Butter knife or offset spatula: For spreading the mixture evenly in the pan. I usually spray mine with a little non-stick cooking spray to prevent sticking.
- Measuring cups and spoons: You’ll need a liquid measuring cup for the cereal and standard spoons for the butter and vanilla.
If you don’t have a 9×13 pan, you can use a disposable aluminum baking pan. They’re cheap and perfect for bringing treats to parties. Just be careful when cutting the bars—the aluminum can bend if you press too hard. I learned that the hard way and ended up with a lopsided mess.
Preparation Method
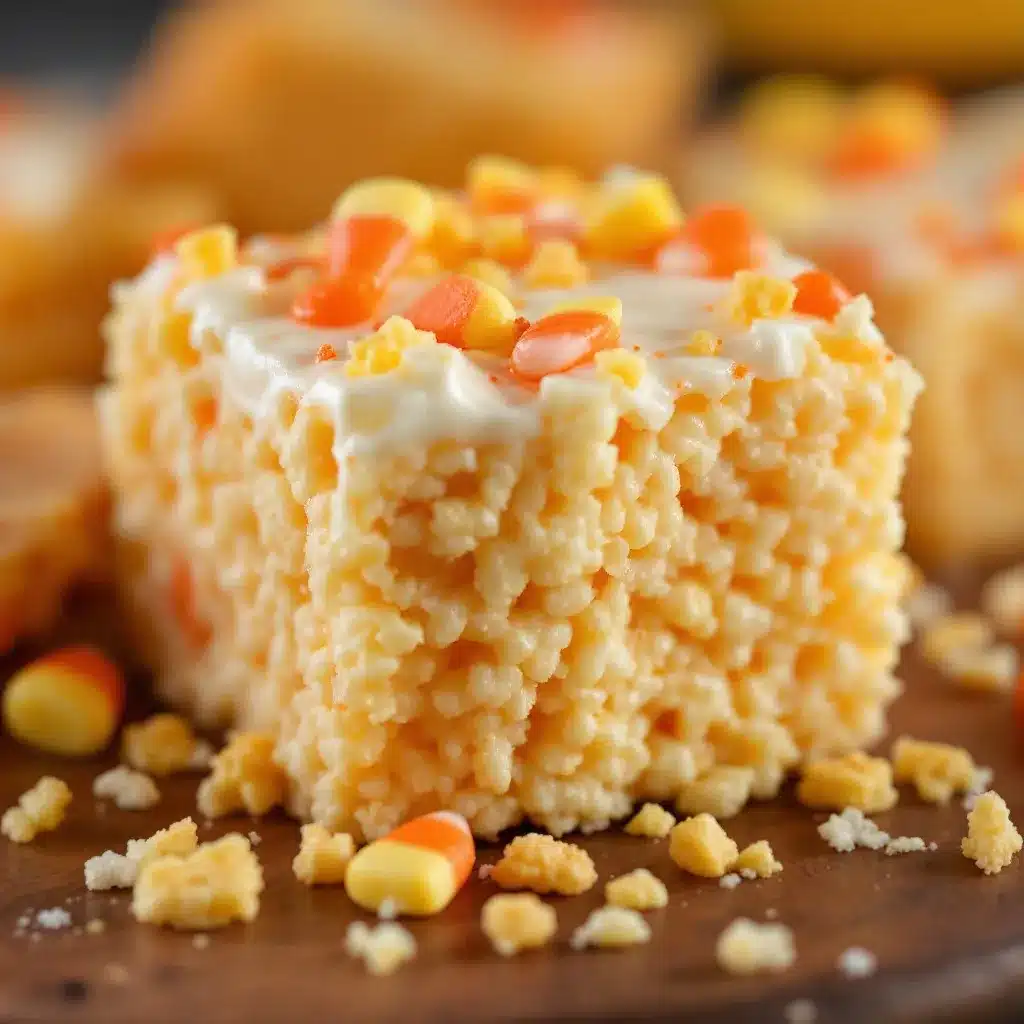
Alright, let’s get to the fun part. Follow these steps carefully, and you’ll have perfect treats every single time.
- Prep your pan. Line a 9×13-inch baking pan with parchment paper, leaving about two inches of overhang on the long sides. Lightly spray the parchment with non-stick cooking spray. This ensures nothing sticks. Set the pan aside.
- Melt the butter. Place your large pot over medium-low heat. Add the 3 tablespoons of unsalted butter and let it melt slowly. Don’t rush this step. If the butter burns, it will give the treats a bitter, nutty flavor. You want it just melted, not sizzling.
- Add the marshmallows. Pour the entire 10-ounce bag of mini marshmallows into the pot. Stir constantly with your rubber spatula until the marshmallows are completely melted and smooth. This takes about 3-4 minutes. Keep the heat on low to medium-low. High heat will scorch the marshmallows and make them grainy.
- Add vanilla and salt (optional). If you’re using the vanilla extract and flaky salt, stir them in now. The vanilla will bubble up a little—that’s normal. Just keep stirring until everything is combined. Remove the pot from the heat.
- Fold in the cereal. Add the 6 cups of Rice Krispies cereal to the pot. Using a gentle folding motion, incorporate the cereal into the marshmallow mixture. Don’t stir aggressively, or you’ll crush the cereal and end up with dense, hard treats. Fold until no dry spots remain. You want every piece of cereal coated, but still intact.
- Fold in the candy corn. Add 1 cup of candy corn to the pot. Fold it in gently, just until the candy corn is evenly distributed. Be careful not to overmix—the candy corn will start to melt if you handle it too much. You want distinct pieces of candy corn visible throughout the mixture.
- Transfer to the pan. Scrape the entire mixture into your prepared pan. It will be sticky and a little stubborn. Don’t worry, that’s normal.
- Press it down. Lightly spray your hands or a butter knife with non-stick cooking spray. Press the mixture evenly into the pan. Don’t press too hard—you want the treats to be firm, but not compacted. If you press too hard, they’ll be rock hard once they set. Just gentle, even pressure.
- Let them set. Allow the treats to cool at room temperature for at least 30 minutes. Don’t put them in the fridge to speed things up—they’ll get too hard and lose that soft, chewy texture.
- Cut and serve. Once set, lift the entire block out of the pan using the parchment overhang. Place it on a cutting board. Use a sharp knife to cut into squares. I like to cut them into 12 large bars or 24 smaller bite-sized pieces. Wipe the knife clean between cuts for neat edges.
One thing I’ve learned the hard way: timing is everything with this recipe. The marshmallow mixture starts to set as soon as it cools, so work quickly once you add the cereal. If the mixture gets too stiff before you press it into the pan, you can microwave it for 10-15 seconds to soften it up. Just don’t overdo it, or the candy corn will melt into a puddle.
Cooking Tips & Techniques
After making these treats about a dozen times, I’ve picked up a few tricks that make a real difference. Here are my best tips for success.
Use low heat. I know it’s tempting to crank up the heat to melt the butter and marshmallows faster, but don’t do it. High heat will scorch the marshmallows and give you a grainy, unpleasant texture. Low and slow is the way to go. Your patience will be rewarded with silky, smooth marshmallow goodness.
Grease everything. Marshmallow mixture sticks to everything. I mean everything. Spray your spatula, your hands, your knife, and even the inside of your measuring cup with non-stick spray before you start. It makes cleanup so much easier, and it prevents the mixture from sticking to your tools while you’re working.
Don’t skimp on the candy corn. I know one cup seems like a lot, but trust me, you want that pop of color and sweetness in every bite. If you use less, the treats will look bland and the flavor won’t come through. Go big or go home, as they say.
Let them cool completely before cutting. I made the mistake of cutting into a warm batch once, and it was a disaster. The bars were gooey, the candy corn stretched like taffy, and the edges were ragged. Patience, my friend. Let them set fully, and you’ll get clean, beautiful squares.
Store them properly. These treats stay fresh for about 3-4 days at room temperature. Keep them in an airtight container with wax paper between the layers. Don’t store them in the fridge—they’ll get hard and lose their soft texture. If you want to keep them longer, you can freeze them for up to a month. Just wrap them tightly in plastic wrap and then foil.
I once tried to make these treats with stale cereal, and it was a total flop. The cereal absorbed too much moisture from the marshmallows and turned into a sad, soggy mess. Always use fresh cereal for the best texture. If your box has been open for more than a week, it’s probably time to buy a new one.
Variations & Adaptations
One of the best things about this recipe is how easy it is to customize. Here are a few of my favorite variations.
Chocolate Drizzle: Melt half a cup of semi-sweet chocolate chips with a teaspoon of coconut oil. Drizzle it over the set treats for a fancy finish. The chocolate pairs beautifully with the sweet candy corn and adds a touch of elegance. This is my go-to version when I’m bringing these to a grown-up party.
Peanut Butter Swirl: Warm up a quarter cup of creamy peanut butter in the microwave for about 20 seconds. Drop spoonfuls of it over the marshmallow mixture before you press it into the pan, then swirl it gently with a knife. The salty peanut butter cuts through the sweetness and adds a whole new layer of flavor. If you’re a fan of peanut butter and candy corn, this combo is a game-changer.
Spooky Mix-Ins: Swap out half the candy corn for candy pumpkins or those little candy eyeballs. It makes the treats even more Halloween-themed and adds extra texture. Kids love finding the different shapes in their bars. Just be careful not to add too many mix-ins, or the treats won’t hold together well.
Vegan Version: Use vegan butter and vegan marshmallows (Dandies is a great brand). Everything else is already plant-based. The texture will be slightly different—vegan marshmallows don’t get quite as gooey—but they’re still delicious. I’ve made this version for a friend’s Halloween party, and no one even noticed the difference.
Gluten-Free Adaptation: This recipe is naturally gluten-free if you use certified gluten-free Rice Krispies. Some generic brands add malt flavoring, which contains gluten, so always check the label. You can also use puffed brown rice cereal for a whole-grain twist. It’s a little heartier, but it works.
I once tried adding chopped pretzels to the mix for a salty crunch, and it was a huge hit. The pretzels add a savory element that balances the sweetness perfectly. If you’re feeling adventurous, give it a try. Just crush the pretzels into small pieces so they don’t overwhelm the texture.
Serving & Storage Suggestions
These treats are best served at room temperature. The marshmallow is soft, the cereal is crunchy, and the candy corn is perfectly chewy. If you’ve refrigerated them, let them sit out for about 15-20 minutes before serving so they soften up.
For presentation, I like to cut the treats into squares and arrange them on a platter lined with orange or black napkins. You can also stick a lollipop stick into each square and wrap them in cellophane bags for individual party favors. They make adorable Halloween treats for classroom parties or trick-or-treaters.
These treats pair beautifully with a warm cup of apple cider or a pumpkin spice latte. The sweet, buttery flavor complements the spiced notes of fall drinks perfectly. If you’re serving them at a party, put out a bowl of fresh apple slices or popcorn to balance out the sweetness.
For storage, keep them in an airtight container at room temperature for up to 4 days. Place a piece of wax paper between the layers to prevent sticking. Do not store them in the refrigerator—the cold air will dry them out and make them hard. If you need to store them longer, you can freeze them for up to a month. Wrap each square individually in plastic wrap, then place them in a freezer-safe bag. Thaw at room temperature for about 30 minutes before serving.
One thing I’ve noticed is that these treats actually get better after a day. The flavors meld together, and the texture becomes perfectly chewy. So don’t stress about making them the day of your event. They’re actually better if you make them a day ahead.
Nutritional Information & Benefits
Let’s be honest—these are a treat, not a health food. But here’s a rough estimate of what you’re looking at per serving (based on 12 large bars).
| Nutrient | Amount Per Serving |
|---|---|
| Calories | 220 |
| Total Fat | 6g |
| Saturated Fat | 3.5g |
| Cholesterol | 15mg |
| Sodium | 180mg |
| Total Carbohydrates | 42g |
| Dietary Fiber | 0g |
| Total Sugars | 28g |
| Protein | 2g |
The Rice Krispies cereal provides a small amount of iron and B vitamins, and the butter adds a touch of vitamin A. But let’s be real—this is a dessert. It’s meant to be enjoyed in moderation as part of a balanced diet. If you’re looking for a healthier snack option, you might want to check out these easy no-bake peanut butter energy balls for a more nutritious alternative.
From a dietary perspective, this recipe is naturally nut-free (if you use nut-free candy corn), making it safe for school parties. It’s also vegetarian-friendly. The main allergens to watch out for are dairy (butter) and gluten (check your cereal brand). If you’re serving these at a gathering, it’s always a good idea to label them clearly so guests with allergies can make informed choices.
Conclusion
These Easy Candy Corn Rice Krispie Treats are the kind of recipe that makes you look like a kitchen wizard without spending hours in the kitchen. They’re fun, festive, and foolproof. Whether you’re making them for a Halloween party, a classroom celebration, or just because you’re craving something sweet and nostalgic, they never disappoint.
I love that this recipe lets you be creative. You can keep it classic or dress it up with chocolate, peanut butter, or any mix-ins you like. It’s a blank canvas for your fall baking adventures. And honestly, the fact that they’re ready in 20 minutes is just the cherry on top.
If you give these a try, I’d love to hear how they turn out. Leave a comment below and let me know if you added any fun twists. Did you drizzle them with chocolate? Swap in pumpkin-shaped marshmallows? I want to hear all about it. And if you’re looking for more easy, last-minute treats, don’t forget to check out these pumpkin spice protein balls for another quick snack idea.
Happy Halloween, and happy snacking!
Frequently Asked Questions
Can I use regular marshmallows instead of mini marshmallows?
Yes, you can. Regular marshmallows take a little longer to melt, so just be patient and keep stirring. The final texture will be the same. Just cut them into smaller pieces before adding them to the pot to speed up the melting process.
Why are my Rice Krispie treats hard?
This usually happens when you press the mixture too firmly into the pan or when you use too high heat. Gentle pressure is key. Also, make sure you’re not over-melting the marshmallows. Once they’re smooth, remove the pot from the heat immediately.
Can I freeze these treats?
Absolutely. Wrap each square individually in plastic wrap, then place them in a freezer-safe bag. They’ll keep for up to a month. Thaw at room temperature for about 30 minutes before serving. They taste just as fresh as the day you made them.
Can I use a different type of candy corn?
Yes, you can use any seasonal candy corn variation. The autumn mix with the little pumpkins works great. Just avoid using candy corn that’s too hard or too soft, as it will affect the texture of the final treat.
How do I make these treats less sweet?
You can reduce the amount of candy corn to ¾ cup, or add a pinch of flaky sea salt on top. The salt helps balance the sweetness. You could also use dark chocolate chips as a mix-in, which adds a slightly bitter note that offsets the sugar.
Pin This Recipe!
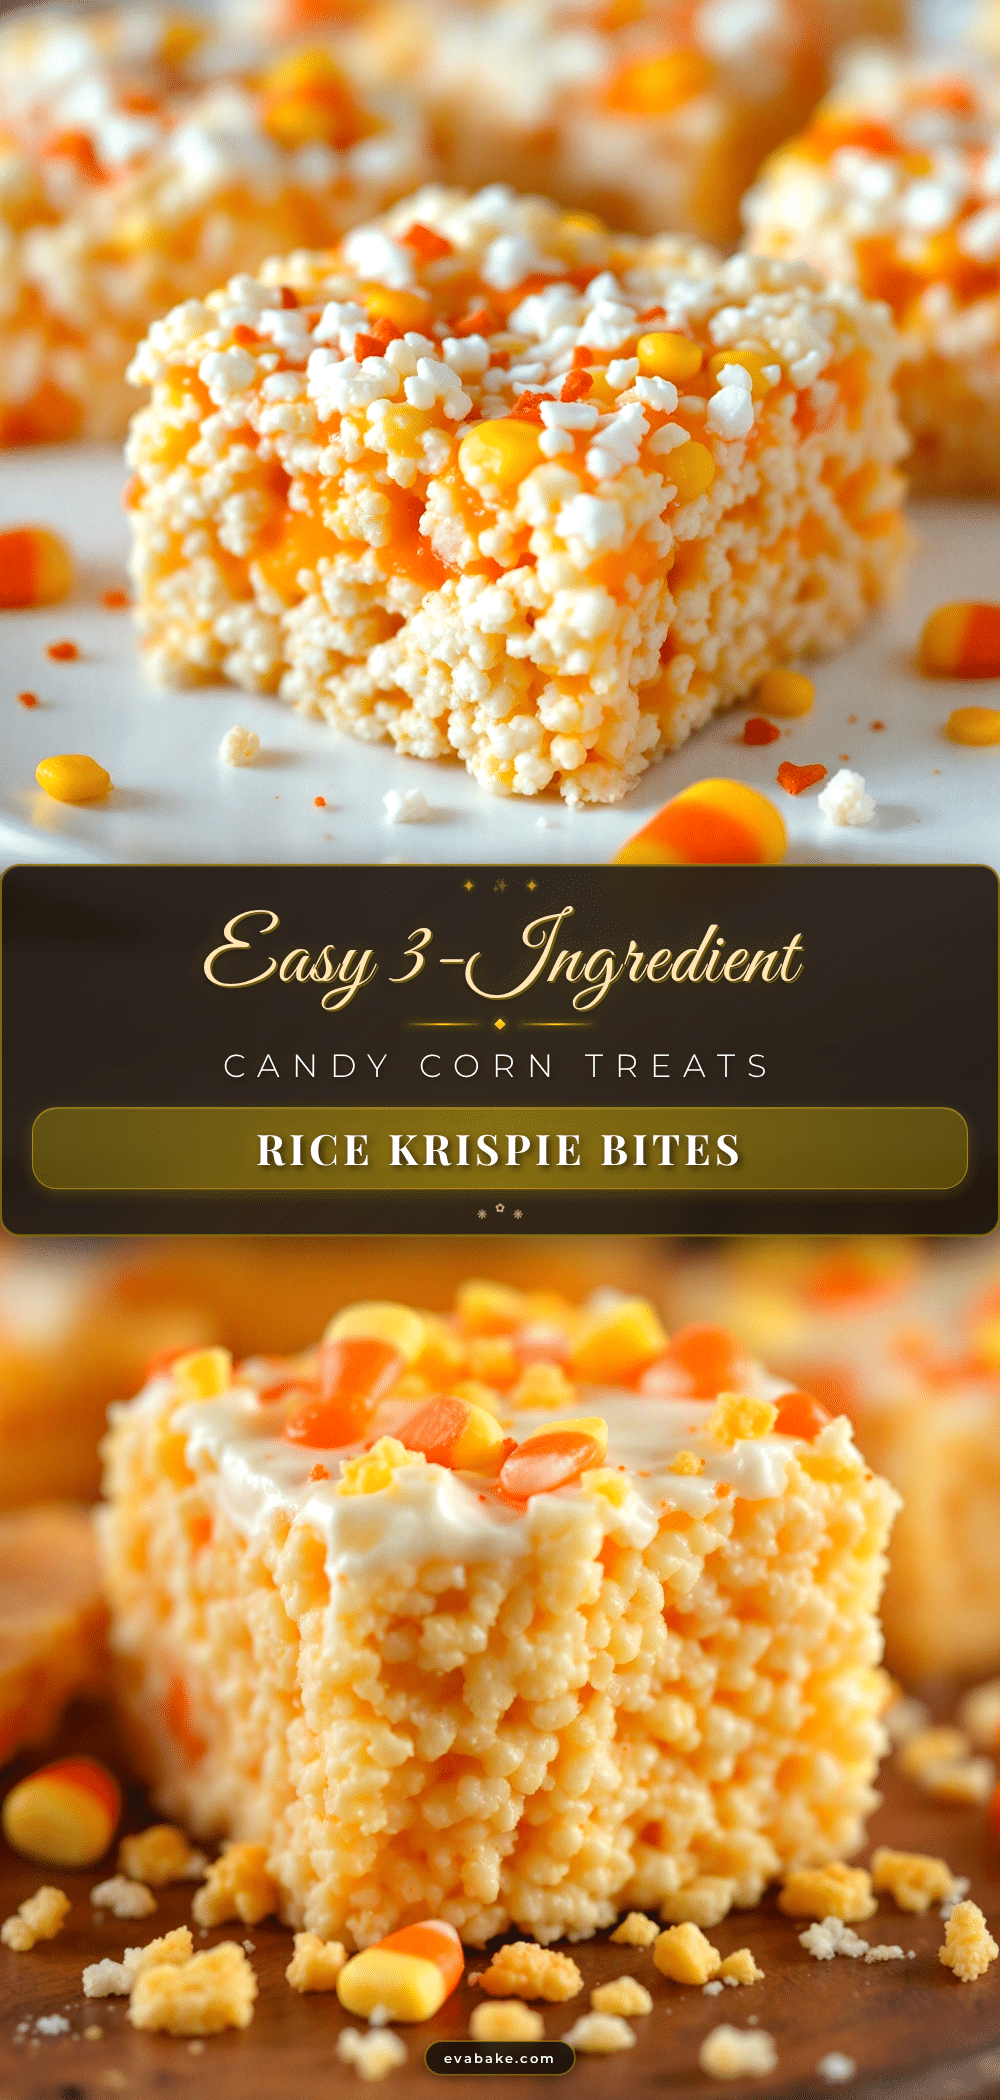
Easy Candy Corn Rice Krispie Treats (Best 20-Minute Recipe)
These Easy Candy Corn Rice Krispie Treats are a festive, no-bake Halloween dessert ready in just 20 minutes. Made with only 4 main ingredients, they’re soft, chewy, and perfectly balanced with sweet candy corn and buttery marshmallow.
- Prep Time: 10 minutes
- Cook Time: 10 minutes
- Total Time: 20 minutes
- Yield: 12 servings 1x
- Category: Dessert
- Cuisine: American
Ingredients
- 3 tablespoons unsalted butter
- 1 package (10 oz) mini marshmallows
- 6 cups Rice Krispies cereal
- 1 cup candy corn
- ¼ teaspoon vanilla extract (optional)
- Pinch of flaky sea salt (optional)
Instructions
- Prep your pan. Line a 9×13-inch baking pan with parchment paper, leaving about two inches of overhang on the long sides. Lightly spray the parchment with non-stick cooking spray. Set aside.
- Melt the butter. Place a large pot over medium-low heat. Add the 3 tablespoons of unsalted butter and let it melt slowly. Do not let it burn.
- Add the marshmallows. Pour the entire 10-ounce bag of mini marshmallows into the pot. Stir constantly with a rubber spatula until completely melted and smooth, about 3-4 minutes. Keep heat on low to medium-low.
- Add vanilla and salt (optional). If using, stir in the vanilla extract and flaky salt. Remove the pot from the heat.
- Fold in the cereal. Add the 6 cups of Rice Krispies cereal to the pot. Gently fold until no dry spots remain, being careful not to crush the cereal.
- Fold in the candy corn. Add 1 cup of candy corn and fold gently until evenly distributed. Do not overmix.
- Transfer to the pan. Scrape the mixture into the prepared pan.
- Press it down. Lightly spray your hands or a butter knife with non-stick cooking spray. Press the mixture evenly into the pan with gentle, even pressure.
- Let them set. Allow the treats to cool at room temperature for at least 30 minutes. Do not refrigerate.
- Cut and serve. Once set, lift the block out of the pan using the parchment overhang. Cut into squares with a sharp knife. Wipe the knife clean between cuts.
Notes
Use low heat to avoid scorching marshmallows. Grease all tools with non-stick spray to prevent sticking. Let treats cool completely before cutting for clean edges. Store in an airtight container at room temperature for up to 4 days. For longer storage, freeze individually wrapped squares for up to a month.
Nutrition
- Serving Size: 1 large bar
- Calories: 220
- Sugar: 28
- Sodium: 180
- Fat: 6
- Saturated Fat: 3.5
- Carbohydrates: 42
- Protein: 2
Keywords: candy corn rice krispie treats, halloween treats, no-bake dessert, easy rice krispie treats, 20-minute recipe


