That soft, creamy spread sliding over the smooth curve of a ripe banana — it’s a simple sensation, but honestly, it still takes me back to my childhood kitchen on lazy Sunday afternoons. The quiet hum of the ceiling fan, the faint chatter from the radio, and a small, sticky mess on the counter from where I’d sneak spoonfuls of peanut butter before anyone noticed. Somehow, putting peanut butter and banana together felt like a secret treat, a little homemade magic that didn’t need a recipe or fancy gadgets.
Years later, I found myself recreating that exact feeling in a playful, unexpected way: rolling peanut butter and banana inside a soft tortilla, sliced into bite-sized rounds, like little sushi rolls. It wasn’t fancy, but it was just right — creamy, sweet, and a bit nutty, with a fun twist that felt fresh and easy. It’s the kind of snack that doesn’t demand much but somehow delivers comfort and delight in every bite.
What stuck with me was how the “Easy Creamy Peanut Butter Banana Sushi Roll” became a go-to for those moments when I needed something quick, satisfying, and a little nostalgic. No fuss, no stress — just that perfect blend of flavors that makes you pause and smile, maybe even close your eyes for a second. It’s not just a snack; it’s a little slice of cozy, wrapped up and ready whenever you need it.
Why You’ll Love This Recipe
After countless afternoon experiments and snack-time trials, this Easy Creamy Peanut Butter Banana Sushi Roll recipe has earned its spot in my kitchen rotation. It’s not just an easy snack; it’s a little celebration of flavors and textures that come together with minimal effort.
- Quick & Easy: Takes just 10 minutes from start to finish — ideal for busy afternoons or last-minute snack cravings.
- Simple Ingredients: Uses common pantry staples and fresh bananas, so no need for specialty shopping trips.
- Perfect for Kids and Adults: A fun, approachable snack that gets rave reviews from little ones and grown-ups alike.
- Wholesome & Filling: Combines natural sugars with protein and healthy fats for a balanced bite.
- Creative Twist: Unlike your typical peanut butter and banana combo, rolling it sushi-style adds playful texture and makes it portable.
What makes this recipe stand out? The creamy peanut butter I prefer is a little on the smoother side — I like Skippy Natural or Justin’s Classic — because it spreads easily without overpowering the banana’s sweetness. Plus, the gentle press when rolling the tortilla keeps everything snug but soft, creating a texture that’s both creamy and slightly chewy.
Honestly, this snack is the kind that makes you want to share it with friends, yet keep the secret for yourself. It’s quick to make, satisfying, and just the right amount of indulgent — a little treat that feels homemade and thoughtful without any stress.
What Ingredients You Will Need
This Easy Creamy Peanut Butter Banana Sushi Roll recipe uses straightforward ingredients that come together effortlessly. Each one plays a role in creating the perfect balance of creamy, sweet, and chewy textures without complicating things.
- Flour Tortillas: Small or medium size, soft and pliable — these act as the sushi “wrapper.” I usually buy the 8-inch ones for perfect bite-sized rolls.
- Peanut Butter: Creamy style is key here for easy spreading. Natural or no-stir varieties work best. If you prefer, almond butter or sunflower seed butter are good swaps.
- Bananas: Ripe but firm — they should be sweet but not mushy so they hold shape when sliced.
- Honey or Maple Syrup (optional): A light drizzle adds a hint of extra sweetness and a glossy finish.
- Chia or Flax Seeds (optional): For a slight crunch and nutritional boost, sprinkle a few inside before rolling.
- Shredded Coconut or Mini Chocolate Chips (optional): To add texture or a little fun surprise inside the sushi roll.
All these ingredients are things you probably have on hand or can find at any grocery store. I like that this recipe is flexible: you can swap the peanut butter for a nut-free spread if allergies are a concern, or even try different fruits if you want to switch things up.
Equipment Needed
- Cutting Board: For slicing the banana and rolling the sushi.
- Sharp Knife: A small paring knife or chef’s knife works well to get clean, even slices without squishing the banana.
- Spoon or Butter Knife: For spreading the peanut butter smoothly over the tortilla.
- Plate or Serving Tray: To arrange the sushi rolls neatly before serving.
No fancy gadgets needed here. I often use the same knife I chop veggies with, but make sure it’s sharp to avoid any squashed rolls. If you want to get fancy, a sushi rolling mat can help keep things tight, but honestly, my fingers do just fine. Plus, cleanup is a breeze with minimal equipment involved.
Preparation Method
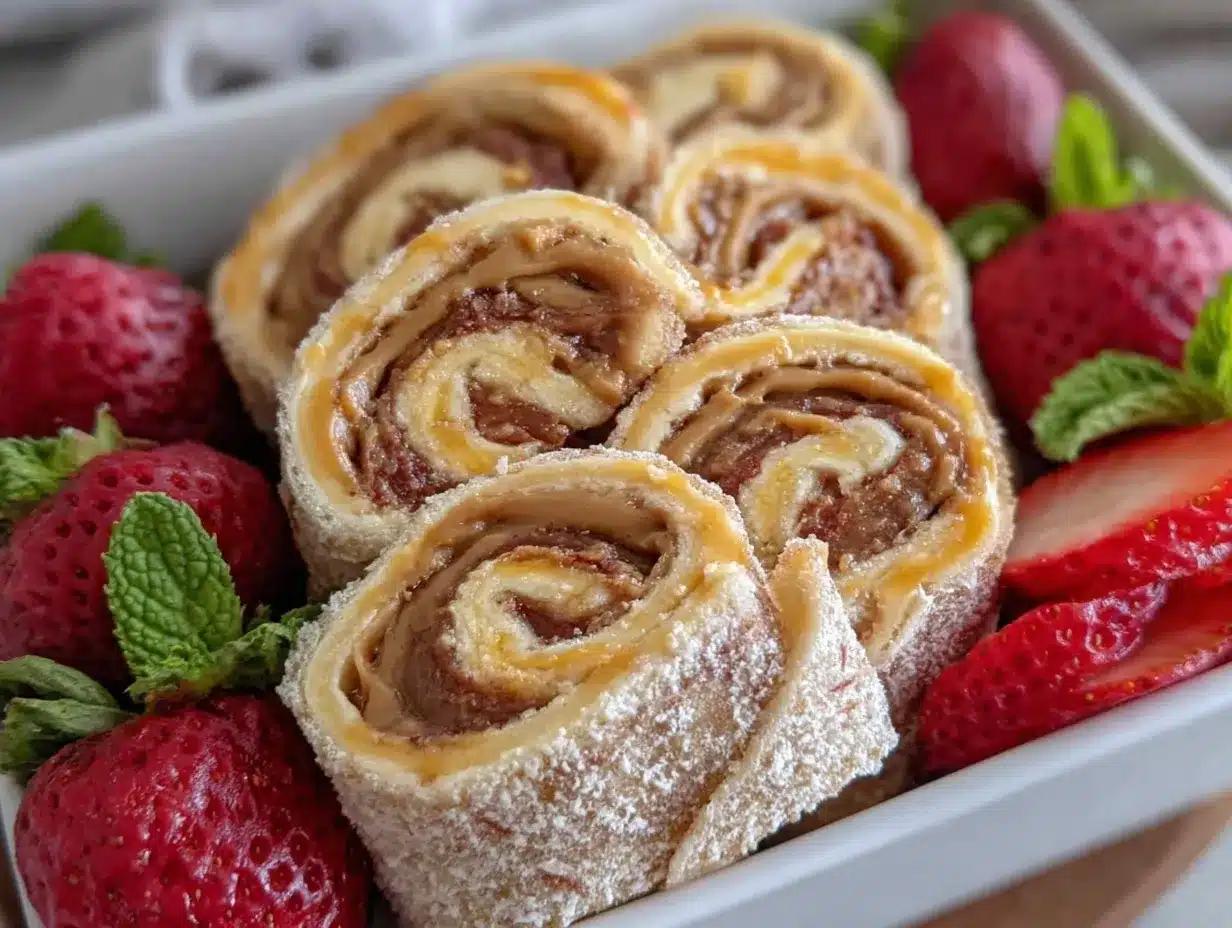
- Warm the Tortilla: Gently heat one flour tortilla in a dry skillet or microwave for about 10-15 seconds (5-10 seconds in microwave). This makes it more flexible and easier to roll without cracking.
- Spread the Peanut Butter: Using a butter knife or spoon, spread about 2 tablespoons (30 g) of creamy peanut butter evenly over the entire surface of the warmed tortilla. Aim for a thin, even layer—too thick and it can be hard to roll.
- Add Optional Extras: If using chia seeds, flax seeds, shredded coconut, or mini chocolate chips, sprinkle about 1 teaspoon across the peanut butter layer now for extra flavor and texture.
- Place the Banana: Peel one ripe but firm banana and lay it horizontally near one edge of the tortilla. This banana should be about 6-7 inches (15-18 cm) long.
- Roll it Up: Carefully lift the edge of the tortilla closest to the banana and roll it tightly but gently around the fruit, making sure the peanut butter holds it together. Press lightly as you roll to keep it snug.
- Slice Into Rolls: Using a sharp knife, slice the rolled tortilla into 1-inch (2.5 cm) thick pieces, resembling sushi rounds. Clean the knife between slices if needed to keep edges neat.
- Plate and Drizzle: Arrange the banana sushi rolls on a serving plate. Optionally, drizzle a little honey or maple syrup over the top for added sweetness and shine.
Note: If your peanut butter is too thick to spread easily, warm it slightly in the microwave for 10 seconds before spreading. Also, ripe bananas that are too soft can make rolling tricky—choose ones that hold their shape well for best results.
Cooking Tips & Techniques
Here are some tips I gathered from trial and error (and a few sticky fingers) to make your Easy Creamy Peanut Butter Banana Sushi Rolls perfect every time:
- Soft Tortillas Are Essential: Cold or stale tortillas tend to crack when rolling. A quick warm-up makes all the difference.
- Spread Evenly, But Thinly: Thick peanut butter can make rolling difficult and messy. A thin layer keeps the roll tidy and easy to slice.
- Use a Sharp Knife: A dull blade squashes the banana and flattens the roll. Wipe the knife clean after a few cuts to maintain neat slices.
- Banana Ripeness: If your bananas are on the mushier side, chill them briefly before rolling to firm them up.
- Multitasking Snack Prep: While you warm tortillas, peel and slice bananas to speed things up.
- Storage Tip: These rolls taste best fresh but can be wrapped tightly and refrigerated for a few hours. Let them come to room temperature before serving for that soft, creamy feel.
Variations & Adaptations
Want to mix it up? This recipe is wonderfully adaptable:
- Nut-Free Version: Swap peanut butter for sunflower seed butter or soy nut butter to accommodate allergies.
- Fruit Swaps: Try sliced strawberries, kiwi, or even apple slices inside for a different fruity twist.
- Chocolate Lovers: Add a thin spread of Nutella under the peanut butter or sprinkle mini chocolate chips inside before rolling.
- Gluten-Free Option: Use gluten-free tortillas or large lettuce leaves for a low-carb, gluten-free version.
- Crunch Factor: Add chopped nuts or granola inside the roll for texture and a little extra protein.
Once, I tried adding a light smear of cream cheese under the peanut butter — it added a tangy note that balanced the sweetness beautifully. It’s a little indulgent but a fun treat for weekend brunches or casual get-togethers.
Serving & Storage Suggestions
These peanut butter banana sushi rolls are best enjoyed fresh and at room temperature. They make a perfect snack for a quick energy boost or a light dessert after meals.
Serve them on a colorful plate to highlight the pale yellow banana and creamy spread. Pair with a cold glass of milk, a cup of tea, or a smoothie for a wholesome snack combo.
If you need to store leftovers, wrap them tightly in plastic wrap or place in an airtight container and refrigerate for up to 24 hours. Before serving, let them sit out for about 15 minutes to soften up again — the peanut butter firms up when chilled, and you want that creamy texture back.
They’re also great packed in lunchboxes or for on-the-go snacking. Just keep them cool and fresh until ready to eat.
Nutritional Information & Benefits
Each serving of these peanut butter banana sushi rolls offers a balanced mix of nutrients:
- Protein & Healthy Fats: From the peanut butter, supporting sustained energy.
- Natural Sugars & Fiber: From the banana, fueling your brain and aiding digestion.
- Low in Added Sugars: Optional honey drizzle keeps sweetness natural and light.
This recipe can fit well into gluten-free and vegetarian diets with simple swaps. If allergies are a concern, sunflower seed butter is a safe alternative. It’s a wholesome snack that feels indulgent but offers real nutritional value — perfect for a quick pick-me-up or a kid-friendly treat.
Conclusion
The Easy Creamy Peanut Butter Banana Sushi Roll has become one of those recipes that feels like a little secret between me and the kitchen. It’s simple, satisfying, and just a bit playful — the kind of snack that makes you smile without fuss or fancy ingredients.
Feel free to tweak it to your liking — whether you want to add a little chocolate, swap fruits, or keep it classic with just peanut butter and banana. It’s your snack, your rules.
I love this recipe because it brings back those cozy childhood moments while fitting perfectly into my busy adult life. If you try it, I’d love to hear your own variations and stories — there’s always room to make this recipe your own.
Happy rolling and snacking!
FAQs
Can I use crunchy peanut butter instead of creamy?
Yes, but creamy spreads more evenly and makes rolling easier. Crunchy peanut butter can add texture if you like some crunch in your rolls.
What if I don’t have tortillas? Can I use something else?
You can use large lettuce leaves or gluten-free wraps as alternatives. Just make sure they’re pliable enough to roll without tearing.
How long can I store these peanut butter banana sushi rolls?
Store them in an airtight container in the fridge for up to 24 hours. Let them come to room temperature before serving for the best texture.
Can I make these ahead of time for a party?
Absolutely! Prepare them a few hours ahead, keep them chilled, and bring them back to room temperature before serving. They’re great finger foods for gatherings.
Are there any good dips to serve with these sushi rolls?
Try a drizzle of honey, a dollop of Greek yogurt mixed with a touch of cinnamon, or even a small dish of melted chocolate for dipping fun.
For those who enjoy easy, wholesome snacks, you might also appreciate my take on easy peanut butter and jelly energy bites or the cozy afternoon vibe of cozy maple pecan cinnamon rolls. Both share that same comforting spirit and straightforward approach to homemade treats.
Pin This Recipe!
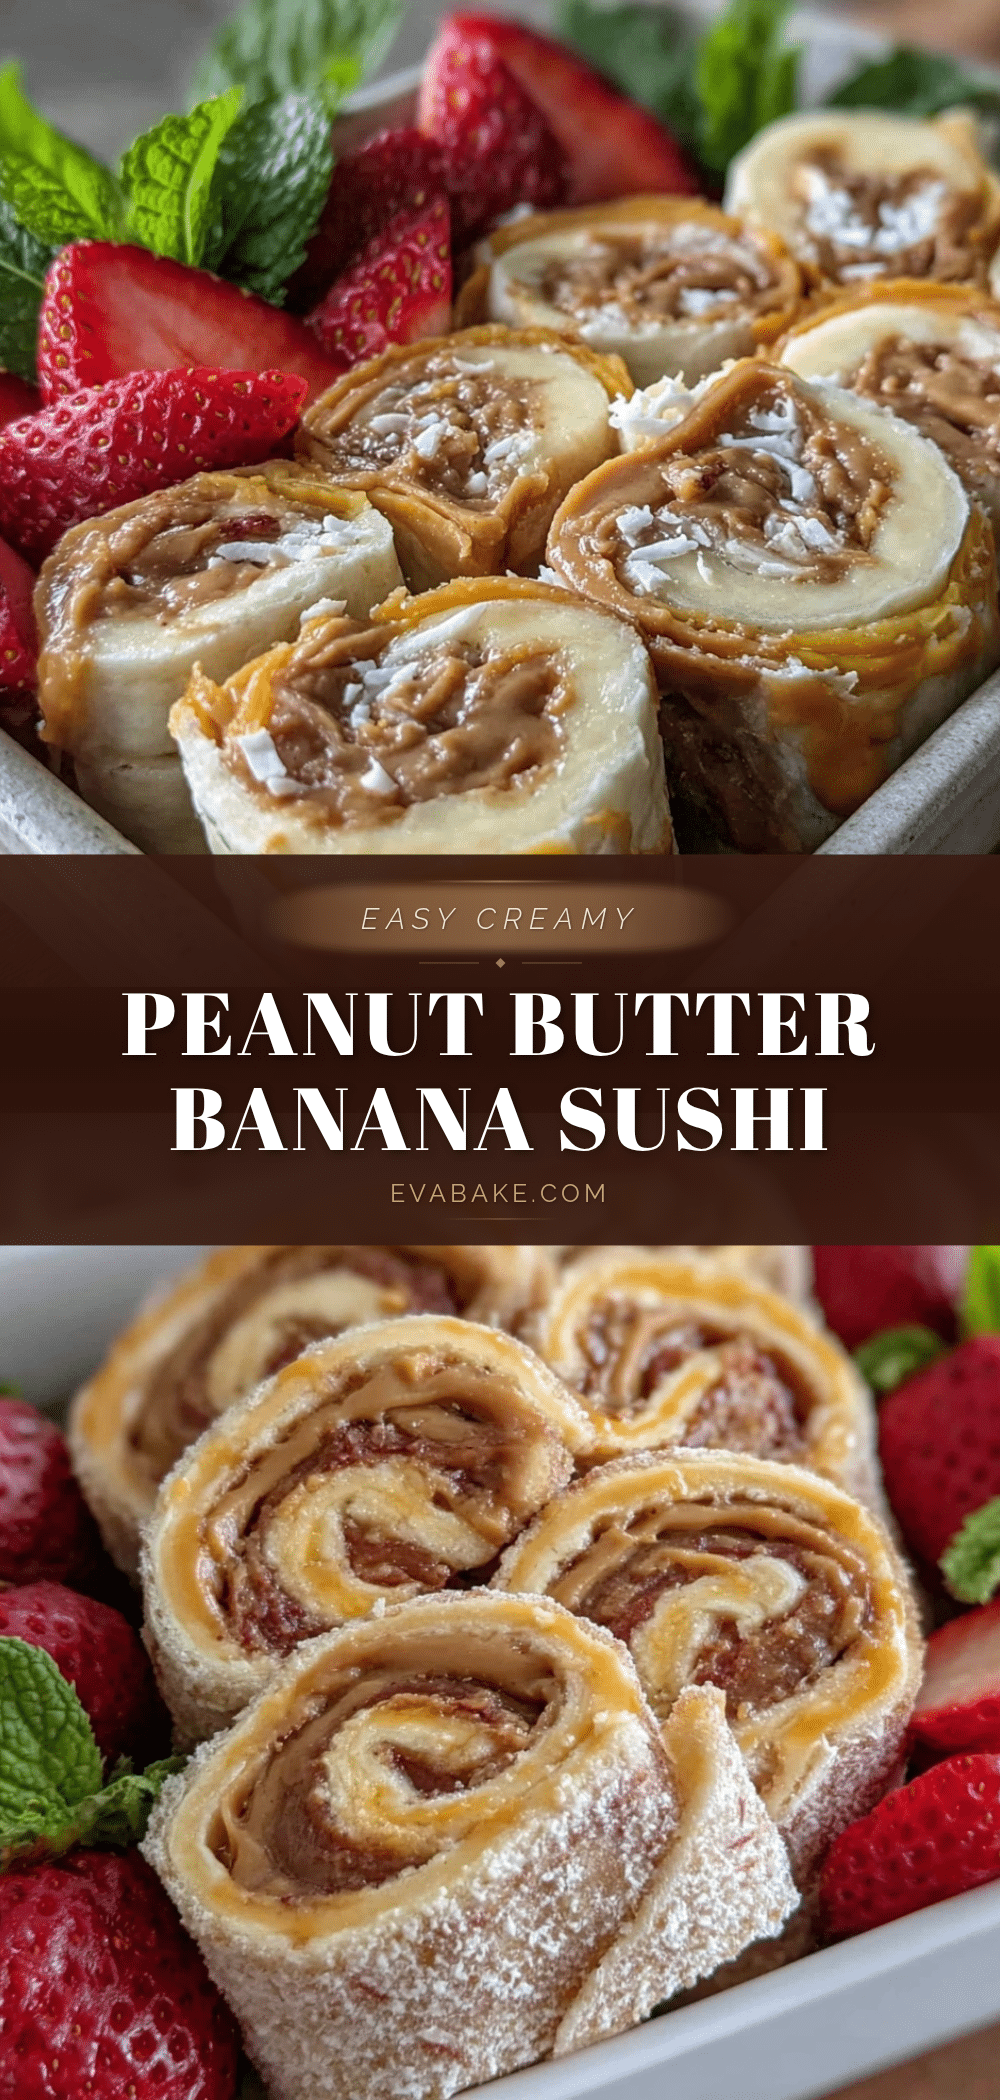
Easy Creamy Peanut Butter Banana Sushi Roll

A quick and easy snack featuring creamy peanut butter and ripe banana rolled inside a soft tortilla, sliced into bite-sized sushi-style rounds. Perfect for a wholesome, nostalgic treat that’s simple to make and delicious to eat.
- Prep Time: 5 minutes
- Cook Time: 5 minutes
- Total Time: 10 minutes
- Yield: 1 serving (about 8 sushi rolls) 1x
- Category: Snack
- Cuisine: American
Ingredients
- 1 small or medium flour tortilla (about 8 inches)
- 2 tablespoons creamy peanut butter (natural or no-stir preferred)
- 1 ripe but firm banana (6–7 inches long)
- 1 teaspoon chia or flax seeds (optional)
- 1 teaspoon shredded coconut or mini chocolate chips (optional)
- Honey or maple syrup for drizzling (optional)
Instructions
- Warm the tortilla gently in a dry skillet for 10-15 seconds or microwave for 5-10 seconds to make it flexible.
- Spread about 2 tablespoons of creamy peanut butter evenly over the entire surface of the warmed tortilla in a thin layer.
- If using, sprinkle chia seeds, flax seeds, shredded coconut, or mini chocolate chips evenly over the peanut butter layer.
- Peel the banana and place it horizontally near one edge of the tortilla.
- Carefully roll the tortilla tightly but gently around the banana, pressing lightly to keep it snug.
- Using a sharp knife, slice the rolled tortilla into 1-inch thick pieces resembling sushi rounds. Clean the knife between slices if needed.
- Arrange the banana sushi rolls on a serving plate and optionally drizzle with honey or maple syrup.
Notes
Warm the tortilla to prevent cracking and make rolling easier. Use ripe but firm bananas to hold shape when sliced. If peanut butter is too thick, warm slightly before spreading. Clean knife between slices for neat rolls. Store wrapped in airtight container in fridge up to 24 hours; bring to room temperature before serving.
Nutrition
- Serving Size: About 8 sushi rolls
- Calories: 320
- Sugar: 14
- Sodium: 250
- Fat: 16
- Saturated Fat: 3
- Carbohydrates: 38
- Fiber: 5
- Protein: 8
Keywords: peanut butter banana sushi roll, easy snack, creamy peanut butter, banana snack, quick snack, kid-friendly snack, healthy snack, no-bake snack


