My neighbor Mark swore he hated Chex Mix for fifteen years. Fifteen years! He’d make this face anytime someone brought a bowl of it to a gathering—like he’d just bitten into a lemon. “Too salty,” he’d say. “Too crunchy in a bad way. And why is there always that one random pretzel that’s somehow stale?” Fair points, honestly. I never argued with him about it. I just kept making my versions and letting him be wrong in peace.
Then last October, I was testing this fall version with maple and cinnamon for a school bake sale. I had three sheet pans cooling on every available surface in my kitchen—counter, stovetop, even the microwave. Mark stopped by to borrow a ladder and walked right into my fragrant little operation. The smell of toasted oats, warm cinnamon, and that rich maple syrup was pretty intense, I’ll admit. He stood there for a second, sniffing the air like a cartoon character following a scent trail.
“What is that?” he asked, already reaching for a piece before I could answer. I watched him eat it. Then eat another. Then he looked at me with this slightly annoyed expression, like I’d tricked him somehow. “Okay, fine,” he said. “This is good. But it doesn’t count as Chex Mix.”
Oh, it counts, Mark. It definitely counts. And that’s the thing about this Kid-Approved Fall Chex Mix with Maple and Cinnamon—it has a way of changing minds without even trying. The sweetness is gentle, not cloying. The cinnamon warmth feels like a cozy sweater for your taste buds. And the crunch? Perfect. No sad, stale pretzels here. I’ve been making this for years now, tweaking it each season, and it’s become the snack that my kids actually fight over (in a good way). Maybe you’ve had a similar experience with a snack you thought you’d never like. Or maybe you’re just looking for something easy to make for the upcoming fall gatherings. Either way, this one’s worth a shot.
Why You’ll Love This Recipe
Let me tell you why this isn’t just another snack mix recipe. I’ve tested this version more times than I care to count—burned a batch, oversweetened another, once forgot the butter entirely (don’t ask). Each failure taught me something, and what I landed on is genuinely the best version I’ve ever made. My kids give it two thumbs up, and they’re my toughest critics.
- Quick & Easy: From start to finish, this comes together in about 30 minutes. Most of that is hands-off baking time, so you can tidy up the kitchen or help with homework while it works its magic.
- Simple Ingredients: You probably have most of these in your pantry right now. No fancy trips to specialty stores—just good old-fashioned staples that come together beautifully.
- Perfect for Fall Gatherings: Halloween parties, Thanksgiving prep snacks, cozy movie nights, school functions—this mix fits every occasion without being complicated.
- Crowd-Pleaser: I’ve brought this to potlucks and watched it disappear faster than the store-bought options. Adults love the sophisticated maple-cinnamon flavor, and kids can’t get enough of the sweet-salty crunch.
- Unbelievably Delicious: The secret is toasting the cereal just enough to get that nutty depth without burning the sugar. The texture is absolutely next-level—crispy, crunchy, with just the right amount of give.
What makes this different from every other Chex Mix recipe out there? It’s the balance. Most fall versions go way too heavy on the sugar, turning it into candy. Others are so subtle you can barely taste the seasonal flavors. This one hits that sweet spot where the maple and cinnamon enhance the natural toasty flavor of the cereal without overwhelming it. I spent three batches getting that ratio exactly right, and I promise you, it’s worth the effort.
This is the kind of snack that makes you close your eyes after the first bite. It’s comfort food reimagined for the autumn season—simpler, faster, but with all the soul-soothing satisfaction of something that took hours. Perfect for impressing guests without any stress, or turning an ordinary Tuesday afternoon into something a little more special.
What Ingredients You Will Need
This recipe uses simple, wholesome ingredients to deliver bold fall flavor without any fuss. Most of these are pantry staples, which means you can whip up a batch whenever the craving hits without a special trip to the store.
- 9 cups Rice Chex cereal (or Corn Chex—both work great; I prefer Rice Chex for a lighter texture)
- 1 cup whole almonds (raw, unsalted—I like Blue Diamond brand for consistent quality)
- 1 cup pecan halves (toast them lightly first for extra depth; look for fresh, not stale)
- 1 cup pretzel twists (the mini ones work best; break any large pieces in half)
- 1 cup pumpkin seeds (pepitas, raw and shelled—adds that perfect fall touch)
- 1/2 cup unsalted butter (Kerrygold is my go-to for richer flavor, but any good butter works)
- 1/2 cup pure maple syrup (Grade A dark amber is ideal—skip the pancake syrup, it’s not the same)
- 1/4 cup brown sugar (packed light or dark; dark gives more molasses depth)
- 2 teaspoons ground cinnamon (I use Saigon cinnamon for its bold, warm spice)
- 1 teaspoon vanilla extract (pure, not imitation—trust me on this one)
- 1/2 teaspoon salt (fine sea salt; adjust based on your butter’s saltiness)
- 1/4 teaspoon nutmeg (freshly grated if you have it—makes a noticeable difference)
Ingredient Tips: For the cereal, make sure it’s fresh—stale Chex will result in a softer, less satisfying crunch. I’ve found that opening a new box gives the best results. If you’re nut-free for school events, swap the almonds and pecans for additional pretzels and pumpkin seeds, or try roasted chickpeas for a protein boost. The maple syrup is non-negotiable here—honey or agave will change the flavor profile significantly. Trust me, I tried it with honey once, and it just wasn’t the same.
For the butter, I recommend unsalted so you can control the salt level yourself. If all you have is salted butter, reduce the added salt to 1/4 teaspoon. The brown sugar adds that subtle molasses note that pairs beautifully with the maple—don’t skip it even if you’re tempted to use all maple syrup.
Equipment Needed
Nothing too fancy here—most of this you probably already have in your kitchen. Here’s what you’ll need:
- Large sheet pan (half-sheet size, about 13×18 inches; if you don’t have one, use two smaller pans)
- Parchment paper (or silicone baking mat—makes cleanup so much easier)
- Large mixing bowl (big enough to hold all the cereal without spilling)
- Small saucepan (for melting the butter and syrup mixture)
- Whisk (to combine the coating ingredients smoothly)
- Spatula (silicone works best for scraping every last drop of that maple goodness)
- Measuring cups and spoons (standard set)
- Cooling rack (optional, but helps the mix cool evenly without getting soggy)
If you don’t have a large sheet pan, you can absolutely use two smaller ones—just rotate them halfway through baking. I’ve also used a disposable aluminum pan in a pinch, and it worked fine. For the mixing bowl, I use my grandmother’s old ceramic one, but any large bowl will do. The key is having enough room to stir everything without cereal flying everywhere. You know that feeling when you’re mixing and half the cereal ends up on the counter? Yeah, we’re avoiding that.
One budget-friendly tip: skip the silicone baking mat if you don’t have one. Parchment paper is cheap and works just as well. I actually prefer it for this recipe because it makes pouring the mix into the bowl easier.
Preparation Method
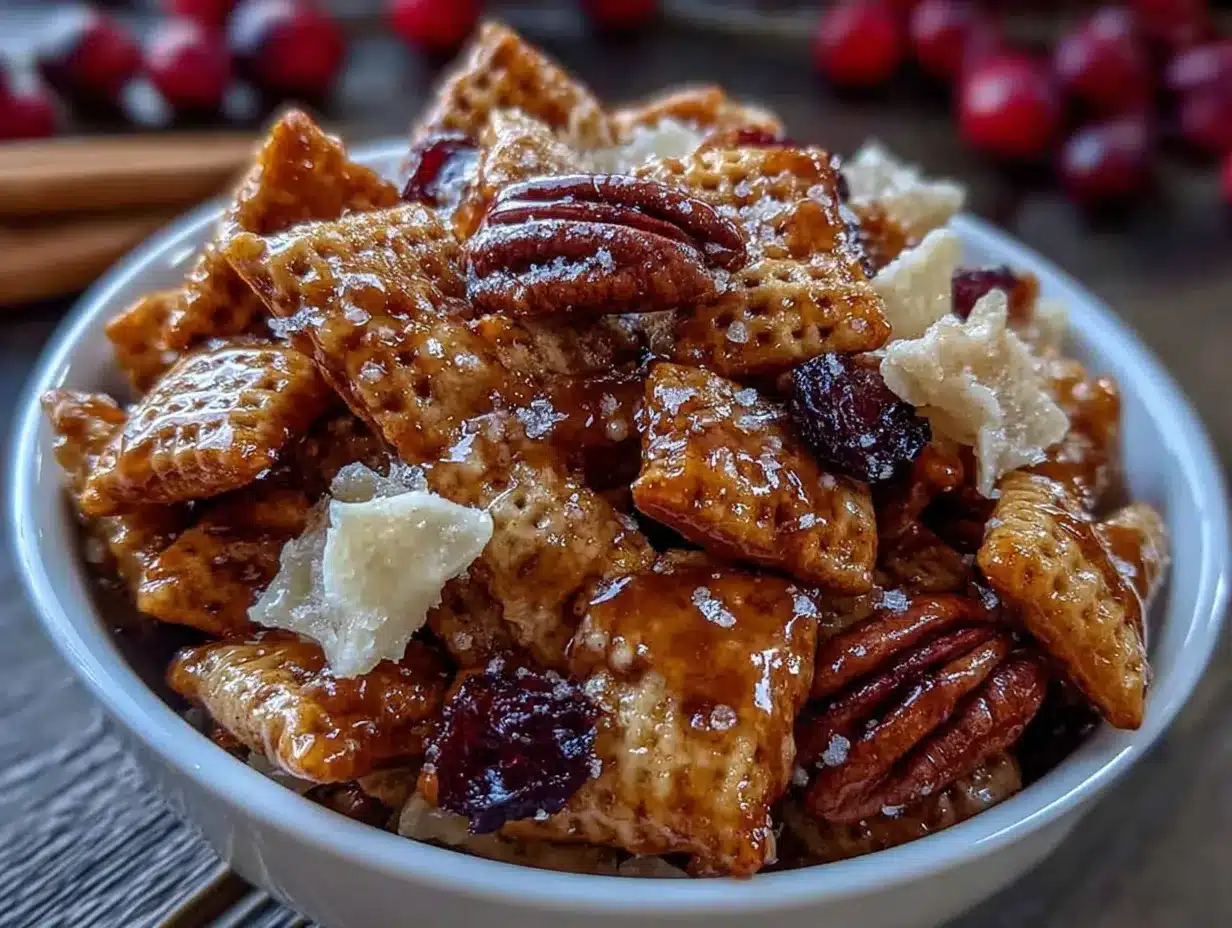
Alright, let’s get to the good part. Here’s how to make this Kid-Approved Fall Chex Mix step by step. I’ve included all the little details I wish someone had told me the first time I made it.
- Preheat your oven to 250°F (120°C). This low temperature is crucial—you’re drying and toasting the mix, not baking it. High heat will burn the sugar before the cereal gets crispy. Trust me, I learned this the hard way with a smoky kitchen and a very sad batch.
- Line your large sheet pan with parchment paper. This makes cleanup a breeze and prevents sticking. If you’re using two pans, line both.
- In your large mixing bowl, combine the dry ingredients: 9 cups Rice Chex cereal, 1 cup whole almonds, 1 cup pecan halves, 1 cup pretzel twists, and 1 cup pumpkin seeds. Gently toss everything together with your hands so the nuts and pretzels are evenly distributed. Take a moment to break up any large pretzel pieces—your kids will thank you later when they’re not struggling to bite through a giant chunk.
- In a small saucepan over medium heat, melt the butter. Add 1/2 cup maple syrup, 1/4 cup packed brown sugar, 2 teaspoons cinnamon, 1/2 teaspoon salt, and 1/4 teaspoon nutmeg. Whisk continuously until the sugar dissolves and the mixture is smooth and bubbling gently—about 3-4 minutes. Don’t walk away during this step. I once got distracted by a phone call and ended up with a scorched mess that smelled like burnt caramel (not in a good way).
- Remove the saucepan from heat and stir in 1 teaspoon vanilla extract. Be careful—it might sputter a bit. The vanilla will bloom beautifully in the warm mixture, filling your kitchen with that amazing fall aroma.
- Pour the warm maple-butter mixture over the dry ingredients. Use a spatula to scrape every last drop from the saucepan—that’s all flavor you don’t want to waste. Gently fold the mixture into the cereal using a large spoon or your hands (let it cool slightly first if using hands). The goal is to coat every piece evenly without crushing the cereal. Take your time here—rushing leads to uneven coating, which means some pieces will be overly sweet while others are bland.
- Spread the coated mixture onto your prepared sheet pan in an even layer. Don’t pile it too thick, or it won’t crisp up properly. If using two pans, divide the mixture evenly. I like to use my spatula to spread it out, then give the pan a gentle shake to settle everything.
- Bake for 30 minutes, stirring every 10 minutes. Set a timer—I’m serious. Every 10 minutes, pull the pan out and give the mixture a good stir with a spatula. This ensures even toasting and prevents the edges from burning while the center stays soft. The first time I made this, I forgot to stir and ended up with half a batch that was too dark and half that was underdone. Not my finest moment.
- After 30 minutes, check for doneness. The mix should be fragrant, lightly golden, and feel dry to the touch. If it still feels sticky or soft, give it another 5-10 minutes. Every oven runs a little differently—mine tends to run cool, so I usually need the full 35 minutes.
- Remove from the oven and let it cool completely on the pan. This is the hardest part, honestly. The mix will crisp up as it cools, so don’t rush this step. I know it smells amazing and you want to dig in right away, but patience pays off here. Let it sit for at least 30 minutes—longer if you can manage it. I usually make this in the evening and let it cool overnight, covered loosely with a clean kitchen towel.
- Once completely cool, break up any large clumps with your hands. You want bite-sized pieces that are easy to grab. Transfer to an airtight container or serve immediately.
Sensory Cues: At step 4, you’re looking for the mixture to be bubbly and smooth, with the sugar fully dissolved—no grainy texture on the spoon. At step 8, the kitchen should smell like a fall bakery—warm cinnamon, toasted nuts, and maple. The cereal will look slightly darker and feel dry, not greasy. If you press a piece between your fingers, it should feel firm, not soft or bendy.
Cooking Tips & Techniques
I’ve made this recipe probably twenty times now, and I’ve picked up a few tricks along the way. Let me share what I’ve learned—including the mistakes that taught me the most.
The biggest mistake people make is using too high a temperature. I know, I know—250°F seems ridiculously low. But here’s the thing: the sugar in the maple syrup and brown sugar will burn at higher temperatures. I once tried 325°F thinking I’d speed things up, and within 15 minutes, I had a pan of blackened, bitter cereal that smelled like a campfire gone wrong. Low and slow is the way to go. It gives the coating time to dry and adhere to the cereal without burning.
Another common issue is uneven coating. If you pour the butter mixture in all at once, it tends to pool at the bottom of the bowl. Instead, drizzle it slowly while stirring constantly. I use one hand to pour and the other to toss the cereal, like I’m dressing a salad. This ensures every piece gets a little love.
Timing is everything with the stirring. Set a timer on your phone for every 10 minutes. I cannot stress this enough. The difference between perfectly toasted and slightly burnt is about two minutes. I’ve learned to multitask—while one batch is baking, I’m cleaning up the kitchen or starting on another recipe. But I always keep that timer nearby.
For the crispiest results, let the mix cool completely before storing. If you seal it in a container while it’s still warm, the steam will make it soft and chewy—not what we’re going for. I spread it out on the pan and walk away for at least 30 minutes. Sometimes I even leave it overnight if I’m making it ahead of time.
One pro tip I picked up from a friend who runs a bakery: add a pinch of flaky sea salt right after the mix comes out of the oven. That little bit of salt on top creates a wonderful contrast with the sweet maple coating. It’s optional, but I highly recommend trying it at least once.
And here’s a lesson I learned the hard way: don’t double the recipe in one pan. I tried making a double batch for a school event and crammed it all onto one sheet pan. The result was a soggy, uneven mess. If you’re making more, use two pans and give each batch room to breathe.
Variations & Adaptations
One of the best things about this recipe is how easy it is to customize. Here are some variations I’ve tried and loved:
Gluten-Free Version: This recipe is naturally gluten-free if you use certified gluten-free Chex cereal and check your pretzels. Glutino makes excellent gluten-free pretzel twists that work perfectly here. I’ve made this for friends with celiac disease, and they couldn’t tell the difference.
Nut-Free School-Safe Version: Swap the almonds and pecans for additional pretzels, pumpkin seeds, or even roasted chickpeas. The chickpeas add a nice crunch and boost the protein content. I’ve also used sunflower seeds in a pinch, though they can make the mix look a little darker. For school events where nut allergies are a concern, this version is a lifesaver.
Extra Chocolatey Version: After the mix has cooled completely, drizzle melted dark chocolate over the top and let it set. The combination of maple, cinnamon, and chocolate is absolutely divine. I did this for a holiday party once, and people couldn’t stop talking about it. Just make sure the mix is completely cool, or the chocolate will melt into a puddle.
Spicy Fall Version: Add 1/2 teaspoon of cayenne pepper or chipotle powder to the butter mixture for a sweet-heat combination that adults love. The warmth builds slowly and pairs beautifully with the maple. My husband is obsessed with this version—he says it’s like chai spices meets snack mix.
Pumpkin Spice Version: Swap the cinnamon and nutmeg for 2 teaspoons of pumpkin pie spice. This gives it that classic fall flavor that everyone recognizes and loves. I’ve made this for Thanksgiving prep snacks, and it sets the mood perfectly.
My personal favorite variation? Adding dried cranberries or cherries after baking. The tartness cuts through the sweetness and adds a lovely chewy texture. I stir in about a cup once the mix has cooled. It’s especially good for holiday gifting—I put it in little cellophane bags tied with ribbon, and they’re always a hit.
Serving & Storage Suggestions
This Kid-Approved Fall Chex Mix is incredibly versatile when it comes to serving. Here’s how I like to do it:
Serving Temperature: Room temperature is best. The flavors are most pronounced when the mix isn’t chilled. If you’ve stored it in the fridge, let it sit out for about 15 minutes before serving.
Presentation Ideas: For casual snacking, I just put it in a big bowl and let everyone dig in. For parties, I love serving it in a rustic wooden bowl or a clear glass jar so you can see all the beautiful colors—the golden cereal, dark pecans, and white pretzels. For gifting, cellophane bags tied with twine and a little tag look adorable. I’ve also used mason jars with a piece of burlap and ribbon for a more rustic feel.
What to Serve With It: This mix pairs beautifully with hot apple cider, pumpkin spice lattes, or a warm mug of chai tea. For a snack board, I arrange it alongside sliced apples, sharp cheddar cheese, and some dark chocolate. The sweet-salty-crunchy combination is irresistible. It’s also great as a topping for yogurt or ice cream—just crumble a handful over the top for some texture.
Storage Instructions: Store in an airtight container at room temperature for up to two weeks. I use a large glass jar with a tight-fitting lid. Make sure the mix is completely cool before sealing, or condensation will make it soggy. If you live in a humid climate, add a food-safe silica gel packet to the container to absorb excess moisture.
Freezer Instructions: This mix freezes beautifully for up to three months. Place it in a freezer-safe bag or container, press out as much air as possible, and seal. To serve, let it thaw at room temperature for about 30 minutes. If it seems a little soft, spread it on a sheet pan and warm it in a 250°F oven for 5-10 minutes. The flavors actually develop more over time—I’ve found that a batch made a week ago tastes even better than a fresh one.
How Flavors Develop: The maple and cinnamon flavors deepen over the first few days. I actually prefer this mix on day two or three, when the spices have had time to meld and mellow. The crunch stays perfect if stored properly. Just keep it sealed tight and away from heat or direct sunlight.
Nutritional Information & Benefits
While this is definitely a treat, it does have some redeeming qualities. Here’s what you should know:
Estimated Nutritional Values (per 1-cup serving):
- Calories: 280
- Total Fat: 14g
- Saturated Fat: 5g
- Cholesterol: 20mg
- Sodium: 280mg
- Total Carbohydrates: 36g
- Dietary Fiber: 3g
- Sugars: 16g
- Protein: 5g
Health Benefits of Key Ingredients: The almonds and pecans provide healthy fats, vitamin E, and magnesium—great for heart health and brain function. Pumpkin seeds are packed with zinc, which supports immune health (especially important during fall and winter). The cinnamon has anti-inflammatory properties and can help regulate blood sugar. And the whole grains in the Chex cereal provide some fiber and B vitamins.
Dietary Considerations: This recipe is vegetarian and can be made gluten-free and nut-free with the substitutions mentioned above. It’s not vegan due to the butter, but you can substitute coconut oil or a vegan butter alternative if needed. I’ve tried it with coconut oil, and while the texture is slightly different, it’s still delicious.
Potential Allergens: This recipe contains dairy (butter), tree nuts (almonds, pecans), and gluten (pretzels, unless using gluten-free version). Be sure to check labels if serving to guests with allergies.
My Personal Wellness Perspective: I believe in balance. This isn’t a health food, and I’m not pretending it is. But it’s made with real ingredients, and when enjoyed in reasonable portions alongside a balanced diet, it’s perfectly fine. I’d rather my kids snack on this than something from a bag with ingredients I can’t pronounce. Plus, making it together is a fun activity that creates memories—and that has its own kind of nutritional value.
Conclusion
This Kid-Approved Fall Chex Mix with Maple and Cinnamon has become a staple in our home for good reason. It’s easy enough to make on a busy weekday, special enough to bring to holiday gatherings, and versatile enough to adapt to whatever you have on hand. The combination of sweet maple, warm cinnamon, and crunchy nuts and pretzels is just irresistible—I’ve yet to meet anyone who can eat just one handful.
I love that this recipe lets me customize it based on what my family likes. Some batches are nut-heavy, others are loaded with extra pretzels. Sometimes I add chocolate, sometimes I keep it simple. No matter what, it always disappears fast. And honestly? Seeing my kids’ faces light up when they walk into the kitchen and smell that cinnamon-maple aroma is worth every minute of effort.
I’d love to hear how your batch turns out. Did you try any variations? Did your family love it as much as mine does? Drop a comment below and let me know—I read every single one and I’m always looking for new ideas to try. And if you make this for a gathering, tag me in your photos. There’s nothing that makes my day like seeing someone else enjoying a recipe that started in my kitchen.
Happy snacking, friends! Here’s to cozy fall days, full bellies, and the simple joy of a really good snack mix.
Frequently Asked Questions
Can I use other types of Chex cereal?
Absolutely! Corn Chex, Wheat Chex, or a combination all work great. Each brings a slightly different texture and flavor. I often use a mix of Rice and Corn Chex for variety. Just keep the total amount at 9 cups.
Why did my Chex Mix turn out soggy?
This usually happens for one of two reasons: either the oven temperature was too low (below 250°F) or the mix wasn’t baked long enough. Another common culprit is storing it before it’s completely cool. Make sure it’s at room temperature before sealing in an airtight container.
Can I make this in a slow cooker?
Yes! I’ve done it when my oven was occupied with other dishes. Cook on low for 2-3 hours, stirring every 30 minutes. Leave the lid slightly ajar to let moisture escape. The texture will be slightly different—a bit more tender—but still delicious.
How long does this Chex Mix stay fresh?
Stored properly in an airtight container at room temperature, it stays fresh for up to two weeks. If it starts to lose its crunch, spread it on a sheet pan and warm it in a 250°F oven for 5-10 minutes. It crisps right back up.
Can I reduce the sugar in this recipe?
You can reduce the brown sugar to 2 tablespoons, but the maple syrup is harder to cut back because it provides both sweetness and moisture. If you reduce it too much, the coating won’t stick properly. I’ve found that using a sugar-free maple syrup alternative works in a pinch, but the flavor won’t be quite as rich.
Pin This Recipe!
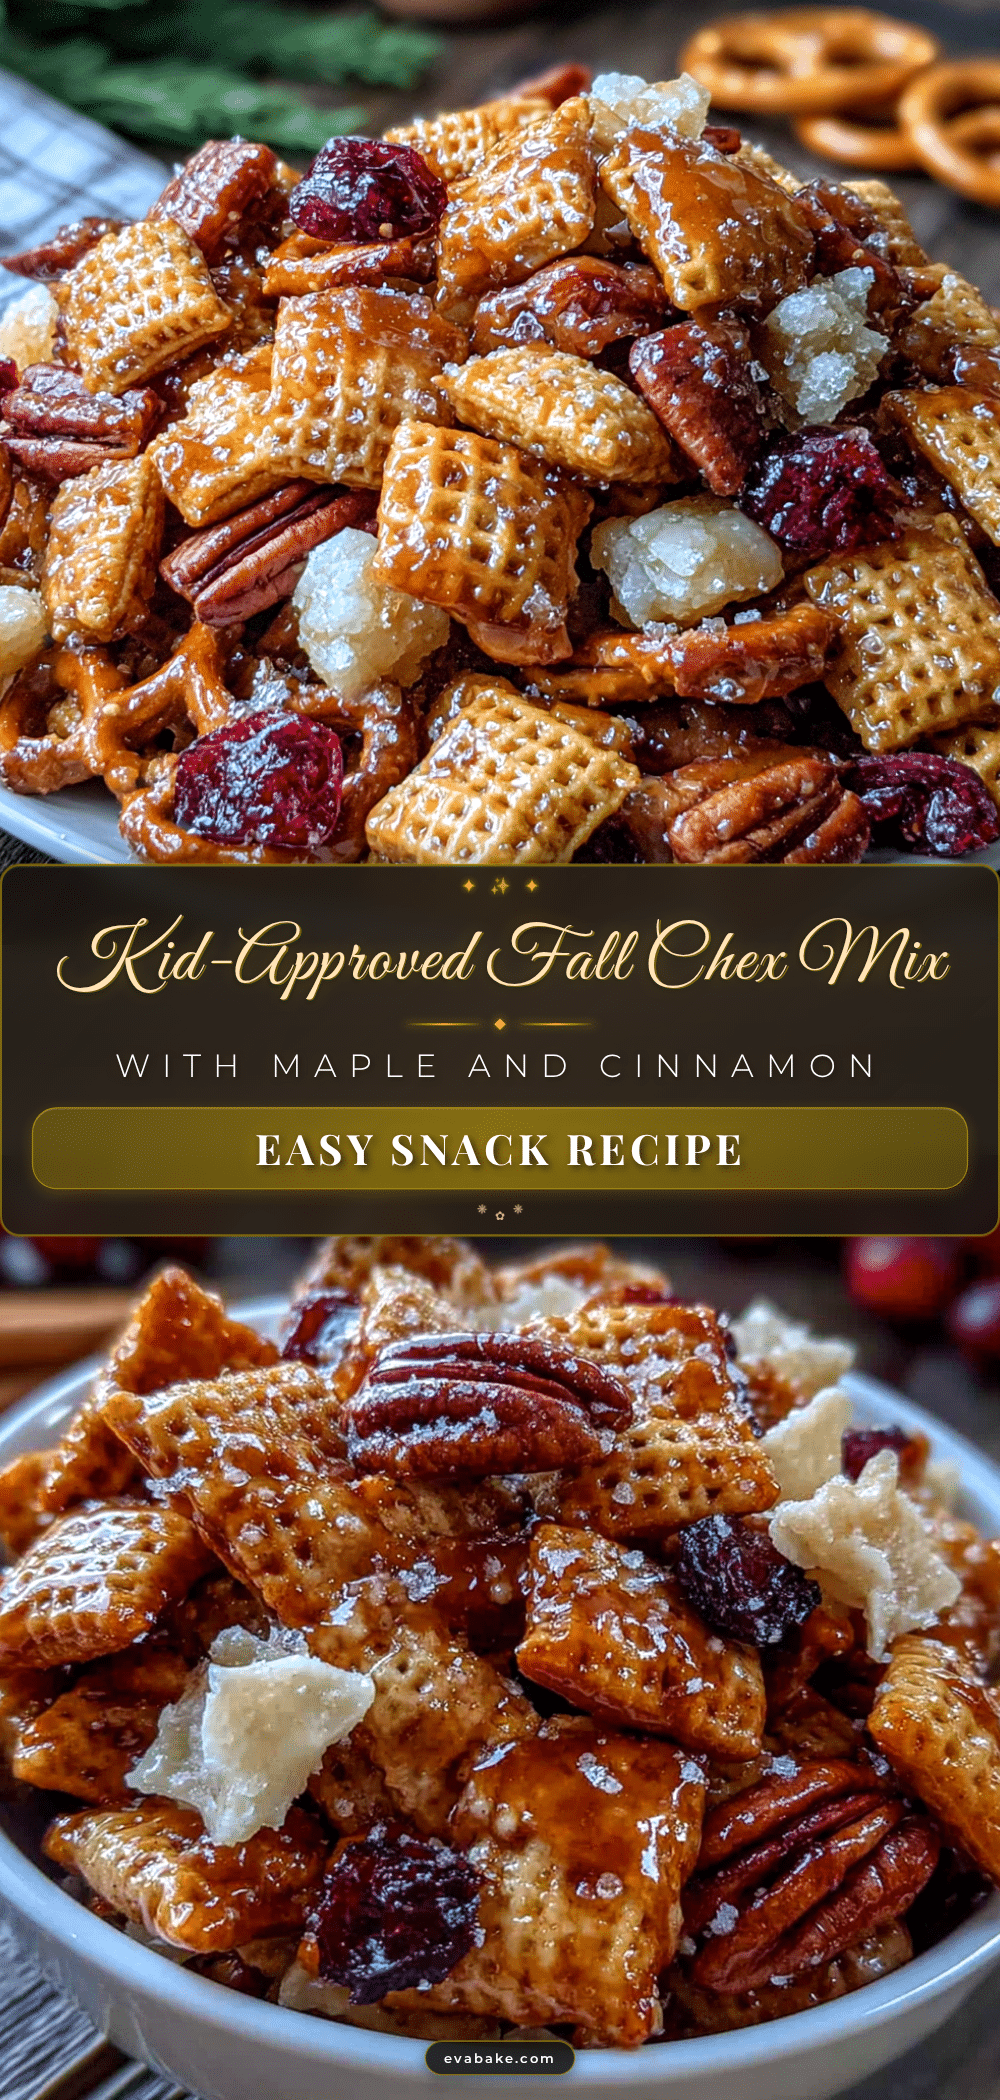
Easy Kid-Approved Fall Chex Mix with Maple Cinnamon

This Kid-Approved Fall Chex Mix with Maple and Cinnamon is a sweet and salty snack mix that’s perfect for fall gatherings. It’s quick to make, uses simple ingredients, and is a crowd-pleaser that even self-proclaimed Chex Mix haters will love.
- Prep Time: 10 minutes
- Cook Time: 30 minutes
- Total Time: 40 minutes
- Yield: 12 servings 1x
- Category: Snack
- Cuisine: American
Ingredients
- 9 cups Rice Chex cereal (or Corn Chex)
- 1 cup whole almonds (raw, unsalted)
- 1 cup pecan halves
- 1 cup pretzel twists (mini preferred)
- 1 cup pumpkin seeds (pepitas, raw and shelled)
- 1/2 cup unsalted butter
- 1/2 cup pure maple syrup (Grade A dark amber)
- 1/4 cup brown sugar (packed, light or dark)
- 2 teaspoons ground cinnamon
- 1 teaspoon vanilla extract (pure)
- 1/2 teaspoon fine sea salt
- 1/4 teaspoon nutmeg (freshly grated preferred)
Instructions
- Preheat your oven to 250°F (120°C).
- Line your large sheet pan with parchment paper.
- In your large mixing bowl, combine the dry ingredients: 9 cups Rice Chex cereal, 1 cup whole almonds, 1 cup pecan halves, 1 cup pretzel twists, and 1 cup pumpkin seeds. Gently toss everything together with your hands so the nuts and pretzels are evenly distributed. Break up any large pretzel pieces.
- In a small saucepan over medium heat, melt the butter. Add 1/2 cup maple syrup, 1/4 cup packed brown sugar, 2 teaspoons cinnamon, 1/2 teaspoon salt, and 1/4 teaspoon nutmeg. Whisk continuously until the sugar dissolves and the mixture is smooth and bubbling gently—about 3-4 minutes.
- Remove the saucepan from heat and stir in 1 teaspoon vanilla extract. Be careful—it might sputter a bit.
- Pour the warm maple-butter mixture over the dry ingredients. Use a spatula to scrape every last drop from the saucepan. Gently fold the mixture into the cereal using a large spoon or your hands (let it cool slightly first if using hands) until every piece is evenly coated.
- Spread the coated mixture onto your prepared sheet pan in an even layer. Don’t pile it too thick. If using two pans, divide the mixture evenly.
- Bake for 30 minutes, stirring every 10 minutes. Set a timer and stir the mixture with a spatula each time to ensure even toasting.
- After 30 minutes, check for doneness. The mix should be fragrant, lightly golden, and feel dry to the touch. If it still feels sticky or soft, give it another 5-10 minutes.
- Remove from the oven and let it cool completely on the pan. Let it sit for at least 30 minutes—longer if possible.
- Once completely cool, break up any large clumps with your hands. Transfer to an airtight container or serve immediately.
Notes
For the crispiest results, let the mix cool completely before storing. If you seal it in a container while it’s still warm, the steam will make it soft and chewy. Add a pinch of flaky sea salt right after the mix comes out of the oven for a wonderful sweet-salty contrast. Don’t double the recipe in one pan—use two pans if making more. The maple and cinnamon flavors deepen over the first few days, so this mix tastes even better on day two or three.
Nutrition
- Serving Size: 1 cup
- Calories: 280
- Sugar: 16
- Sodium: 280
- Fat: 14
- Saturated Fat: 5
- Carbohydrates: 36
- Fiber: 3
- Protein: 5
Keywords: fall chex mix, maple cinnamon chex mix, kid-approved snack, easy snack mix, fall snack, sweet and salty snack


