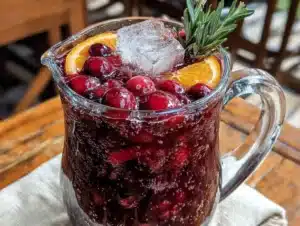
It was 11:47 PM on a random Tuesday in early December. I had this sudden, almost desperate craving for something that smelled like Christmas but wasn’t another cookie. You know that feeling? When you want the idea of holiday baking without the commitment of a full recipe? I didn’t have any fancy decorations or store-bought garnishes, but I had a bag of oranges sitting in the fruit bowl that were starting to look a little sad. And honestly, I had this half-baked idea from a cooking show I’d watched while folding laundry three weeks ago. So there I was, standing in my kitchen in my pajamas, slicing oranges at midnight like some kind of citrus-obsessed gremlin. The oven light was the only thing on in the house, and I remember thinking, “This is either going to be brilliant or a complete disaster.”
Let me tell you, that late-night experiment turned into something I now make every single holiday season. These homemade dried orange slices aren’t just pretty—they’re honestly the most useful thing you can make for holiday baking and decorating. I mean, who knew that a few thinly sliced oranges and some low oven heat could create something so beautiful? The whole house smelled like a Christmas candle factory. My husband came downstairs at 1 AM, bleary-eyed, and just stood there inhaling the scent. “What are you doing?” he asked. “Making magic,” I said. And I wasn’t wrong.
These dried orange slices have become my secret weapon for holiday baking. They work as stunning cake toppers, they make the most incredible infused sugars, and they look gorgeous hanging on a tree or tucked into gift wrap. The best part? They’re almost impossible to mess up. I’ve forgotten about them in the oven for an extra hour (more than once, honestly), and they still came out perfect. If you’ve been looking for a way to make your holiday treats look professional without spending a fortune on fancy supplies, this is it. Let me show you how easy it is.
Why You’ll Love This Recipe
I’ve been making these for years now, and I keep coming back to them for a reason. They’re the kind of recipe that solves multiple problems at once, which is exactly what we need during the holiday chaos.
- Incredibly Budget-Friendly: A bag of oranges costs next to nothing, and you probably already have sugar in your pantry. No fancy equipment or expensive ingredients needed—just patience and an oven.
- Makes Your House Smell Amazing: Seriously, this is the easiest way to get that cozy holiday aroma without burning a candle. The scent of oranges and sugar baking at low heat is pure comfort.
- Multipurpose Magic: Use them as cake decorations, cocktail garnishes, gift toppers, tree ornaments, or just snack on them. I’ve even ground them into powder for spice blends.
- Lasts Forever: Properly stored, these will keep for months. Make a big batch now and have them ready for all your holiday baking needs.
- Picky Eater Approved: My kids thought they were candy. My husband adds them to his oatmeal. Even my mother-in-law, who is notoriously hard to impress, asked for the recipe.
What makes homemade dried orange slices different from the store-bought versions is the control you have over the process. You can make them as thin or thick as you want, adjust the sweetness, and choose organic oranges for the best flavor. Plus, store-bought dried citrus is expensive and often has added preservatives. This version is pure, simple, and tastes like real oranges because it is.
There’s something deeply satisfying about pulling a tray of these out of the oven. The way they catch the light, the way they smell, the way they make everything around them look more festive. It’s not just a recipe—it’s a little piece of holiday magic you made with your own hands.
What Ingredients You Will Need
This recipe uses the simplest ingredients to create something truly beautiful. Here’s what you’ll need and why each one matters.
- Fresh Oranges (3-4 large): Navel oranges are my go-to because they’re widely available, seedless, and have a nice sweet-tart balance. Blood oranges make stunning red slices for a dramatic look. Cara Cara oranges have a lovely pink hue. Whatever you choose, make sure they’re firm and fresh. Organic is ideal since you’re eating the peel.
- Granulated Sugar (1 cup): This helps draw out moisture and adds a subtle sweetness. You can use regular white sugar or try turbinado for a slightly crunchier texture. I’ve used coconut sugar too, and it works but gives the slices a darker color.
- Water (1 cup): Used to make the simple syrup. Filtered water is fine—nothing fancy needed here.
- Optional Spices (1 cinnamon stick, 2 star anise, 3 cloves): This is where you can get creative. I love adding a cinnamon stick and a few cloves to the syrup for a spiced version. It makes the slices taste like mulled wine or chai. Totally optional, but highly recommended.
- Optional Vanilla Extract (1 teaspoon): A splash of vanilla in the syrup adds warmth and depth. I do this when I’m making slices specifically for baking or gifting.
I want to share a little tip I learned the hard way: use a sharp knife. I mean, a really sharp one. My first batch of dried orange slices looked like a toddler cut them because I was using a dull blade. The slices were uneven, some were too thick, and they took forever to dry. A sharp chef’s knife or a mandoline makes all the difference. If you have a mandoline, this is the time to use it.
Another thing about the oranges—don’t bother with juice oranges like Valencia. They’re too thin-skinned and won’t hold up as well during the drying process. You want oranges with thicker peels that will maintain their shape. Navel oranges are perfect. And if you can find organic, do it. You’re eating the peel, so you want to avoid pesticides if possible. I usually buy a big bag from Costco or my local farmers market when they’re in season.
As for the sugar, you can adjust the amount based on your preference. I’ve made these with just a light dusting of sugar before baking, and they turned out fine. But the simple syrup method gives them that beautiful glossy finish and candy-like texture that makes them so addictive.
Equipment Needed
You don’t need much for this recipe, which is part of why I love it. Here’s what you’ll need:
- Sharp Chef’s Knife or Mandoline: For slicing the oranges evenly. A mandoline is faster and gives you perfectly uniform slices, but a good knife works just fine. I’ve used both, and honestly, I prefer the mandoline for consistency.
- Cutting Board: Any sturdy cutting board will do. Just make sure it’s stable so you don’t slip while slicing.
- Medium Saucepan: For making the simple syrup. A 2-quart saucepan is perfect.
- Baking Sheets (2): You’ll need rimmed baking sheets to catch any syrup drips. I use my standard half-sheet pans.
- Parchment Paper or Silicone Baking Mats: Essential for easy cleanup. The syrup can get sticky, and parchment paper saves you from scrubbing.
- Wire Cooling Rack: Optional but helpful for even air circulation during the drying process. If you don’t have one, just flip the slices halfway through.
- Airtight Container: For storing the finished slices. Mason jars work great, and they look pretty on the counter.
If you don’t have a mandoline, don’t stress. I made my first few batches with a serrated bread knife because that’s all I had. It wasn’t pretty, but it worked. The key is just to get the slices as even as possible, about 1/8 to 1/4 inch thick. Too thick and they won’t dry properly; too thin and they’ll burn.
Preparation Method
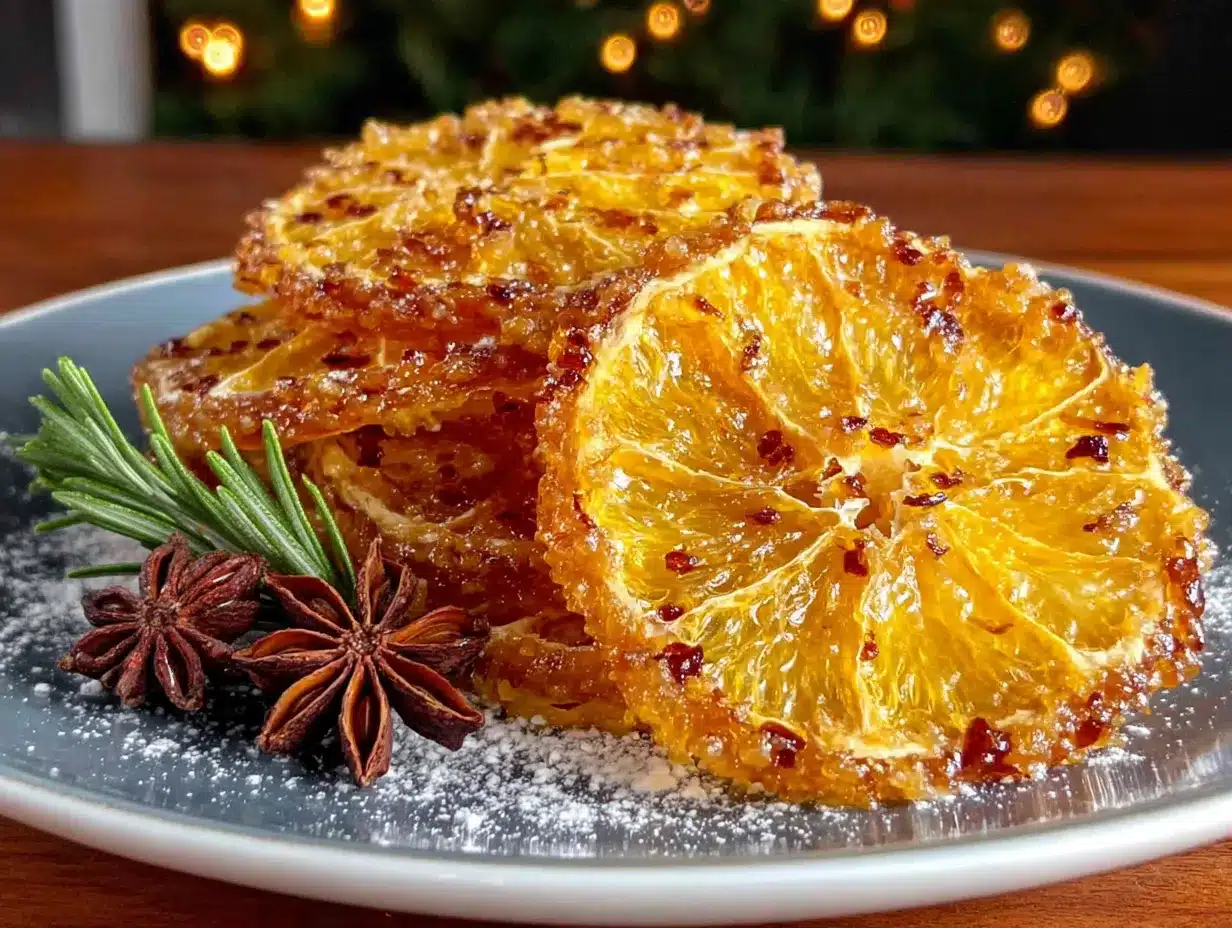
Alright, let’s get to the good part. Here’s exactly how to make homemade dried orange slices that will make your holiday baking look like a professional bakery did it.
- Preheat and Prep: Preheat your oven to 200°F (93°C). This is important—low and slow is the name of the game here. Line two baking sheets with parchment paper or silicone mats. Set them aside while you prep the oranges.
- Make the Simple Syrup: In a medium saucepan, combine 1 cup of granulated sugar and 1 cup of water. If you’re using spices, add them now. Bring the mixture to a boil over medium heat, stirring occasionally until the sugar dissolves completely. Once it’s boiling, reduce the heat and let it simmer for about 5 minutes. You want the syrup to thicken slightly. Remove from heat and let it cool for a few minutes. If you added whole spices, strain them out now.
- Slice the Oranges: Wash your oranges thoroughly. Slice off the very top and bottom of each orange—just enough to expose the flesh. Now, using your sharp knife or mandoline, slice the oranges into even rounds, about 1/8 to 1/4 inch thick. I aim for about 1/8 inch for faster drying. You should get about 8-10 slices per orange, depending on size.
- Blanch the Slices: Bring a pot of water to a boil. Drop the orange slices in for about 2-3 minutes. This step removes some of the bitterness from the pith. I skipped this my first time, and honestly, the slices were a little too bitter for my taste. Trust me on this one. Drain the slices and pat them dry with a clean kitchen towel.
- Soak in Syrup: Place the blanched orange slices in a shallow dish or bowl. Pour the warm simple syrup over them, making sure each slice is coated. Let them soak for about 10-15 minutes. You’ll see them start to look glossy and translucent. This is where the magic happens.
- Arrange on Baking Sheets: Using tongs or your fingers, carefully lift each slice out of the syrup, letting the excess drip off. Arrange them in a single layer on your prepared baking sheets. Don’t let them overlap—they need space for air to circulate. If you’re using a wire rack, place it on the baking sheet and put the slices on the rack.
- Bake Low and Slow: Place the baking sheets in the preheated oven. Bake for 2.5 to 3 hours, flipping the slices halfway through. You’re looking for them to be dry to the touch but still slightly pliable. They should not be crispy—they’ll continue to dry as they cool. If they’re sticky, they need more time. If they’re browning too fast, your oven is too hot.
- Cool Completely: Remove the baking sheets from the oven and let the slices cool completely on the sheets. They’ll firm up as they cool. This takes about 30 minutes to an hour. Don’t rush this step—I’ve made the mistake of trying to store them while they were still warm, and they got soggy.
- Final Check: Once cooled, the slices should be leathery and slightly translucent. If any are still moist in the center, pop them back in the oven for another 30 minutes. Better to over-dry than under-dry, as moisture is the enemy of storage.
Cooking Tips & Techniques
I’ve made more batches of dried orange slices than I care to count, and I’ve learned a few things along the way. Let me save you some trouble.
Don’t skip the blanching step. I know it seems like an extra hassle, but it makes a huge difference. The white pith of oranges is bitter, and blanching helps tame that bitterness. My first batch was borderline inedible because I skipped this step. Now I never skip it, and the slices taste like candy.
Watch your oven temperature. Ovens run differently, and 200°F in my oven might be 220°F in yours. If your slices are browning too quickly, lower the temperature. You’re not trying to cook them—you’re trying to dehydrate them. Patience is key here. I once cranked the oven to 250°F because I was in a hurry, and I ended up with burnt, sad-looking slices that tasted like charcoal.
Use the convection setting if you have it. Convection ovens circulate air, which helps the slices dry more evenly. If you have a convection setting, use it and check the slices about 30 minutes earlier than the recipe says. Every convection oven is different.
Rotate your pans. Halfway through baking, swap the top and bottom racks and rotate the pans front to back. This ensures even drying. The back of my oven runs hotter, so I always rotate to avoid over-drying one side.
Don’t crowd the pan. I know it’s tempting to cram as many slices as possible onto one sheet, but they need space. Overlapping leads to uneven drying and sticky spots. Use two sheets if you need to. It’s worth the extra effort.
Check for doneness with your fingers. The slices should feel dry on the surface but still have a little give when you press them. They should not be brittle or crispy. If they crack when you bend them, they’re overdone. If they feel sticky or wet, they need more time.
Variations & Adaptations
One of the best things about homemade dried orange slices is how customizable they are. Here are some of my favorite variations.
Spiced Orange Slices: Add a cinnamon stick, 2 star anise, and 3 cloves to the simple syrup while it simmers. The spices infuse the slices with a warm, festive flavor that’s perfect for holiday baking. I made these for a Christmas cake last year, and everyone asked what my secret ingredient was.
Vanilla Bean Orange Slices: Split a vanilla bean and scrape the seeds into the simple syrup. Add the pod too. The vanilla adds a sweet, floral note that pairs beautifully with the citrus. These are my go-to for gifting—they look and taste fancy without much extra effort.
Blood Orange Slices: Use blood oranges instead of navel oranges for a stunning deep red color. They’re slightly less sweet, so you might want to add an extra tablespoon of sugar to the syrup. These look incredible on chocolate desserts.
Lemon and Lime Slices: The same method works for lemons and limes. I make a mix of citrus slices for a colorful garland or gift topper. Just note that lemons and limes are more tart, so they benefit from a longer soak in the syrup.
Sugar-Free Version: Skip the simple syrup altogether. After blanching, just pat the slices dry and bake them as-is. They won’t be as glossy or sweet, but they’ll still dry beautifully and work well for savory applications or cocktails.
Dehydrator Method: If you have a food dehydrator, use it! Arrange the slices in a single layer on the dehydrator trays and dry at 135°F (57°C) for 6-8 hours, or until they’re dry but still pliable. This method is more energy-efficient and frees up your oven for other holiday baking.
Serving & Storage Suggestions
These slices are incredibly versatile, so let me share some of my favorite ways to use them.
For Holiday Baking: Use them as cake toppers, cupcake decorations, or mix them into cookie dough for a citrusy pop. I love adding chopped dried orange slices to shortbread cookies or scones. They also make a beautiful garnish for cheesecakes and tarts.
For Drinks: Float a slice in hot tea, mulled wine, or a festive cocktail. They’re stunning in a glass of champagne or sparkling water. I always keep a jar on my counter during the holidays for impromptu drink garnishes.
For Decorating: Thread them onto string or ribbon to make a citrus garland. They look gorgeous on Christmas trees, wreaths, or gift packages. Just make a small hole in each slice before drying if you plan to string them.
For Gifting: Pack them in a pretty jar or cellophane bag tied with a ribbon. They make thoughtful, homemade gifts that look like you spent a fortune. I usually include a small card with serving suggestions.
Storage: Store the dried slices in an airtight container at room temperature. They’ll keep for up to 6 months if properly dried. I use mason jars and keep them in a cool, dark cupboard. Avoid the refrigerator—the humidity can make them sticky. If they lose their crispness over time, you can re-crisp them in a 200°F oven for 10-15 minutes.
One thing I love about these slices is that their flavor actually deepens over time. The spices and citrus meld together, creating an even more complex taste. So don’t be afraid to make them well in advance of your holiday baking.
Nutritional Information & Benefits
While these are a treat, they do offer some nutritional benefits worth noting.
Estimated Per Slice (based on 30 slices per batch):
– Calories: 35
– Carbohydrates: 9g
– Sugar: 8g
– Fiber: 0.5g
– Vitamin C: 15% of Daily Value
Health Benefits: Oranges are packed with vitamin C, which supports immune health—especially important during the holiday season. They also contain antioxidants like flavonoids that help fight inflammation. The peel, which you’re eating in these slices, contains even more antioxidants than the flesh itself.
Dietary Considerations: These are naturally vegan, gluten-free, and dairy-free. The sugar-free version is suitable for low-carb diets. However, the standard version is high in sugar, so enjoy them in moderation.
Potential Allergens: Oranges are a citrus fruit and may cause reactions in people with citrus allergies. Always check with your guests if you’re serving these at a gathering.
I personally love that these slices let me enjoy the flavor of oranges in a concentrated form. A little goes a long way, and they add so much to holiday baking without adding a ton of calories or processed ingredients.
Conclusion
These homemade dried orange slices have become a staple in my holiday kitchen, and I have a feeling they’ll become one in yours too. They’re simple, affordable, and incredibly versatile—everything a good holiday recipe should be. Whether you’re decorating a cake, spicing up a cocktail, or just want your house to smell amazing, these little slices deliver every time.
What I love most about this recipe is how forgiving it is. You can tweak the spices, adjust the sweetness, or use different citrus fruits, and it still works. It’s the kind of recipe that invites experimentation and rewards creativity. So go ahead and make a batch—or three. You’ll be glad you did when you have beautiful, homemade decorations ready for all your holiday baking.
I’d love to hear how your batch turns out! Drop a comment below and let me know what variations you tried or how you used them. Did you make a spiced version? Use blood oranges? Hang them on your tree? Share your creations and tag me on social media—I can’t wait to see what you come up with. Happy baking, friends!
Frequently Asked Questions
Can I use other citrus fruits for this recipe?
Absolutely! Lemons, limes, grapefruits, and blood oranges all work beautifully. Just adjust the sugar in the syrup based on the tartness of the fruit. Lemons and limes benefit from a bit more sugar, while grapefruits are naturally sweeter.
How do I know when the slices are done drying?
The slices should feel dry to the touch but still slightly pliable. They should not be crispy or brittle. If they crack when you bend them, they’re overdone. If they feel sticky or wet, they need more time in the oven.
Can I make these in an air fryer?
Yes, you can! Set your air fryer to the lowest temperature setting (usually around 180°F or 82°C) and dry the slices for 1.5 to 2 hours, checking frequently. The air circulation is excellent, so they may dry faster than in an oven.
Why are my dried orange slices bitter?
Bitterness usually comes from the pith. Make sure you’re blanching the slices before soaking them in syrup. This step removes some of the bitter compounds. Also, using organic oranges can help, as they tend to have less bitter peels.
How long do these keep?
Stored in an airtight container at room temperature, they’ll keep for up to 6 months. Keep them in a cool, dark place away from direct sunlight. If they lose their texture, you can re-crisp them in a low oven for 10-15 minutes.
Pin This Recipe!
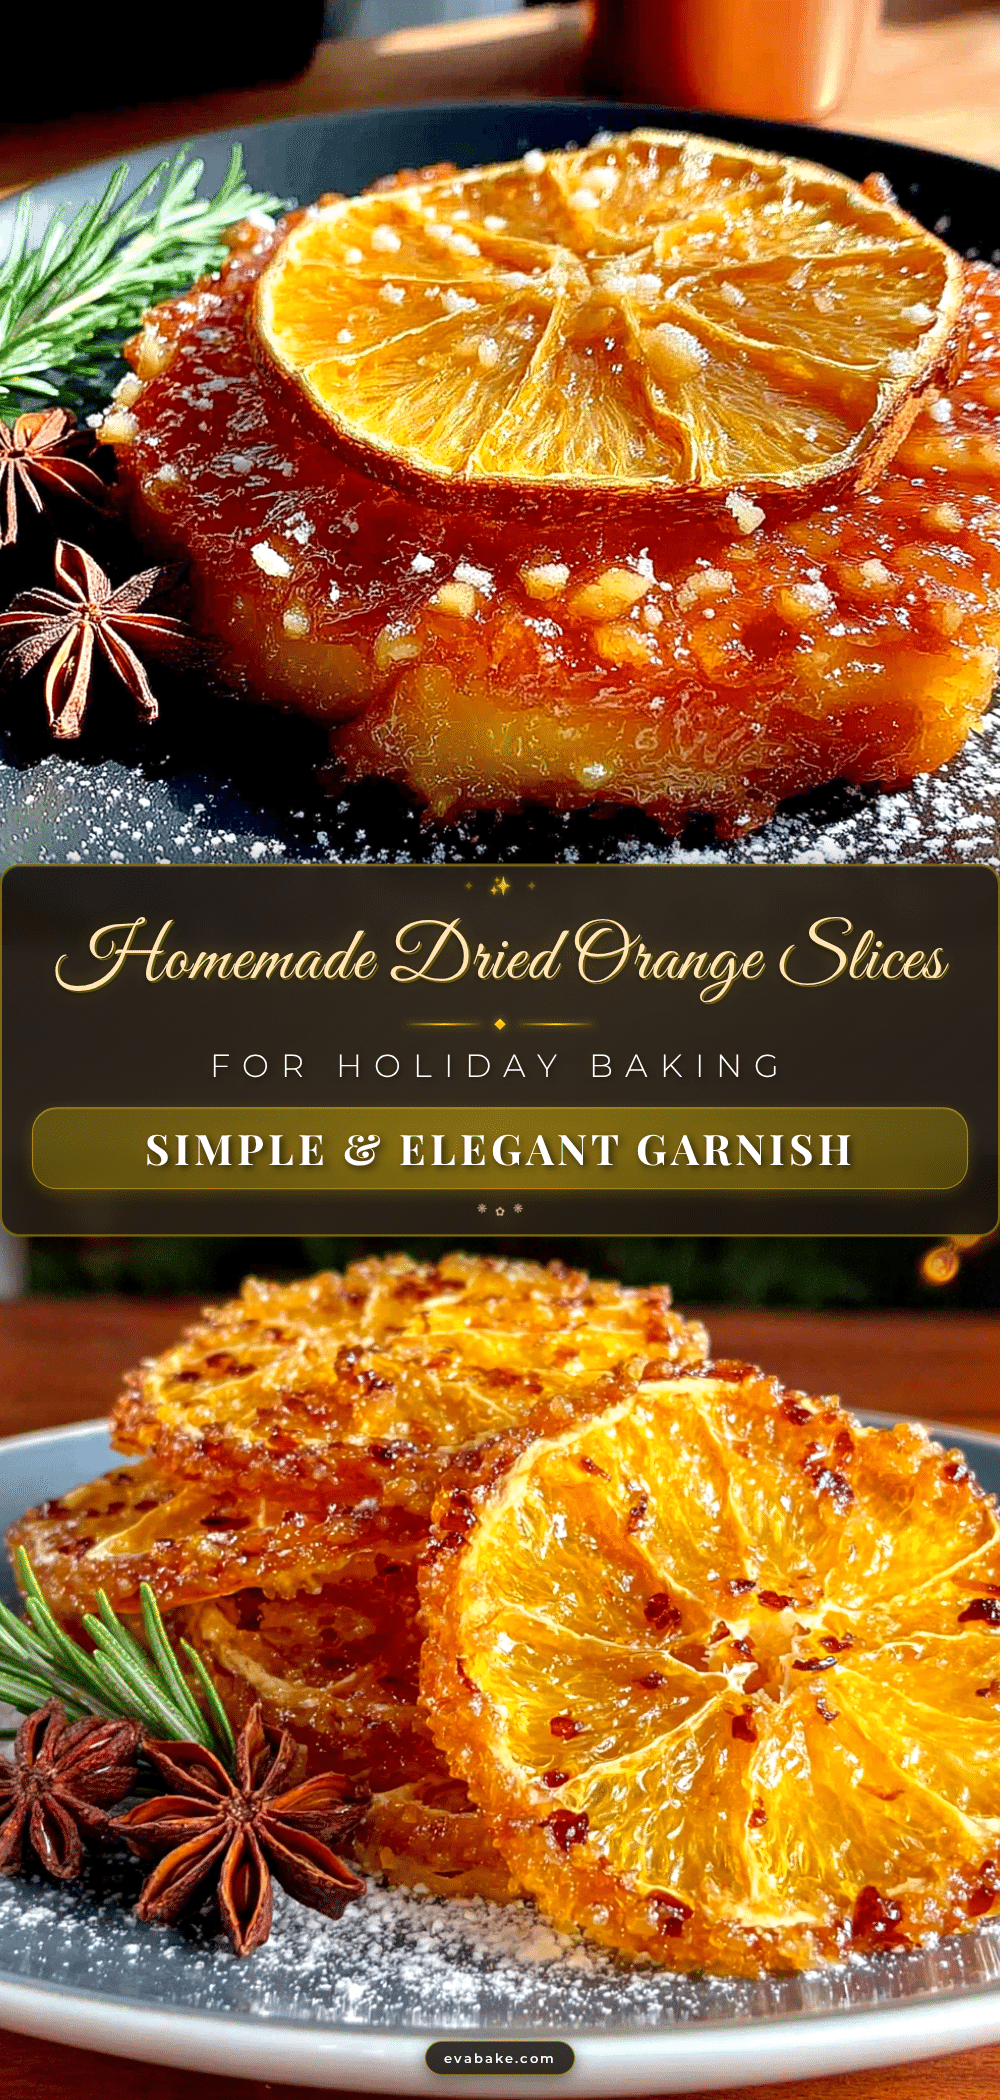
Homemade Dried Orange Slices for Easy Holiday Baking

These homemade dried orange slices are a budget-friendly, versatile holiday staple that makes your house smell amazing. Use them as cake toppers, cocktail garnishes, gift decorations, or simply snack on them.
- Prep Time: 20 minutes
- Cook Time: 3 hours
- Total Time: 3 hours 20 minutes
- Yield: 30 slices 1x
- Category: Snack
- Cuisine: American
Ingredients
- 3–4 large fresh oranges (preferably navel, organic)
- 1 cup granulated sugar
- 1 cup water
- 1 cinnamon stick (optional)
- 2 star anise (optional)
- 3 cloves (optional)
- 1 teaspoon vanilla extract (optional)
Instructions
- Preheat your oven to 200°F (93°C). Line two baking sheets with parchment paper or silicone mats.
- In a medium saucepan, combine 1 cup sugar and 1 cup water. Add optional spices if using. Bring to a boil over medium heat, stirring until sugar dissolves. Reduce heat and simmer for 5 minutes. Remove from heat and let cool slightly. Strain out spices if used.
- Wash oranges thoroughly. Slice off the top and bottom of each orange. Using a sharp knife or mandoline, slice oranges into even rounds about 1/8 to 1/4 inch thick.
- Bring a pot of water to a boil. Drop orange slices in for 2-3 minutes to blanch. Drain and pat dry with a clean towel.
- Place blanched slices in a shallow dish. Pour warm simple syrup over them, ensuring each slice is coated. Let soak for 10-15 minutes.
- Using tongs, lift slices out of syrup, letting excess drip off. Arrange in a single layer on prepared baking sheets, not overlapping.
- Bake for 2.5 to 3 hours, flipping slices halfway through. Slices should be dry to the touch but still slightly pliable.
- Remove from oven and let cool completely on the baking sheets (about 30 minutes to 1 hour). They will firm up as they cool.
- Check for doneness: slices should be leathery and slightly translucent. If any are still moist in the center, return to oven for another 30 minutes.
Notes
Don’t skip the blanching step—it removes bitterness from the pith. Use a sharp knife or mandoline for even slices. Oven temperatures vary; if slices brown too quickly, lower the temperature. For best results, use convection setting if available and rotate pans halfway through. Store in an airtight container at room temperature for up to 6 months.
Nutrition
- Serving Size: 1 slice
- Calories: 35
- Sugar: 8
- Carbohydrates: 9
- Fiber: 0.5
Keywords: dried orange slices, homemade dried oranges, holiday baking, citrus decorations, edible gifts, easy recipe