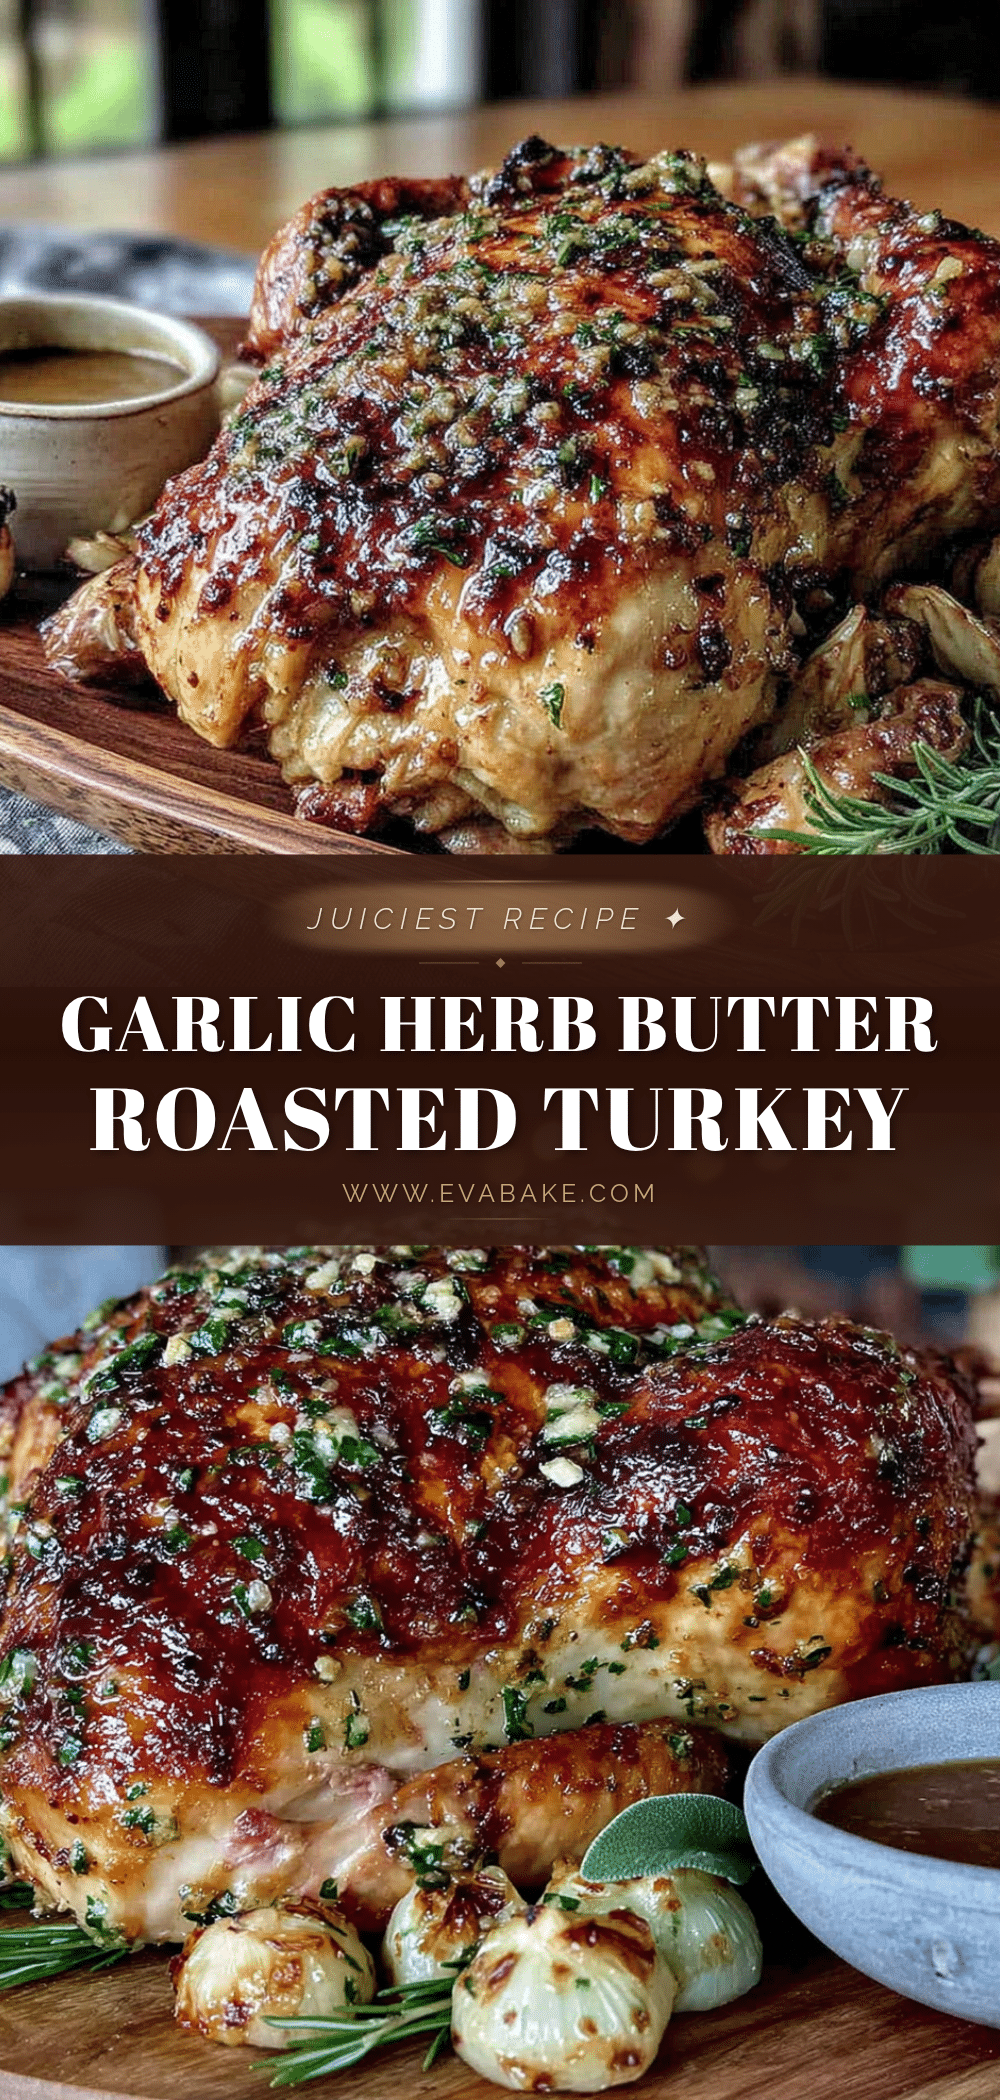
I was standing in the parking lot of a grocery store last November, a light rain misting my face, when a car door slammed shut nearby and the smell hit me. It wasn’t the rain or the damp asphalt. It was the scent of garlic roasting in butter, carried on the wind from someone’s nearby kitchen vent. And suddenly I was eight years old, standing on a step stool in my Aunt Clara’s tiny kitchen, watching her slide a massive turkey into the oven. She’d always let me smear the butter mixture under the skin, my small hands covered in a cold, herb-flecked paste that smelled like the whole holiday season. She passed away three years ago, and I haven’t had her turkey since. Honestly, I’d been too scared to try. What if I couldn’t get it right? What if it was dry? But standing there in that parking lot, I knew I had to try. So I bought the biggest bird I could find, called my mom for her notes on Clara’s method, and spent a weekend testing until I got it perfect. This is that recipe. You know that feeling when you take a bite and everything just clicks? That’s what this turkey does for a crowd.
Why You’ll Love This Recipe
This isn’t just another roasted turkey recipe. This is the one that gets you invited back to host every single year. It’s built for the cook who wants to impress without spending all day in a panic.
- Unbelievably Juicy: The garlic herb butter gets worked both under the skin and all over the outside, locking in moisture. No dry white meat here.
- Simple Ingredients: You don’t need a specialty store. Butter, garlic, fresh herbs, salt, pepper — that’s the magic. You probably have most of it right now.
- Perfect for a Crowd: This turkey is designed to feed 12 to 14 people with leftovers for sandwiches the next day. It’s the centerpiece your feast deserves.
- Stress-Free to Host: Most of the prep happens the night before. You can stuff the butter under the skin, season the bird, and let it rest in the fridge overnight. Then on the day, it’s mostly hands-off roasting.
- Always Gets Rave Reviews: I’ve made this for Thanksgiving, Christmas, and even a big Sunday dinner. Every single time, someone asks for the recipe. It’s that good.
What makes this version different? It’s the technique of using a compound butter that’s packed with fresh garlic and herbs. You aren’t just rubbing the outside. You are getting that flavor deep into the meat. Plus, the roasting method — starting hot, then lowering the heat — gives you crispy, golden skin without drying out the breast. This is the kind of turkey that makes you close your eyes after the first bite. It’s comfort food, perfected.
What Ingredients You Will Need
This recipe uses simple, wholesome ingredients to deliver bold flavor and satisfying texture without the fuss. Most are pantry staples or easy to find at any grocery store.
For the Garlic Herb Butter
- 1 cup (2 sticks) unsalted butter, softened — (I use Kerrygold for its rich flavor; it makes a difference)
- 6 cloves garlic, minced — (fresh is non-negotiable here; don’t use the jarred stuff)
- 2 tablespoons fresh rosemary, finely chopped
- 2 tablespoons fresh thyme leaves
- 1 tablespoon fresh sage, finely chopped
- 1 tablespoon fresh parsley, finely chopped
- 1 teaspoon salt
- 1/2 teaspoon black pepper
- 1 teaspoon lemon zest — (adds brightness)
For the Turkey
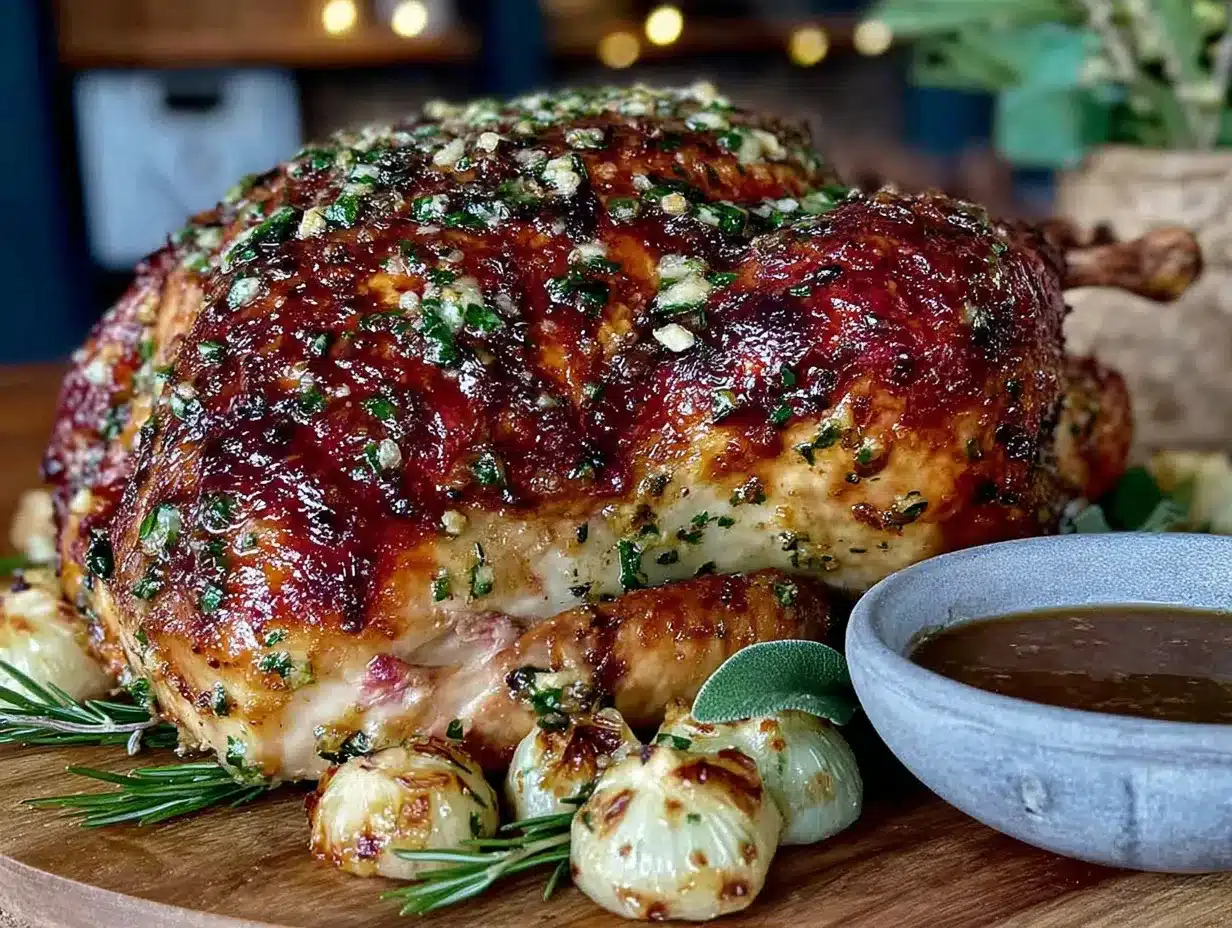
- 1 whole turkey (12-14 pounds), thawed if frozen — (look for a fresh bird if you can; the texture is better)
- 1 large onion, quartered
- 2 carrots, roughly chopped
- 2 celery stalks, roughly chopped
- 4 sprigs fresh rosemary
- 4 sprigs fresh thyme
- 1 head of garlic, cut in half crosswise
- 2 cups low-sodium chicken broth — (for the roasting pan)
- 2 tablespoons olive oil
- Salt and pepper, for seasoning the outside
For the Pan Gravy (Optional but Recommended)
- Pan drippings from the roasted turkey
- 2 tablespoons all-purpose flour
- 1 cup low-sodium chicken broth
- Salt and pepper to taste
Equipment Needed
You don’t need a professional kitchen to pull this off. Here’s what you’ll need:
- Large roasting pan with a rack — A sturdy pan is key for even heat distribution. I use a stainless steel one, but a disposable aluminum pan works in a pinch (just double it up so it doesn’t buckle).
- Instant-read meat thermometer — This is your best friend. Don’t guess the temperature. The difference between juicy and dry is about 5 degrees.
- Kitchen twine — For trussing the legs. It helps the turkey cook evenly.
- Pastry brush or spatula — For spreading the butter mixture under the skin.
- Large cutting board — For carving. Let the turkey rest on it after roasting.
- Aluminum foil — For tenting the turkey if the skin browns too fast.
- Basting brush (optional) — For brushing the pan juices over the bird during roasting.
Preparation Method
This method breaks down into simple steps. Read through everything before you start so you know what’s coming.
- Make the Garlic Herb Butter (Day Before or Morning Of): In a medium bowl, combine the softened butter, minced garlic, chopped rosemary, thyme, sage, parsley, salt, pepper, and lemon zest. Mix until everything is well incorporated. Set it aside at room temperature for about 15 minutes so it’s spreadable. You can make this up to 3 days ahead and keep it in the fridge. Just let it soften before using.
- Prep the Turkey: Remove the turkey from its packaging. Take out the giblets and neck from the cavity (save them for stock if you like). Pat the turkey completely dry with paper towels — inside and out. This is crucial for crispy skin. Let the turkey sit at room temperature for about 30 minutes to take the chill off. Don’t skip this; it helps the bird cook more evenly.
- Loosen the Skin: Using your fingers, gently loosen the skin from the breast meat. Start at the neck cavity and work your way down, being careful not to tear the skin. You want to create a pocket for the butter. This is the trickiest part, but go slow. If you tear it a little, it’s okay — the butter will still do its job.
- Apply the Butter: Take about half of the garlic herb butter and use your hands or a spatula to spread it directly onto the breast meat under the skin. Massage it in evenly. Then, rub the remaining butter all over the outside of the turkey — the legs, thighs, wings, and back. Don’t forget the cavity. Season the outside generously with salt and pepper.
- Stuff the Cavity: Stuff the cavity with the quartered onion, chopped carrots, celery, rosemary sprigs, thyme sprigs, and the halved head of garlic. This aromatics blend steams from the inside and adds incredible flavor to the meat.
- Truss the Turkey: Tie the legs together with kitchen twine. Tuck the wing tips under the body. This helps the turkey cook evenly and gives you a nice, compact shape.
- Roast the Turkey: Place the turkey breast-side up on the rack in your roasting pan. Pour the 2 cups of chicken broth into the bottom of the pan (not over the bird). Roast at 425°F (220°C) for 20 minutes. Then, reduce the oven temperature to 350°F (175°C) and continue roasting. The total roasting time is about 13-15 minutes per pound. For a 12-pound bird, that’s about 2.5 to 3 hours. Start checking the temperature after 2 hours.
- Baste and Monitor: Every 45 minutes, baste the turkey with the pan juices. If the skin is browning too quickly, tent the breast loosely with aluminum foil. The turkey is done when the internal temperature reaches 165°F (74°C) in the thickest part of the thigh (not touching the bone) and 160°F (71°C) in the breast.
- Rest the Turkey: This is the hardest part — you have to wait. Once the turkey is out of the oven, transfer it to a cutting board and let it rest, uncovered, for at least 30 minutes. Do not cover it with foil or the skin will get soggy. Resting allows the juices to redistribute throughout the meat. If you carve too soon, all that juice ends up on the cutting board.
- Make the Pan Gravy (Optional): While the turkey rests, pour the pan drippings into a fat separator or a glass measuring cup. Let the fat rise to the top. Skim off most of the fat, leaving about 2 tablespoons in the pan. Place the roasting pan on the stovetop over medium heat. Whisk in the flour and cook for 1 minute. Slowly whisk in the chicken broth and the remaining drippings. Cook, stirring constantly, until the gravy thickens, about 3-5 minutes. Season with salt and pepper to taste.
- Carve and Serve: Carve the turkey and arrange it on a large platter. Pour a little of the pan juices over the top for extra moisture. Serve immediately with the gravy on the side.
Cooking Tips & Techniques
I’ve made a few mistakes with turkey over the years, so you don’t have to. Here’s what I’ve learned:
- Don’t skip the drying step. A wet turkey steams instead of roasts. Pat it dry with paper towels and let it air-dry in the fridge uncovered for a few hours if you have time. The skin gets so much crispier.
- Use a thermometer, not the timer. I once pulled a turkey out based on the clock and it was still raw in the thigh. Every oven is different. A thermometer is the only way to be sure.
- Let the butter soften properly. Cold butter won’t spread under the skin. Leave it out for at least an hour before mixing. If you’re in a rush, microwave it in 5-second bursts until it’s just soft, not melted.
- Baste with the pan juices, not the butter. Some recipes tell you to baste with more butter. Don’t. The butter is already under the skin. Basting with the pan juices keeps the meat moist without making the skin greasy.
- If the skin tears, don’t panic. It happens. Just patch it with a little extra butter and keep going. No one will know once it’s roasted.
- Plan your side dishes around the oven. The turkey takes up a lot of space. Make sure your sides can be cooked on the stovetop or warmed up after the turkey comes out. I usually do mashed potatoes and roasted vegetables while the turkey rests.
Variations & Adaptations
This recipe is flexible. Here are a few ways to change it up:
- Herb Swap: Not a fan of sage? Use tarragon or marjoram instead. The butter is forgiving. I once used a mix of dill and parsley when I ran out of thyme, and it was surprisingly good.
- Spicy Kick: Add 1 teaspoon of red pepper flakes or a minced jalapeño to the butter for a little heat. It pairs well with the garlic.
- Citrus Twist: Instead of lemon zest in the butter, stuff the cavity with halved oranges or lemons. The citrus steams and adds a bright, fresh note to the meat.
- Dry Brine Option: For even juicier meat, season the turkey with salt and let it sit uncovered in the fridge for 24 hours before applying the butter. This is my go-to method for big holiday feasts.
- Gluten-Free Gravy: Skip the flour and use cornstarch or arrowroot powder to thicken the gravy. Mix 2 tablespoons of cornstarch with 2 tablespoons of cold water, then whisk it into the pan drippings.
- Smaller Bird: This method works for any size turkey. Just adjust the cooking time. For a 10-pound bird, start checking the temperature at 1.5 hours.
Serving & Storage Suggestions
This turkey is the star of the show. Here’s how to serve it and handle leftovers.
- Serving Temperature: Serve the turkey warm, not piping hot. Letting it rest for 30 minutes brings it to the perfect serving temperature while keeping the meat juicy.
- Presentation: Arrange the carved meat on a large platter. Garnish with fresh rosemary sprigs and a few lemon wedges for color. Pour a little of the pan juices over the top just before serving.
- What to Serve Alongside: This turkey pairs beautifully with creamy mashed potatoes, roasted Brussels sprouts, green bean casserole, and a tangy cranberry sauce. For drinks, a crisp white wine like Sauvignon Blanc or a light Pinot Noir works well.
- Storage: Store leftover turkey in an airtight container in the refrigerator for up to 4 days. Keep the meat separate from the stuffing and gravy to prevent sogginess.
- Freezing: You can freeze cooked turkey for up to 3 months. Slice it, wrap it tightly in plastic wrap, then place it in a freezer bag. Thaw in the fridge overnight before reheating.
- Reheating: To reheat without drying it out, place the turkey slices in a baking dish with a splash of chicken broth. Cover with foil and warm in a 300°F (150°C) oven for about 15 minutes. Or, use the microwave in 30-second bursts with a damp paper towel over the meat.
- Flavor Development: Leftover turkey actually tastes better the next day. The flavors meld together as it sits. It’s perfect for sandwiches, salads, or turkey pot pie.
Nutritional Information & Benefits
This is a celebratory dish, so it’s not exactly diet food, but it does have some redeeming qualities.
- Estimated Nutritional Values (per 6-ounce serving, without gravy): Calories: 350, Protein: 45g, Fat: 18g, Carbohydrates: 1g, Fiber: 0g, Sugar: 0g.
- High-Quality Protein: Turkey is a lean source of protein, which is great for muscle repair and keeping you full.
- Rich in B Vitamins: Turkey contains niacin, vitamin B6, and vitamin B12, which support energy metabolism and brain function.
- Garlic Benefits: Garlic is known for its anti-inflammatory and immune-boosting properties. Plus, it adds incredible flavor without extra salt.
- Herbs Add Antioxidants: Rosemary, thyme, and sage are packed with antioxidants that can help reduce inflammation.
- Dietary Considerations: This recipe is naturally gluten-free (just skip the flour in the gravy) and low-carb. It’s also free of nuts and dairy if you use a dairy-free butter substitute.
- Potential Allergens: This recipe contains dairy (butter) and may contain gluten if you use the flour-thickened gravy. Always check your ingredients if serving guests with allergies.
Frequently Asked Questions
Can I use salted butter instead of unsalted?
Yes, you can. Just reduce the added salt in the butter mixture to 1/2 teaspoon to avoid overseasoning.
How do I know when the turkey is fully thawed?
A frozen turkey takes about 24 hours per 4-5 pounds to thaw in the refrigerator. For a 12-pound bird, that’s about 3 days. The turkey is thawed when the legs move freely and there are no ice crystals inside the cavity.
Can I prepare the butter mixture ahead of time?
Absolutely. You can make the garlic herb butter up to 3 days in advance. Store it in the fridge and let it soften at room temperature for about 30 minutes before using.
What if I don’t have a roasting rack?
You can use a makeshift rack. Place a few large carrots and celery stalks in the bottom of the roasting pan to lift the turkey off the bottom. It works surprisingly well.
My turkey skin is getting too dark. What should I do?
Tent the breast loosely with aluminum foil. This will slow down browning while the rest of the turkey continues to cook. Check the temperature with your thermometer to avoid overcooking.
Conclusion
This garlic herb butter roasted turkey is the kind of recipe that turns a simple gathering into a real feast. It’s forgiving enough for a first-time host but impressive enough to become your signature dish. The juicy meat, the crispy golden skin, the rich aroma that fills your whole house — it’s everything you want in a holiday centerpiece. I love this recipe because it brings people together. Every time I make it, I think of Aunt Clara’s kitchen and that step stool I stood on. Now, I get to create those same memories for the people I love. I’d love to hear how yours turns out. Leave a comment below with your own twists or questions. Share a photo of your turkey on Pinterest and tag me — I can’t wait to see your beautiful feast. Happy roasting, friend!
Pin This Recipe!