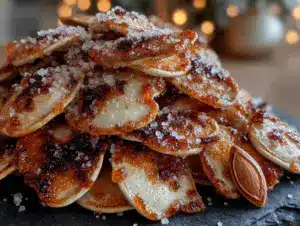
The neighborhood pumpkin carving party was in two hours and I’d completely forgotten I’d signed up to bring snacks. Everyone else would be bringing elaborate things — caramel apples, spiced cider, those little puff pastry things that look like they took all day. I had a pile of pumpkin guts from the three jack-o’-lanterns I’d carved that morning and a pantry that was honestly pretty sad. Let me tell you, there’s nothing quite like the panic of staring at a bowl of slimy seeds while trying to look like you have a plan.
I mean, I knew you could roast pumpkin seeds. Everyone does that. But I wanted something different, something that didn’t feel like an afterthought. I wanted them to be the thing people talked about, not just the bowl that sat there getting ignored. So I started digging through my spice cabinet, and that’s when I spotted the cinnamon sugar. Now, I’m not saying I had a stroke of genius. I’m saying I was desperate and those two things were in my hand at the same time.
The party was chaos. Kids running around, parents juggling drinks, and my little tray of seeds sat next to the fancy stuff. But here’s the thing — by the end of the night, that tray was empty. People kept walking by, grabbing a handful, and then coming back for more. One neighbor actually asked me for the recipe, which felt like a win, honestly, because I’d just thrown it together. This recipe stayed with me because it proved something I’d always suspected: simple, done right, beats complicated every time. Maybe you’ve been there, staring at a fridge full of nothing and needing to make something that feels like more.
Why You’ll Love This Recipe
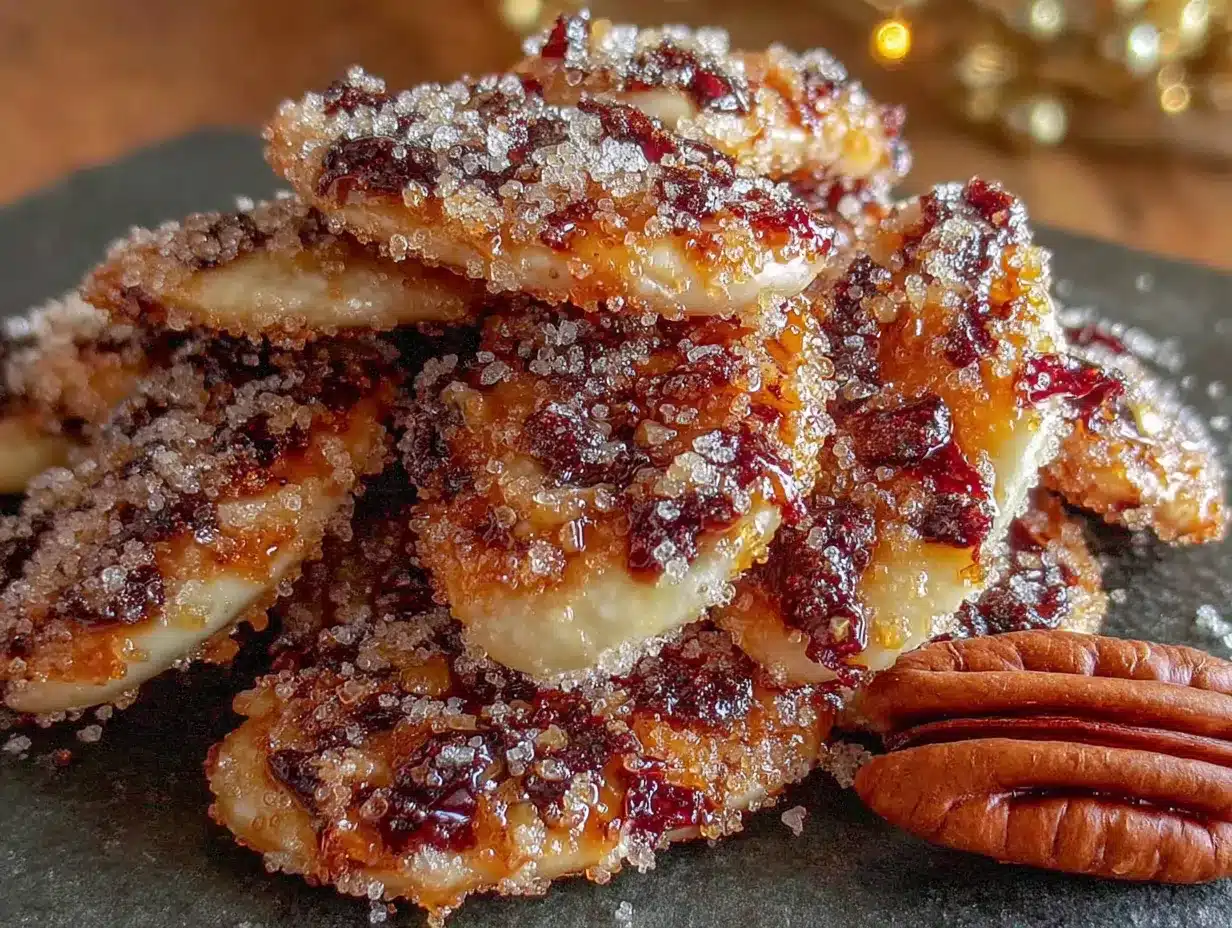
These Light & Crispy Cinnamon Sugar Pumpkin Seeds are the snack you didn’t know you needed. They’re crunchy, sweet, and just a little bit addictive — the kind of thing you reach for without thinking, and then suddenly the bowl is empty. I’ve tested this method more times than I care to admit, tweaking the temperature and the timing until the texture was absolutely perfect. No chewy seeds here, just that satisfying crackle that makes you reach for another handful.
- Quick & Easy: From seed to snack in under 30 minutes. Perfect for when you need something fast for a party or a midday craving.
- Simple Ingredients: You probably have everything in your kitchen right now. No special trips to the store required.
- Perfect for Fall Gatherings: Halloween parties, Thanksgiving leftovers, cozy movie nights — these fit right in.
- Crowd-Pleaser: Kids love them, adults love them, and they always disappear first from the snack table.
- Unbelievably Delicious: The secret is in the technique. A quick boil before roasting changes everything — it makes the seeds light and crispy instead of dense and chewy.
What makes this different from every other pumpkin seed recipe out there? It’s the boiling step. I know it sounds weird, but trust me on this. Boiling the seeds before roasting them transforms the texture completely. They puff up just a little, and when they hit the oven, they crisp up evenly without burning. Plus, the cinnamon sugar coating sticks better, giving you that perfect sweet crunch in every bite. This isn’t just another version — it’s the one I keep going back to, and I think you will too.
What Ingredients You Will Need
This recipe uses simple, wholesome ingredients to deliver that perfect sweet crunch. Most of these are pantry staples, so you can whip these up whenever the mood strikes. Let’s break down what you need and why each ingredient matters.
For the Seeds
- Fresh pumpkin seeds — about 2 cups, straight from the pumpkin. Rinse them well to remove the stringy pulp. (Fresh seeds work best, but store-bought raw seeds also work in a pinch.)
- Water — 4 cups for boiling. This is the secret step that makes the seeds light and crispy instead of tough.
- Salt — 1 tablespoon, added to the boiling water. This helps season the seeds from the inside out.
For the Coating
- Unsalted butter — 2 tablespoons, melted. I prefer using unsalted so I can control the salt level. (Coconut oil works great for a dairy-free option.)
- Granulated sugar — 3 tablespoons. This gives the seeds that sweet coating that caramelizes slightly in the oven.
- Ground cinnamon — 1 teaspoon. Use a good quality cinnamon here — it makes a difference. I like Saigon cinnamon for its bold, warm flavor.
- Vanilla extract — 1/2 teaspoon. Optional, but it adds a lovely depth that rounds out the sweetness.
- Pinch of salt — just a small one, to balance the sugar.
That’s it. Six ingredients, and you’re on your way to the best pumpkin seeds you’ve ever had. The beauty of this recipe is how flexible it is. If you want to experiment, try adding a pinch of nutmeg or cardamom to the sugar mixture. I’ve done that before, and it gives the seeds a warm, almost chai-like flavor that’s incredible for fall.
A quick note on the seeds themselves: if you’re carving pumpkins, don’t throw those seeds away! That’s free snack material right there. But if you’re buying them, look for raw, unsalted pumpkin seeds in the bulk section or baking aisle. They’re usually greenish-white and have a mild, nutty flavor. Avoid the salted ones — you want to control the seasoning yourself.
Equipment Needed
You don’t need a fancy kitchen to make these seeds. Here’s what you’ll need:
- Large pot — for boiling the seeds. Any standard 4-quart pot works fine.
- Colander — to drain and rinse the seeds after boiling.
- Kitchen towel or paper towels — for patting the seeds dry. A clean dish towel works best, but paper towels get the job done.
- Mixing bowl — medium-sized, for tossing the seeds with the coating.
- Baking sheet — rimmed, to prevent seeds from rolling off. I use a standard half-sheet pan.
- Parchment paper — optional but recommended for easy cleanup.
- Spatula or wooden spoon — for stirring the seeds on the baking sheet halfway through.
If you don’t have parchment paper, you can grease the baking sheet lightly with butter or cooking spray. I’ve done it both ways, and honestly, parchment paper makes cleanup so much easier. It’s worth the extra step.
Preparation Method
Let’s get into the nitty-gritty. Follow these steps carefully, and you’ll have the crispiest, most delicious cinnamon sugar pumpkin seeds you’ve ever tasted.
- Preheat your oven to 350°F (175°C). Getting the oven hot before you start ensures even roasting. Line a baking sheet with parchment paper if you’re using it.
- Rinse the pumpkin seeds thoroughly. Place them in a colander and run cold water over them, using your fingers to remove any clinging pumpkin pulp. It doesn’t need to be perfect — a little bit of pulp adds flavor, honestly — but you want most of the stringy stuff gone. (This takes about 2-3 minutes.)
- Boil the seeds. Bring 4 cups of water and 1 tablespoon of salt to a rolling boil in a large pot. Add the rinsed seeds and boil for exactly 10 minutes. This step is non-negotiable — it softens the seed shells and allows them to crisp up beautifully in the oven. (Set a timer! I’ve forgotten before and ended up with mushy seeds.)
- Drain and dry. Pour the boiled seeds into the colander and let them drain for a minute. Then spread them out on a clean kitchen towel or a layer of paper towels. Pat them gently to remove as much moisture as possible. They should feel damp but not wet. (This is important — excess moisture will make them steam instead of roast.)
- Make the coating. In a medium mixing bowl, whisk together the melted butter, granulated sugar, ground cinnamon, vanilla extract (if using), and a pinch of salt. Stir until the sugar is mostly dissolved and the mixture looks like a thick paste.
- toss the seeds. Add the dried seeds to the bowl with the coating. Use a spatula to toss everything together until every seed is evenly coated. Don’t rush this — you want that cinnamon sugar goodness on every single seed.
- Spread on the baking sheet. Pour the coated seeds onto the prepared baking sheet. Spread them into a single, even layer. Try not to overcrowd them — if they’re piled on top of each other, they’ll steam instead of crisp. (If you have a lot of seeds, use two baking sheets.)
- Roast for 20-25 minutes. Place the baking sheet in the preheated oven. After 10 minutes, take it out and stir the seeds with a spatula. This helps them roast evenly. Return to the oven and continue roasting for another 10-15 minutes, or until the seeds are golden brown and fragrant. (Watch them closely in the last few minutes — they can go from golden to burnt quickly.)
- Cool completely. Remove the baking sheet from the oven and let the seeds cool on the sheet for at least 15 minutes. They’ll continue to crisp up as they cool. (Resist the urge to eat them right away — they’re much crunchier once cooled.)
- Break apart any clumps. Once cooled, use your hands or a spatula to break apart any seeds that have stuck together. They should separate easily into individual crunchy seeds.
A quick sensory cue for you: when the seeds are done, they should smell warm and toasty, like cinnamon and roasted nuts. The color will be a deep golden brown, and if you bite into one, it should crackle — not bend. If they’re still chewy, give them another 2-3 minutes in the oven.
Cooking Tips & Techniques
I’ve made these seeds more times than I can count, and I’ve learned a few things along the way. Here are my best tips for getting them perfect every time.
Don’t skip the boil. I know it seems like an extra step, but it’s the secret to that light, crispy texture. Boiling the seeds softens the outer shell, allowing them to puff up and crisp evenly in the oven. Without it, you’ll end up with dense, chewy seeds that feel more like a chore than a snack. I learned this the hard way after my first batch turned out like little rocks.
Dry the seeds thoroughly. After boiling, make sure you pat them as dry as possible. Wet seeds create steam in the oven, which prevents them from getting crispy. I usually spread them on a towel and let them sit for 5 minutes before patting them dry. It makes a real difference.
Watch the oven like a hawk. Oven temperatures vary, and seeds can go from perfectly golden to burnt in a matter of minutes. I always set a timer for 20 minutes, then check them every 2 minutes after that. The smell is a good indicator — when you start smelling that warm cinnamon toast scent, they’re close.
Use a rimmed baking sheet. Trust me on this one. I once used a flat cookie sheet, and seeds rolled off everywhere. A rimmed sheet keeps them contained and makes stirring much easier.
Double the batch. These seeds disappear fast. If you’re making them for a party or a family gathering, make at least double what you think you need. I’ve never had leftovers, and I’ve tried.
Cool completely before storing. If you put warm seeds in an airtight container, the steam will make them soggy. Let them sit out on the baking sheet for at least 15 minutes, or until they’re completely cool to the touch. Patience pays off here.
Variations & Adaptations
One of the best things about this recipe is how easy it is to adapt. Here are some variations I’ve tried and loved.
Spicy Cinnamon Sugar
Add 1/4 teaspoon of cayenne pepper to the sugar mixture. The heat sneaks up on you, balancing the sweetness perfectly. I made this version for a game night once, and it was the first thing to disappear.
Maple Pecan Crunch
Replace the granulated sugar with 2 tablespoons of maple syrup and add 1/4 cup of chopped pecans to the baking sheet during the last 5 minutes of roasting. The maple flavor pairs beautifully with the cinnamon, and the pecans add a lovely crunch.
Chai Spice Blend
Swap the cinnamon for 1 teaspoon of chai spice mix (or make your own with cinnamon, cardamom, ginger, cloves, and nutmeg). This version tastes like fall in a bowl and is amazing for holiday parties.
Savory Option
If sweet isn’t your thing, skip the sugar and cinnamon. Instead, toss the dried seeds with melted butter, garlic powder, smoked paprika, and a pinch of cayenne. Roast the same way for a savory snack that’s perfect with beer or cocktails.
Vegan & Dairy-Free
Use coconut oil or avocado oil instead of butter. The flavor changes slightly, but the texture stays just as crispy. I’ve tested this multiple times, and honestly, I can barely tell the difference.
Serving & Storage Suggestions
These seeds are best served at room temperature, right after they’ve cooled. I like to pile them into a big wooden bowl for parties — they look so pretty against the dark wood. For a cozy night in, I just grab a handful straight from the baking sheet. No judgment here.
They pair beautifully with warm apple cider or a hot cup of chai. If you’re serving them at a party, set them out next to a bowl of fresh fruit or a cheese platter. The sweet crunch contrasts nicely with sharp cheddar or creamy brie.
Storage: Once completely cool, transfer the seeds to an airtight container. They’ll stay crispy for up to a week at room temperature. I’ve kept them for two weeks before, and they were still good, just slightly less crunchy. (They never last that long in my house, honestly.)
Freezer option: You can freeze these seeds in a freezer-safe bag for up to 3 months. To refresh them, spread them on a baking sheet and warm them in a 300°F oven for 5 minutes. They’ll crisp right back up.
A note on flavor development: these seeds actually taste better the next day. The cinnamon sugar settles into the seeds, and the flavor becomes more rounded. So if you can resist eating them all right away, you’re in for a treat.
Nutritional Information & Benefits
Pumpkin seeds are a nutritional powerhouse, and this recipe keeps them relatively light. Here’s what you’re getting in a 1/4 cup serving:
- Calories: Approximately 120
- Protein: 5 grams
- Healthy fats: 8 grams (mostly unsaturated)
- Fiber: 2 grams
- Iron: 10% of your daily value
- Magnesium: 20% of your daily value
- Zinc: 15% of your daily value
Pumpkin seeds are packed with antioxidants and minerals that support heart health, immune function, and even sleep quality (thanks to their natural tryptophan content). The cinnamon adds anti-inflammatory benefits and helps regulate blood sugar, which means these seeds won’t send you on a sugar crash.
This recipe is naturally gluten-free and can easily be made dairy-free or vegan with a simple swap. If you’re watching your sugar intake, you can reduce the sugar to 1 tablespoon — the seeds will still be delicious, just less sweet.
I love that this snack feels indulgent but actually has some real nutritional value. It’s the kind of treat you can feel good about eating, whether you’re fueling a busy afternoon or winding down with a movie.
Conclusion
These Light & Crispy Cinnamon Sugar Pumpkin Seeds are proof that the best recipes often come from happy accidents. I stumbled into this combination out of desperation, and it turned into something I genuinely look forward to making every fall. The texture is perfect — light, crunchy, and satisfying without being heavy. The flavor is warm and sweet, with just enough cinnamon to make you reach for another handful.
I hope you give these a try, whether you’re carving pumpkins with the kids, looking for a party snack, or just want something to munch on during a cozy night in. Don’t be afraid to play with the spices or try one of the variations I mentioned. Cooking is all about making things your own, and these seeds are the perfect canvas for experimentation.
If you make them, I’d love to hear how they turned out. Drop a comment below and let me know if you tried any fun twists, or just tell me how fast they disappeared at your house. And if you’re looking for another easy snack to add to your rotation, check out these crispy garlic chickpeas — they have that same satisfying crunch with a savory twist. Happy snacking, friend!
Frequently Asked Questions
Can I use store-bought pumpkin seeds instead of fresh?
Absolutely! Just make sure you’re using raw, unsalted pumpkin seeds. The boiling step still works the same way, and the results are just as crispy and delicious.
Why are my pumpkin seeds chewy instead of crispy?
This usually happens for one of two reasons: you didn’t boil them long enough, or you didn’t dry them thoroughly before roasting. Make sure you boil for the full 10 minutes and pat them very dry before adding the coating.
Can I make these in an air fryer?
Yes! Air fry at 300°F (150°C) for 12-15 minutes, shaking the basket halfway through. Keep a close eye on them — air fryers run hot and seeds can burn quickly.
How do I prevent the seeds from sticking together?
Make sure you spread them in a single layer on the baking sheet and stir them halfway through roasting. If they still stick together after cooling, just break them apart with your hands.
Can I reduce the sugar in this recipe?
Of course! You can cut the sugar down to 1 tablespoon and still get great results. The seeds will be less sweet, but the cinnamon flavor will still shine through nicely.
Pin This Recipe!
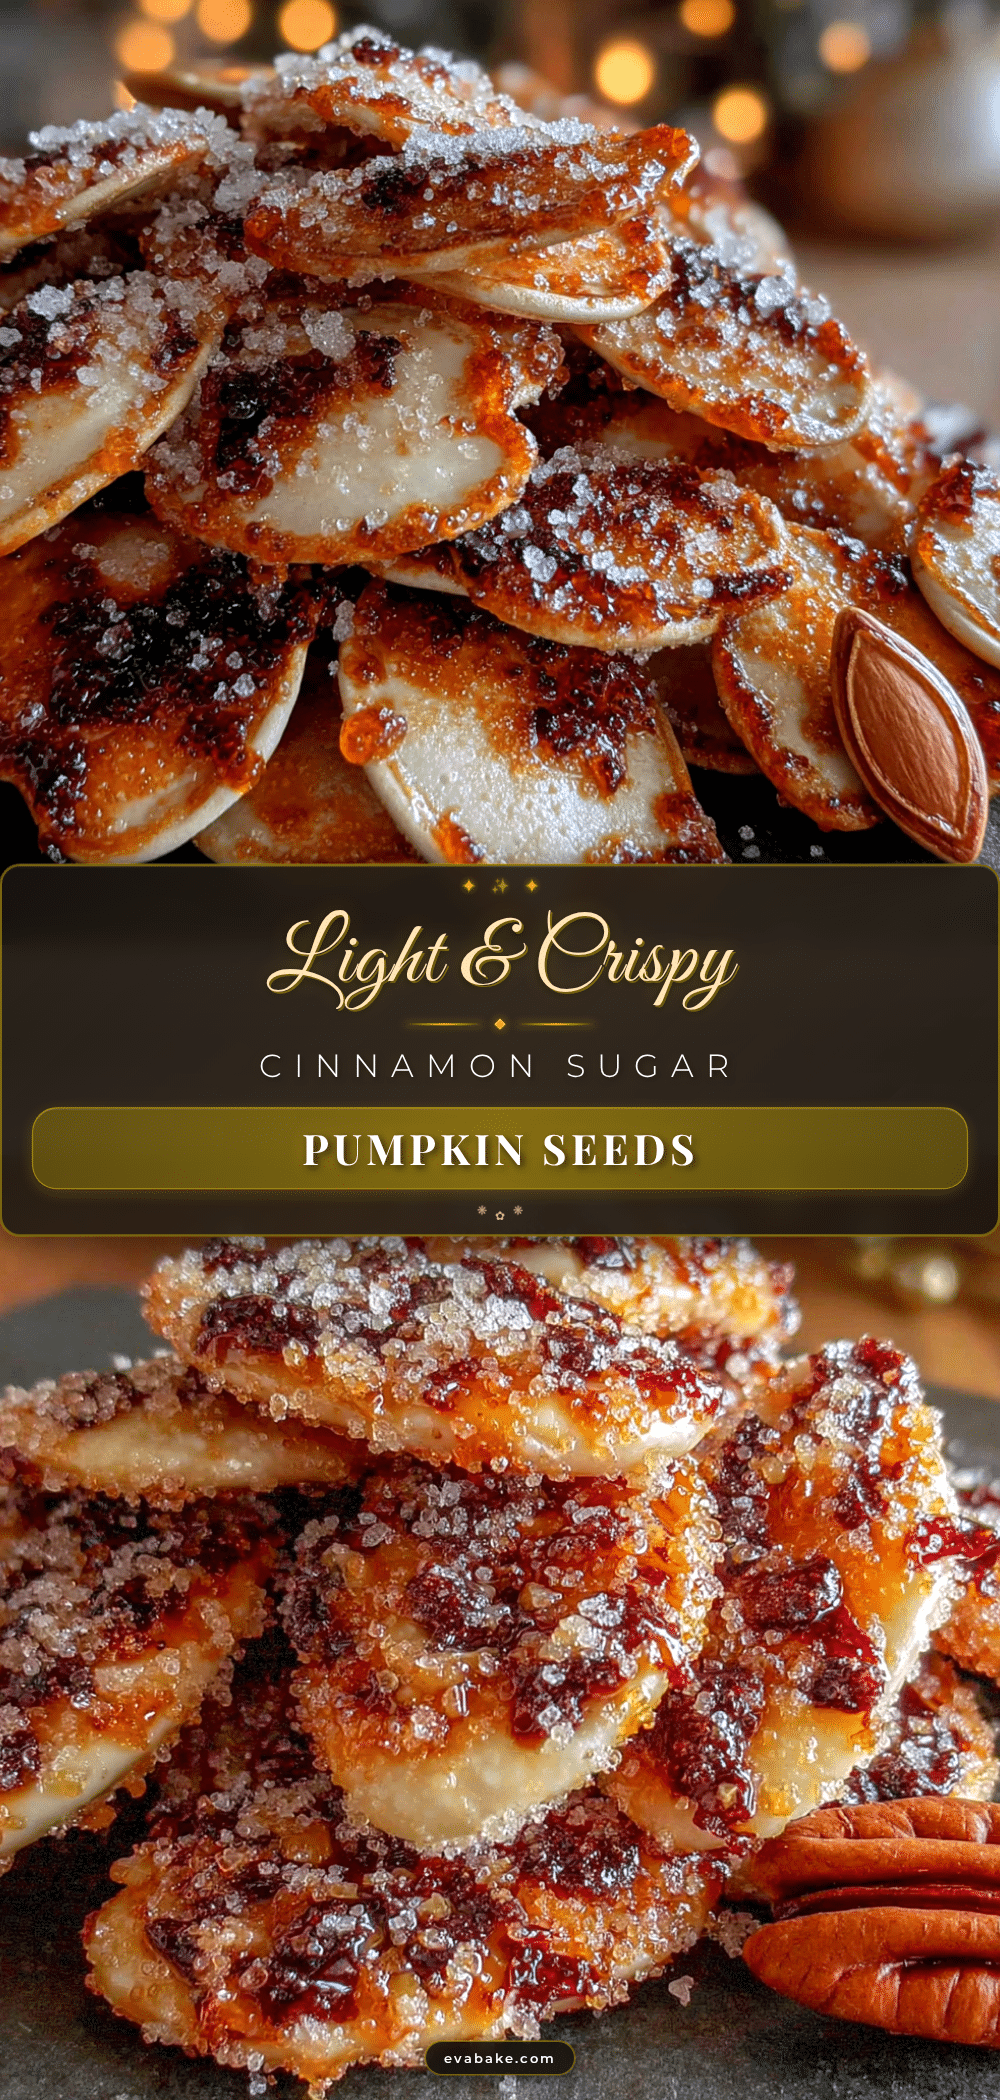
Light & Crispy Cinnamon Sugar Pumpkin Seeds

These Light & Crispy Cinnamon Sugar Pumpkin Seeds are the snack you didn’t know you needed. They’re crunchy, sweet, and just a little bit addictive — the kind of thing you reach for without thinking, and then suddenly the bowl is empty.
- Prep Time: 15 minutes
- Cook Time: 25 minutes
- Total Time: 40 minutes
- Yield: 4 servings 1x
- Category: Snack
- Cuisine: American
Ingredients
- 2 cups fresh pumpkin seeds
- 4 cups water
- 1 tablespoon salt
- 2 tablespoons unsalted butter, melted
- 3 tablespoons granulated sugar
- 1 teaspoon ground cinnamon
- 1/2 teaspoon vanilla extract (optional)
- Pinch of salt
Instructions
- Preheat your oven to 350°F (175°C). Line a baking sheet with parchment paper if using.
- Rinse the pumpkin seeds thoroughly in a colander under cold water, removing any clinging pumpkin pulp.
- Bring 4 cups of water and 1 tablespoon of salt to a rolling boil in a large pot. Add the rinsed seeds and boil for exactly 10 minutes.
- Drain the boiled seeds in a colander and let them drain for a minute. Spread them out on a clean kitchen towel or paper towels and pat gently to remove as much moisture as possible.
- In a medium mixing bowl, whisk together the melted butter, granulated sugar, ground cinnamon, vanilla extract (if using), and a pinch of salt until it forms a thick paste.
- Add the dried seeds to the bowl with the coating and toss with a spatula until every seed is evenly coated.
- Pour the coated seeds onto the prepared baking sheet and spread into a single, even layer.
- Roast for 20-25 minutes, stirring after 10 minutes. Watch closely in the last few minutes to prevent burning.
- Remove from the oven and let the seeds cool on the baking sheet for at least 15 minutes. They will continue to crisp up as they cool.
- Once cooled, break apart any clumps with your hands or a spatula.
Notes
Don’t skip the boiling step — it softens the seed shells and allows them to crisp up beautifully. Dry the seeds thoroughly after boiling to prevent steaming. Watch the oven closely in the last few minutes to avoid burning. For best texture, cool completely before storing. Seeds can be stored in an airtight container at room temperature for up to a week, or frozen for up to 3 months.
Nutrition
- Serving Size: 1/4 cup
- Calories: 120
- Sugar: 6
- Sodium: 150
- Fat: 8
- Saturated Fat: 2
- Carbohydrates: 10
- Fiber: 2
- Protein: 5
Keywords: pumpkin seeds, cinnamon sugar, fall snack, Halloween, easy recipe, crispy, roasted pumpkin seeds