My dad claimed to hate pumpkin pie for forty-seven years. Not a mild dislike, mind you—a full-blown, theatrical refusal that he’d announce every November like clockwork. “Too mushy,” he’d say, waving away the dessert plate. “Tastes like baby food with cinnamon.” We all just accepted it. That was Dad’s thing, same way he insisted on wearing shorts in December and over-salted everything.
Then last Thanksgiving, I caught him. I’d made this particular version—the one I’d been tinkering with for weeks—and set it on the counter to cool. I walked back into the kitchen to grab a serving knife and there he was, standing over the pie, fork in hand, mid-bite. The look on his face wasn’t guilt. It was confusion. Like his own taste buds had betrayed him.
“What is this?” he asked, pointing at the pie with his fork. Not angry. Just genuinely bewildered.
“Pumpkin pie, Dad.”
He stared at the slice in his hand. “No it’s not.”
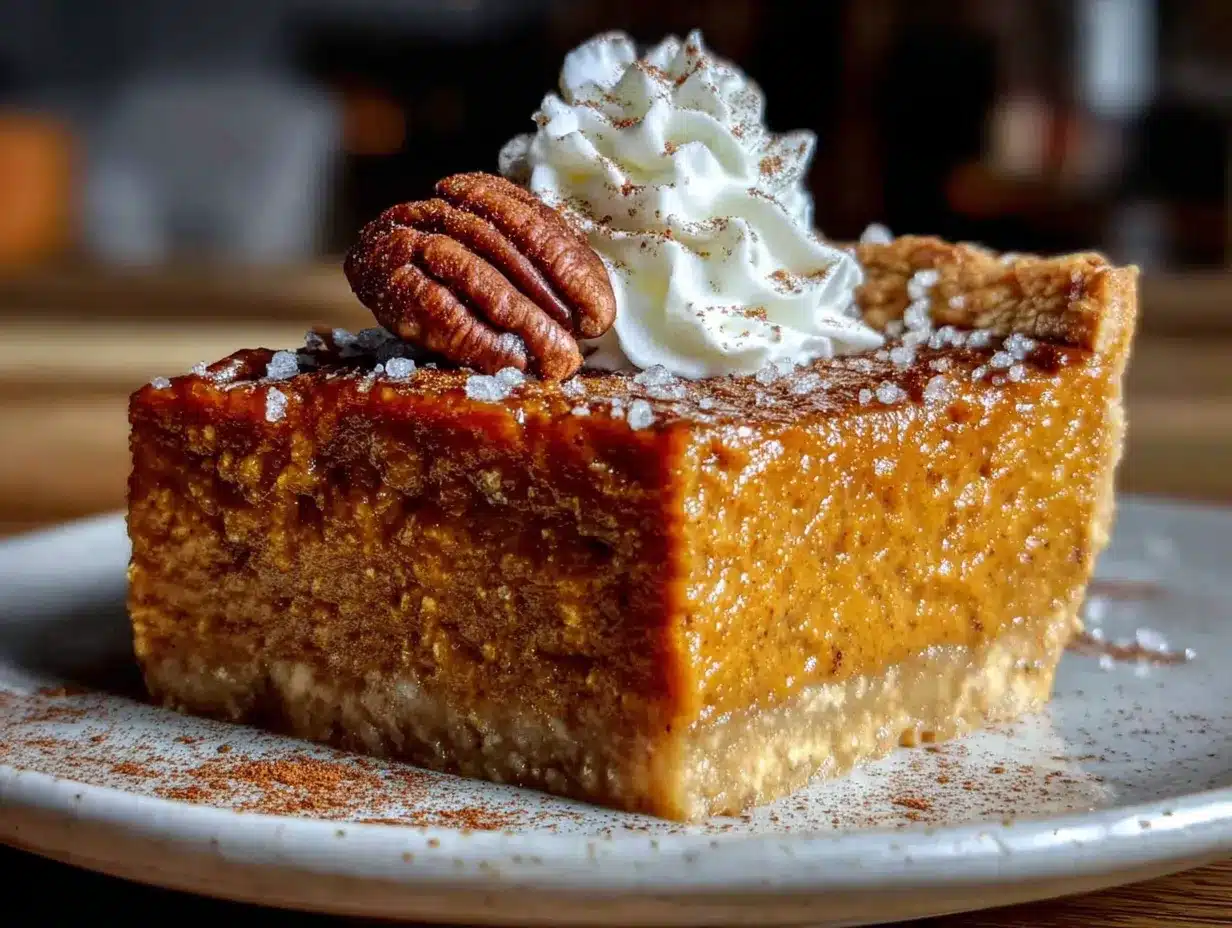
But it was. And that’s the thing about this recipe—it doesn’t taste like the canned, wobbly, one-note pumpkin pies you’ve had at sad office parties or questionable potlucks. This one has depth. A real, honest-to-goodness flaky crust that shatters when you cut into it. A filling that’s creamy but firm, spiced in a way that warms you from the inside out. It’s the kind of pie that makes people who “don’t like pumpkin pie” suddenly become people who eat half of one standing over the kitchen sink at midnight. Not that I’d know anything about that.
Honestly, I almost didn’t share this recipe. It took me three Thanksgivings to get it right—too runny one year, too dense the next, a crust that was basically a sad cracker situation in year two. But this version? This is the one that converted a forty-seven-year holdout. And if it can do that, maybe you’ve got someone at your table who needs converting too.
Why You’ll Love This Recipe
This isn’t just another pumpkin pie recipe floating around the internet. I’ve tested this thing six different ways—three crust recipes, four filling ratios, two blind-baking methods—and this combination won every single time. Here’s why it works:
- That Crust Though : We’re talking legitimately flaky, butter-forward pastry that doesn’t get soggy. The secret? A par-bake method that creates a barrier between the wet filling and the dough. Game changer.
- Perfectly Spiced, Not Overpowering : Most pumpkin pies taste like someone dumped a whole spice jar in there. This one balances cinnamon, ginger, nutmeg, and a tiny pinch of cloves so each bite is warm without being aggressive.
- Silky Smooth Texture : No cracks. No graininess. Just velvety, custard-like filling that holds its shape when sliced but melts on your tongue. I use a combination of heavy cream and whole milk—trust me on this.
- Make-Ahead Friendly : This pie actually gets better after a day in the fridge. The flavors meld, the crust stays crisp (thanks to that par-bake), and you can cross one major dish off your holiday to-do list.
- Proven Banger : It converted my dad. It’s been devoured at three Friendsgivings. A coworker texted me for the recipe at 11 PM on a Tuesday after her husband “accidentally” ate half of it. This pie has receipts.
What makes this recipe different from the rest is the technique—specifically how we handle the crust and the temperature control on the filling. Most recipes tell you to just dump everything in a bowl and pour. I take a slightly more methodical approach that results in a pie that looks like it came from a bakery but tastes like it came from someone who actually cares.
There’s something about pulling a homemade pumpkin pie out of the oven that just feels right. The smell alone—cinnamon and butter and nutmeg filling your kitchen—is worth the effort. And when you watch someone take that first bite and their eyes go a little wide? That’s the good stuff.
What Ingredients You Will Need
This recipe uses straightforward ingredients, but a few specifics make a real difference. I’ve learned the hard way that not all pumpkin puree is created equal, and your spice blend matters more than you think.
For the Flaky Pie Crust
- 2 ½ cups all-purpose flour (315g) – Spoon and level it; don’t scoop directly from the bag or you’ll end up with dry dough
- 1 teaspoon salt (6g) – I use fine sea salt here
- 1 tablespoon granulated sugar (12g) – Just enough to encourage browning without making it sweet
- 1 cup cold unsalted butter (226g), cut into ½-inch cubes – This needs to be COLD. Like, stick it in the freezer for 15 minutes cold. I use Kerrygold or Plugrà for the best flavor
- 6-8 tablespoons ice water (90-120ml) – Keep a bowl of ice water ready; you want it genuinely cold
- 1 tablespoon apple cider vinegar (15ml) – Sounds weird, I know, but it relaxes the gluten and makes the crust more tender. Trust me on this one
For the Pumpkin Filling
- 1 can (15 oz) pumpkin puree (425g) – NOT pumpkin pie filling. Look for 100% pure pumpkin. I prefer Libby’s for consistent texture; avoid generic store brands that can be watery
- ¾ cup packed light brown sugar (150g) – Dark brown sugar works too if you want deeper molasses notes
- ¼ cup granulated sugar (50g) – Balances the brown sugar and helps with structure
- 3 large eggs, room temperature – Cold eggs can seize the filling; let them sit out for 30 minutes
- 1 teaspoon vanilla extract (5ml) – Pure, not imitation
- 1 ½ cups heavy cream (360ml) – This is non-negotiable for the silkiest texture. Half-and-half works in a pinch but won’t be as luxurious
- ¼ cup whole milk (60ml) – Adds just enough lightness without sacrificing richness
For the Spice Blend
- 2 teaspoons ground cinnamon (5g) – The backbone of the pie
- 1 teaspoon ground ginger (2g) – Freshly ground if you can find it; it makes a difference
- ½ teaspoon ground nutmeg (1g) – Freshly grated is incredible here, but pre-ground works
- ¼ teaspoon ground cloves (0.5g) – A little goes a long way; too much and it tastes like holiday candle
- ¼ teaspoon salt (1.5g) – Don’t skip this; salt makes the spices pop
Equipment Needed
You don’t need a professional bakery setup for this, but a few specific tools make the process much smoother.
- 9-inch pie dish – Glass or ceramic works best. I use a deep-dish ceramic pie plate; avoid thin metal pans that can burn the crust
- Rolling pin – A standard rolling pin is fine. If you don’t have one, a wine bottle works in a pinch (I’ve done it)
- Parchment paper – Essential for blind baking the crust. Saves you from a sticky mess
- Pie weights or dried beans – You need something heavy to hold the crust down during par-baking. I use a bag of dried pinto beans I keep specifically for this purpose
- Large mixing bowls – One for the crust, one for the filling
- Whisk – For smoothing out the filling without overmixing
- Pastry cutter or food processor – For cutting butter into flour. A pastry cutter gives you more control; a food processor is faster. Both work
- Plastic wrap – For chilling the dough
- Cooling rack – Lets air circulate under the pie so the bottom doesn’t get soggy
If you’re on a budget, skip the fancy pie weights and use dried beans or even uncooked rice. Just save them in a jar labeled “pie beans” so you don’t accidentally cook them later. Ask me how I know.
Preparation Method
Let’s walk through this step by step. I’ll include the little details that make the difference between a good pie and a “can I have this recipe?” pie.
Step 1: Make the Dough (Day Before or Morning Of)
In a large bowl, whisk together the flour, salt, and sugar. Add your cold butter cubes and toss them in the flour until each piece is coated. Using a pastry cutter or your fingertips, work the butter into the flour until you have pea-sized chunks of butter mixed throughout. Some flour will look sandy, some will have visible butter pieces—that’s exactly what you want. Those butter chunks create steam pockets in the oven, which gives you those flaky layers.
In a small bowl, combine 6 tablespoons of ice water with the apple cider vinegar. Drizzle this over the flour mixture, then gently mix with a fork or your hands. Squeeze a handful of dough—if it holds together without crumbling, it’s ready. If it’s dry, add the remaining 2 tablespoons of water, one at a time. Form the dough into a disc about 1 inch thick, wrap it tightly in plastic wrap, and refrigerate for at least 2 hours. Overnight is even better.
Step 2: Roll and Par-Bake the Crust
Preheat your oven to 375°F (190°C). On a lightly floured surface, roll the chilled dough into a 12-inch circle, about ⅛-inch thick. Don’t fight the dough—if it’s cracking, let it sit at room temperature for 5 minutes. Roll from the center outward, turning the dough occasionally to prevent sticking.
Carefully transfer the dough to your pie dish. Gently press it into the corners without stretching—stretched dough will shrink back while baking. Trim the overhang to about ½ inch, then fold it under and crimp the edges however you like. I do a simple pinched edge, nothing fancy.
Line the crust with parchment paper and fill with pie weights or dried beans. Bake for 15 minutes, then carefully remove the parchment and weights. Prick the bottom of the crust with a fork (this prevents bubbles) and bake for another 8-10 minutes until the bottom looks dry and lightly golden. Set aside to cool slightly while you make the filling.
Step 3: Make the Filling
Reduce your oven temperature to 350°F (175°C). In a large bowl, whisk together the pumpkin puree, brown sugar, and granulated sugar until smooth. Add the eggs one at a time, whisking well after each addition. Stir in the vanilla.
In a separate small bowl, combine the cinnamon, ginger, nutmeg, cloves, and salt. Sprinkle this spice mixture over the pumpkin mixture and whisk to combine. Slowly pour in the heavy cream and whole milk, whisking constantly until the filling is completely smooth. The mixture should be thick but pourable, like a thin milkshake.
Step 4: Bake the Pie
Place the par-baked crust on a baking sheet (this catches any spills and makes it easier to move). Pour the filling into the warm crust—it should come almost to the top. Carefully transfer to the oven and bake for 50-60 minutes.
Here’s the tricky part: the pie is done when the edges are set but the center still jiggles slightly, like Jell-O. If you insert a knife near the center, it should come out mostly clean with a little moisture. Overbaking causes cracks. I start checking at 45 minutes and go from there.
If the crust edges are browning too quickly, loosely cover them with foil or a pie shield ring. I usually do this at the 30-minute mark.
Step 5: Cool Completely
Place the pie on a cooling rack and let it cool to room temperature, about 2-3 hours. Do NOT refrigerate it while it’s still warm—this creates condensation that makes the crust soggy. Once fully cool, you can refrigerate it until ready to serve. The pie needs at least 4 hours to set properly, so don’t rush this step.
Cooking Tips & Techniques
I’ve made this pie more times than I care to count, and I’ve messed up enough to know what actually matters. Here’s what I’ve learned:
Temperature is everything. Your butter needs to be cold for the crust, but your eggs need to be room temperature for the filling. I learned this the hard way when my filling came out lumpy because I used cold eggs straight from the fridge. Set them out 30 minutes before you start.
Don’t overmix the filling. Whisk until just combined. Overmixing incorporates too much air, which can cause the filling to puff up and then collapse, leaving you with cracks. I whisk by hand for this reason—no electric mixer needed.
The jiggle test is real. You want the center to wobble like a relaxed wave, not slosh like soup. If the whole pie is still liquidy, give it more time. If only the very center trembles, it’s done. Carryover cooking will finish setting it.
Blind bake like you mean it. Don’t skip the par-bake, and don’t rush it. I once tried to save time by only baking the crust for 10 minutes total. The bottom came out soggy and sad. That extra 8-10 minutes after removing the weights is what creates that barrier between crust and filling.
Let it rest overnight. I know you want to eat it immediately, but this pie genuinely tastes better the next day. The spices mellow and meld together, the texture firms up perfectly, and the crust stays crisp. Make it a day ahead and thank me later.
Variations & Adaptations
One of the best things about this recipe is how flexible it is. Here are a few ways to make it your own:
Gluten-Free Version: Substitute the all-purpose flour with a good gluten-free flour blend that includes xanthan gum. I’ve had success with King Arthur’s Measure for Measure. The dough will be more delicate, so handle it gently and chill it thoroughly before rolling.
Dairy-Free Adaptation: Use cold coconut oil or vegan butter sticks in place of the butter for the crust. For the filling, swap the heavy cream and milk with full-fat coconut cream and oat milk. The texture will be slightly different—a bit less rich—but still delicious. I tested this for a friend with dairy allergies and it passed the test.
Spice It Up: If you’re a cardamom fan (I am), add ¼ teaspoon to the spice blend. It adds a floral, slightly citrusy note that pairs beautifully with pumpkin. You can also swap the ginger for 1 tablespoon of finely chopped crystallized ginger for little bursts of sweetness and heat.
Bourbon Pumpkin Pie: Replace the vanilla extract with 2 tablespoons of bourbon. The alcohol mostly cooks off, leaving behind a warm, oaky depth that’s incredible with the spices. I do this for adult-only gatherings and it always gets compliments.
Mini Pie Version: Use a muffin tin to make individual pies. Roll the dough, cut circles slightly larger than the muffin cups, press them in, and par-bake for 8 minutes instead of 15. Fill and bake for 25-30 minutes. Perfect for portion control or parties.
Serving & Storage Suggestions
This pie is best served at room temperature or slightly warm. If it’s been refrigerated, let it sit on the counter for about 30 minutes before serving. The flavors are more vibrant when it’s not straight-from-the-fridge cold.
For serving, I keep it classic: a generous dollop of lightly sweetened whipped cream on each slice. The contrast between the rich, spiced filling and the cool, airy cream is essential. You can also add a dusting of cinnamon or a drizzle of caramel sauce for extra flair.
Storage-wise, this pie keeps beautifully. Cover it loosely with foil or plastic wrap and refrigerate for up to 5 days. The crust stays surprisingly crisp thanks to the par-bake method. I do not recommend freezing the whole pie—the texture of the filling can become grainy when thawed. However, you can freeze the unbaked crust for up to 3 months. Just wrap it tightly in plastic wrap and then foil.
If you have leftover filling (unlikely, but possible), you can bake it in small ramekins for crustless pumpkin custard. Bake at 350°F for about 20-25 minutes until set. No waste, and you get a bonus dessert.
Nutritional Information & Benefits
Let’s be real: pumpkin pie is a dessert, not a health food. But compared to many holiday desserts, it has some redeeming qualities. Here’s the approximate breakdown per slice (based on 8 servings):
- Calories: 410
- Total Fat: 26g
- Saturated Fat: 16g
- Cholesterol: 135mg
- Sodium: 380mg
- Total Carbohydrates: 40g
- Dietary Fiber: 2g
- Sugars: 22g
- Protein: 6g
Pumpkin itself is packed with vitamin A (over 200% of your daily needs per serving), vitamin C, potassium, and fiber. The eggs add protein and healthy fats. And honestly, there’s something to be said for a dessert that includes a vegetable as its main ingredient.
If you’re watching your sugar intake, you can reduce the brown sugar to ½ cup and the granulated sugar to 2 tablespoons. The pie will be less sweet but still flavorful. For a lower-fat option, substitute the heavy cream with evaporated milk—it won’t be as luxurious, but it’ll still be good.
Conclusion
This pumpkin pie is the one I bring to every holiday gathering, the one people ask for by name, the one that turned my dad into a pumpkin pie convert after nearly five decades of refusal. It’s not complicated—it’s just done right. A flaky, buttery crust that shatters when you cut into it. A filling that’s creamy, spiced, and deeply satisfying. The kind of pie that makes you close your eyes on the first bite.
I hope you make this for your own table, whether it’s Thanksgiving, Christmas, or just a random Tuesday in October when you need something warm and familiar. Customize the spices, play with the toppings, make it your own. That’s the beauty of a good recipe—it’s a starting point, not a rulebook.
If you make this pie, I’d love to hear about it. Drop a comment below and tell me how it turned out, or share a photo on social media and tag me. Did you convert a skeptic at your table? Did you try a variation I haven’t thought of? Let’s talk pie. And if you’re looking for more holiday recipes, check out my perfect flaky pie crust guide and my classic pecan pie recipe—they make a great trio for any dessert spread.
Happy baking, friends. Go make something that smells like cinnamon and tastes like love.
Frequently Asked Questions
Can I use a store-bought crust instead of making my own?
Absolutely. If you’re short on time or just not in the mood to make pastry, a high-quality refrigerated pie crust works fine. Just make sure to still par-bake it according to the package directions before adding the filling. The flaky texture won’t be quite the same, but the filling is good enough to carry the pie.
Why did my pumpkin pie crack on top?
Cracks usually happen from overbaking or sudden temperature changes. The filling expands as it bakes, and if it sets too firmly, it will crack when it contracts while cooling. To avoid this, pull the pie out when the center still has a slight jiggle. Also, let it cool gradually on the counter rather than moving it to a cold surface immediately.
Can I use fresh pumpkin instead of canned?
You can, but I don’t recommend it for this recipe. Fresh pumpkin puree has a much higher water content than canned, which can make your filling runny and bland. If you really want to use fresh, roast the pumpkin, puree it, then strain it through cheesecloth overnight to remove excess liquid. Even then, the texture won’t be as consistent as canned. I’ve tried both, and canned wins every time.
How do I prevent a soggy bottom crust?
The par-bake method in this recipe is your best defense. Baking the crust partially before adding the filling creates a barrier that keeps the moisture from soaking in. Also, make sure your pie is completely cool before refrigerating it—warm pie in the fridge creates condensation that will ruin your crust.
Can I make this pie ahead of time for Thanksgiving?
Yes, and I actually prefer it that way. Bake the pie the day before, let it cool completely, then cover it loosely and refrigerate. The flavors develop overnight and the texture sets perfectly. Just let it sit at room temperature for about 30 minutes before serving. You can also make the dough up to 3 days ahead and keep it refrigerated, or freeze it for up to 3 months.
Pin This Recipe!
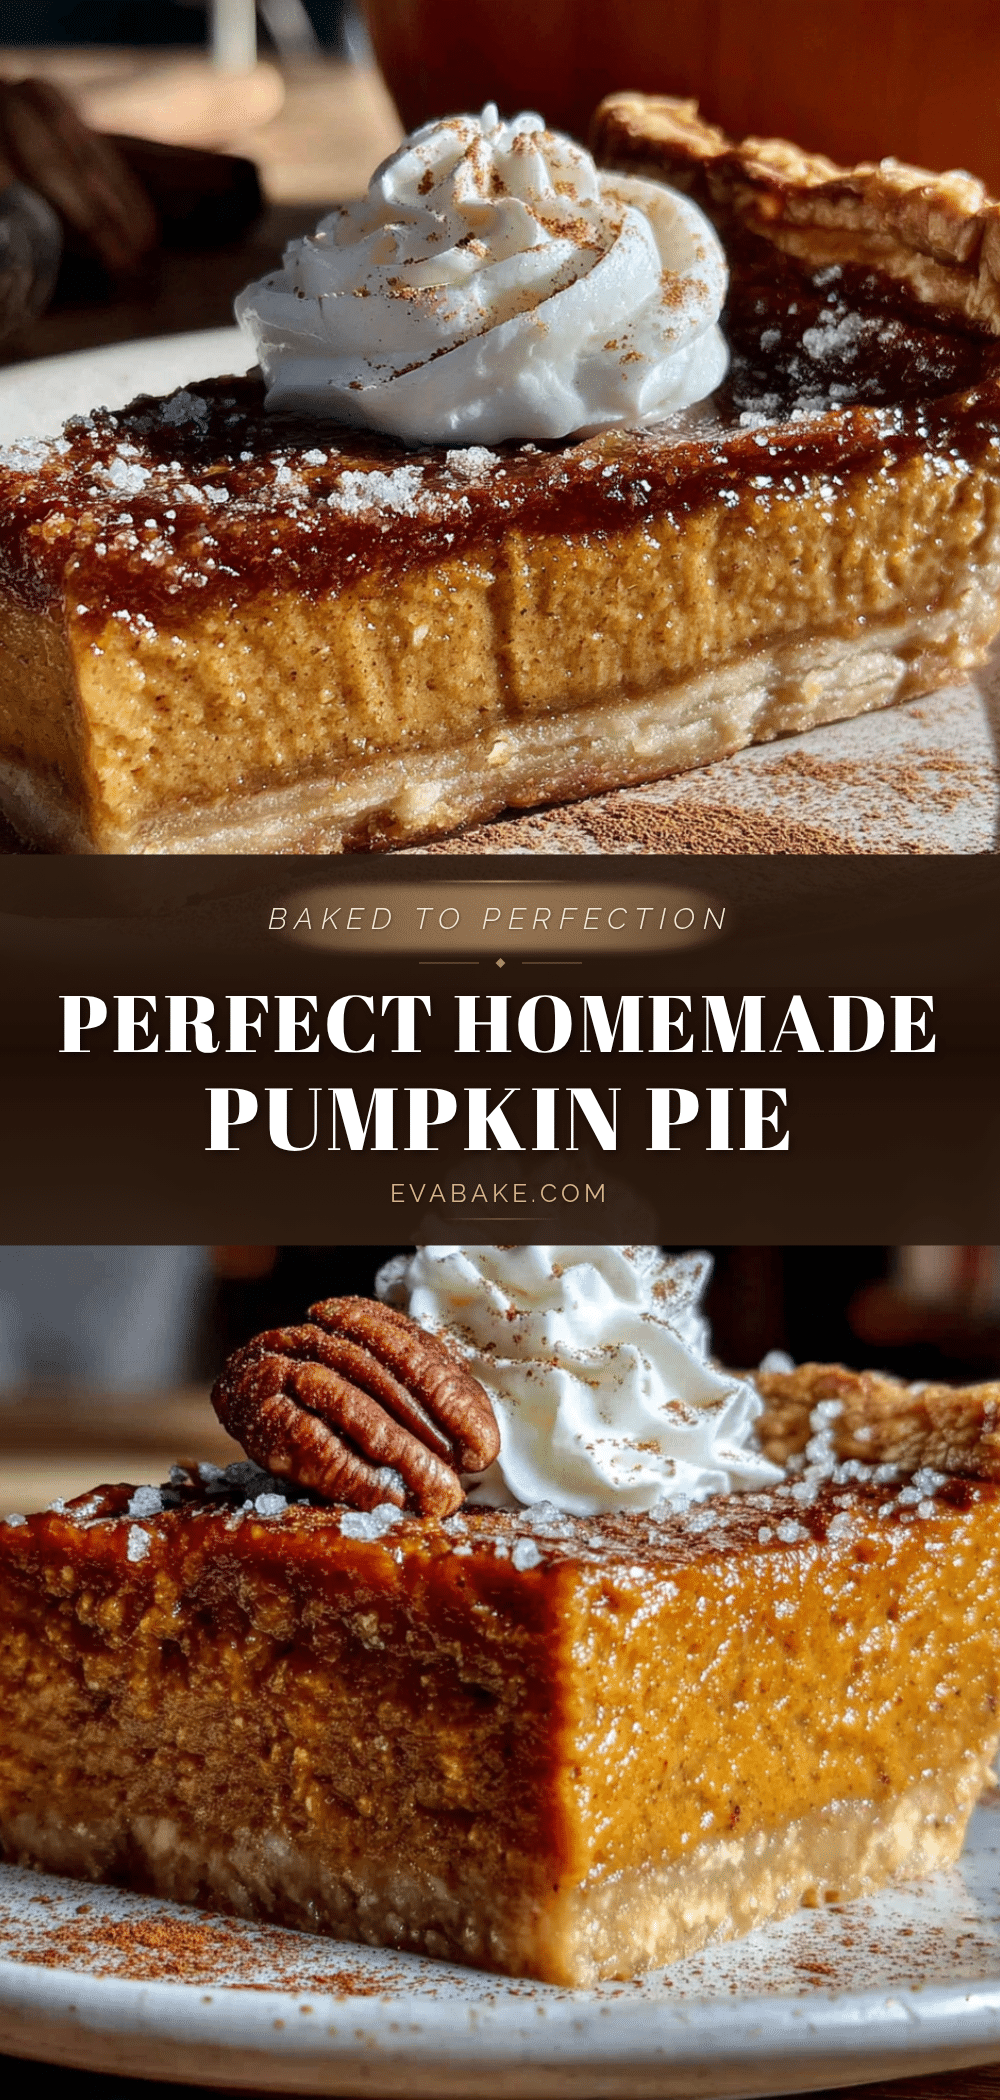
Perfect Homemade Pumpkin Pie with Flaky Crust
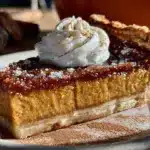
This pumpkin pie features a flaky, buttery crust and a creamy, perfectly spiced filling. It’s the recipe that converted a forty-seven-year pumpkin pie hater and will win over any skeptic at your table.
- Prep Time: 30 minutes
- Cook Time: 1 hour 10 minutes
- Total Time: 4 hours 40 minutes (includes chilling and cooling)
- Yield: 8 servings 1x
- Category: Dessert
- Cuisine: American
Ingredients
- 2 ½ cups all-purpose flour (315g)
- 1 teaspoon salt (6g)
- 1 tablespoon granulated sugar (12g)
- 1 cup cold unsalted butter (226g), cut into ½-inch cubes
- 6–8 tablespoons ice water (90-120ml)
- 1 tablespoon apple cider vinegar (15ml)
- 1 can (15 oz) pumpkin puree (425g) – NOT pumpkin pie filling
- ¾ cup packed light brown sugar (150g)
- ¼ cup granulated sugar (50g)
- 3 large eggs, room temperature
- 1 teaspoon vanilla extract (5ml)
- 1 ½ cups heavy cream (360ml)
- ¼ cup whole milk (60ml)
- 2 teaspoons ground cinnamon (5g)
- 1 teaspoon ground ginger (2g)
- ½ teaspoon ground nutmeg (1g)
- ¼ teaspoon ground cloves (0.5g)
- ¼ teaspoon salt (1.5g)
Instructions
- Make the dough: In a large bowl, whisk together flour, salt, and sugar. Add cold butter cubes and toss to coat. Using a pastry cutter or fingertips, work butter into flour until pea-sized chunks remain. Combine 6 tablespoons ice water with apple cider vinegar, drizzle over flour mixture, and mix until dough holds together. Form into a disc, wrap in plastic, and refrigerate for at least 2 hours or overnight.
- Roll and par-bake the crust: Preheat oven to 375°F (190°C). On a floured surface, roll dough into a 12-inch circle, about ⅛-inch thick. Transfer to a 9-inch pie dish, trim and crimp edges. Line with parchment paper and fill with pie weights or dried beans. Bake for 15 minutes, remove parchment and weights, prick bottom with fork, and bake another 8-10 minutes until lightly golden. Set aside to cool slightly.
- Make the filling: Reduce oven temperature to 350°F (175°C). In a large bowl, whisk together pumpkin puree, brown sugar, and granulated sugar until smooth. Add eggs one at a time, whisking well after each. Stir in vanilla. In a small bowl, combine cinnamon, ginger, nutmeg, cloves, and salt. Sprinkle over pumpkin mixture and whisk to combine. Slowly pour in heavy cream and whole milk, whisking until smooth.
- Bake the pie: Place par-baked crust on a baking sheet. Pour filling into warm crust. Bake for 50-60 minutes, until edges are set but center jiggles slightly. If crust edges brown too quickly, cover with foil at the 30-minute mark.
- Cool completely: Place pie on a cooling rack and let cool to room temperature, about 2-3 hours. Do not refrigerate while warm. Once cool, refrigerate until ready to serve. Pie needs at least 4 hours to set properly.
Notes
Temperature is key: butter must be cold for crust, eggs room temperature for filling. Don’t overmix filling. Use the jiggle test to avoid cracks. Pie tastes even better the next day. For gluten-free, use a good gluten-free flour blend with xanthan gum. For dairy-free, use coconut oil or vegan butter and full-fat coconut cream with oat milk.
Nutrition
- Serving Size: 1 slice
- Calories: 410
- Sugar: 22
- Sodium: 380
- Fat: 26
- Saturated Fat: 16
- Carbohydrates: 40
- Fiber: 2
- Protein: 6
Keywords: pumpkin pie, homemade pumpkin pie, flaky crust, Thanksgiving dessert, pumpkin dessert, holiday pie, from scratch