It was 11:47 PM on a random Thursday in early April, and I had a very specific, almost aggressive craving for banana pudding. The problem? I didn’t have a single vanilla wafer to my name, no time to bake a cake, and the idea of turning on the oven felt like a betrayal of the warm, breezy evening. But I had three bananas that were just past their prime, a half-empty box of instant pudding mix from a forgotten baking project, and a stubborn refusal to let the craving win. That’s when the idea hit me—what if I crushed up some graham crackers I found in the back of the pantry and made a crumble? It was a gamble at midnight, a weird little experiment born from laziness and determination. Honestly, I wasn’t expecting much. I just threw things together in a couple of juice glasses, hoping for the best. But that first bite, sitting on my couch in the dark with the windows open, was a total revelation. The creamy pudding, the sweet bananas, that crunchy, buttery crumble—it was better than any “proper” version I’d ever made. This recipe, these Springtime No-Bake Banana Pudding Cups, are the happy result of a late-night kitchen experiment that just worked. And now, I make them on purpose, every single spring. You know that feeling when a happy accident becomes a new favorite? That’s this.
Why You’ll Love This Recipe
Let me tell you, I’ve tested a lot of banana pudding in my day. From the classic baked versions that take forever to the ones that turn into a sad, soupy mess after an hour. These Springtime No-Bake Banana Pudding Cups are the result of years of trial and error, and they solve every single problem I’ve ever had with this dessert. They are, without a doubt, the easiest and most rewarding version I’ve ever created.
- Quick & Easy: This comes together in about 15 minutes of active work. No oven, no stovetop, no complicated techniques. Perfect for a last-minute spring brunch or a weeknight treat when you need something sweet, fast.
- Simple Ingredients: You likely have everything in your kitchen right now. Bananas, pudding mix, milk, and some kind of crunchy cookie. No fancy grocery trips needed.
- Perfect for Spring Gatherings: These individual cups are ideal for Easter brunch, a baby shower, a potluck, or a simple picnic. They’re portable, mess-free, and look incredibly impressive with almost no effort.
- Crowd-Pleaser: I’ve served these to everyone from picky toddlers to my grandmother, who is a notoriously tough dessert critic. They disappear every single time. It’s the kind of recipe that gets asked for again and again.
- Unbelievably Delicious: The texture is what gets me every time. You have the silky, creamy pudding, the soft, sweet bananas, and that incredible crunch from the vanilla wafer crumble. It’s a party in a cup.
What makes this recipe different from all the others is the crumble. Instead of just layering whole wafers that get soggy, we crush them up into a buttery, toasty crumble. It stays crunchy for hours, giving you that perfect texture contrast in every single bite. It’s not just another banana pudding recipe—it’s my best version, perfected through many late-night tests.
This recipe is the kind that makes you close your eyes after the first bite. It’s comfort food reimagined for the season—lighter, faster, and perfect for celebrating the warmer weather. It’s perfect for impressing guests without any stress, or for turning a simple Tuesday into something special.
What Ingredients You Will Need
This recipe uses simple, wholesome ingredients that come together to create something truly special. The magic is in the combination of textures and the quality of a few key components. You’ll be surprised how such a short list can create such a big flavor.
- For the Vanilla Pudding Base:
- 1 (3.4-ounce) box of instant vanilla pudding mix (I prefer Jell-O brand for its consistent texture)
- 2 cups (480 ml) cold whole milk (for the creamiest result; 2% works too, but avoid skim)
- 1 teaspoon pure vanilla extract (this is not optional—it deepens the flavor)
- For the Vanilla Wafer Crumble:
- 1 ½ cups (about 180g) vanilla wafers (like Nilla Wafers), crushed into coarse crumbs
- 2 tablespoons (28g) unsalted butter, melted
- 1 tablespoon granulated sugar (optional, for extra sweetness and crunch)
- For the Banana Layer:
- 3 large ripe but firm bananas (look for yellow with a few brown spots—not too mushy)
- 1 tablespoon fresh lemon juice (this prevents the bananas from browning)
- For the Topping:
- 1 cup (240 ml) heavy whipping cream, cold
- 2 tablespoons powdered sugar
- ½ teaspoon vanilla extract
- Extra crushed vanilla wafers and banana slices for garnish
Ingredient Selection Tips: For the best results, use a good quality instant pudding mix. I’ve tried store brands, and they can sometimes be a bit grainy. Also, don’t skip the lemon juice for the bananas. It seems like a small step, but it keeps them looking fresh and beautiful for hours, which is crucial if you’re making these ahead for a party. For the crumble, I recommend Nilla Wafers because they have that classic flavor, but any crunchy vanilla cookie will work.
Substitution Guidance: If you’re dairy-free, you can use a high-quality canned coconut milk (full fat) in place of the heavy cream, and a plant-based milk like oat milk for the pudding. Just know the texture will be slightly different. For a gluten-free option, use gluten-free vanilla wafers or even crushed gluten-free shortbread cookies. The crumble is very forgiving.
Equipment Needed
You don’t need any fancy gadgets for this recipe, which is part of its beauty. Here’s what you’ll need to have on hand:
- Mixing Bowls: You’ll need a medium bowl for the pudding and a small one for the crumble. I like glass bowls because they’re easy to clean and you can see what you’re doing.
- Whisk or Electric Hand Mixer: A whisk works fine for the pudding, but for the whipped cream, a hand mixer will save you a lot of arm work. I’ve done it by hand before, and it’s a workout!
- Small Skillet or Baking Sheet: For toasting the crumble. A small non-stick skillet works perfectly and is faster than the oven.
- Rolling Pin or Food Processor: For crushing the wafers. I prefer a rolling pin and a zip-top bag because it’s more satisfying and creates a nice, varied crumb. A food processor works in seconds if you’re in a hurry.
- 4 to 6 Small Serving Glasses or Jars: This is what makes them “cups.” Use small mason jars, juice glasses, or even clear plastic cups for a party. The individual servings look so pretty.
- Spatula: For scraping every last bit of pudding and cream. Trust me on this.
Budget-Friendly Options: If you don’t have a hand mixer, you can make the whipped cream in a jar. Just put the cream and sugar in a jar, seal it tight, and shake it like crazy for about 3-4 minutes. It works like a charm and is a great arm workout!
Preparation Method
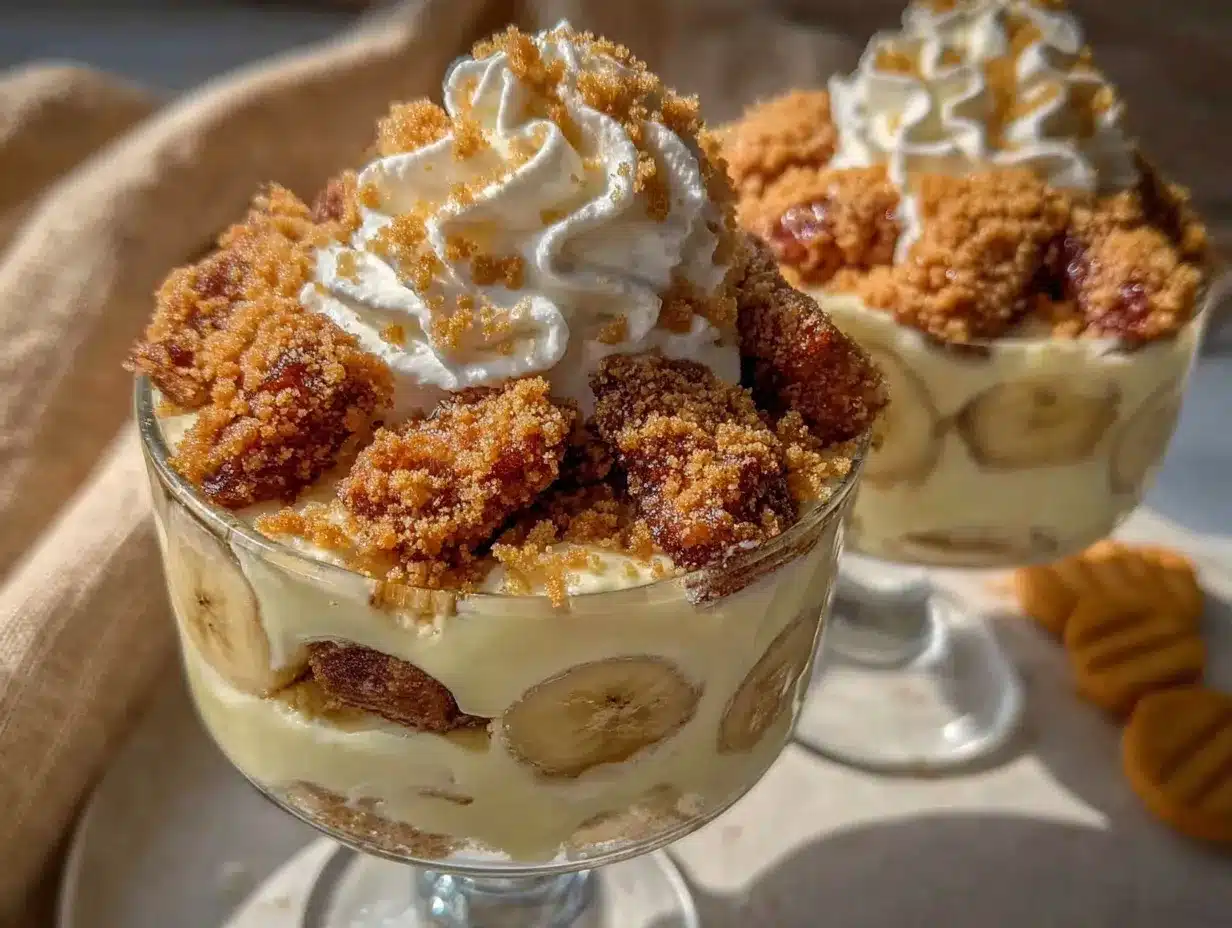
Making these Springtime No-Bake Banana Pudding Cups is almost too easy. Follow these steps, and you’ll be enjoying them in no time. The key is to work efficiently and let the layers set up properly.
- Make the Vanilla Wafer Crumble (5 minutes): Place the vanilla wafers in a zip-top bag and crush them with a rolling pin until you have a mix of fine crumbs and small pieces. You want texture, not dust. In a small skillet over medium heat, melt the butter. Add the crushed wafers and the sugar (if using). Stir constantly for 2-3 minutes until the crumbs are fragrant and lightly toasted. Be careful—they burn quickly! Remove from heat and let cool completely on a plate.
- Prepare the Pudding (5 minutes): In a medium bowl, whisk together the instant vanilla pudding mix and the cold milk. Whisk vigorously for about 2 minutes until the mixture thickens. It will be quite runny at first, then suddenly get very thick. Stir in the vanilla extract. Set it aside to set for about 5 minutes while you do the next step.
- Make the Whipped Cream (5 minutes): In a separate large bowl (or the bowl of a stand mixer), combine the cold heavy cream, powdered sugar, and vanilla extract. Beat on medium-high speed until stiff peaks form. This means when you lift the whisk, the cream stands up straight without flopping over. Don’t over-beat, or you’ll end up with butter!
- Prepare the Bananas (5 minutes): Peel the bananas and slice them into ¼-inch thick rounds. Place them in a small bowl and gently toss them with the lemon juice. This simple step is your secret weapon against brown, unappetizing bananas.
- Assemble the Cups (10 minutes): Now for the fun part. Grab your serving cups. Start with a layer of the vanilla wafer crumble at the bottom of each cup—about 2 tablespoons. Next, add a layer of sliced bananas. Then, spoon a generous layer of the vanilla pudding on top. Repeat the layers: crumble, bananas, pudding. You want to end with a pudding layer on top.
- Top and Chill (2 hours): Dollop or pipe the fresh whipped cream on top of each cup. Garnish with a few banana slices and a sprinkle of the remaining crumble. Cover each cup with plastic wrap and refrigerate for at least 2 hours. This is the hardest part! The chilling time allows the flavors to meld and the crumble to soften just slightly while retaining its crunch.
Sensory Cues: When you’re toasting the crumble, you’ll know it’s done when the kitchen smells like a vanilla cookie bakery. The pudding is ready when it’s thick enough to coat the back of a spoon. And the whipped cream should be billowy and cloud-like, holding its shape perfectly.
Cooking Tips & Techniques
Over the years, I’ve learned a few things the hard way so you don’t have to. Here are my best tips for perfect Springtime No-Bake Banana Pudding Cups every single time.
The Crumble is King: The first time I made this, I didn’t toast the crumble long enough, and it just tasted like raw cookie crumbs. You have to toast it! That browning in the butter is what gives it that deep, almost caramelized flavor. Also, don’t crush the wafers into a fine powder. You want some larger chunks for a satisfying crunch. I learned this after making a batch that was basically sand.
Don’t Skip the Lemon Juice: I know it seems like a small, fussy step, but I once skipped it because I was in a hurry. Two hours later, my beautiful banana layers looked like something out of a horror movie. The lemon juice is not for flavor—it’s for color. It’s a non-negotiable step if you want your cups to look as good as they taste.
Patience with the Pudding: Instant pudding is, well, instant. But it needs a few minutes to fully set. If you assemble the cups before the pudding has had a chance to thicken properly, everything will be runny and sad. Give it the full 5 minutes. I usually make the pudding, then while it’s setting, I toast the crumble and slice the bananas. It’s perfect timing.
Whipped Cream Wisdom: For the fluffiest whipped cream, make sure your bowl and beaters are very cold. I pop my metal mixing bowl in the freezer for 10 minutes before I start. It makes a huge difference. And if you accidentally over-whip it and it starts to look grainy, you can rescue it by adding a tablespoon of cold cream and gently folding it in.
Multitasking Strategy: The best way to approach this is to do all your prep work first. Crush the wafers, slice the bananas, get your cups ready. Then, make the crumble and set it aside to cool. While it cools, make the pudding. While the pudding sets, whip the cream. Then it’s just a matter of assembly. This streamlined approach takes about 15 minutes total.
Variations & Adaptations
One of the best things about this recipe is how easily it adapts. I’ve played around with it a lot, and these are my favorite variations. Feel free to make it your own!
- Berry Spring Fling: Add a layer of fresh sliced strawberries or raspberries in between the bananas. The tartness of the berries cuts through the sweetness of the pudding perfectly. I made this for a Mother’s Day brunch, and it was a huge hit. The red berries against the yellow bananas and white cream are so pretty.
- Chocolate Lover’s Dream: Use chocolate instant pudding instead of vanilla. You can also add a layer of chocolate shavings or mini chocolate chips on top of the crumble. My husband, who is a self-proclaimed “banana pudding purist,” actually admitted this version is better. Don’t tell him I told you.
- Vegan & Dairy-Free Version: Use a high-quality vegan vanilla pudding mix (or make your own with cornstarch and coconut milk) and a plant-based heavy cream alternative. For the crumble, use a vegan butter stick. The texture will be slightly less firm, but the flavor is still incredible. I’ve tested this for a friend with dietary restrictions, and it passed the test with flying colors.
- Peanut Butter Banana: Swirl a tablespoon of creamy peanut butter into the vanilla pudding before layering. The salty-sweet combination is absolutely addictive. This is my go-to version when I need a more substantial dessert.
- Lemon Zest Twist: Add the zest of one lemon to the vanilla pudding mixture. It adds a bright, fresh note that screams spring. I also like to add a tiny pinch of lemon zest to the whipped cream. It’s a subtle change, but it makes the whole thing taste incredibly sophisticated.
Serving & Storage Suggestions
These Springtime No-Bake Banana Pudding Cups are best served cold, straight from the fridge. The contrast between the cold, creamy pudding and the crunchy crumble is the whole point.
Serving Temperature and Presentation: Serve them chilled, not frozen. I like to take them out of the fridge about 10 minutes before serving to take the slight chill off. For presentation, clear glasses are a must—you want everyone to see those beautiful layers. A final dusting of extra crushed wafers on top of the whipped cream makes them look like they came from a fancy bakery.
Complementary Dishes and Beverages: These cups are a fantastic stand-alone dessert, but they pair beautifully with a cup of hot coffee or a glass of cold milk. For a spring brunch, serve them alongside a simple fruit salad or a slice of quiche. They’re also the perfect ending to a heavier meal like a roasted chicken or a pasta dinner because they feel light and refreshing.
Storage Instructions: Store any leftover cups (if you have any!) covered with plastic wrap in the refrigerator. They will keep well for up to 2 days. After that, the bananas will start to get a bit too soft and the crumble will lose its crunch.
Reheating Methods: You don’t want to reheat these. They are meant to be eaten cold. If you’ve stored them for a day, just give the top a fresh sprinkle of crushed wafers to revive the crunch.
How Flavors Develop Over Time: Honestly, these are best after about 2-4 hours of chilling. This is the sweet spot where the crumble has softened just enough to be tender but still has a great bite, and the flavors have melded together beautifully. They are still delicious the next day, but the texture is different—softer and more pudding-like throughout.
Nutritional Information & Benefits
While this is definitely a treat, it’s not without its redeeming qualities. Here’s a look at the nutritional profile for one serving (based on 6 servings).
| Nutrient | Amount Per Serving |
|---|---|
| Calories | ~380 |
| Fat | 22g |
| Carbohydrates | 44g |
| Protein | 5g |
| Sugar | 28g |
| Fiber | 2g |
Health Benefits of Key Ingredients: Bananas are a fantastic source of potassium, which is great for heart health and muscle function. They also provide a good dose of vitamin B6 and vitamin C. The milk and cream offer calcium for strong bones. And while the vanilla wafers aren’t a health food, the crumble does provide a little bit of comfort for the soul, which I believe counts for something!
Dietary Considerations: This recipe is vegetarian. As mentioned, it can be easily adapted to be gluten-free and dairy-free/vegan with simple substitutions. It contains dairy and gluten in its standard form.
My Personal Wellness Perspective: I believe in balance. Desserts like this are a part of a happy life. By making them in individual portions, you’re naturally controlling the serving size, which is a great way to enjoy something sweet without overdoing it. Plus, you’re getting a serving of fruit! That’s a win in my book.
Conclusion
So there you have it—my late-night kitchen accident turned into a springtime staple. These Springtime No-Bake Banana Pudding Cups are proof that the best recipes don’t need to be complicated. They just need a little bit of creativity, a willingness to improvise, and a serious craving for something sweet and creamy.
I love this recipe because it feels like a celebration. It’s the taste of spring in a cup—bright, fresh, and full of joy. It’s forgiving enough for a beginner to make and impressive enough for a seasoned cook to be proud of. I encourage you to make them your own. Swap in your favorite berries, add a drizzle of caramel, or go crazy with the chocolate version. Just don’t skip the lemon juice, and don’t be afraid to get a little messy with the layers.
Now I want to hear from you! Have you tried this recipe? Did you come up with a fun variation? Drop a comment below and let me know how it turned out. And if you loved it, please share it with a friend who needs a little springtime sweetness in their life. Happy cooking, friend!
Frequently Asked Questions
Can I make these banana pudding cups ahead of time?
Absolutely! These are actually perfect for making ahead. Assemble them up to 24 hours in advance, but wait to add the final garnish of fresh banana slices and extra crumble until just before serving to keep everything looking fresh and crunchy.
Why did my pudding turn out runny?
This usually happens for two reasons. First, you may not have whisked the pudding mix with the milk long enough. It needs a full 2 minutes of vigorous whisking to activate. Second, you might have used a milk that is too low in fat. Whole milk gives the best, thickest texture.
Can I use a different type of cookie for the crumble?
Yes, definitely! Shortbread cookies, graham crackers, or even Biscoff cookies work wonderfully. Just keep in mind that the flavor will change. Graham crackers will give it a slightly more honeyed taste, while Biscoff will add a warm, spiced flavor.
How do I keep the bananas from turning brown?
The lemon juice trick is your best friend. Tossing the sliced bananas in a little fresh lemon juice creates a barrier against oxidation. Make sure you toss them gently and let the excess juice drip off before layering them into the cups.
Can I freeze these banana pudding cups?
I don’t recommend freezing them. The texture of the pudding and the bananas will become watery and grainy upon thawing. These are best enjoyed fresh from the refrigerator within 2 days of making them.
Pin This Recipe!
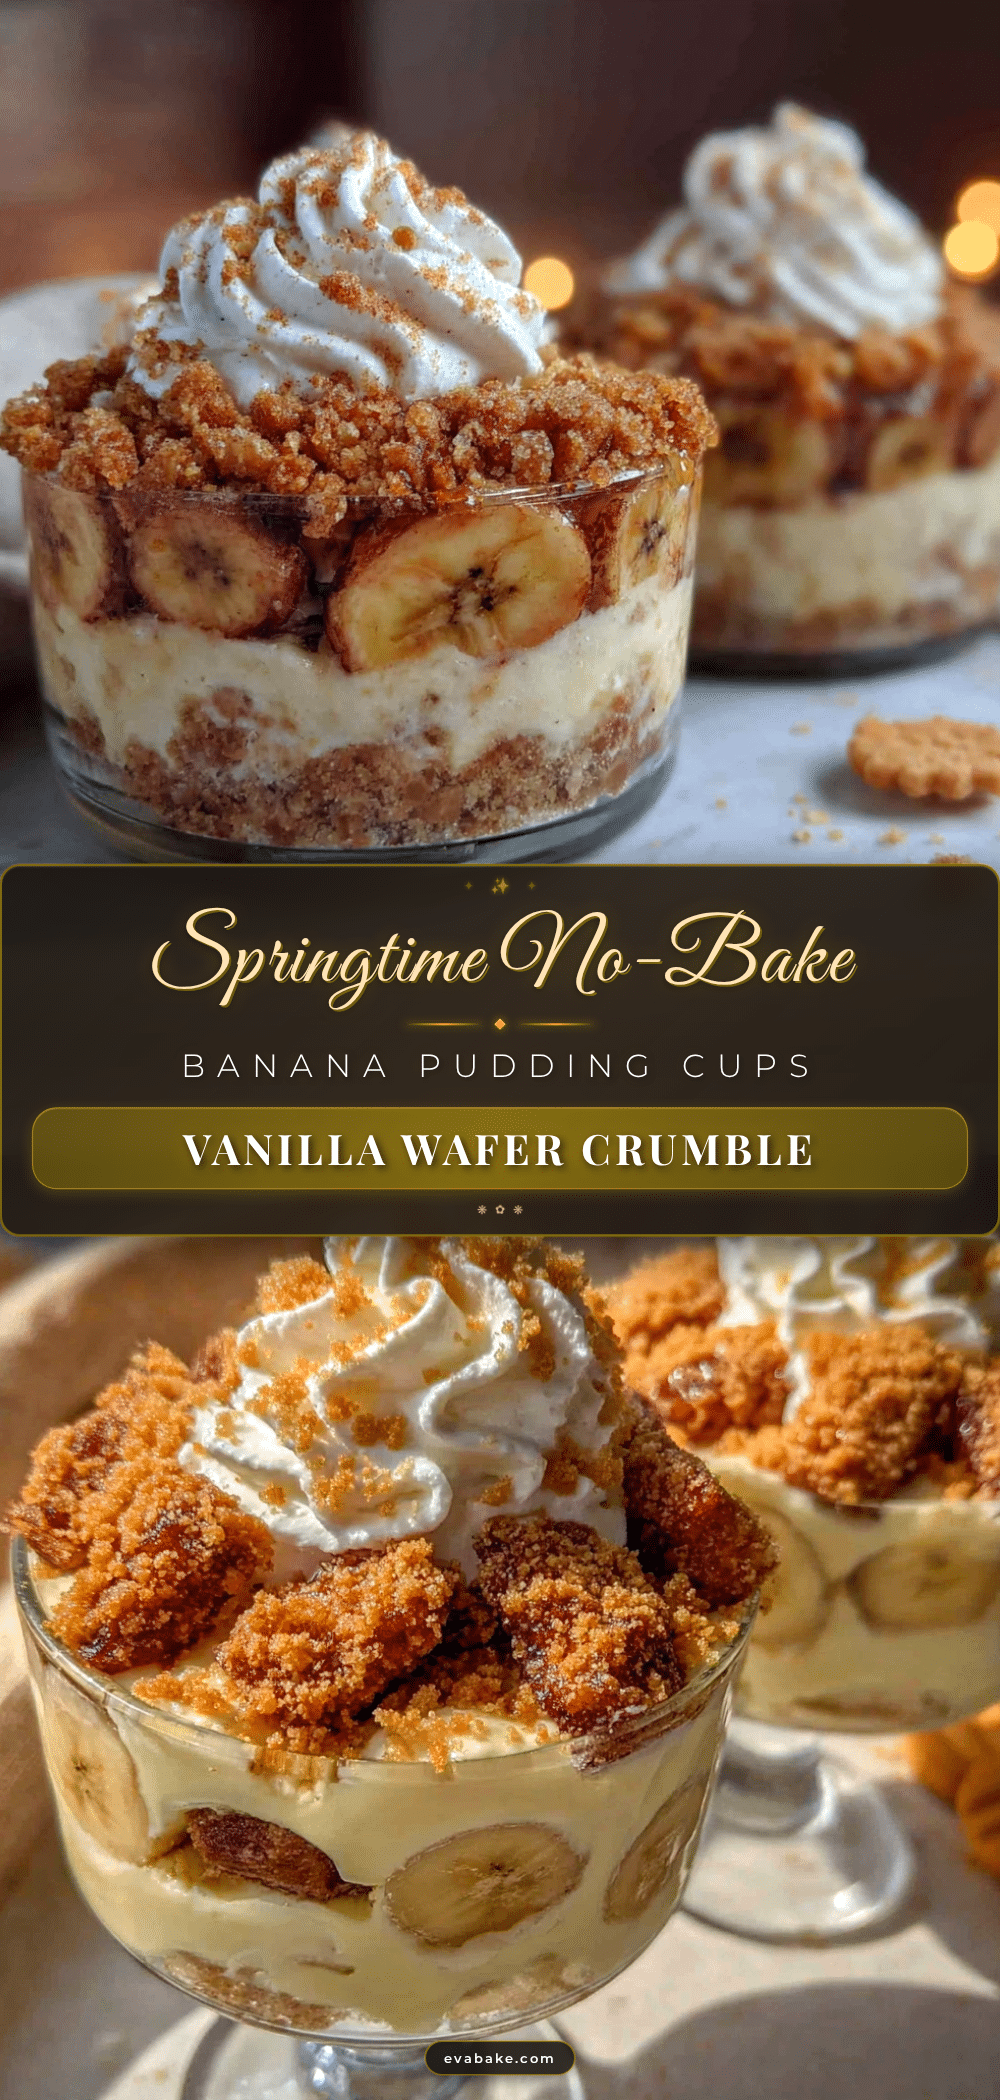
Springtime No-Bake Banana Pudding Cups
These Springtime No-Bake Banana Pudding Cups are a quick and easy dessert made with creamy vanilla pudding, fresh bananas, and a crunchy vanilla wafer crumble. Perfect for spring gatherings, they come together in just 15 minutes of active work and are a guaranteed crowd-pleaser.
- Prep Time: 15 minutes
- Cook Time: 5 minutes
- Total Time: 2 hours 20 minutes
- Yield: 6 servings 1x
- Category: Dessert
- Cuisine: American
Ingredients
- 1 (3.4-ounce) box instant vanilla pudding mix
- 2 cups (480 ml) cold whole milk
- 1 teaspoon pure vanilla extract
- 1 ½ cups (about 180g) vanilla wafers, crushed into coarse crumbs
- 2 tablespoons (28g) unsalted butter, melted
- 1 tablespoon granulated sugar (optional)
- 3 large ripe but firm bananas
- 1 tablespoon fresh lemon juice
- 1 cup (240 ml) heavy whipping cream, cold
- 2 tablespoons powdered sugar
- ½ teaspoon vanilla extract
- Extra crushed vanilla wafers and banana slices for garnish
Instructions
- Make the vanilla wafer crumble: Place the vanilla wafers in a zip-top bag and crush them with a rolling pin until you have a mix of fine crumbs and small pieces. In a small skillet over medium heat, melt the butter. Add the crushed wafers and the sugar (if using). Stir constantly for 2-3 minutes until the crumbs are fragrant and lightly toasted. Remove from heat and let cool completely on a plate.
- Prepare the pudding: In a medium bowl, whisk together the instant vanilla pudding mix and the cold milk. Whisk vigorously for about 2 minutes until the mixture thickens. Stir in the vanilla extract. Set it aside to set for about 5 minutes.
- Make the whipped cream: In a separate large bowl, combine the cold heavy cream, powdered sugar, and vanilla extract. Beat on medium-high speed until stiff peaks form.
- Prepare the bananas: Peel the bananas and slice them into ¼-inch thick rounds. Place them in a small bowl and gently toss them with the lemon juice.
- Assemble the cups: Start with a layer of the vanilla wafer crumble at the bottom of each cup—about 2 tablespoons. Next, add a layer of sliced bananas. Then, spoon a generous layer of the vanilla pudding on top. Repeat the layers: crumble, bananas, pudding. End with a pudding layer on top.
- Top and chill: Dollop or pipe the fresh whipped cream on top of each cup. Garnish with a few banana slices and a sprinkle of the remaining crumble. Cover each cup with plastic wrap and refrigerate for at least 2 hours.
Notes
For the best results, use whole milk for the pudding and don’t skip the lemon juice to prevent bananas from browning. The crumble can be made with any crunchy vanilla cookie. For a dairy-free version, use canned coconut milk and plant-based milk. For gluten-free, use gluten-free vanilla wafers. These cups are best served chilled and can be stored in the refrigerator for up to 2 days.
Nutrition
- Serving Size: 1 cup
- Calories: 380
- Sugar: 28
- Sodium: 320
- Fat: 22
- Saturated Fat: 13
- Carbohydrates: 44
- Fiber: 2
- Protein: 5
Keywords: banana pudding, no-bake dessert, spring dessert, banana pudding cups, easy dessert, no-bake banana pudding