My name is Eva, and I used to be a pumpkin spice syrup snob. Not the fancy, artisanal kind—no, I was addicted to the neon-orange, shelf-stable bottles from the grocery store. The ones with ingredients you cannot pronounce and a color that does not exist in nature. I told myself it was a seasonal necessity, like buying a new scarf or pretending to like cold weather. But honestly? I knew it was a crutch. Every fall, I would stock up, convincing myself that making homemade pumpkin syrup for coffee was too complicated, too messy, and frankly, not worth the effort. Then, one rainy Tuesday in October, I ran out. The store was a 20-minute drive, the traffic was a nightmare, and I was staring at a perfectly good cup of black coffee that tasted like disappointment. So, I raided my pantry. I had a can of pumpkin puree from a baking project I abandoned, some brown sugar, and a jar of vanilla extract. I figured I had nothing to lose. Twenty minutes later, I was sipping the best pumpkin coffee of my life, and I have not looked back since. This homemade pumpkin syrup for coffee recipe is the result of that happy accident, and it is so much better than anything you will find in a bottle.
This recipe is not just about saving a trip to the store, though that is a nice bonus. It is about taking control of what goes into your cup. You get to decide the sweetness level, the intensity of the pumpkin flavor, and the exact spice blend. Plus, it is ridiculously easy. You can make a batch in the time it takes to brew your morning pot of coffee. And the best part? It keeps in the fridge for weeks, so you can have that cozy, autumnal flavor on demand without any of the artificial stuff. Trust me on this one—once you taste the real thing, you will never go back to the bottled stuff.
Why You Will Love This Homemade Pumpkin Syrup
- Incredibly Easy: This recipe comes together in about 20 minutes with just a handful of simple ingredients. No candy thermometers, no complicated techniques—just a pot, a whisk, and a mason jar.
- Real Ingredients: You know exactly what is in it: real pumpkin, real sugar, real spices, and real vanilla. No high-fructose corn syrup, no artificial flavors, and no preservatives. It is a clean, wholesome way to enjoy your favorite fall flavor.
- Perfectly Customizable: You are the boss of your syrup. Want it spicier? Add more ginger. Prefer it less sweet? Cut back on the sugar. Craving a richer, deeper flavor? Swap the vanilla for a teaspoon of maple extract. This recipe is a template, not a rulebook.
- Cost-Effective: A bottle of fancy pumpkin syrup can set you back eight to ten dollars. This homemade version costs a fraction of that, especially if you already have the spices in your pantry. It is a budget-friendly win for your morning routine.
- Unbelievably Delicious: The flavor is so much more vibrant and nuanced than the store-bought stuff. The real pumpkin adds a subtle earthiness that you just cannot get from artificial flavoring. It is the kind of syrup that makes you close your eyes after that first sip.
This recipe is my go-to for cozy fall mornings, but it is also perfect for impressing guests. I love setting up a little coffee bar with a jar of this syrup, some cinnamon sticks, and a pitcher of steamed milk. It makes everyone feel special, and it is so much easier than making a complicated dessert. It is comfort in a cup, and it is ready whenever you are.
What Ingredients You Will Need
This recipe uses simple, wholesome ingredients that you probably already have in your kitchen. The magic is in how they come together to create a perfectly balanced, deeply flavorful syrup.
- 1 cup water – The base of our syrup. Filtered water is best, but tap water works just fine.
- 1 cup granulated sugar – This provides the sweetness and the syrupy body. You can use white sugar, organic cane sugar, or even coconut sugar for a deeper, more caramel-like flavor. (If using coconut sugar, the syrup will be darker and have a slightly different taste, but it is still delicious!)
- 1/2 cup packed light or dark brown sugar – Brown sugar adds a rich, molasses-y depth that is essential for that classic pumpkin spice flavor. Dark brown sugar will give you a more intense molasses note, while light brown sugar is a bit more subtle. I personally prefer dark brown sugar for a bolder taste.
- 1/4 cup pumpkin puree – Make sure you are using 100% pure pumpkin puree, not pumpkin pie filling. Pumpkin pie filling is pre-sweetened and spiced, which will throw off the balance of this recipe. I like using Libby’s brand, but any pure pumpkin puree will work.
- 1 1/2 teaspoons pumpkin pie spice – This is your shortcut to a perfectly balanced spice blend. If you do not have it, you can make your own by mixing 1/2 teaspoon ground cinnamon, 1/4 teaspoon ground ginger, 1/4 teaspoon ground nutmeg, 1/8 teaspoon ground cloves, and a tiny pinch of allspice.
- 1 teaspoon vanilla extract – Vanilla rounds out the flavors and adds a warm, comforting note. Use pure vanilla extract if you can, but imitation vanilla will work in a pinch.
- Pinch of salt – Do not skip this! A tiny pinch of salt enhances all the other flavors and prevents the syrup from tasting flat or one-dimensional.
Equipment Needed
You do not need any fancy equipment for this recipe, which is one of the things I love most about it. Here is what you will need:
- A medium saucepan – Any pot will do, but a medium-sized one (about 2-3 quarts) is perfect. A heavier-bottomed pot will help prevent the sugar from scorching.
- A whisk – Essential for smoothing out the pumpkin puree and ensuring the sugar dissolves completely. A silicone whisk is great for non-stick pots.
- A fine-mesh strainer or cheesecloth – This is optional but highly recommended. Straining the syrup removes any tiny bits of pumpkin fiber, giving you a perfectly smooth, silky syrup. If you do not mind a little texture, you can skip this step.
- A mason jar or glass bottle – For storing your finished syrup. A 16-ounce mason jar is the perfect size. Make sure it is clean and dry before you pour the syrup in. I love using a swing-top bottle for a more elegant look.
- A funnel (optional) – Makes pouring the hot syrup into the jar much easier and less messy.
I have made this recipe with both a cheap non-stick pot and my fancy All-Clad, and honestly, the results are the same. Do not overthink the equipment! The most important thing is that you have a clean jar to store it in.
Preparation Method
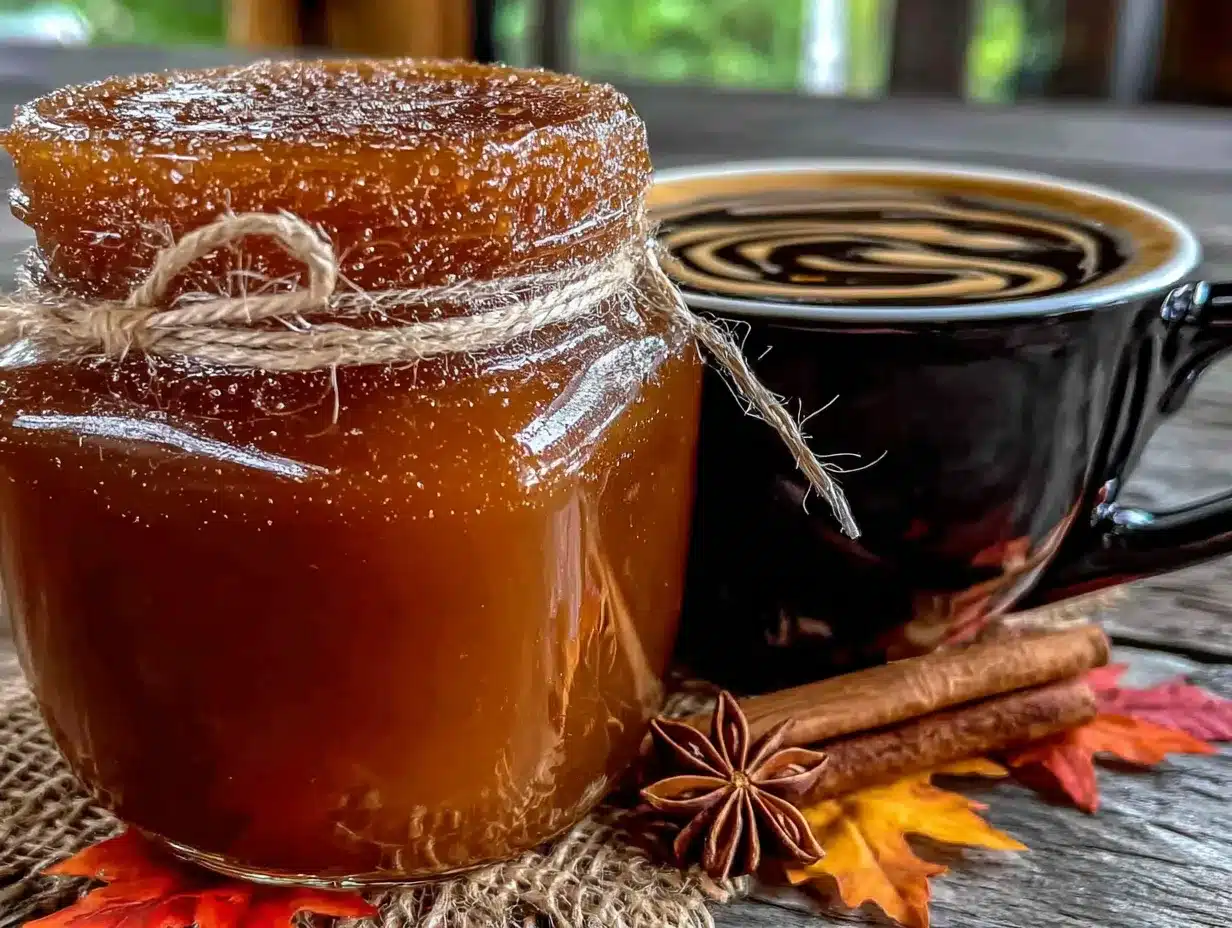
This is where the magic happens. Follow these steps, and you will have a jar of liquid gold in no time.
- Combine the liquids and sugars: In your medium saucepan, add the 1 cup of water, 1 cup of granulated sugar, and 1/2 cup of packed brown sugar. Place the pot over medium heat and whisk gently until the sugars have mostly dissolved. This should take about 2-3 minutes. You will see the liquid go from cloudy to clear-ish.
- Whisk in the pumpkin and spices: Once the sugars are dissolved, add the 1/4 cup of pumpkin puree, 1 1/2 teaspoons of pumpkin pie spice, and a pinch of salt. Whisk vigorously to break up the pumpkin puree and incorporate it into the liquid. It will look a bit lumpy at first, but keep whisking! It will smooth out as it heats up.
- Bring to a simmer: Increase the heat to medium-high and bring the mixture to a gentle simmer. You want to see small bubbles breaking the surface, not a full rolling boil. This should take about 4-5 minutes. Keep an eye on it so it does not boil over.
- Simmer and thicken: Once it reaches a simmer, reduce the heat to low and let it cook for 10-15 minutes, whisking occasionally. The syrup will thicken slightly as it cooks. You are looking for it to reduce a bit and become glossy. Do not let it boil vigorously, or it will become too thick and could caramelize into candy.
- Remove from heat and add vanilla: After 10-15 minutes, remove the pot from the heat. Stir in the 1 teaspoon of vanilla extract. The aroma at this point is absolutely incredible—like a pumpkin pie and a coffee shop had a beautiful baby.
- Strain the syrup (optional but recommended): Place your fine-mesh strainer over your clean mason jar or bottle. Carefully pour the hot syrup through the strainer. Use a spoon to gently press the solids in the strainer to extract as much liquid as possible. You will be left with a perfectly smooth, silky syrup. If you are using cheesecloth, line the strainer with it for an even finer filter.
- Cool and store: Let the syrup cool completely in the jar at room temperature. It will continue to thicken as it cools. Once it is cool, screw on the lid and store it in the refrigerator.
A quick note: The syrup will be quite thin when it is hot. Do not worry! It will thicken up significantly as it cools. If you find it is too thick after refrigeration, you can thin it out with a tablespoon or two of warm water.
Cooking Tips & Techniques
I have made this recipe more times than I can count, and I have learned a few things along the way. Here are my best tips for syrup success.
Do not skip the salt. I know it sounds weird, but a pinch of salt is the secret weapon in so many sweet recipes. It does not make the syrup salty; it just makes all the other flavors pop. It is the difference between a good syrup and a great one.
Watch your heat. Sugar can go from dissolved to scorched very quickly. Keep the heat at a gentle simmer, not a rolling boil. If you see the syrup starting to darken too much around the edges of the pot, turn the heat down immediately. I learned this the hard way when I made a batch that tasted like burnt caramel—not ideal for a cozy morning coffee.
Straining is your friend. I know it is an extra step, and you are probably tempted to skip it. But trust me, it makes a world of difference. That first time I strained the syrup, I was shocked at the little bits of pumpkin fiber left in the strainer. The resulting syrup was so smooth and luxurious. It is worth the extra 30 seconds.
Plan ahead for the perfect coffee. This syrup is best when it is fully chilled. The flavors meld together in the fridge, creating a more harmonious taste. I like to make a batch on Sunday evening so it is ready for my Monday morning coffee. It is a little act of self-care that makes the start of the week feel special.
Variations & Adaptations
One of the best things about this recipe is how easy it is to adapt. Here are a few of my favorite variations.
- Spiced Pumpkin Syrup: For a more intense spice kick, add a whole cinnamon stick, a few slices of fresh ginger, and a star anise to the pot while the syrup simmers. Strain them out with the pumpkin puree. It gives the syrup a wonderfully complex, chai-like flavor.
- Maple Pumpkin Syrup: Replace half of the granulated sugar with pure maple syrup. This will give the syrup a deeper, more woodsy sweetness that pairs beautifully with the pumpkin. You may need to simmer it for an extra 5 minutes to get the right consistency.
- Sugar-Free Pumpkin Syrup: You can make a delicious sugar-free version by substituting the sugars with your favorite granulated sweetener (like monk fruit or allulose) and a liquid sugar-free sweetener (like stevia glycerite). The texture will be a bit thinner, but the flavor will still be amazing. I have made this for a friend who is keto, and she raved about it.
- Pumpkin Chai Syrup: Brew a strong cup of chai tea and use it in place of the water. This creates a wonderfully aromatic syrup that is perfect for a cozy afternoon tea latte or a unique cocktail.
My personal favorite variation is the Maple Pumpkin Syrup. I love the way the maple flavor dances with the pumpkin and spices. It feels a little bit more grown-up and sophisticated than the classic version.
Serving & Storage Suggestions
This syrup is incredibly versatile. Here is how to use and store it.
How to serve: This syrup is, of course, perfect in coffee. I love adding 2-3 tablespoons to a hot cup of black coffee, then topping it with a generous splash of oat milk or steamed whole milk. It is also amazing in lattes, iced coffee, or even drizzled over pancakes, waffles, or vanilla ice cream. For a truly decadent treat, try it in a pumpkin cream cheese swirl muffin—the syrup is the perfect finishing touch.
Storage: Store the cooled syrup in an airtight container, like a mason jar, in the refrigerator. It will keep for up to 3-4 weeks. I usually label mine with the date so I know when I made it.
Reheating: The syrup will thicken significantly in the fridge. To use it, simply scoop out the desired amount and microwave it for 15-20 seconds, or place the jar in a bowl of warm water for a few minutes. You can also add it straight to your hot coffee—the heat will help it dissolve. If it gets too thick over time, you can thin it out with a tablespoon of hot water.
Freezing: You can absolutely freeze this syrup! Pour it into an ice cube tray and freeze until solid. Then, pop out the cubes and store them in a freezer bag. When you want a pumpkin coffee, just drop a cube or two into your hot coffee. It is perfect for meal prep and for enjoying pumpkin flavor all year round.
Nutritional Information & Benefits
This syrup is a treat, but it is made with real food. Here is a quick look at the nutritional profile.
One serving (2 tablespoons) of this syrup contains approximately 80-100 calories, mostly from sugar. It is not a health food, but it is a much better choice than the processed, chemical-laden store-bought syrups. The real pumpkin puree provides a small amount of vitamin A and fiber, which is more than you can say for the artificial stuff. I like to think of it as a way to enjoy a seasonal flavor without all the junk.
For those with dietary restrictions, this recipe is naturally dairy-free, egg-free, and nut-free. It can easily be made vegan by ensuring your sugar is vegan-friendly (some white sugars are processed with bone char, so look for organic or certified vegan sugar). It is also gluten-free.
If you are watching your sugar intake, you can easily adjust the sweetness. Start with 3/4 cup of each sugar and taste the syrup before you add the vanilla. You can always add more sweetness, but you cannot take it away. I have made a “half-sweet” version for my mom, and it was still delicious.
Conclusion
This homemade pumpkin syrup for coffee has genuinely changed my fall mornings. It is more than just a recipe; it is a ritual. It is the smell of simmering spices on a cool morning, the satisfaction of making something from scratch, and the pure joy of that first sip of a perfectly flavored coffee. It is so simple, so rewarding, and so much better than anything you can buy.
I encourage you to make a batch this weekend. Customize it to your taste—make it spicier, sweeter, or add a splash of maple. Play around with it! That is the beauty of making things yourself. And when you take that first sip of your homemade pumpkin latte, I want you to think about how easy it was. You will never go back to the bottled stuff.
I would love to hear how your syrup turns out! Did you try a fun variation? Do you have a favorite way to use it? Drop a comment below and share your creation. And if you loved this recipe, do not forget to pin it for later and share it with a friend who loves pumpkin spice as much as you do. Happy sipping!
Frequently Asked Questions
Can I use this syrup in iced coffee?
Absolutely! This syrup is perfect for iced coffee. Since it is a syrup, it mixes into cold liquids much better than granulated sugar. Just add it to your glass before the ice and coffee, and give it a good stir.
My syrup is too thick. What should I do?
Do not worry, this is an easy fix. If your syrup has become too thick after refrigeration, simply add a tablespoon or two of hot water and whisk or shake it vigorously. You can also microwave the jar for 15-20 seconds to loosen it up.
Can I use pumpkin pie filling instead of pumpkin puree?
I do not recommend it. Pumpkin pie filling is pre-sweetened and spiced, which will make your syrup overly sweet and throw off the spice balance. Stick with 100% pure pumpkin puree for the best results.
How long does this syrup last?
When stored in an airtight container in the refrigerator, this syrup will stay fresh for 3-4 weeks. You can also freeze it in ice cube trays for up to 3 months for a quick and easy pumpkin coffee anytime.
Can I make this syrup without refined sugar?
Yes! You can substitute the granulated and brown sugars with coconut sugar, maple syrup, or a combination of both. Just keep in mind that the flavor and color will be slightly different. If using a liquid sweetener like maple syrup, you may need to simmer it a bit longer to achieve the right syrupy consistency.
Pin This Recipe!
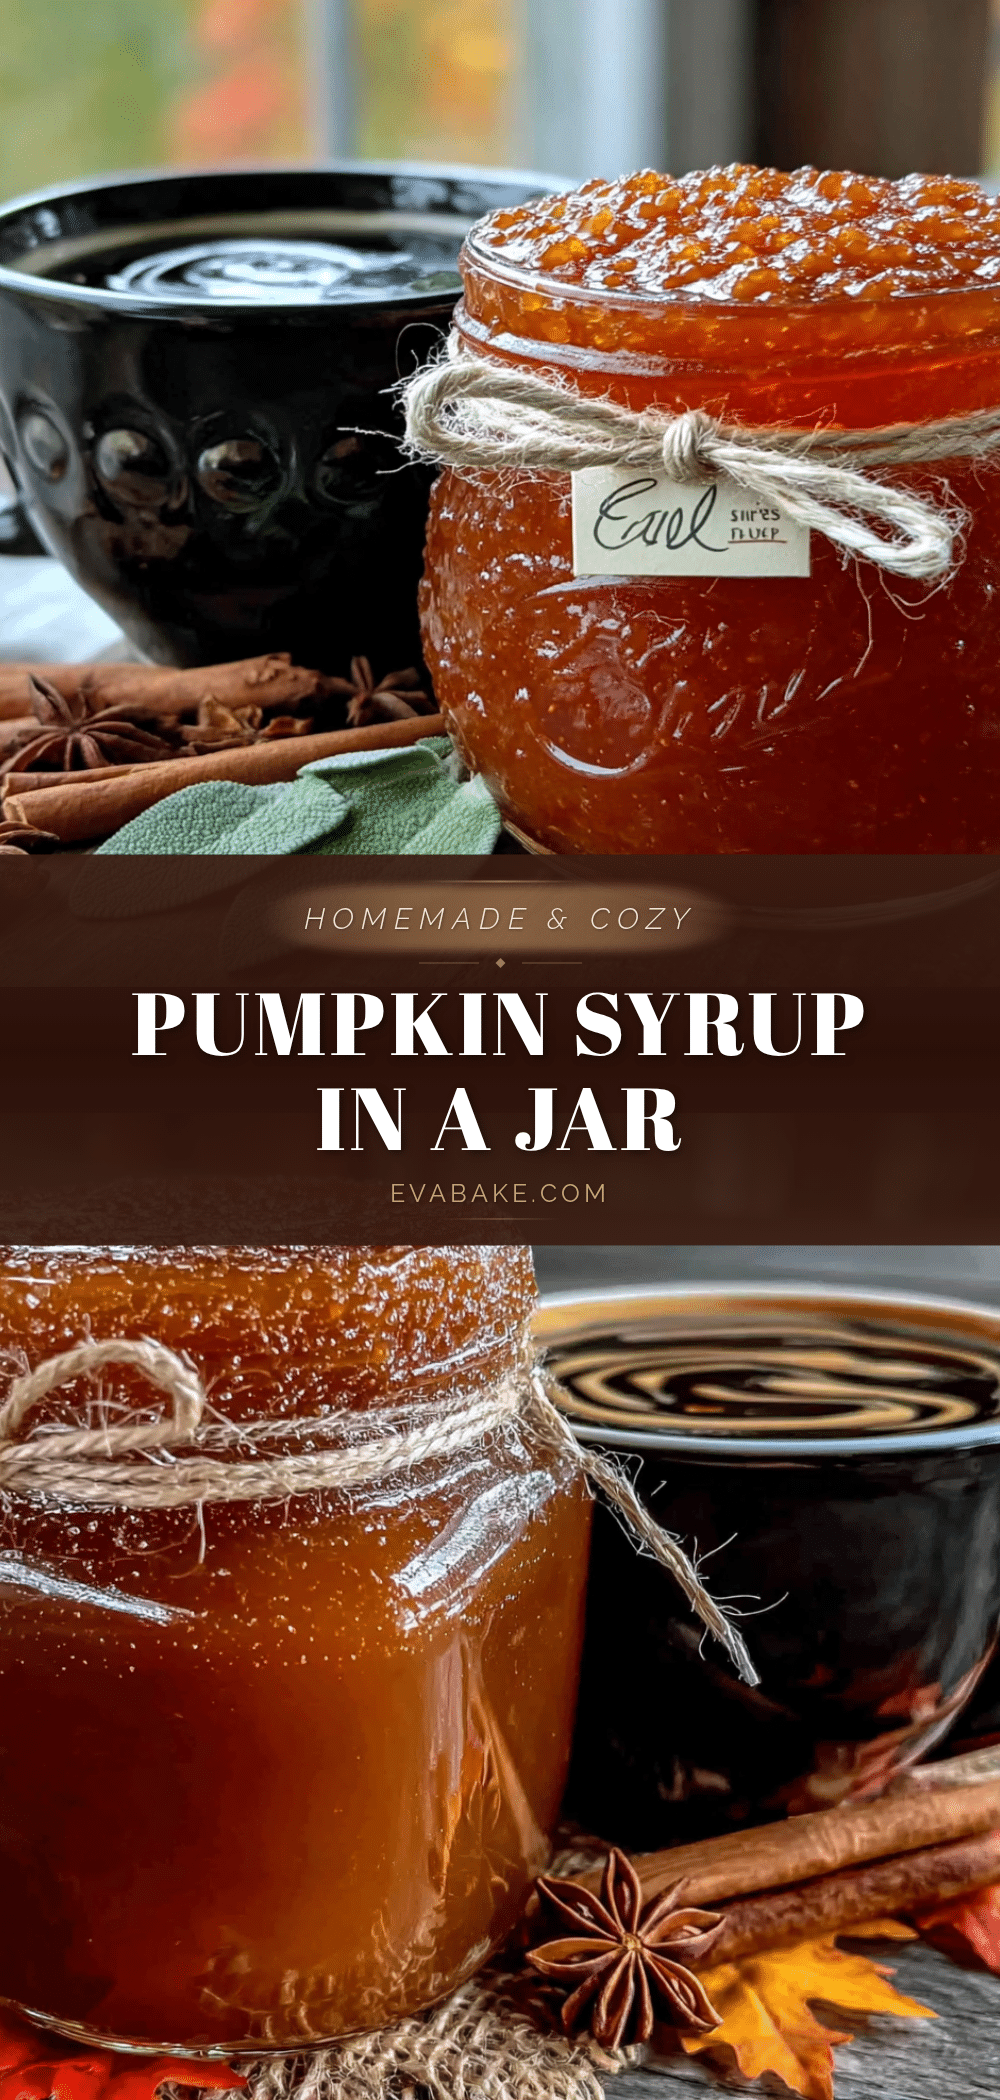
Homemade Pumpkin Syrup for Coffee (Easy Mason Jar Recipe)
This easy homemade pumpkin syrup for coffee is made with real pumpkin, warm spices, and simple pantry ingredients. It comes together in just 20 minutes and is far more delicious than any store-bought version.
- Prep Time: 5 minutes
- Cook Time: 15 minutes
- Total Time: 20 minutes
- Yield: 16 servings (2 tablespoons per serving) 1x
- Category: Condiment
- Cuisine: American
Ingredients
- 1 cup water
- 1 cup granulated sugar
- 1/2 cup packed light or dark brown sugar
- 1/4 cup pumpkin puree (100% pure, not pumpkin pie filling)
- 1 1/2 teaspoons pumpkin pie spice
- 1 teaspoon vanilla extract
- Pinch of salt
Instructions
- In a medium saucepan over medium heat, combine water, granulated sugar, and brown sugar. Whisk gently until sugars are mostly dissolved, about 2-3 minutes.
- Add pumpkin puree, pumpkin pie spice, and salt. Whisk vigorously to break up the pumpkin and incorporate it into the liquid.
- Increase heat to medium-high and bring the mixture to a gentle simmer (small bubbles breaking the surface), about 4-5 minutes.
- Reduce heat to low and let simmer for 10-15 minutes, whisking occasionally, until the syrup thickens slightly and becomes glossy. Do not let it boil vigorously.
- Remove from heat and stir in vanilla extract.
- Optional but recommended: Pour the hot syrup through a fine-mesh strainer or cheesecloth-lined strainer into a clean mason jar or bottle. Use a spoon to press the solids to extract as much liquid as possible.
- Let the syrup cool completely at room temperature. It will thicken as it cools. Once cool, seal the jar and refrigerate.
Notes
The syrup will be thin when hot but thickens significantly as it cools. If it becomes too thick after refrigeration, thin with a tablespoon or two of warm water. For a spicier version, add a cinnamon stick, fresh ginger slices, and star anise while simmering. For a maple version, replace half the granulated sugar with pure maple syrup and simmer an extra 5 minutes. For a sugar-free version, use granulated sweetener (monk fruit or allulose) and liquid sugar-free sweetener (stevia glycerite).
Nutrition
- Serving Size: 2 tablespoons
- Calories: 80100
- Sugar: 1924
- Sodium: 10
- Carbohydrates: 2025
Keywords: pumpkin syrup, homemade pumpkin syrup, pumpkin coffee syrup, pumpkin spice syrup, easy pumpkin syrup, mason jar recipe


