I did not trust pumpkin in a snickerdoodle. It felt wrong, honestly. A snickerdoodle is supposed to be that simple, buttery cookie with a sharp tang from cream of tartar and a heavy coat of cinnamon sugar. Adding pumpkin puree seemed like a fast track to a soggy, cake-like mess that would stick to the roof of your mouth. I had a whole mental argument about it while staring at a can of pumpkin in my pantry last October. My husband, bless his heart, just shrugged and said, “Try it. If it’s bad, we’ll eat the Halloween sugar cookies I hid in the freezer.” So, with a healthy dose of skepticism and a promise to myself that I wouldn’t post the recipe if it flopped, I grabbed a bowl.
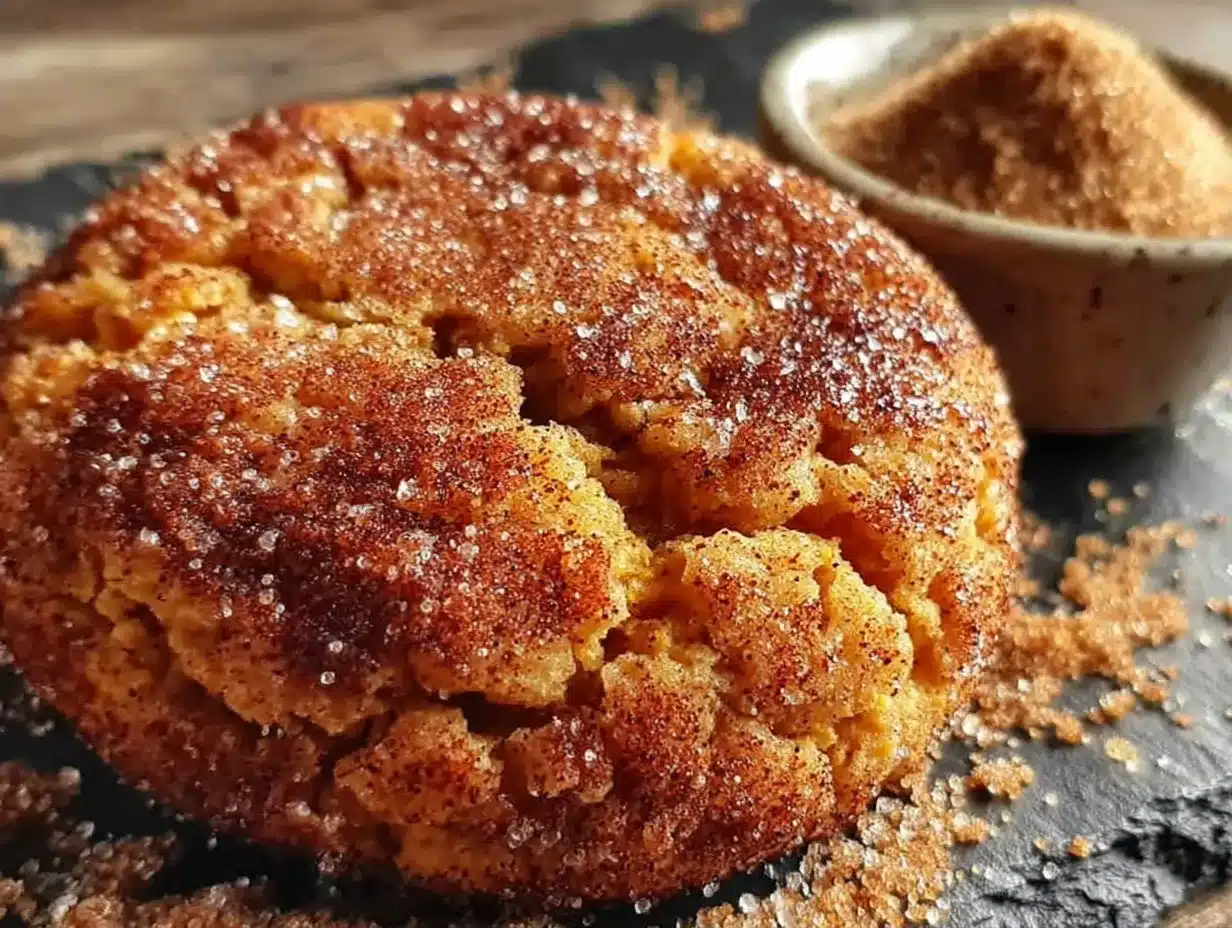
I mixed the butter and sugar until it was light, then stirred in the pumpkin (holding my breath a little). The dough looked promising—soft, but not sticky. The real test came after a quick chill and a roll in that cinnamon-sugar mixture. They puffed up in the oven, cracked beautifully on top, and filled my kitchen with a smell that was equal parts autumn and nostalgia. When I pulled them out, they were soft in the center with that signature crinkly, sugary edge. I let one cool for exactly sixty seconds before burning my tongue on it. And you know what? I was wrong. Dead wrong. The pumpkin doesn’t make them soggy—it makes them impossibly tender. It adds a warmth that plays perfectly with the cinnamon without screaming “pumpkin spice latte.”
These cookies are now the reason I buy extra cans of pumpkin in the fall. They are the cookie I bring to every gathering, the one that disappears before the pumpkin chocolate chip cookie bars even get a chance. This recipe is proof that sometimes the best things happen when you ignore your own instincts and just trust the process. And a single bowl. One bowl, no mixer required, and a cookie that honestly surprises everyone who tries it.
Why You’ll Love This Recipe
I have tested this recipe at least seven times to get the texture just right. I wanted a cookie that tasted like fall but didn’t require a trip to a specialty grocery store or a degree in pastry arts. Here is why this one works:
- Truly One Bowl: No stand mixer, no food processor, no separating wet and dry ingredients. You mix everything in one bowl with a wooden spoon or spatula. Cleanup takes less than five minutes.
- Perfect Texture: The edges are slightly crisp, the centers are soft and pillowy, and the crackly top is pure snickerdoodle magic. The pumpkin adds moisture without making the dough sticky or difficult to handle.
- Simple Pantry Ingredients: You likely have everything already—flour, sugar, butter, pumpkin puree, cinnamon, cream of tartar, baking soda, and an egg. No weird extracts or hard-to-find spices.
- No Chill Time Required (But Recommended): You can bake these immediately if you are impatient (I see you). But a quick 20-minute chill makes them easier to roll and gives you that perfect thick, bakery-style cookie.
- Crowd-Pleasing Flavor: The pumpkin is subtle. It does not dominate. It simply makes the cookie softer and adds a gentle warmth that pairs beautifully with the cinnamon sugar coating. Kids love them, adults love them, and people who claim they “don’t like pumpkin desserts” have been caught eating three in a row.
This recipe is different because I specifically tested the ratio of pumpkin to flour to avoid that gummy, underbaked texture that plagues so many pumpkin cookies. The cream of tartar is non-negotiable here—it gives the snickerdoodle its signature tang and helps the cookies hold their shape. Trust me on this one.
What Ingredients You Will Need
This recipe relies on simple, everyday ingredients that do most of the heavy lifting. Here is what you need and why each one matters:
- Unsalted Butter (1/2 cup, softened): Use unsalted so you control the salt level. Let it sit out for about 30 minutes until it is soft enough to press with your finger but not melting. If you only have salted butter, just skip the added salt in the recipe.
- Granulated Sugar (3/4 cup): Regular white sugar gives the cookies structure and helps them spread just enough. I have tested this with coconut sugar, and the texture gets a bit grainy—stick with white sugar here.
- Pumpkin Puree (1/3 cup): Make sure it is 100% pumpkin puree, not pumpkin pie filling. Libby’s is my go-to brand because it is consistently thick and not watery. If your puree looks loose, blot it with a paper towel before adding it to the dough.
- Large Egg (1): Bring it to room temperature by setting it on the counter while the butter softens. A cold egg can make the batter seize up slightly.
- Vanilla Extract (1 teaspoon): Pure vanilla extract adds depth. Imitation vanilla works fine in a pinch, but real vanilla makes the flavor rounder.
- All-Purpose Flour (1 and 1/2 cups): Spoon and level it into your measuring cup—do not scoop directly from the bag or you will pack in too much flour and end up with dry cookies.
- Cream of Tartar (1 teaspoon): This is what makes a snickerdoodle a snickerdoodle. It reacts with the baking soda to create that soft, tangy texture and helps the cookies puff up and crack. Do not skip it.
- Baking Soda (1/2 teaspoon): Works with the cream of tartar for leavening. Make sure it is fresh—test it by dropping a little into vinegar; it should fizz immediately.
- Salt (1/4 teaspoon): Balances the sweetness and enhances the pumpkin flavor. I use fine sea salt.
- Ground Cinnamon (1 teaspoon in dough): Adds warmth to the cookie itself. I use Saigon cinnamon for a stronger, slightly sweeter flavor.
- For the Coating: 1/4 cup granulated sugar mixed with 1 and 1/2 teaspoons ground cinnamon. Roll the dough balls generously in this mixture before baking.
If you want to add a pinch of nutmeg or cloves to the dough, go for it. But the classic snickerdoodle flavor shines best with just cinnamon.
Equipment Needed
You do not need fancy equipment for this recipe, which is part of its charm. Here is what you will actually use:
- Large Mixing Bowl: Any bowl works, but a wide, shallow bowl makes mixing easier. I use a ceramic bowl because it does not slide around on the counter.
- Wooden Spoon or Silicone Spatula: A sturdy spoon is all you need. No electric mixer required. A spatula helps scrape the sides clean.
- Measuring Cups and Spoons: Use dry measuring cups for flour and sugar, and a liquid measuring cup for the pumpkin puree if you prefer. Accuracy matters here.
- Baking Sheets: Two standard half-sheet pans work well. Line them with parchment paper or a silicone baking mat. Do not use greased pans—the cookies will spread too much.
- Cookie Scoop (Optional): A 1.5-tablespoon scoop makes uniform cookies that bake evenly. If you do not have one, use two spoons to portion the dough.
- Cooling Rack: Let the cookies cool on the baking sheet for 5 minutes, then transfer them to a wire rack to cool completely. This prevents soggy bottoms.
I have made these cookies with a cheap baking sheet that warped in the oven, and they still turned out fine. Do not overthink the equipment. A bowl and a spoon are truly all you need.
Preparation Method
Let me walk you through this step by step. The process is straightforward, but a few small details make a big difference in the final cookie.
- Preheat the oven to 350°F (175°C). Line two baking sheets with parchment paper or silicone mats. Do not skip this—parchment paper prevents sticking without adding extra grease.
- Mix the butter and sugar. In your large bowl, combine the softened butter and 3/4 cup granulated sugar. Mash them together with your spoon until they are well combined and look like a thick paste. It does not need to be fluffy or light—just uniformly mixed. This takes about 1 minute of solid stirring.
- Add the wet ingredients. Add the pumpkin puree, egg, and vanilla extract to the bowl. Stir until everything is smooth and fully incorporated. The mixture will look a bit loose and glossy—that is normal. Scrape the sides of the bowl with your spatula to make sure nothing is hiding.
- Add the dry ingredients. Sprinkle the flour, cream of tartar, baking soda, salt, and 1 teaspoon cinnamon over the wet mixture. Stir gently at first to avoid a flour cloud, then mix until just combined. Stop as soon as you no longer see streaks of flour. Overmixing will make the cookies tough.
- Chill the dough (optional but recommended). Cover the bowl with plastic wrap or a clean kitchen towel and pop it in the fridge for 20 minutes. This firms up the butter, making the dough easier to roll and preventing the cookies from spreading too thin. If you are in a hurry, you can skip this step—just know the cookies will spread a bit more and be slightly thinner.
- Make the cinnamon sugar coating. In a small bowl, whisk together 1/4 cup granulated sugar and 1 and 1/2 teaspoons cinnamon. Set it aside.
- Shape the cookies. Use a cookie scoop or your hands to portion the dough into 1.5-tablespoon balls (about the size of a walnut). Roll each ball between your palms until smooth, then drop it into the cinnamon sugar mixture. Roll it around to coat generously, then place it on the prepared baking sheet. Space the dough balls about 2 inches apart—they will spread a bit.
- Bake. Bake one sheet at a time in the center of the oven for 10 to 12 minutes. The cookies should look puffed, cracked on top, and slightly set around the edges but still soft in the center. Do not overbake them—they will continue to set as they cool. At 10 minutes, they will be very soft; at 12 minutes, they will be slightly firmer but still tender.
- Cool. Let the cookies rest on the baking sheet for 5 minutes. This allows them to finish setting up without breaking apart. Then, transfer them to a wire rack to cool completely. If you try to move them too soon, they will fall apart.
- Repeat. Scoop, roll, coat, and bake the remaining dough. If the dough gets too soft while sitting out, pop it back in the fridge for 10 minutes.
A note on sizing: I have made these as small 1-tablespoon cookies for parties, and they bake in about 8 minutes. For giant bakery-style cookies, use a 3-tablespoon scoop and bake for 13 to 14 minutes. Adjust the time based on your oven and your preference.
Cooking Tips & Techniques
I have made every mistake possible with pumpkin cookies so you do not have to. Here are the things I learned the hard way:
Blot your pumpkin puree. If your puree looks watery or has liquid pooling on top, blot it with a paper towel before adding it to the dough. Excess moisture leads to flat, gummy cookies. I learned this after a batch that spread into one giant cookie pancake. Tasty, but not what I was going for.
Do not skip the cream of tartar. I know it is a weird ingredient that most people only buy for snickerdoodles. But it is essential. It reacts with the baking soda to create carbon dioxide, which gives the cookies lift and that signature tang. Without it, you just have a plain pumpkin sugar cookie. If you absolutely must substitute, use 2 teaspoons of lemon juice or white vinegar mixed with the wet ingredients, but the texture will be slightly different.
Use a light hand with the flour. Scooping flour directly from the bag compacts it, and you can end up with 20% more flour than the recipe calls for. Spoon the flour into your measuring cup, then level it off with a knife. Your cookies will thank you.
Bake one sheet at a time. I know it is tempting to cram both sheets in the oven to save time. But the heat circulates unevenly, and you will end up with one sheet of perfect cookies and one sheet of pale, underbaked ones. It is worth the extra 10 minutes.
Let them cool on the pan. The cookies are fragile right out of the oven. The 5-minute rest on the hot baking sheet is not optional—it is when the structure sets. If you try to move them immediately, they will crumble. I learned this the messy way.
Room temperature ingredients matter. Cold butter does not cream properly with the sugar, and a cold egg can make the batter seize. Set everything out 30 minutes before you start baking. Set a timer if you need to—I have definitely forgotten and had to microwave my butter (which works, but is not ideal).
Variations & Adaptations
This base recipe is forgiving and adaptable. Here are a few ways I have changed it up depending on my mood or what I have in the pantry:
Gluten-Free Version: Substitute the all-purpose flour with a 1:1 gluten-free baking flour blend that contains xanthan gum. I have used Bob’s Red Mill 1:1 Baking Flour with great results. The cookies will be slightly more tender, but the flavor and crackly top remain intact. Do not use almond flour or coconut flour alone—they will not hold the structure.
Spiced-Up Variation: Add 1/4 teaspoon each of ground nutmeg, ground ginger, and ground cloves to the dough along with the cinnamon. This turns them into a full-on pumpkin spice cookie that pairs beautifully with a cozy pumpkin chai latte. I made this version for a fall brunch, and they disappeared before the main course.
Chocolate Chip Pumpkin Snickerdoodles: Fold 1/2 cup of semi-sweet chocolate chips into the dough after mixing. The chocolate adds a rich contrast to the warm cinnamon and pumpkin. White chocolate chips also work well here if you want something sweeter.
Vegan Adaptation: Use vegan butter (I like Earth Balance) and replace the egg with a flax egg (1 tablespoon ground flaxseed mixed with 3 tablespoons water, let sit for 5 minutes). The texture will be slightly less tender, but the cookies still taste fantastic. Make sure your sugar is vegan-friendly (most granulated sugar is, but some brands use bone char).
Maple Glaze Drizzle: Whisk together 1/2 cup powdered sugar, 1 tablespoon maple syrup, and 1 tablespoon milk (dairy or non-dairy) until smooth. Drizzle over cooled cookies for an extra layer of fall flavor. I did this for a cookie exchange, and they were the first ones gone.
Serving & Storage Suggestions
These cookies are best served slightly warm, when the centers are still soft and the cinnamon sugar coating is at its most fragrant. Let them cool for about 10 minutes after baking if you can wait that long. I usually cannot.
For a dessert spread, arrange them on a wooden board with a side of pumpkin spice cold foam coffee cake and a bowl of fresh apple slices. They also pair beautifully with a cold glass of milk or a hot cup of chai. I have served them alongside a scoop of vanilla ice cream for an impromptu ice cream sandwich situation, and it was glorious.
Storage: Keep the cookies in an airtight container at room temperature for up to 5 days. Place a slice of bread in the container to help them stay soft—the bread absorbs excess air and releases moisture. Replace the bread slice every other day. Do not refrigerate the cookies, as the cold air will dry them out and make them stale faster.
Freezing: You can freeze the baked cookies for up to 3 months. Let them cool completely, then layer them between sheets of parchment paper in a freezer-safe container. Thaw at room temperature for about 30 minutes before serving. You can also freeze the unbaked dough balls. Roll them, coat them in cinnamon sugar, and place them on a parchment-lined baking sheet. Freeze until solid, then transfer to a freezer bag. Bake from frozen, adding 1 to 2 extra minutes to the baking time.
The flavor actually improves after a day or two. The spices meld together, and the texture becomes even softer. I have been known to sneak one for breakfast with my coffee—no judgment here.
Nutritional Information & Benefits
Here is the estimated nutritional breakdown for one cookie (based on a batch of 18 cookies):
- Calories: 135
- Total Fat: 6g
- Saturated Fat: 3.5g
- Carbohydrates: 20g
- Sugar: 12g
- Protein: 2g
- Fiber: 1g
- Sodium: 85mg
These numbers are estimates and will vary based on the exact ingredients and portion sizes you use.
Pumpkin puree is packed with vitamin A, which supports eye health and immune function. It also adds fiber and moisture to the cookies without requiring excessive fat. The cinnamon in the coating has antioxidant properties and may help regulate blood sugar levels. While these are still a treat (they are cookies, after all), they are a slightly more nutrient-dense option than a standard sugar cookie. The cream of tartar adds a small amount of potassium, which is a nice bonus.
If you are watching your sugar intake, you can reduce the sugar in the dough to 1/2 cup without significantly affecting the texture. The coating sugar is harder to reduce, but you can use a lighter coating if needed.
Conclusion
These Easy One-Bowl Pumpkin Snickerdoodles are the cookie I reach for every single fall. They are simple enough to whip up on a random Tuesday night when a craving hits, but impressive enough to bring to a holiday gathering or cookie swap. The one-bowl cleanup is a genuine gift to your future self, and the soft, crackly texture is exactly what a snickerdoodle should be.
I love that this recipe does not require a trip to a specialty store or a stand mixer. It is just butter, sugar, pumpkin, flour, and a few pantry staples coming together to create something genuinely special. The pumpkin adds moisture and warmth without turning the cookie into a muffin, and the cinnamon sugar coating gives it that classic snickerdoodle crunch.
Try these once, and I promise they will become your go-to fall cookie. Customize them with chocolate chips, extra spices, or a simple glaze—or leave them exactly as written. They are perfect either way. If you make them, drop a comment below and let me know how they turned out. Did you add any twists? Did you manage to wait for them to cool before eating one? (No judgment if you did not.) Happy baking, friends.
Frequently Asked Questions
Can I make these cookies without cream of tartar?
You can, but the texture and flavor will change significantly. Cream of tartar gives snickerdoodles their signature tang and helps them puff up and crack. Without it, you will have a flatter, sweeter cookie that tastes more like a plain pumpkin sugar cookie. If you are in a pinch, substitute with 2 teaspoons of lemon juice or white vinegar mixed into the wet ingredients.
Why did my cookies turn out flat?
Flat cookies usually happen for one of three reasons: the butter was too soft or melted, the dough was not chilled, or you used too much sugar. Make sure your butter is softened but not melted, and chill the dough for at least 20 minutes if you have time. Also, measure your flour correctly by spooning it into the cup and leveling it off.
Can I use pumpkin pie filling instead of pumpkin puree?
No, do not use pumpkin pie filling. It contains added sugar, spices, and thickeners that will throw off the balance of the recipe. Always use 100% pure pumpkin puree. Libby’s is a reliable brand that is consistently thick and not watery.
How do I know when the cookies are done baking?
The cookies are done when the edges are set and lightly golden, the tops are cracked, and the centers still look soft and slightly underdone. They will continue to bake on the hot pan as they cool. If you wait until the centers look fully set, they will be overbaked and dry. At 350°F, start checking at 10 minutes.
Can I double this recipe?
Absolutely. This recipe doubles beautifully. Just make sure you have enough space in your fridge to chill the dough if you choose to do so, and bake in batches to avoid overcrowding the oven. The dough keeps well in the fridge for up to 3 days, so you can bake fresh cookies whenever the mood strikes.
Pin This Recipe!
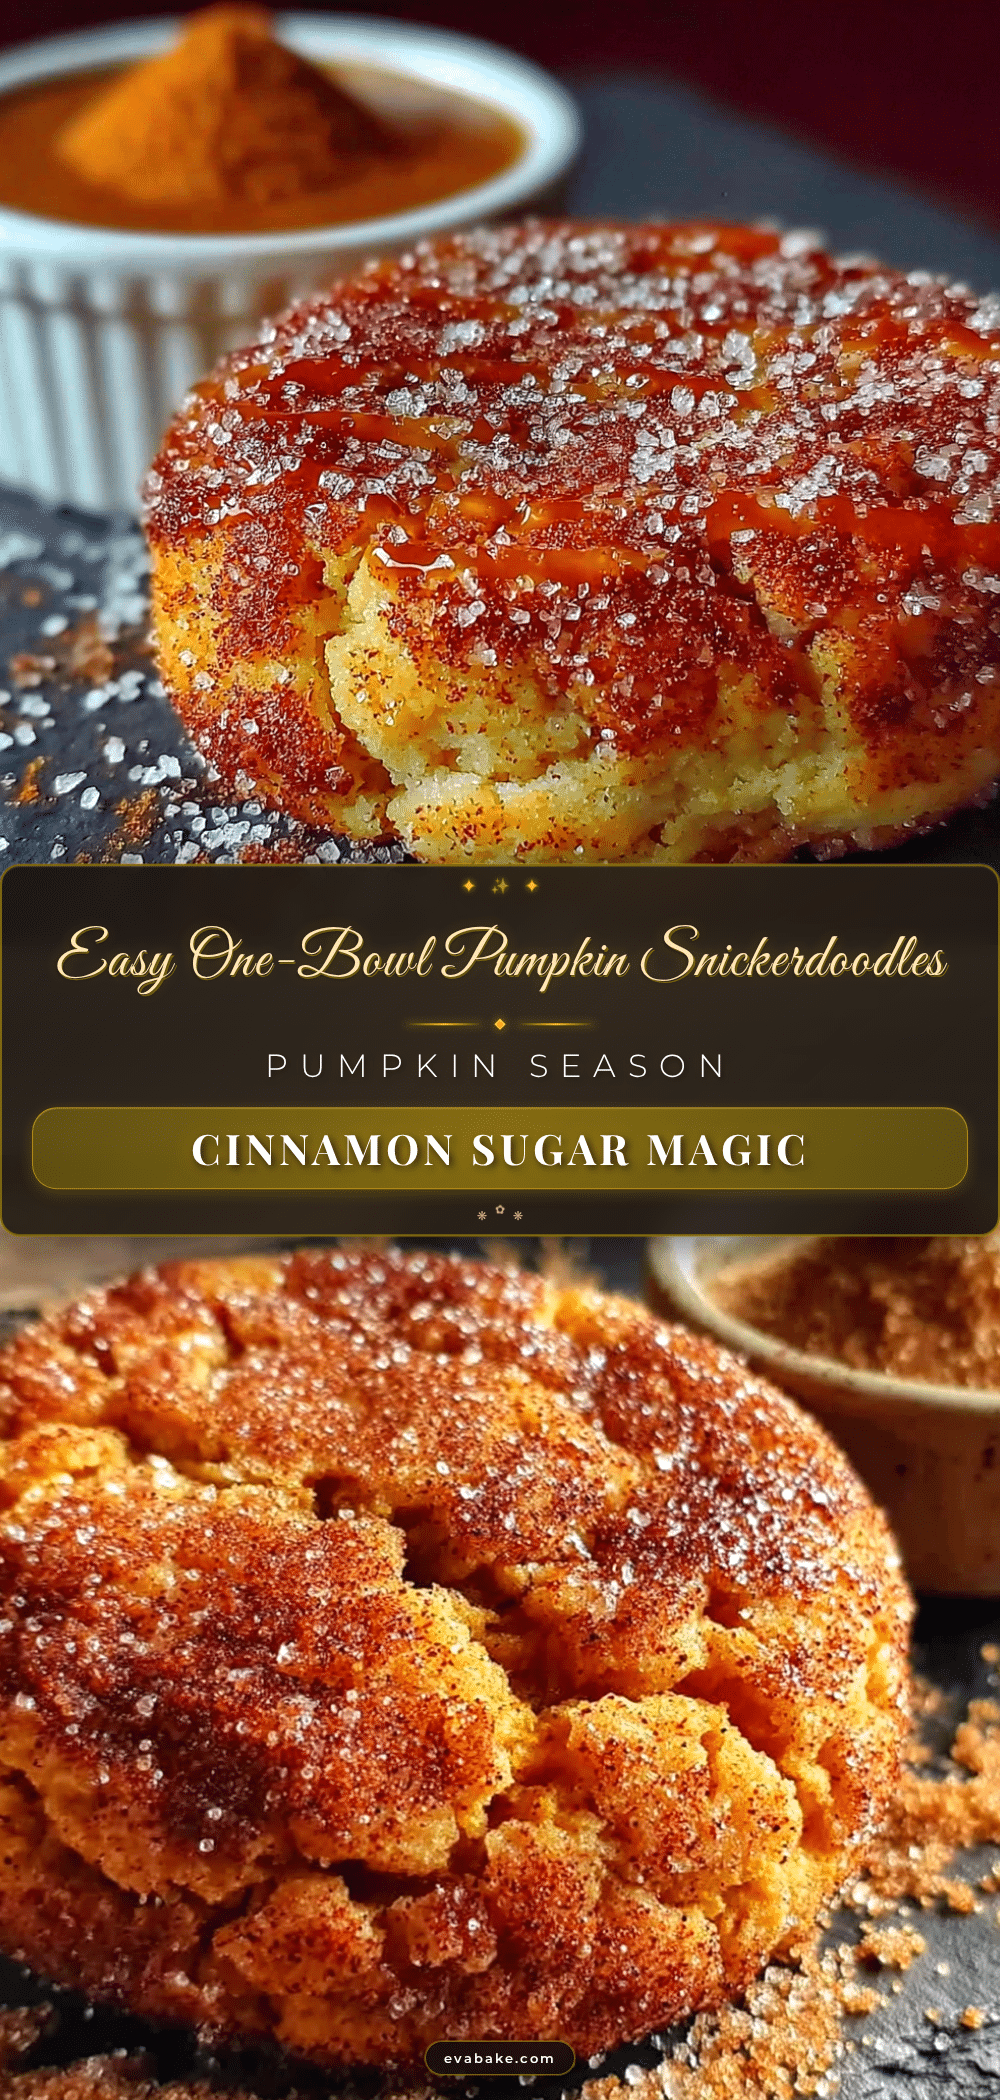
Easy One-Bowl Pumpkin Snickerdoodles (Best Fall Cookie Recipe)
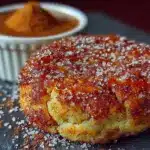
These soft, crackly pumpkin snickerdoodles are made in one bowl with simple pantry ingredients. The pumpkin adds moisture and warmth without making the cookies soggy, and the cinnamon sugar coating gives them that classic snickerdoodle crunch.
- Prep Time: 15 minutes
- Cook Time: 12 minutes
- Total Time: 27 minutes
- Yield: 18 cookies 1x
- Category: Dessert
- Cuisine: American
Ingredients
- 1/2 cup unsalted butter, softened
- 3/4 cup granulated sugar
- 1/3 cup pumpkin puree (100% pure, not pie filling)
- 1 large egg, room temperature
- 1 teaspoon vanilla extract
- 1 and 1/2 cups all-purpose flour, spooned and leveled
- 1 teaspoon cream of tartar
- 1/2 teaspoon baking soda
- 1/4 teaspoon salt
- 1 teaspoon ground cinnamon
- For the coating: 1/4 cup granulated sugar mixed with 1 and 1/2 teaspoons ground cinnamon
Instructions
- Preheat the oven to 350°F (175°C). Line two baking sheets with parchment paper or silicone mats.
- In a large bowl, combine the softened butter and 3/4 cup granulated sugar. Mash together until well combined and paste-like, about 1 minute.
- Add the pumpkin puree, egg, and vanilla extract. Stir until smooth and fully incorporated.
- Sprinkle the flour, cream of tartar, baking soda, salt, and 1 teaspoon cinnamon over the wet mixture. Stir gently until just combined; do not overmix.
- Chill the dough for 20 minutes (optional but recommended for easier handling and thicker cookies).
- In a small bowl, whisk together 1/4 cup granulated sugar and 1 and 1/2 teaspoons cinnamon for the coating.
- Using a cookie scoop or your hands, portion the dough into 1.5-tablespoon balls (about the size of a walnut). Roll each ball smooth, then coat generously in the cinnamon sugar mixture. Place on prepared baking sheets, spacing 2 inches apart.
- Bake one sheet at a time in the center of the oven for 10 to 12 minutes. Cookies should look puffed, cracked on top, and set around the edges but still soft in the center.
- Let cookies rest on the baking sheet for 5 minutes, then transfer to a wire rack to cool completely.
- Repeat with remaining dough. If dough becomes too soft, chill for 10 minutes before shaping.
Notes
Blot pumpkin puree if watery to avoid flat cookies. Cream of tartar is essential for the signature tang and texture. For best results, chill dough for 20 minutes. Bake one sheet at a time for even baking. Cookies can be frozen baked or unbaked for up to 3 months.
Nutrition
- Serving Size: 1 cookie
- Calories: 135
- Sugar: 12
- Sodium: 85
- Fat: 6
- Saturated Fat: 3.5
- Carbohydrates: 20
- Fiber: 1
- Protein: 2
Keywords: pumpkin snickerdoodles, one bowl cookies, fall cookies, pumpkin cookies, snickerdoodle recipe, easy pumpkin cookies