Fourth time this week I pulled that jar of sourdough discard out of the fridge, stared at it, and thought — not another loaf of plain bread. The starter had been fed three days ago, and the discard was piling up like laundry after a long weekend. I almost poured it down the sink. But then I spotted the can of pumpkin puree sitting on the counter from that batch of pumpkin chocolate chip cookie bars I made last weekend, and something clicked. Not a sweet quick bread. Not a dense artisan loaf. Something in between — soft, faintly orange, with that tangy sourdough edge that makes you close your eyes on the first bite.
The first attempt came out flat. Edible, but flat. The second one had a crust that could double as a cutting board. But the third? That was the one where the kitchen went quiet and I just stood there chewing, trying to figure out why it worked. The crumb was tender. The pumpkin flavor wasn’t shouting — it was humming in the background. And the discard did what discard does best: added complexity without extra work.
This recipe is the one I kept coming back to because it solved two problems at once. Too much discard. Not enough fall flavor. No kneading, no stand mixer, no complicated folds. Just a bowl, a spoon, and patience that pays off in a way that feels like you cheated. Honestly, that’s my favorite kind of baking.
Why You’ll Love This Recipe
I’ve tested this recipe more times than I care to count, and here’s what I know for sure: it delivers every single time without drama. No sticky dough on your hands. No wrestling with wet flour. No wondering if you did it right.
- No Kneading Required — You mix it, let it sit, and bake. That’s the whole workout.
- Perfect for Discard — Uses up that leftover starter without needing to feed it first. Finally, a reason to keep that jar around.
- Soft, Tender Crumb — The pumpkin keeps the bread moist for days, which is rare for sourdough.
- Subtle Fall Flavor — Not pumpkin-pie-in-your-face. Just warm, earthy notes that pair with everything.
- Beginner-Friendly — If you can stir, you can make this. No fancy techniques or special equipment.
What makes this different from every other pumpkin bread out there is the tang. Most pumpkin breads lean sweet and dense. This one has a backbone — that sourdough bite cuts through the richness and keeps you coming back for another slice. It’s the kind of bread that works with butter and jam for breakfast, or alongside a bowl of creamy tomato soup for dinner.
I’ve made this for neighbors who didn’t know what sourdough discard was. They ate it, asked for the recipe, and then asked what “discard” meant. That’s when you know it’s good — when people don’t care about the technical stuff because the bread speaks for itself.
What Ingredients You Will Need
This recipe keeps things simple. You probably have most of these in your kitchen right now, which is exactly how I like it. No specialty flours, no obscure extracts, no trips to three different stores.
- All-purpose flour (3 cups / 375g) — Standard AP flour works best here. Bread flour makes it too chewy. Whole wheat makes it too dense. Stick with all-purpose for that soft crumb.
- Pumpkin puree (1 cup / 245g) — Not pumpkin pie filling. Make sure it’s 100% pure pumpkin. I use Libby’s because it’s consistent and not too watery. If you use fresh pumpkin puree, drain it slightly in a cheesecloth first.
- Sourdough discard (1 cup / 240g) — Straight from the fridge works fine. No need to feed it or bring it to room temperature. Unfed discard is actually better here because the acidity helps the bread rise.
- Warm water (1/2 cup / 120ml) — About 90-100°F. Too hot kills the yeast activity. Too cold and the rise takes forever.
- Olive oil (3 tablespoons / 45ml) — Adds moisture and a subtle richness. You can use melted butter instead, but olive oil keeps the crumb softer longer.
- Honey or maple syrup (2 tablespoons / 30ml) — Just enough sweetness to balance the pumpkin and sourdough tang. Maple syrup adds a deeper fall flavor.
- Salt (1 1/2 teaspoons / 9g) — Don’t skip this. Salt controls fermentation and keeps the bread from tasting flat.
- Active dry yeast (1 teaspoon / 3g) — Yes, even with discard. The discard adds flavor, but the yeast gives you a reliable rise in a shorter time.
- Pumpkin pie spice (1 teaspoon) — Store-bought or homemade. If you’re making your own, use 1/2 teaspoon cinnamon, 1/4 teaspoon nutmeg, 1/4 teaspoon ginger, and a pinch of cloves.
That’s it. Nine ingredients, most of which are pantry staples. The pumpkin does double duty — it adds flavor and moisture, which means you don’t need eggs or milk. This bread is naturally vegan as written, which is a nice bonus.
Equipment Needed
You don’t need a Dutch oven or a baking stone for this. No stand mixer either. Here’s what actually matters:
- Large mixing bowl — Big enough to hold 4 cups of flour and give you room to stir without flinging flour everywhere.
- Wooden spoon or silicone spatula — For mixing. A whisk works too, but the dough is thick enough that a spoon is easier.
- 9×5-inch loaf pan — Standard size. Glass, metal, or ceramic all work. If using glass, reduce the oven temperature by 25°F.
- Parchment paper — Not mandatory, but makes removal effortless. I line my pan with a sling of parchment so I can lift the bread out cleanly.
- Plastic wrap or a clean kitchen towel — For covering the dough while it rises.
- Kitchen scale — Optional but recommended. Measuring flour by weight is more accurate and gives you consistent results every time.
If you don’t have a loaf pan, you can bake this in a cast iron skillet or even shape it into a free-form boule on a parchment-lined baking sheet. The bake time will change, so check for doneness with a thermometer — 200°F internal temperature is your target.
Preparation Method
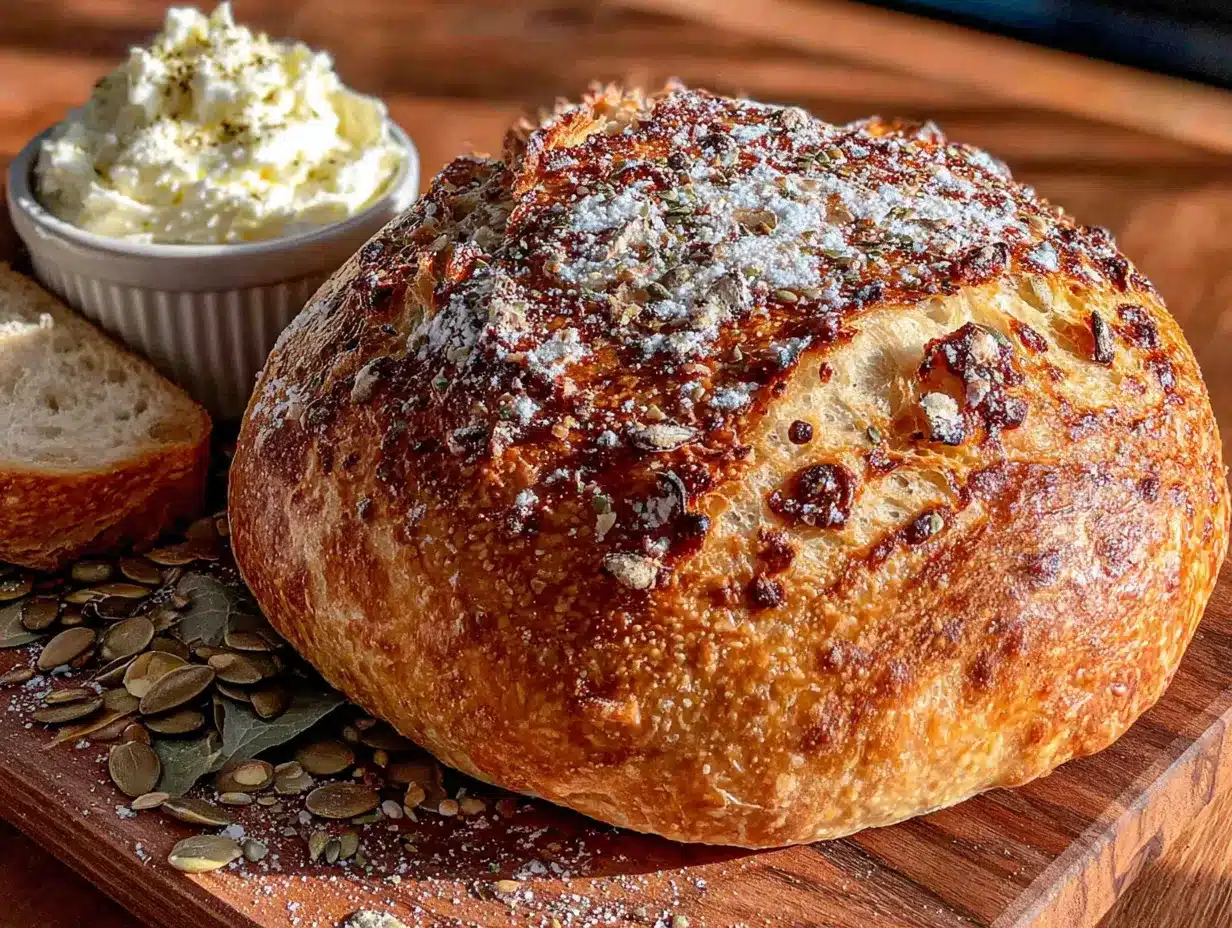
This is where the magic happens. No kneading, no folding, no stress. Just mix, wait, and bake.
- Mix the dry ingredients. In your large bowl, whisk together the flour, salt, and pumpkin pie spice. Make a well in the center. This helps the wet ingredients incorporate evenly without overmixing.
- Combine the wet ingredients. In a separate smaller bowl, whisk together the pumpkin puree, sourdough discard, warm water, olive oil, and honey until smooth. The mixture should look like thick orange soup. If your discard is particularly thick, add an extra tablespoon of water.
- Add the yeast. Sprinkle the yeast over the wet mixture and stir gently. Let it sit for 2-3 minutes until the yeast starts to dissolve. You don’t need to proof it — the warm water activates it well enough.
- Bring it together. Pour the wet ingredients into the well of dry ingredients. Stir with your wooden spoon until a shaggy, sticky dough forms. No smooth ball here — it should look rough and slightly lumpy. About 20-30 strokes is enough. Overmixing makes the bread tough.
- First rise. Cover the bowl with plastic wrap or a damp towel. Let it sit at room temperature for 8-12 hours, or overnight. The dough should double in size and look bubbly on top. If your kitchen is cold (below 68°F), it might take closer to 14 hours. Warm kitchen? Check it at 6 hours.
- Shape the dough. Generously flour your work surface. Turn the dough out — it will be sticky and loose, that’s normal. Using a bench scraper or floured hands, fold the dough over itself 3-4 times to create a rough log shape. Don’t knead. Just fold and tuck.
- Second rise. Place the shaped dough into your parchment-lined loaf pan. Cover loosely with plastic wrap. Let it rise for another 1-2 hours, until the dough has risen about an inch above the rim of the pan. The top should look puffy and slightly domed.
- Preheat and score. About 20 minutes before baking, preheat your oven to 375°F (190°C). Just before baking, use a sharp knife or razor blade to score the top of the dough with a single slash down the center. This controls where the bread expands.
- Bake. Place the pan on the middle rack. Bake for 45-55 minutes. The bread is done when the top is deep golden brown and a toothpick inserted in the center comes out clean. For accuracy, use an instant-read thermometer — 200°F (93°C) in the center is perfect.
- Cool completely. This is the hardest step. Let the bread cool in the pan for 10 minutes, then transfer to a wire rack. Wait at least 1 hour before slicing. Cutting too early turns the crumb gummy. Trust me, I’ve learned this the hard way three times.
Cooking Tips & Techniques
I’ve made this bread enough times to know where things go wrong. Here’s what I wish someone had told me.
Your discard doesn’t need to be bubbly. Unlike active starter, discard works best when it’s been sitting in the fridge for a few days. The acidity builds up, which gives the bread that signature tang and helps the gluten relax. Fresh discard works too, but the flavor is milder.
Don’t skip the parchment sling. I used to grease the pan and hope for the best. Half the time the bottom stuck and I ended up with a mangled loaf. A parchment sling — two strips crossing each other — lets you lift the bread out cleanly every time.
Watch the hydration. Pumpkin puree varies by brand. Some are thicker, some are more watery. If your dough looks more like batter than dough after mixing, add 2 tablespoons of flour. If it looks dry and crumbly, add a tablespoon of water. The dough should be sticky but hold its shape when you scoop it.
Temperature matters more than time. A cold kitchen adds hours to the rise. A warm kitchen cuts them. Don’t follow the clock blindly — look for visual cues. The dough should double in size during the first rise and look puffy during the second. If it’s not there yet, give it more time.
One mistake I still make. I forget to score the bread sometimes. The bread still tastes fine, but it cracks open in unpredictable places. The score mark gives it a clean path to expand. It also looks prettier, which matters when you’re taking photos for friends (or for Pinterest).
Variations & Adaptations
This recipe is forgiving. Here are some ways to make it your own.
- Add mix-ins. Fold in 1/2 cup of toasted pecans, walnuts, or pepitas after the first rise. The crunch adds texture against the soft crumb. Dried cranberries work beautifully too — the tartness plays off the pumpkin.
- Make it sweeter. Increase the honey or maple syrup to 1/4 cup for a sweeter loaf. Or brush the top with melted butter and sprinkle with coarse sugar before baking for a crackly crust.
- Whole wheat version. Swap 1 cup of all-purpose flour with whole wheat flour. The bread will be denser and nuttier. Add an extra 2 tablespoons of water since whole wheat absorbs more liquid.
- Gluten-free adaptation. Use a 1:1 gluten-free flour blend that contains xanthan gum. The texture will be more tender and slightly crumbly, but the flavor holds up. Reduce the water by 2 tablespoons since gluten-free flour absorbs differently.
- Savory twist. Skip the pumpkin pie spice and honey. Add 1 teaspoon of dried rosemary, 1/2 teaspoon of black pepper, and 1/2 cup of shredded sharp cheddar cheese. The tangy sourdough and savory pumpkin combo is surprisingly good with soup or chili.
I tried the savory version last week and served it alongside a bowl of creamy white chicken chili. The rosemary and cheddar paired perfectly with the smoky chili. My husband ate three slices before I could say anything.
Serving & Storage Suggestions
This bread is best served slightly warm, but room temperature works beautifully too. Slice it thick — about 1 inch — and toast it if you want a crispier exterior. A pat of salted butter melts into the warm crumb in a way that feels deeply satisfying.
For breakfast, spread it with cream cheese and a drizzle of honey. For lunch, use it as the base for an open-faced turkey sandwich with cranberry sauce. For a snack, eat it plain with a cup of coffee. It’s versatile enough to fit any occasion.
Storage: Wrap the cooled loaf tightly in plastic wrap or beeswax wrap. Keep it at room temperature for up to 4 days. The pumpkin keeps it moist longer than regular sourdough, so it won’t dry out as quickly.
Freezer instructions: Slice the bread first, then wrap each slice individually in plastic wrap. Place the slices in a freezer bag. They’ll keep for up to 3 months. When you want a slice, pull it out and toast it directly from frozen. No thawing needed.
Reheating: The microwave works in a pinch, but toasting brings back the crust’s texture. A 350°F oven for 5-7 minutes also works if you’re reheating multiple slices.
The flavor actually improves on day two. The sourdough tang deepens, and the pumpkin settles into something more mellow. If you can resist eating it all on day one, you’ll be rewarded on day two.
Nutritional Information & Benefits
This bread is surprisingly wholesome for something that tastes this good. Each slice (assuming 12 slices per loaf) contains approximately:
- Calories: 185
- Carbohydrates: 34g
- Fiber: 3g
- Protein: 5g
- Fat: 4g
- Sugar: 5g
The pumpkin puree is the star here nutritionally. It’s packed with vitamin A (from beta-carotene), fiber, and antioxidants. The sourdough fermentation breaks down some of the gluten and phytic acid, making the nutrients more bioavailable. That means your body can actually use what’s in the bread instead of just processing it.
This recipe is naturally vegan, dairy-free, and egg-free. It’s also lower in sugar than most pumpkin breads, which rely on a cup or more of sugar. The 2 tablespoons of honey or maple syrup provide just enough sweetness without spiking your blood sugar.
If you’re watching your sodium, you can reduce the salt to 1 teaspoon without affecting the rise too much. The flavor will be slightly less pronounced, but the bread will still taste good.
Conclusion
This easy no knead pumpkin sourdough discard bread is the kind of recipe that makes you feel like you’ve discovered a secret. It uses up discard that would otherwise go to waste. It delivers a soft, tangy loaf with minimal effort. And it fills your kitchen with that warm, earthy pumpkin smell that makes fall feel real.
I’ve made this for brunches, for weeknight dinners, and for no reason at all except that I wanted bread. Every time, someone asks for the recipe. Every time, I tell them it’s the easiest bread they’ll ever make. And every time, they don’t believe me until they try it themselves.
So go ahead. Pull that discard out of the fridge. Open that can of pumpkin. Give this recipe a shot. And when you do, come back and tell me how it turned out. Did you add pecans? Skip the spice? Make it savory? I want to hear about it. Drop a comment below or tag me in your photos. Happy baking, friend.
Frequently Asked Questions
Can I use active sourdough starter instead of discard?
Yes, but the flavor will be milder and the rise might be faster. Reduce the yeast to 1/2 teaspoon since the active starter provides more leavening power. The texture will be slightly airier.
Why did my bread turn out dense and heavy?
This usually happens for one of three reasons: the dough didn’t rise long enough, the flour was overmeasured (too much flour), or the oven wasn’t hot enough. Use a kitchen scale for accuracy and give the dough the full rise time even if it feels like it’s taking forever.
Can I make this without yeast?
Technically yes, but the bread will be very dense — more like a quick bread than sourdough. You’ll need to rely entirely on the discard for leavening, which means a much longer rise (12-18 hours) and a tighter crumb. The flavor will still be good, just different.
How do I know when the bread is fully baked?
The internal temperature should reach 200°F (93°C) in the center. An instant-read thermometer is the most reliable tool. If you don’t have one, insert a wooden skewer into the center — it should come out clean with no wet dough clinging to it.
Can I double this recipe?
Yes, but don’t double the yeast. Use 1 1/2 teaspoons instead of 2. The extra dough needs more time to rise, and too much yeast will make it taste yeasty. Bake in two separate loaf pans rather than one large pan for even baking.
Pin This Recipe!
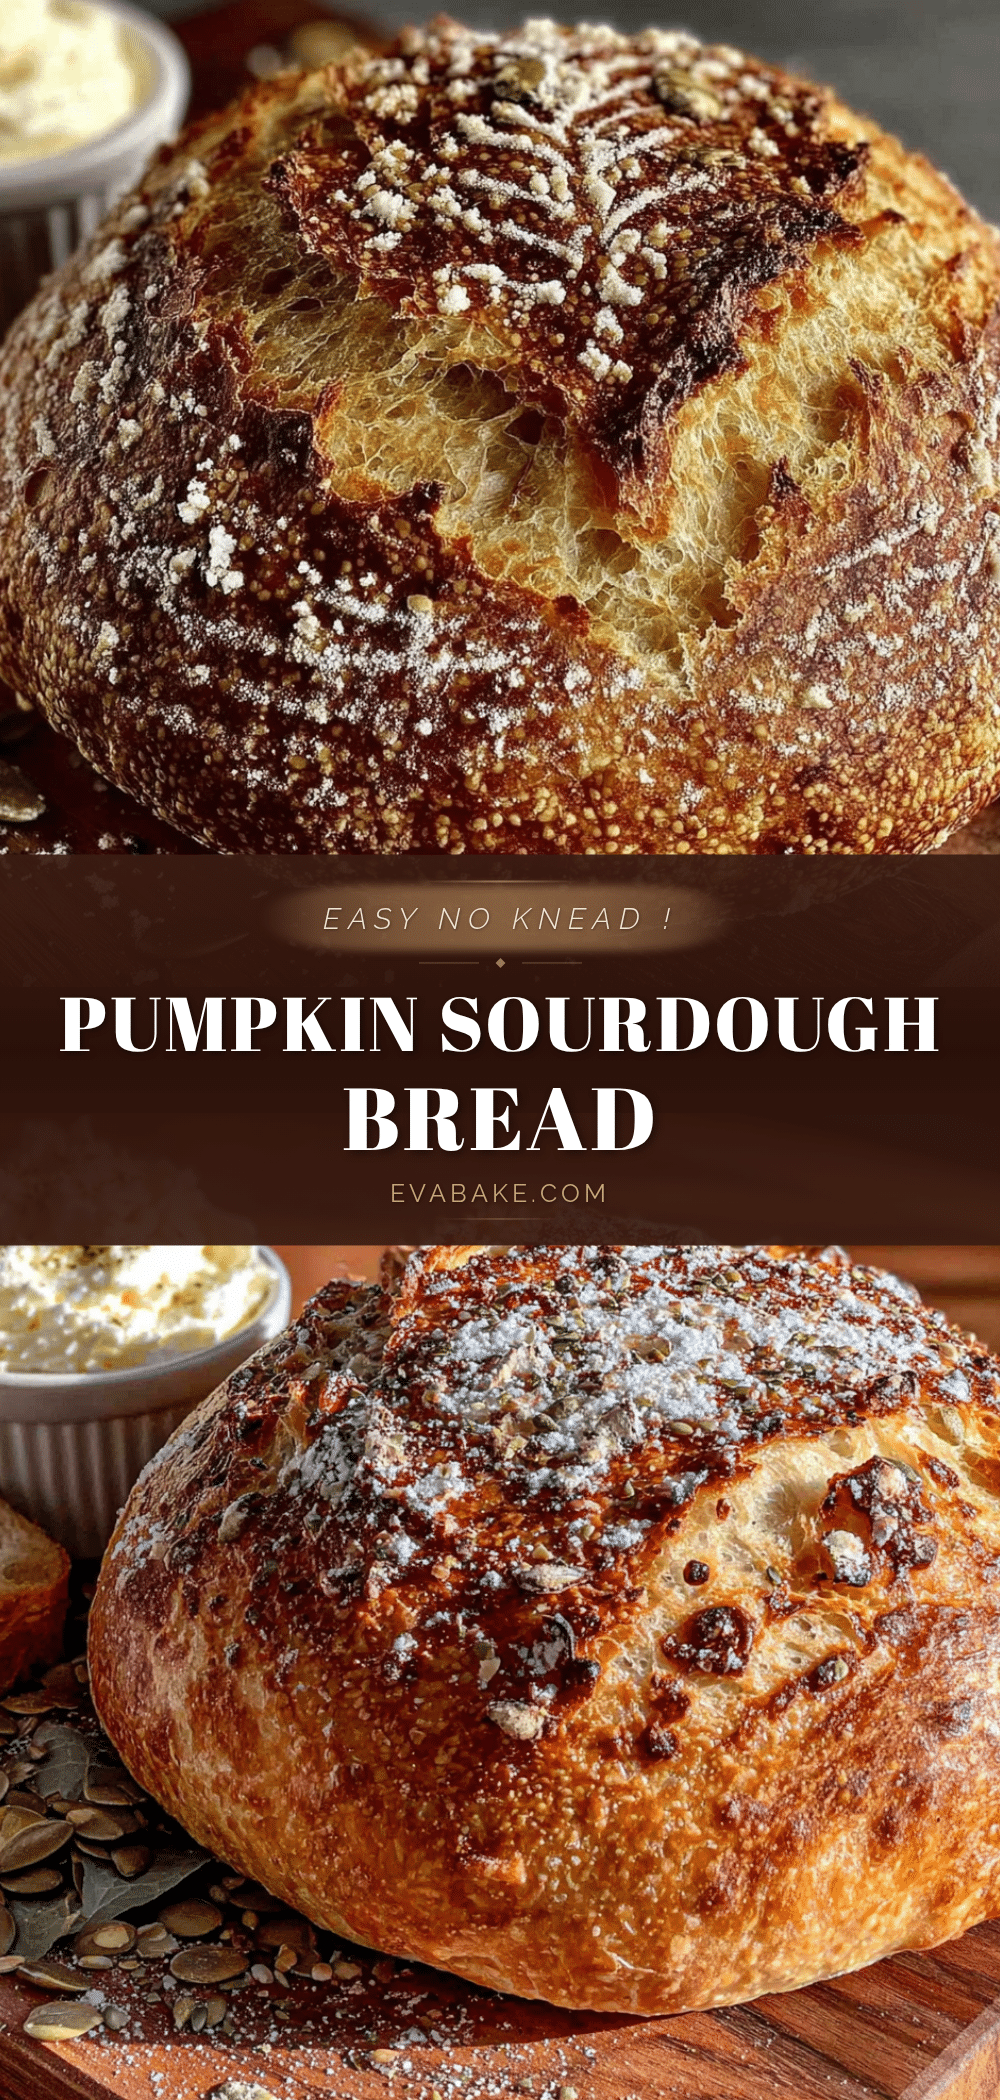
Easy No Knead Pumpkin Sourdough Discard Bread (Best Recipe)
A soft, tangy sourdough bread with subtle pumpkin flavor that uses up leftover sourdough discard. No kneading required, beginner-friendly, and perfect for fall.
- Prep Time: 15 minutes
- Cook Time: 50 minutes
- Total Time: 9 hours 5 minutes (includes rising time)
- Yield: 12 servings 1x
- Category: Bread
- Cuisine: American
Ingredients
- 3 cups (375g) all-purpose flour
- 1 cup (245g) pumpkin puree (100% pure pumpkin, not pie filling)
- 1 cup (240g) sourdough discard (unfed, straight from fridge)
- 1/2 cup (120ml) warm water (90-100°F)
- 3 tablespoons (45ml) olive oil
- 2 tablespoons (30ml) honey or maple syrup
- 1 1/2 teaspoons (9g) salt
- 1 teaspoon (3g) active dry yeast
- 1 teaspoon pumpkin pie spice
Instructions
- Mix the dry ingredients. In a large bowl, whisk together the flour, salt, and pumpkin pie spice. Make a well in the center.
- Combine the wet ingredients. In a separate smaller bowl, whisk together the pumpkin puree, sourdough discard, warm water, olive oil, and honey until smooth.
- Add the yeast. Sprinkle the yeast over the wet mixture and stir gently. Let it sit for 2-3 minutes until the yeast starts to dissolve.
- Bring it together. Pour the wet ingredients into the well of dry ingredients. Stir with a wooden spoon until a shaggy, sticky dough forms (about 20-30 strokes).
- First rise. Cover the bowl with plastic wrap or a damp towel. Let it sit at room temperature for 8-12 hours, or overnight, until doubled in size and bubbly on top.
- Shape the dough. Generously flour your work surface. Turn the dough out and fold it over itself 3-4 times to create a rough log shape. Do not knead.
- Second rise. Place the shaped dough into a parchment-lined 9×5-inch loaf pan. Cover loosely with plastic wrap. Let it rise for 1-2 hours, until the dough has risen about an inch above the rim of the pan.
- Preheat and score. About 20 minutes before baking, preheat your oven to 375°F (190°C). Just before baking, score the top of the dough with a single slash down the center.
- Bake. Place the pan on the middle rack. Bake for 45-55 minutes, until the top is deep golden brown and a toothpick inserted in the center comes out clean. Internal temperature should reach 200°F (93°C).
- Cool completely. Let the bread cool in the pan for 10 minutes, then transfer to a wire rack. Wait at least 1 hour before slicing.
Notes
The dough should be sticky but hold its shape. If too wet, add 2 tablespoons flour; if too dry, add 1 tablespoon water. For best results, use a kitchen scale for accurate measurements. The bread improves in flavor on day two.
Nutrition
- Serving Size: 1 slice
- Calories: 185
- Sugar: 5
- Sodium: 290
- Fat: 4
- Saturated Fat: 0.5
- Carbohydrates: 34
- Fiber: 3
- Protein: 5
Keywords: pumpkin sourdough discard bread, no knead pumpkin bread, sourdough discard recipe, easy pumpkin bread, fall sourdough bread


